Leather Sofa Care for Beginners
Clara Townsend
Clara Townsend is an interior stylist, vintage furniture enthusiast, and the creative voice behind Velvet Abode. With over a decade of experience transforming both cramped city apartments and sprawling fixer-uppers, she believes that a beautiful home is built on personal stories rather than massive budgets. When she isn't hunting for the perfect brass sconce at a local flea market, she can usually be found rearranging her living room for the third time this month.
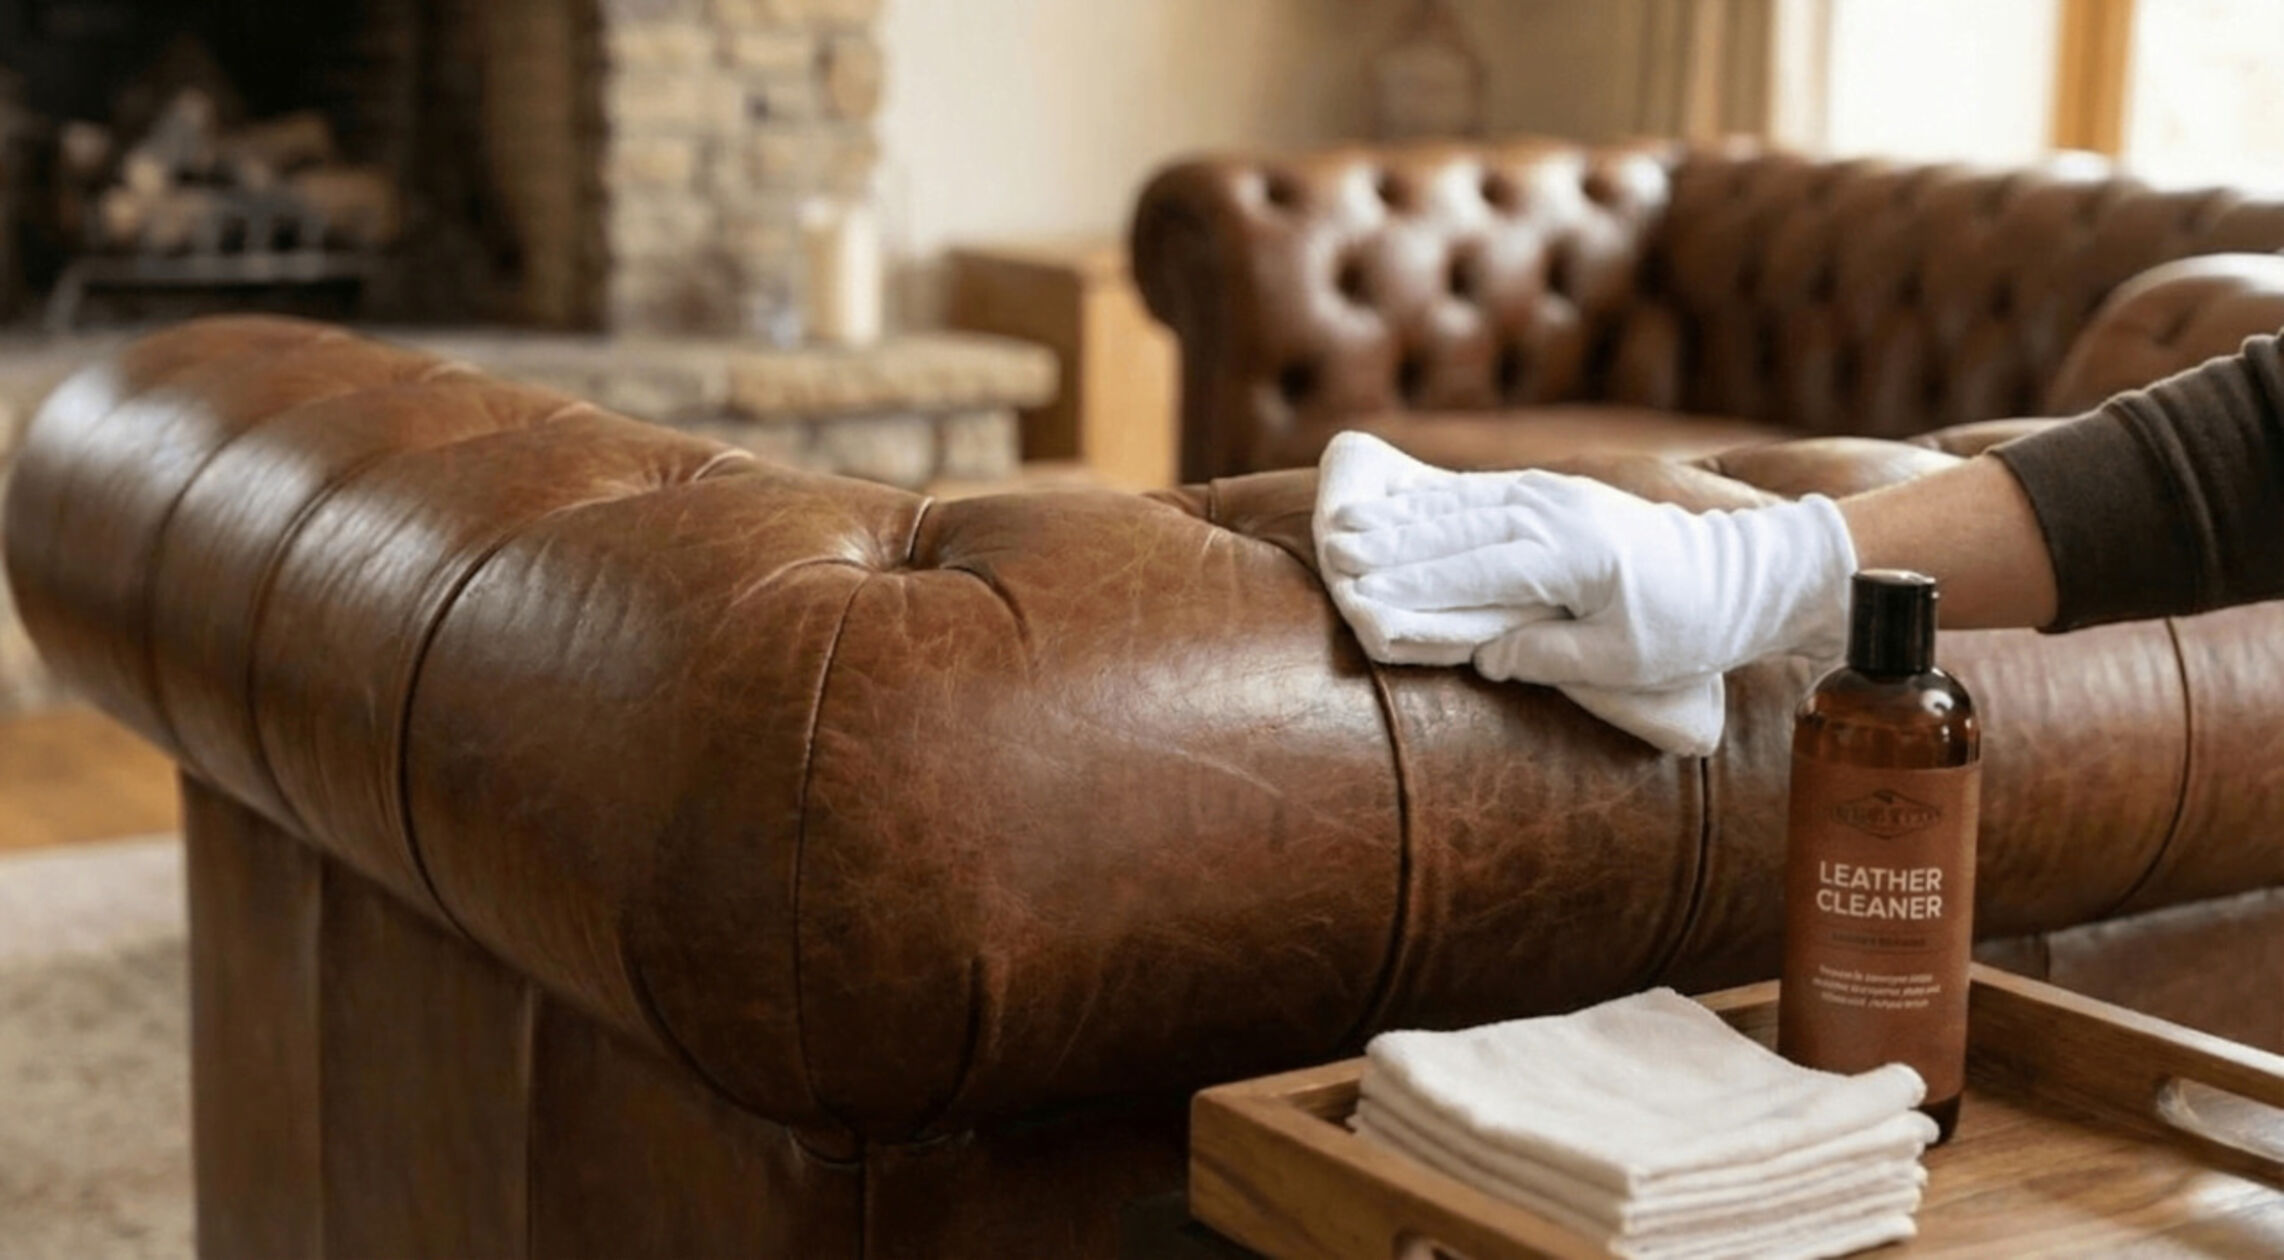
Leather is a little like good denim. It gets better when it is treated kindly, and it gets cranky when it is scrubbed, soaked, or blasted with the wrong products. If you are new to leather, take a deep breath. You do not need a cabinet full of potions. You need a calm routine, a light touch, and the confidence to skip the stuff that causes most of the damage.
Quick note before we begin: Leather varies wildly. A protected, pigment-finished sofa (many modern family-room leathers) can handle gentle cleaning and occasional conditioning. Unprotected aniline leather, suede-like nubuck, and many vintage pieces can stain and darken easily. If your sofa is older, very dry, unusually soft and absorbent, or labeled “aniline,” “nubuck,” or “unfinished,” consider specialist care and always spot test in a hidden area.
Know your leather
The best care plan starts with one tiny detective moment. Because what feels like “leather” can be coated, dyed, waxed, or treated in ways that change how it behaves.
Two at-home clues
- Water drop test (hidden spot): Place a tiny drop of water on the back or underside. If it beads and sits there, you likely have protected leather. If it soaks in and darkens quickly, you likely have more absorbent, unprotected leather and you should be much more cautious with liquids. Note: This is a helpful clue, not a guarantee. Some semi-aniline leathers may bead at first, then slowly absorb, and some finished leathers can still darken slightly.
- Look for a care tag or manufacturer notes: If you can find the brand and model online, use their recommended cleaner and conditioner list. Manufacturer guidance beats internet folklore every time.
If you are not sure what you have, treat it as delicate: minimal moisture, minimal product, and lots of gentle buffing.
Dust and vacuum
Most leather “problems” start as grit. Dust, crumbs, and pet hair act like sandpaper, especially on armrests and seat fronts. A small routine saves your finish and keeps the sofa looking rich instead of tired.
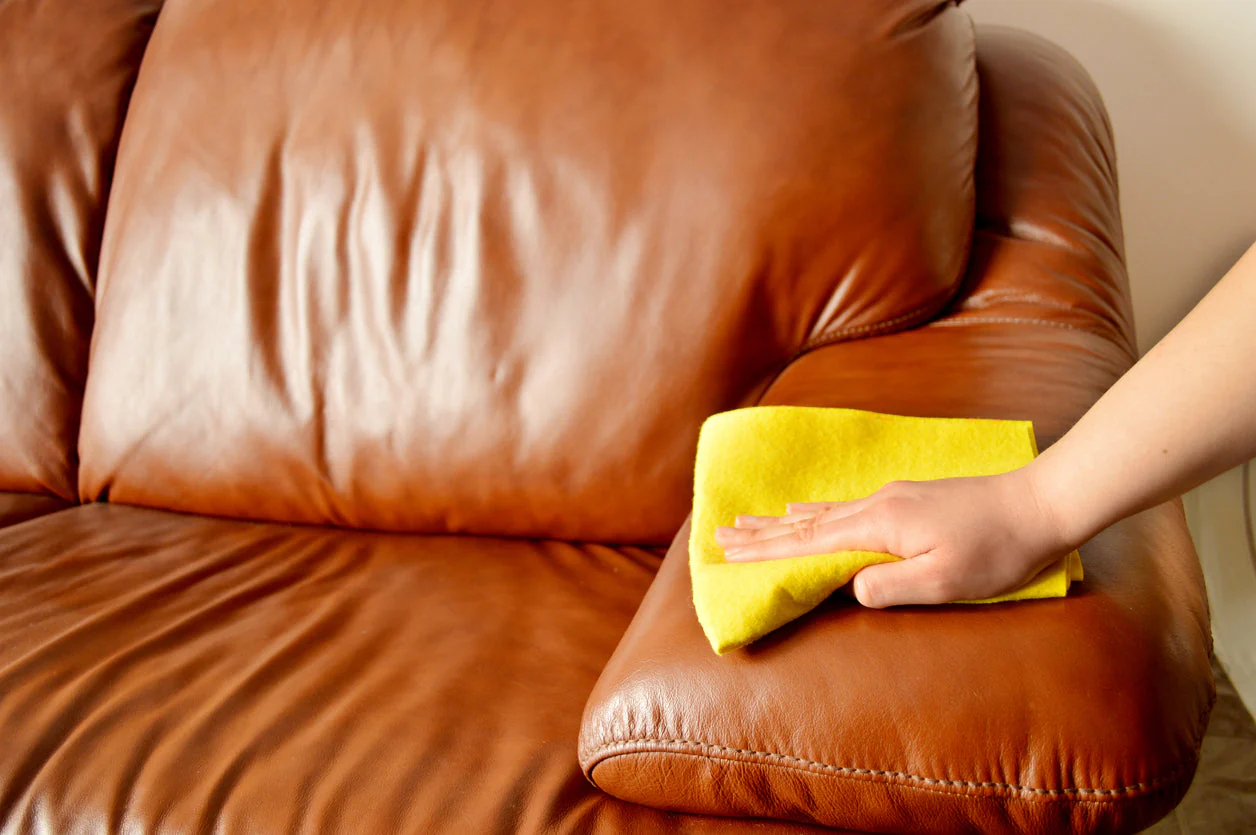
Weekly: dry dust and buff
- Use a clean, dry microfiber cloth. Choose lint-free, colorfast cloths, especially if you ever dampen them.
- Wipe in light, overlapping passes. No hard scrubbing.
- Finish by buffing with a second dry cloth if you want that soft glow.
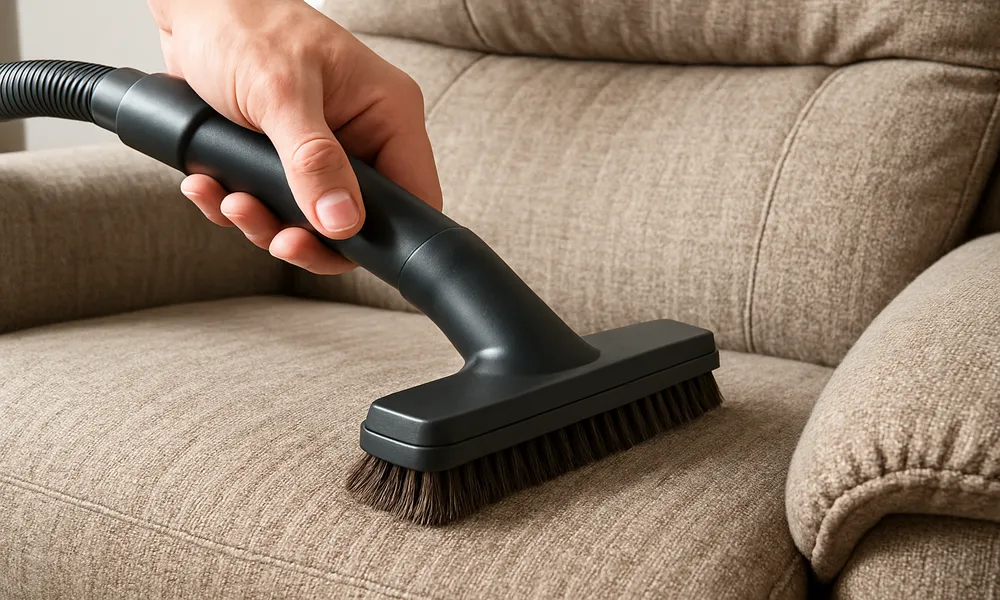
Every 2 to 4 weeks: vacuum seams
- Use a soft brush attachment.
- Lower suction if possible.
- Gently run along seams, piping, and under cushions where grit collects.
- Avoid sharp plastic edges dragging across the surface.
Spot cleaning
When something hits leather, speed matters, but gentleness matters more. Your goal is to lift the mess, not grind it in.
Fresh spills, step by step
- Blot immediately. Use a clean, dry cloth or paper towel. Press and lift. Do not rub.
- If needed, use a barely damp cloth. Plain distilled water is safest, especially if you have hard water. Wring the cloth until it feels almost dry.
- If water alone does not work, use the mildest option. For protected leather, start with a small amount of a leather-specific, pH-balanced cleaner on your cloth. If you do not have one, use a very dilute solution of gentle, unscented, dye-free soap in distilled water. Think “barely soapy,” not bubbly. Skip dish soap as a default.
- Wipe again with a clean damp cloth. This removes residue.
- Dry and buff. Pat dry, then let it air dry away from heat or sun. No hair dryers, no space heaters. Finish with a dry microfiber buff.
Always spot test
Even “leather-safe” products can darken, dull, or make the finish sticky. Test in a hidden spot, wait for it to fully dry, then check for color change or texture issues.
Gentle cleaners
If your sofa is protected leather, you can usually clean occasional grime with one of these options. If it is absorbent aniline or nubuck, skip liquids as much as possible and consider a pro.
Best beginner choices
- Distilled water + microfiber cloth: Often enough for everyday smudges.
- pH-balanced leather cleaner: Choose a reputable cleaner designed for finished upholstery leather. Use sparingly, and follow the label.
- Mild soap solution (only when needed): A very dilute mix of gentle, unscented, dye-free soap in distilled water can work for protected leather when you are in a pinch.
How much is right?
Less than you think. Apply cleaner to the cloth, not directly onto the sofa, then wipe gently. Leather does not want to be soaked. Your cloth should never drip.
Rule of thumb: If the surface looks wet, you used too much.
What to skip
This is the part that saves you money and heartbreak. Many common household products clean fast and damage faster.
- All-purpose cleaners and disinfecting sprays: Often too harsh, can strip finish and leave dull patches.
- Vinegar or lemon DIY mixes: Acids are risky on upholstery leather finishes and topcoats and can dry leather or cause uneven discoloration. They should not be a default cleaner.
- Ammonia and bleach: These can permanently damage color and topcoat.
- Magic erasers: They are micro-abrasive. Translation: they can sand the finish right off.
- Furniture polish, silicone sprays, or oily sprays: Can create a slick, sticky film that attracts dirt and is difficult to remove.
- Baby wipes and makeup wipes: Often contain alcohols, fragrances, and surfactants that leave residue and dry out leather over time.
- Saddle soap: Popular online, but it is often too aggressive for modern finished upholstery leather and can leave residue or change the feel and sheen.
- Kitchen oils (olive, coconut, etc.): They can go rancid, attract dirt, and create dark, uneven staining that is difficult to reverse.
- Steam cleaners: Heat and moisture can cause shrinkage, stiffness, or blotching and may loosen adhesives or backing materials.
If you have already used something questionable and the leather feels tacky, patchy, or looks clouded, stop experimenting and jump to the “when to call a pro” section.
Conditioning
Conditioner is not daily skincare. Over-conditioning can make leather soft in the wrong way, attract dust, and cause blotchy darkening. Most modern finished leathers need less than people think.
How often to condition
- Most protected leather sofas: Every 6 to 12 months, or as the manufacturer recommends.
- Dry climates, lots of sun exposure, or heavy use: Every 4 to 6 months, or as the manufacturer recommends.
- Very absorbent aniline or vintage leather: Conditioning can be tricky and may darken. Consider specialist advice before you do it yourself.
How to do it
- Clean first. Conditioner locks in whatever is on the surface.
- Let it dry fully. Conditioning over damp leather can trap moisture and lead to uneven results.
- Spot test. Wait for it to dry fully.
- Apply a small amount to a cloth. Work in thin, even layers.
- Let it absorb. Follow product timing. Do not sit on it until it is dry to the touch.
- Buff gently. A soft cloth brings back that warm, even sheen.
Deeper cleaning
Most people do not need to “deep clean” leather often. For protected leather, think of it like a seasonal reset, not a weekly project.
How often
- Protected leather: 1 to 2 times a year, or when it starts to look dull from buildup.
- Busy homes (kids, pets, frequent guests): Up to every 3 to 4 months if needed, but keep it gentle.
What it means
- Vacuum seams and under cushions thoroughly.
- Clean the whole sofa evenly (not just the armrest) using a small amount of leather cleaner on a cloth.
- Wipe once more with a barely damp cloth to remove residue, then let it dry away from heat and sun.
- Condition only if the sofa is fully dry and it has been a while since the last conditioning.
Maintenance calendar
If you want leather that ages like a well-loved vintage jacket, consistency wins. Here is a low-effort schedule that works for most households.
| When | What to do | Why it matters |
|---|---|---|
| Weekly | Dust with a dry microfiber cloth | Removes grit that wears down the finish |
| Every 2 to 4 weeks | Vacuum seams and under cushions with a soft brush | Stops crumbs and dust from acting like sandpaper |
| As needed | Spot clean spills immediately, blot first | Prevents stains and rings from setting |
| 1 to 2 times a year | Clean the whole sofa gently (protected leather) | Removes buildup evenly and keeps the finish looking clear |
| Every 6 to 12 months | Condition lightly (protected leather) | Keeps leather flexible and reduces dryness |
| Seasonally | Check placement near sun and heat sources | Prevents fading, drying, and cracking |
Everyday habits
These are the small, almost boring choices that make a sofa look “styled” even on a Tuesday night.
- Keep it out of direct sun. Sun fades dye and dries the surface. If moving the sofa is not possible, add curtains or UV window film.
- Avoid placing it near radiators or vents. Consistent heat pulls moisture out of leather.
- Rotate cushions. Especially if you have a favorite seat. Leather shows wear patterns quickly.
- Use throws thoughtfully. A linen or cotton throw on the most-used spot protects from denim dye transfer and oils, and it looks inviting.
- Be mindful of dark jeans. Indigo transfer is real, especially on light leather. If you just bought new denim, use a throw for a few wears.

Common worries
My leather looks dull and a bit gray
That is often surface dust and body oils. Start with dry dusting, then a gentle wipe with a barely damp cloth. If it still looks flat and you have not conditioned in 6 to 12 months, a light conditioning may help.
I see dark spots where heads and hands rest
That is usually oil buildup. Use a pH-balanced leather cleaner for finished leather, applied to a cloth. Work slowly and evenly, and avoid saturating. If the leather is absorbent aniline, this is a moment to consider professional cleaning.
There is a scratch
Light surface scratches on finished leather often soften with gentle buffing using a clean microfiber cloth. For deeper scratches, skip DIY markers and heavy creams unless they are specifically made for your leather type. A professional can color-match more invisibly.
It feels sticky after cleaning
That usually means residue. Wipe with a clean cloth dampened with distilled water, then dry and buff. If it remains sticky, stop and consult a pro so you do not keep layering products.
Stains: quick first aid
Some messes are fine to handle with gentle first aid, and some are better treated as “do not DIY.” Here is the safest middle ground for beginners.
Ink and marker
Blot gently if it is fresh and stop there. Do not use alcohol, hairspray, or nail polish remover. These can strip color and topcoat fast. Call a leather pro for removal and color repair.
Grease and oil
Blot excess, then leave it alone for a bit. Rubbing pushes oil deeper. If you have finished leather, a leather-specific cleaner may help, but do not reach for kitchen powders or oils. If the spot spreads or stays dark, call a pro.
Dye transfer (denim)
Act early. Wipe gently with a cloth and a leather-specific cleaner made for finished leather. Avoid aggressive scrubbing. If it does not improve quickly, stop and get professional help so you do not abrade the finish.
Pet accidents
Blot immediately. Use minimal moisture. If you suspect liquid seeped into seams or cushion edges, call a pro. Odor and staining often mean it has gone deeper than the surface.
When to call a pro
I love a DIY moment, but leather has a point where experimenting gets expensive. Consider professional help if:
- Your sofa is vintage, aniline, nubuck, suede, or unfinished.
- There is ink, marker, stubborn dye transfer, or pet urine.
- You see cracking, stiffness, or flaking finish.
- There is mold or mildew from storage or water exposure.
- The color is fading unevenly or there are visible water rings that keep spreading.
Look for an upholstery or leather restoration specialist with experience in your leather type. Ask what products they use and whether they do a hidden spot test before committing.
Important disclaimer: This article offers general care tips for common household leather upholstery. Delicate, unprotected, or vintage leather may require specialized methods and products. When in doubt, consult the manufacturer or a qualified leather professional.
Simple care kit
If you want to keep it simple, this is all you need to start.
- Two clean microfiber cloths (one for wiping, one for buffing). Choose lint-free, colorfast cloths.
- A vacuum with a soft brush attachment
- Distilled water in a small spray bottle (spray onto the cloth, not the sofa)
- A pH-balanced leather cleaner for finished leather (optional, but helpful)
- A quality leather conditioner used sparingly (for protected leather, a few times a year at most)
That is it. No harsh sprays. No “miracle” oils. Just a gentle routine that lets your leather age with grace and a little bit of that irresistible patina.