Laminate Countertop Burn Marks: Hide or Repair in a Rental
Clara Townsend
Clara Townsend is an interior stylist, vintage furniture enthusiast, and the creative voice behind Velvet Abode. With over a decade of experience transforming both cramped city apartments and sprawling fixer-uppers, she believes that a beautiful home is built on personal stories rather than massive budgets. When she isn't hunting for the perfect brass sconce at a local flea market, she can usually be found rearranging her living room for the third time this month.
Nothing makes your stomach drop faster than lifting a hot pan and seeing a dark, stubborn mark staring back at you. If you are renting, it can feel even more loaded: you want it to look better now, but you also do not want to accidentally make it worse and lose your deposit later.
The good news is that many heat marks on laminate counters are cosmetic and surprisingly forgiving with the right approach. The not-so-fun news: true burns that melt or blister the surface have real limits. Laminate is a thin decorative surface over a substrate, so there is only so much sanding or “buffing out” you can do before you create a bigger problem.
In this guide, I will help you figure out whether to hide the mark, repair it, or flag it for a pro, plus how to handle move-out disclosure with a calm, grown-up plan.
First: What laminate is and why heat marks act differently
Most laminate countertops are built like a layer cake, often with:
- Top layer: a thin, hard plastic surface with a printed pattern (marble-look, speckle, faux wood, you name it).
- Substrate/core: commonly particleboard or MDF, sometimes plywood or other materials. It is frequently brown, but not always.
- Edges and seams: places where water and heat can sneak in and cause bigger issues.
Heat can do a few different things:
- Surface discoloration: a yellow or gray shadow, sometimes from a hot mug or pan base.
- Sheen change: the finish turns dull, hazy, or slightly textured.
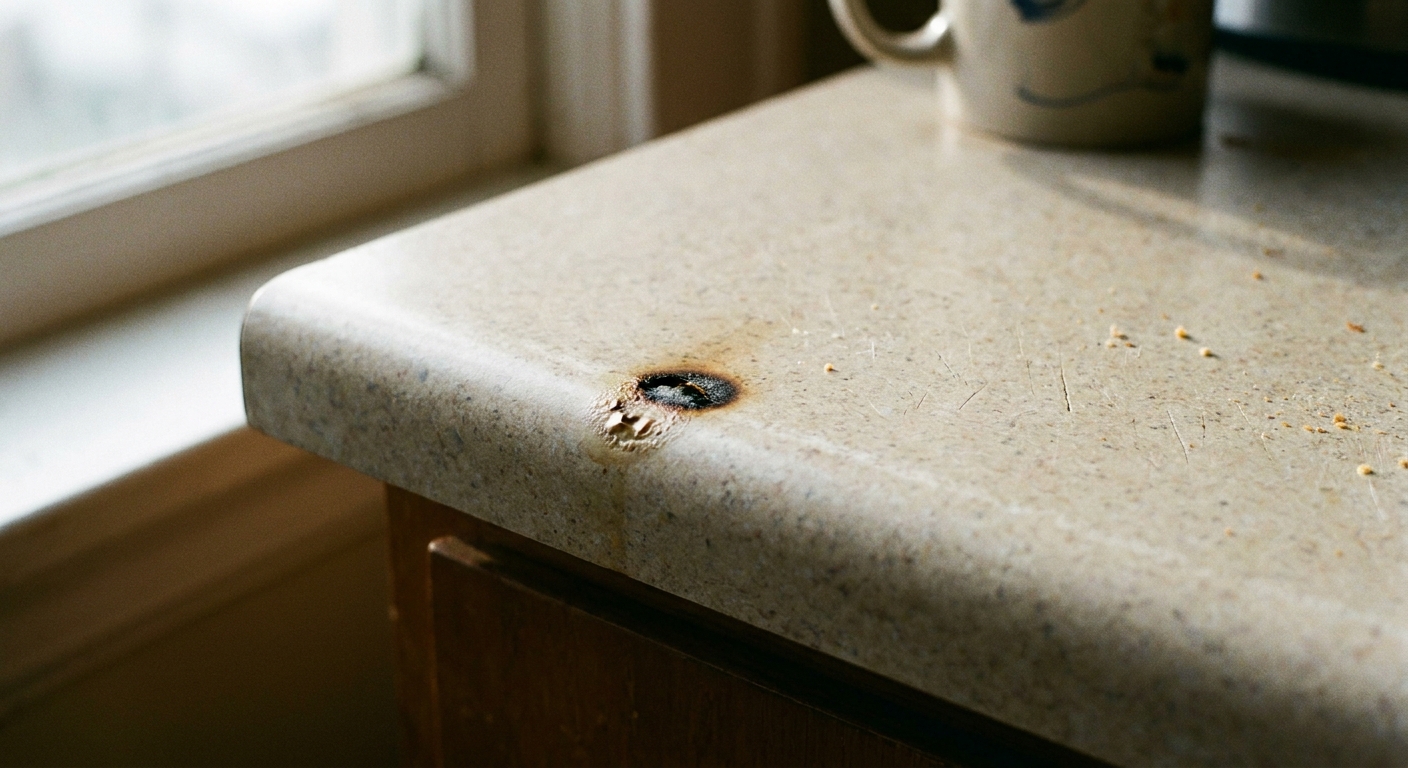
- True burn or melt: the top layer is scorched, softened, blistered, or melted. If you can feel a dip, a bubble, or a rough crater, it is more than a stain.
That is why the first step is not shopping for a miracle marker. It is figuring out what you are dealing with.
Assess the damage: stain, scorch, or melt?
A 60-second checklist
- Run your fingertip across it. If it is perfectly smooth, you may be in “stain or discoloration” territory.
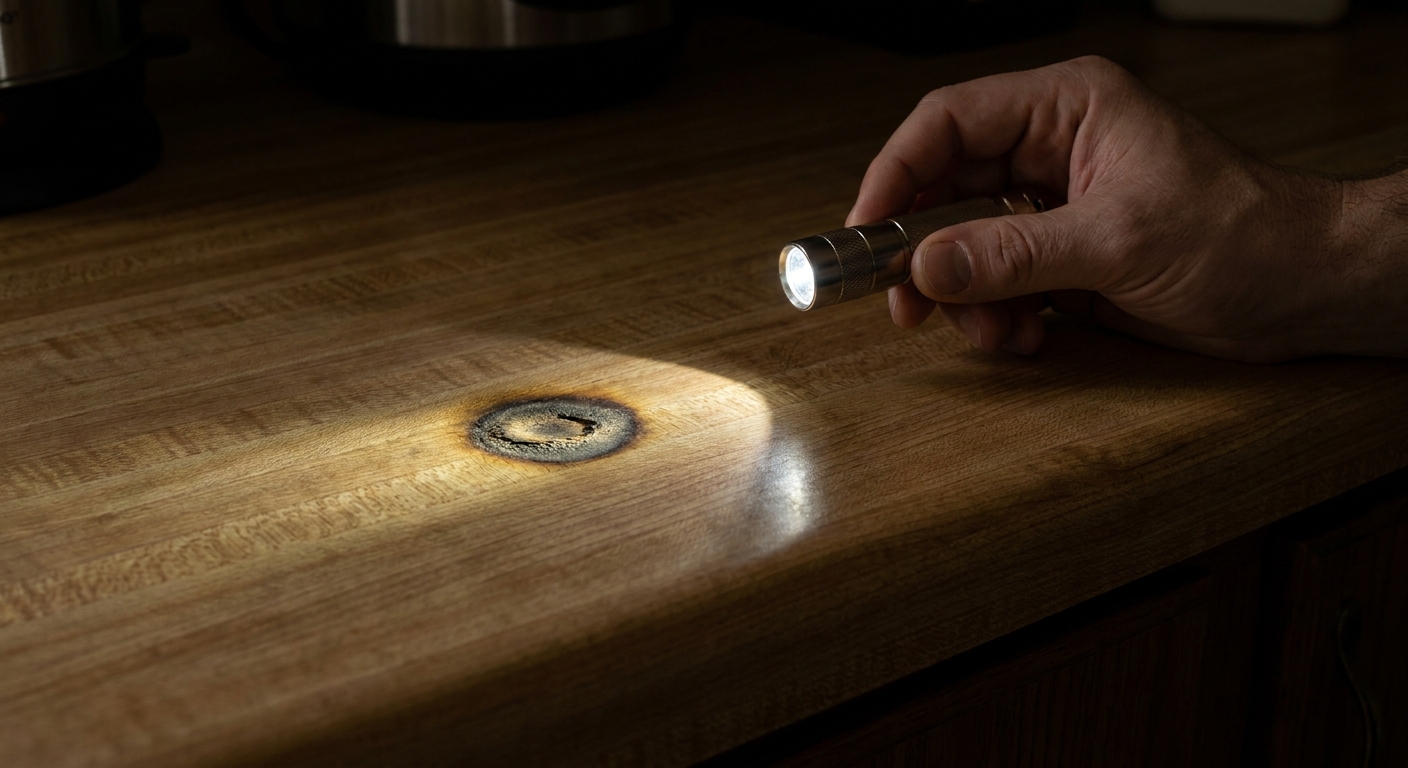
- Look from the side under a lamp. Raking light reveals dips, bubbles, or a raised ridge.
- Check the color. A brown or black center often means heat damage, not just a dirty mark.
- Press lightly. If it feels soft or spongy, heat may have compromised the surface and possibly the substrate below.
What to do based on what you find
- Smooth and lightly discolored: try gentle cleaning and minimal cosmetic blending.
- Textured or slightly pitted: consider a filler plus color touch-up, or a patch film if it is in a visible spot.
- Deep crater, bubbled laminate, or exposed substrate: skip sanding experiments. You are looking at patching, film, or professional help.
Stop and do not DIY if you see this
If any of these are true, your safest renter move is to protect the area from moisture and contact your landlord or a pro for guidance:
- Blistering, bubbling, or peeling that is actively lifting
- Swelling or a raised ridge near the spot (often a sign moisture is already involved)
- Crumbly or wet substrate showing through
- Damage at a sink edge or seam where water can spread fast
Also: check your lease. Some leases prohibit tenant repairs that permanently alter surfaces. When in doubt, ask first or stick to a reversible cover-up.
Before you repair: clean it the safe way
Even if it is a true burn, you want to remove any cooked-on residue so you can see the real boundary of the damage.
Gentle cleaning routine
- Dish soap + warm water with a soft sponge. Dry thoroughly.
- Baking soda paste (baking soda + a few drops of water). Rub lightly in small circles, then rinse and dry.
- Isopropyl alcohol (70% or 91%) on a microfiber cloth for greasy residue. Spot test first. It usually evaporates, but you can wipe with clean water afterward if you want, then dry.
Skip these (they can make it worse)
- Abrasive powders and heavy-duty scouring pads
- Magic erasers on glossy laminate (they can dull the finish)
- Bleach soaking or harsh oven cleaners
If, after cleaning, the mark is still dark and you can feel texture, you are in repair territory, not “cleaning trick” territory.
Renter-friendly options: hide it first, repair it second
In a rental kitchen, my guiding rule is: start with the least invasive fix that looks good at normal standing distance. You can always escalate, but you cannot un-sand laminate.
Option 1: The stylish cover-up (zero risk)
If the mark is near the stove, coffee station, or a prep zone, a cover-up can look intentional and feel like a little upgrade.
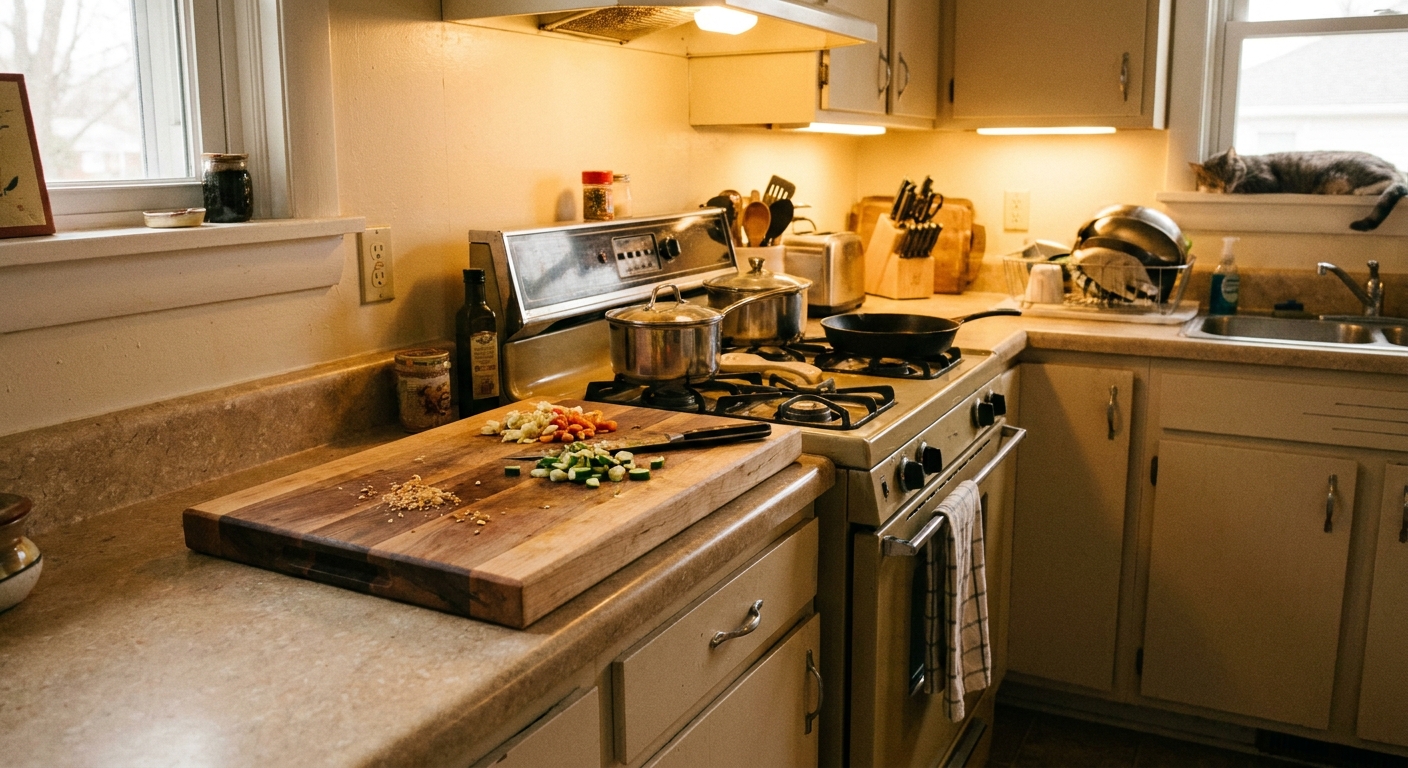
- Oversized cutting board (wood, bamboo, or a thick composite). Choose one big enough that it always “lives” there.
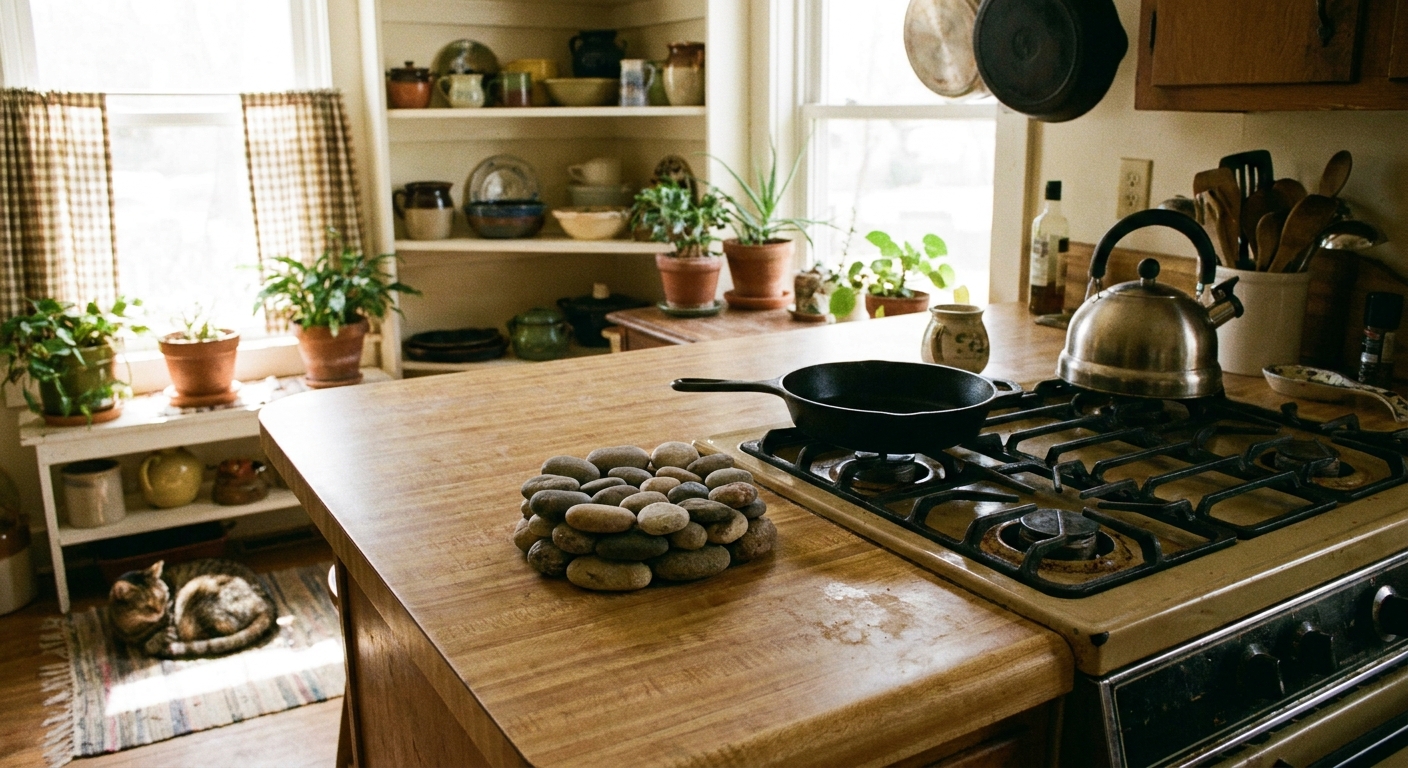
- Heat-safe trivet cluster you actually use. Think stone, cast iron, or cork in a pretty shape.
- Counter runner or washable mat in linen-look vinyl or cotton. Great for coffee drips too.
My favorite rental move is a beautiful, extra-large cutting board that reads like decor. It is functional, warm, and it hides a multitude of “oops.”
Cosmetic blending: markers and touch-up kits
If the surface is mostly intact and the spot is small, you can often make it much less noticeable with a color blend rather than a full patch.
What works
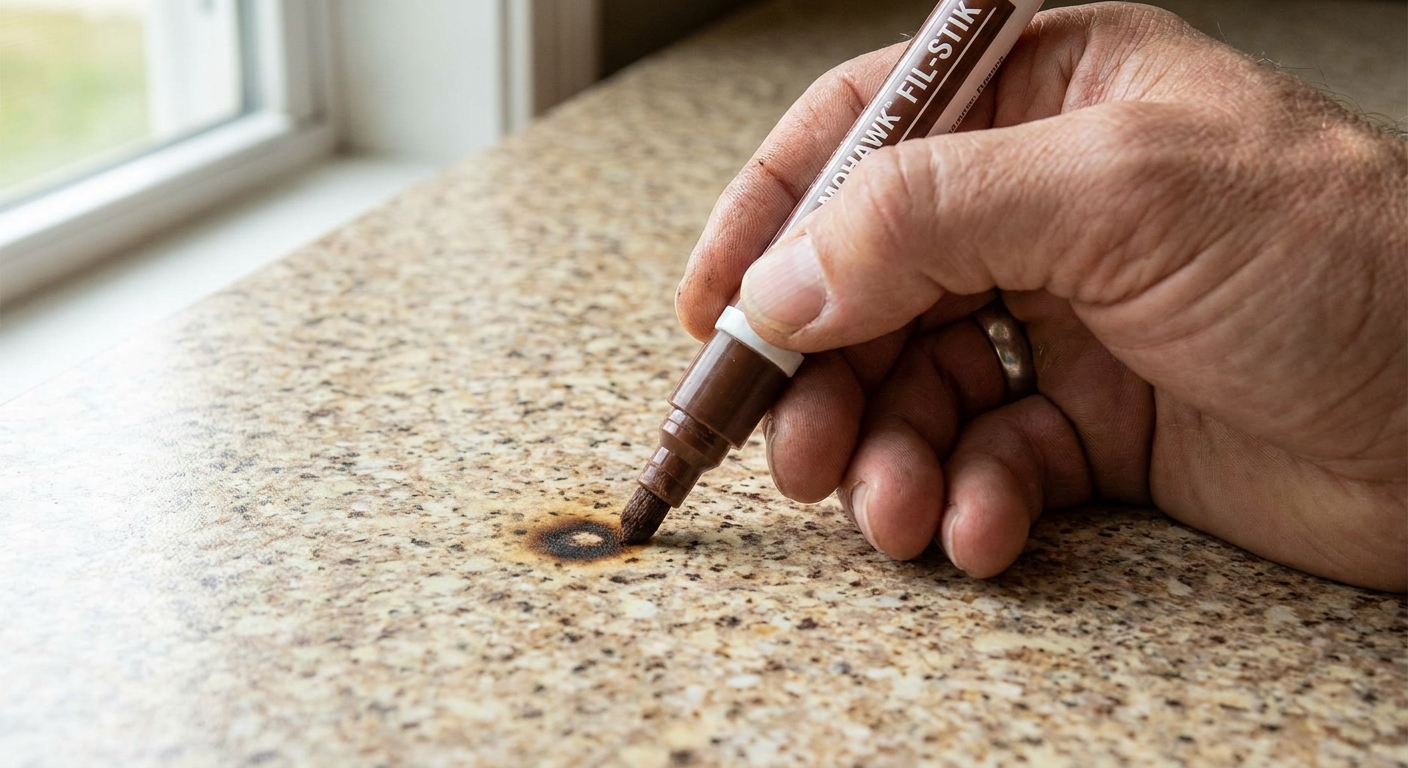
- Laminate repair markers (often sold for floors and furniture, but can work on counters if you keep the area dry and follow product guidance).
- Wax fill sticks for tiny pits and scratches.
- Color-matched putty kits (two-part epoxy or solvent-based) if you need a little build.
How to make it look natural
- Test in a hidden spot first. Always. Lighting changes color, and so can surface finishes.
- Layer colors. Most counters are not one flat shade. Tap in a base, then add small specks.
- Feather the edges. A harsh outline is what gives DIY away.
- Seal only if the system is made for it. Many clear coats do not bond well to laminate. If a kit includes a matching topcoat, use that, and follow directions.
Reality check: markers help with the “dark dot” look, but they cannot recreate the original gloss perfectly. In a busy rental kitchen, that is usually fine.
Filler repairs: when there is a dip you can feel
If the burn left a crater, you will get the best result by filling first and coloring second.
Choose the right filler
- Two-part epoxy putty: durable and water-resistant once cured. Great for small chips and pits.
- Laminate seam sealer or color-matched repair paste: designed for countertop surfaces, often easier to level smooth.
Avoid soft, water-based wood fillers on counters. They can swell if moisture gets in, and counters always get moisture.
Step-by-step (gentle, renter-smart)
- Clean and dry the area completely.
- Ventilate and protect your hands. Open a window if you are using solvent-based products, and wear gloves for epoxy.
- Mask around the spot with painter’s tape to keep edges crisp.
- Apply filler in thin layers, slightly proud of the surface.
- Let it cure fully according to the product directions. Many epoxies need 24 hours or more to fully harden. Keep the area dry during cure.
- Level carefully with very fine sandpaper (think 400 to 800 grit) on a small sanding block.
- Blend color with markers or a tint kit if needed.
- Seal only if recommended by the repair system, and expect cure time before normal cleaning.
Sanding limit warning: you are sanding the filler, not the countertop. If you start sanding the surrounding laminate aggressively, you can dull the finish or cut through the decorative layer and make a small burn look like a permanent wound.
Can you sand a laminate burn mark out?
Sometimes, very lightly, if the “burn” is really just a surface transfer or a finish change. But true laminate burns are not like solid wood. The decorative layer is thin. If you sand through it, you will reveal a darker layer underneath and create a bigger problem.
If you must try a micro-sand
- Stick to very fine grit (600 to 1000), use light pressure.
- Sand only a tiny area and check every few passes.
- Expect a sheen change. Even 600 to 1000 grit can permanently alter the gloss.
If the mark is black and you can feel a dip, skip sanding. Go straight to filler, a patch, or a cover-up.
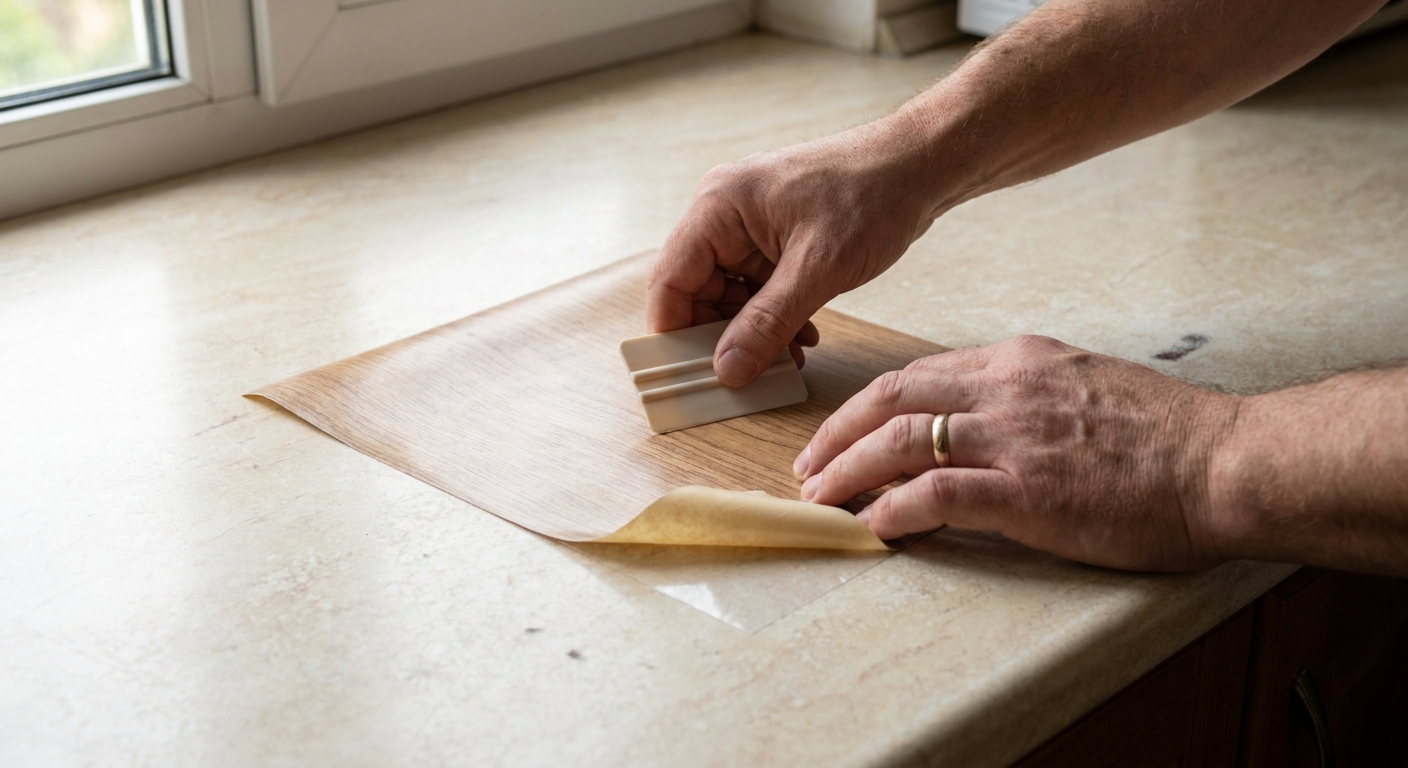
Repair films and laminate patches
If the spot is large, very dark, or in the center of the counter where your eye always lands, a patch can give you the cleanest look without replacing the whole countertop.
What these are
- Self-adhesive laminate patches (thin sheets you cut to size).
- Heat-activated repair films (some systems use a household iron, others do not).
Important: patch products vary a lot. Not every “laminate patch” is designed for countertops, and not every one is heat-applied. Follow the specific manufacturer instructions, and spot test in a hidden area if possible.
How to get a believable result
- Match pattern direction. Marble-look and linear patterns need alignment.
- Round the corners. Sharp corners lift faster.
- Prep the surface. Clean, dry, and only scuff if the product requires it.
- Roll it down. Use a small roller or a wrapped credit card to press out air.
Patch edges can catch crumbs and moisture, so this is best when you can place it in a low-splash zone or commit to wiping and drying around it.
When the mark is near a seam, edge, or sink
These locations matter because water is the enemy of many laminate substrates. If the damage is near:
- A sink edge
- A backsplash seam
- A cooktop cutout
Be extra cautious with anything that can trap moisture, like a patch with a lifting edge. In these areas, a durable epoxy fill plus careful sealing often holds up better than a film.
If you see swelling, a raised ridge, or crumbly substrate, it may already be water-damaged. That is when it is worth contacting your landlord sooner rather than later, because it can spread.
Quick decision guide
Hide it if
- The mark is small but in a high-use spot, and you want zero risk.
- You are moving out soon and just need it to look tidy.
- You are not confident color-matching or you cannot do permanent fixes per your lease.
Repair it yourself if
- The surface is stable (no swelling or softness).
- The damage is localized and you can work slowly.
- You can test products in a hidden area first.
- You can keep the area dry during cure time.
Report it or ask for guidance if
- The substrate seems exposed, wet, or swollen.
- The laminate is blistering, bubbling, or peeling.
- The damage is near the sink or a seam where moisture can accelerate problems.
Move-out disclosure tips
I know this part can feel awkward, but a little strategy helps.
Document clearly
- Take clear photos in good light, both close-up and from a normal standing distance.
- Note the date and what happened, briefly.
- Save receipts for any repair products you used.
When to tell your landlord
- If the damage could worsen (near water, swelling, peeling), tell them promptly.
- If it is purely cosmetic and you repaired it cleanly, you can wait, but be ready to show that you addressed it responsibly and within lease terms.
What to say (simple script)
“I noticed a heat mark on the laminate countertop. I cleaned it and made a small repair to stabilize the area. I have photos of the spot in case you want to assess it or recommend a preferred fix.”
No drama, no over-explaining. Just steady, solution-oriented.
How to prevent another heat mark
- Keep a trivet next to the stove, not in a drawer. Convenience is prevention.
- Use a landing pad board for hot bakeware.
- Watch small appliances like toaster ovens and air fryers. They can radiate heat downward.
- Skip heat styling tools on the counter unless you have a dedicated heat mat.
A home should be lived in, not tiptoed around. You just deserve a setup that supports real life, even in a rental.
My best renter tip: aim for “unnoticeable at five feet”
Design secrets are rarely secrets. Most good-looking homes are not perfect up close. They are just thoughtfully edited.
If a countertop repair is stressing you out, give yourself permission to choose the option that looks good in everyday life: a beautiful cutting board, a smart patch, or a gentle fill and blend. Your kitchen can still feel like a comforting hug at the end of a long day, even if it has one tiny story in the countertop.