Iron Scorch Marks on Synthetic Upholstery
Clara Townsend
Clara Townsend is an interior stylist, vintage furniture enthusiast, and the creative voice behind Velvet Abode. With over a decade of experience transforming both cramped city apartments and sprawling fixer-uppers, she believes that a beautiful home is built on personal stories rather than massive budgets. When she isn't hunting for the perfect brass sconce at a local flea market, she can usually be found rearranging her living room for the third time this month.
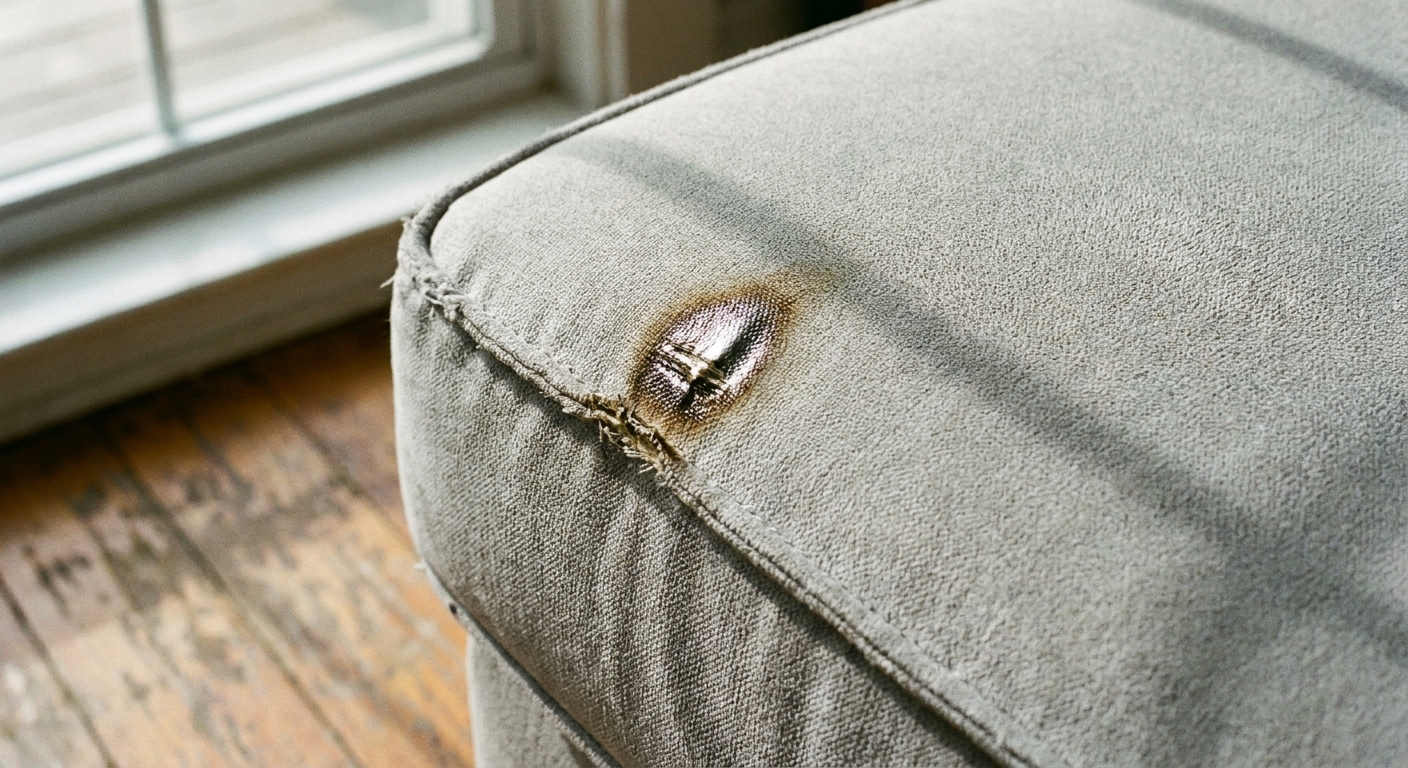
It happens in the most ordinary, blink-and-it’s-done way: you’re steaming a wrinkled curtain, pressing a craft project, or giving a slipcover a quick touch-up, and the iron kisses the sofa cushion. Synthetic upholstery like polyester, microfiber, and blended performance fabrics can react fast to heat. Instead of a simple “mark,” you can get melted fibers, a shiny patch, or a slightly crunchy spot that feels different under your hand.
Before you panic-buy a whole new cushion, take a breath. Many iron scorch marks on synthetics can be improved visually and texturally, especially if you act quickly and avoid the common instinct to rub or scrub. That said, if the fibers have melted or the dye has changed, the goal is usually “less obvious,” not “like it never happened.”
Quick safety first: unplug the iron, move it to a safe surface, and ventilate the room if you smell melting plastic. A strong chemical-plastic odor can mean deeper heat damage than what you see on the surface.
Confirm the damage type
Heat damage on synthetics usually falls into a few categories. Knowing which one you’re dealing with tells you what is realistic.
- Surface singe: fuzzy fibers look darker or slightly crisp, but the fabric is not melted into a hard patch.
- Shine or glazing: the area looks glossy or “polished,” especially on microfiber or velvet-like synthetics. Often the fibers have flattened from heat and pressure.
- Melted fibers: you see a slightly raised, hardened spot or a plastic-like texture. This is physical deformation, not a stain.
- Color change: the dye looks lightened or browned. On many synthetics, discoloration is permanent, but you may still be able to disguise it.
If the fabric feels hard, rippled, or fused, you are in melted-fiber territory. That can still be improved, but “perfectly invisible” is less likely.
In the first 10 minutes
1) Stop heat and let it cool
Move the iron away and keep your hands off the spot. Do not try to “wipe it while it’s hot.” Hot synthetic fibers can smear or flatten further, making the shiny patch larger.
Let the area cool to room temperature. If you want to speed things up, aim a fan at it. Avoid ice directly on the fabric. Condensation may leave a ring on some finishes or make microfiber mat. If you truly need fast cooling, use a cool pack wrapped in a dry cloth, and keep it moving.
2) Pause before liquids or cleaners
This is the part that saves you from a double problem. An iron scorch on polyester or microfiber is often a texture issue first. Adding cleaner too early can create a visible edge, and on some fabrics it can shift dye. (On many solution-dyed performance fabrics, bleeding is less likely, but it still pays to check and test.)
3) Blot only if there is transfer
If the iron picked up something and transferred it back, you might see a faint film or smudge sitting on top of the fabric. Common culprits are starch, fusible web, craft adhesive, or residue from an ironing board cover.
In that case only, lightly blot with a clean, dry white cloth. No rubbing.
Check the care code first
Before you steam, spot clean, or add anything wet, look for the upholstery tag and cleaning code. It is usually under the seat cushions or on the underside of the sofa.
- W: water-based cleaner is generally allowed.
- S: solvent-based cleaner only. No water.
- WS or SW: either water-based or solvent-based, with testing.
- X: vacuum only. No water, no solvent, and in many cases no steaming.
Even with “W” or “WS,” do a small test on a hidden seam first. And if your fabric is a coated, laminated, or PU-backed performance material, moisture and heat can sometimes cause bubbling or delamination. When in doubt, test gently or call the manufacturer.
Restore texture first
On synthetic upholstery, your eye notices texture differences even faster than slight color shifts. Your goal is to make the spot look and feel like the surrounding fabric.
Step A: Brush and lift the nap
For microfiber, suede-like synthetics, and some performance fabrics, start with a soft brush. A clean, soft-bristle upholstery brush or a new nail brush works well.
- Brush in one direction, then the other, using short, light strokes.
- Stop frequently and check in raking light, meaning a lamp aimed across the cushion so texture shows clearly.
- If the fabric has a clear grain, finish by brushing in the dominant direction so it blends.
Test first: on a hidden seam, confirm brushing does not snag loops, fuzz the surface, or change the sheen in a way you dislike.

Trim carefully if needed
If the scorch created little crispy fuzzies or singed “pills” that sit on top of the fabric, you can sometimes improve the look by removing only the damaged tips.
Use the right tool
- Small sharp scissors: best for precision on tiny singed fibers.
- A fabric shaver: can be risky on upholstery, but works on very low-pile synthetics if you use a feather-light touch and test first.
How to trim without a bald spot
- Work in bright light.
- Snip only what is clearly raised and burnt, never dig into the base of the weave.
- Trim a few fibers, then brush, then reassess.
- Stop as soon as the texture starts to match. Chasing “perfect” is how you end up with a thin spot.
Skip trimming if the fabric is a knit, boucle, or loosely woven synthetic blend. Cutting can unravel loops and make the area larger.
Fix shine on microfiber and poly blends
That glossy patch is usually flattened fibers rather than a removable stain. Your best at-home options are texture restoration and camouflage.
Try gentle steam, not pressure
If your upholstery can tolerate it, a handheld steamer held several inches away can help relax flattened fibers. The key is steam without pressure.
- Check the care code first. Avoid this step entirely for “X,” and be cautious with coated or backed performance fabrics.
- Hold the steamer about 4 to 6 inches from the fabric, or farther if you are unsure.
- Use short bursts, then immediately brush the nap up while it is slightly warm.
- Let it dry fully and check again before repeating.
Avoid the iron entirely, even through a cloth. Pressure is what creates that “polished” look.
If the fabric starts to look wetter or darker beyond the damaged spot, stop and let it dry. Over-steaming can create a water line that is harder to blend than the scorch.
What not to do
- No acetone or nail polish remover: it can melt synthetics and strip dye.
- No aggressive scrubbing: you can fuzz microfiber or create a permanent nap change.
- Avoid bleach or hydrogen peroxide unless the manufacturer explicitly allows it: synthetics can discolor unevenly and sometimes shift to pink or yellow tones.
- No sandpaper: it will rough up the weave and make the area look worn, not repaired.
Patch options that work
If you have melted fibers or a stubborn darkened spot, a patch can be a surprisingly tidy solution, especially on removable cushions.
Option 1: Replace the panel
If your cushion cover has a zipper, a workroom can sometimes replace only the top panel. This is often cheaper than full reupholstery and looks cleaner than a visible patch.
Option 2: Underlay support
For a small melted depression, an upholsterer can stabilize the area from behind with a thin support patch, then do a surface blend. This is most successful on textured fabrics where the repair can hide in the pattern.
Option 3: Make it intentional
If your style leans cozy and collected, a visible patch can be charming. Think a small leather corner patch, a stitched linen square, or even a pair of matching patches on two cushions so it reads like a design choice.
Choose a patch material that complements your room, like warm camel leather with walnut wood, or oatmeal linen with creamy boucle.

When to call a pro
Sometimes the kindest thing you can do for your future self is hand it off. Consider a professional upholsterer or reupholstery shop if:
- The area is hardened, bubbled, or fused and larger than a coin.
- The scorch is on a high-visibility zone like the front edge of a seat cushion or the sofa back at eye level.
- Your upholstery is a performance fabric with a coating or backing. Heat and moisture can damage finishes, and DIY products can make it worse.
- The cushion has multiple layers like a fiber wrap and a down blend, and the heat seems to have affected the shape.
- You need a near-invisible result for a rental, staging, or resale situation.
- There is a persistent melted-plastic smell after everything is cool, which can signal deeper damage.
Bring clear photos and, if possible, the removable cover. A shop can tell you whether panel replacement, a localized repair, or reupholstery is most cost-effective.
Replace the cushion?
Replacement makes sense when the damage is structural or when the fabric itself has permanently changed.
- Replace or recover if the scorch is melted through the surface, feels sharp or brittle, or keeps catching lint.
- Repair or patch if the cushion is still comfortable and the damage is mostly cosmetic.
- Do nothing if the spot is minor and you can move the cushion to a less obvious position. I am a big believer in “rotate and live” while you decide.
If you are replacing just one cushion, ask the manufacturer or upholsterer about dye lot and fabric match. Even the same fabric name can vary slightly over time.
Not the same as cigarette burns
Cigarette burns often create a small hole with charred edges and a very specific odor profile, and repairs typically focus on filling and reweaving. Iron scorch marks on synthetics are more about heat flattening or melting fibers across a broader patch. The steps above are tailored to that “pressed and fused” kind of damage.
Quick guide
- Singe (crispy fuzz, not hard): cool, brush, then trim only raised burnt tips if needed.
- Shine (glossy, flattened): cool, brush, then cautious steam from a distance if the care code allows it.
- Melt (hard, plastic-like): stop DIY early, consider a panel swap, professional repair, or an intentional patch.
Your next step
If you do one thing today, let it be this: cool, assess, then restore texture before you attempt any cleaning. Synthetics can be wonderfully durable in daily life, but they are sensitive to heat in a way that feels unfair. With a light hand and a little patience, you can often make that scorch mark fade into the background, like it was never the main character of your living room.