IKEA BRIMNES Storage Bed Hack for More Drawers and a Built-In Look
Clara Townsend
Clara Townsend is an interior stylist, vintage furniture enthusiast, and the creative voice behind Velvet Abode. With over a decade of experience transforming both cramped city apartments and sprawling fixer-uppers, she believes that a beautiful home is built on personal stories rather than massive budgets. When she isn't hunting for the perfect brass sconce at a local flea market, she can usually be found rearranging her living room for the third time this month.
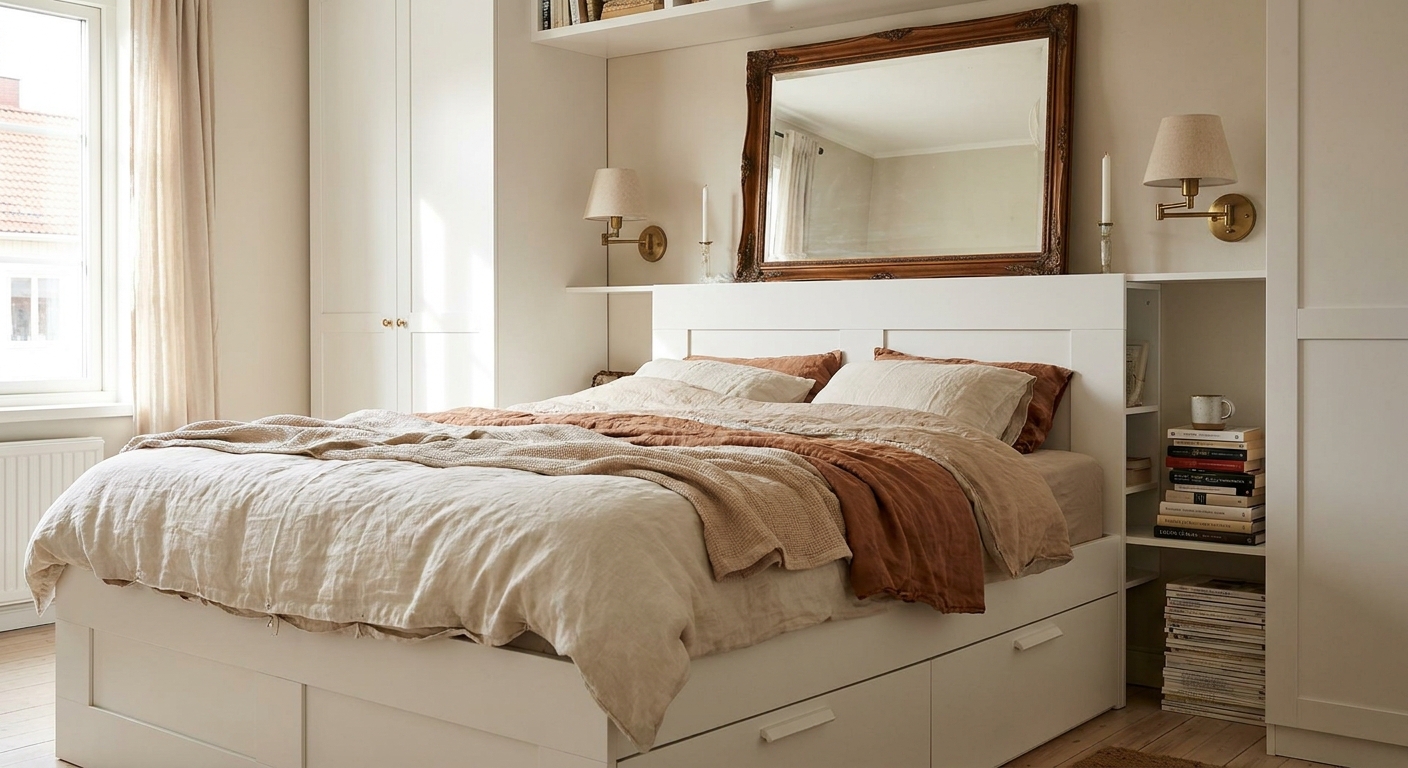
If you have ever looked at the IKEA BRIMNES storage bed and thought, you are so close to being a true built-in , you are not alone. BRIMNES is one of those hardworking pieces that can read a little “flat pack” until you give it some architectural context. The good news is that you do not need a full carpenter makeover to get there. With a few layout tweaks, drawer upgrades, and the right trim, you can make it feel like it was designed for your room.
This is the Velvet Abode approach: keep what is functional, upgrade what is visible, and build the story through texture and detail. Let’s talk about how to squeeze more use out of the drawers and get that calm, built-in look.
Before you hack: plan for how BRIMNES works
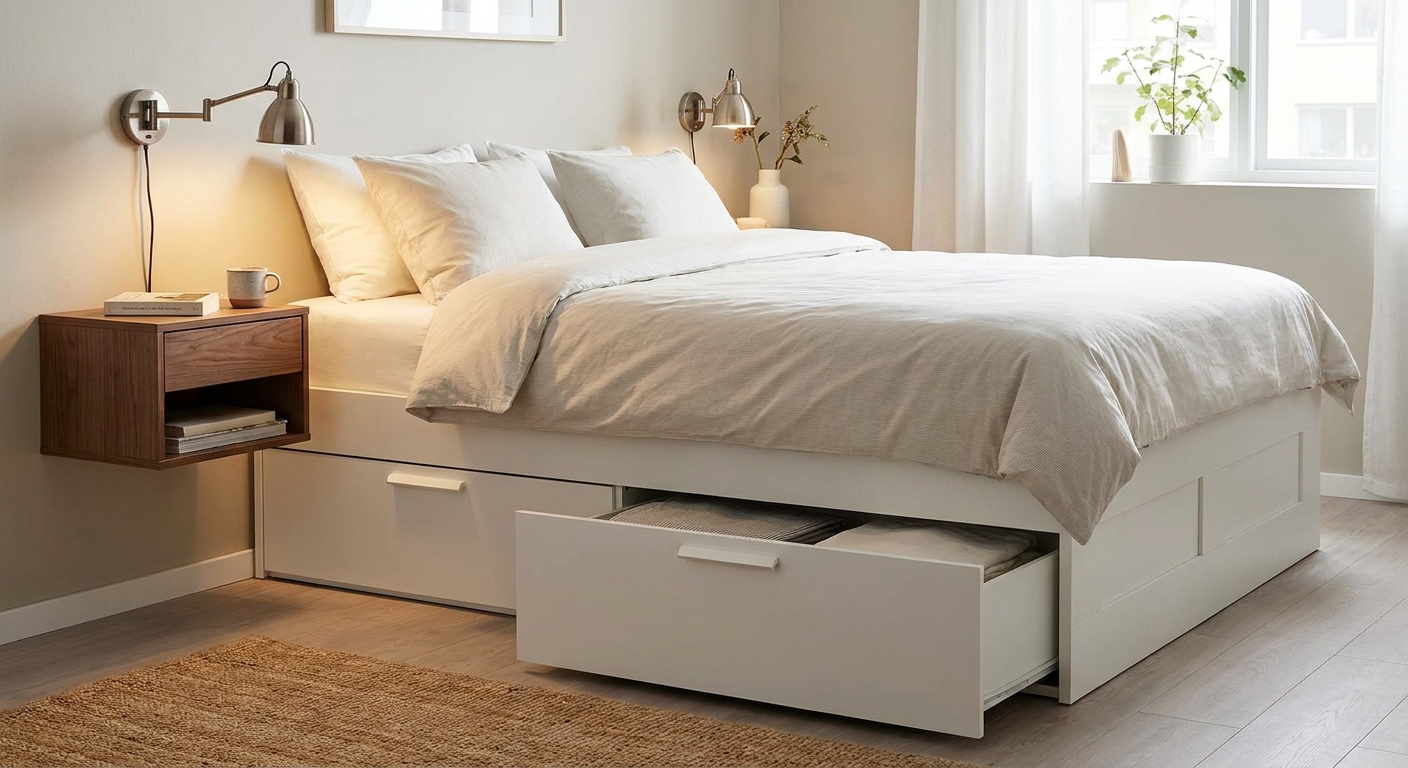
The BRIMNES storage bed gives you drawers that open from the sides. That one detail affects everything: your nightstand placement, rug size, walking clearance, even where you can put a hamper without blocking a drawer you use daily.
Quick measuring checklist
- Drawer clearance: Measure from the side of the bed to the nearest wall, dresser, or nightstand. You want enough space for the drawer to pull fully open without scraping.
- Walkway comfort: A tight pass-through makes you stop using the storage. Plan for a clear path that feels easy when you are carrying laundry.
- Outlet and lamp placement: Built-in vibes come from intentional lighting. Note where your outlets are before you commit to fixed nightstands or panels.
- Baseboard and wall quirks: If you are adding trim, check for baseboard depth and any out-of-square corners. Old houses love to surprise us.
My favorite “sanity check” is to tape out the footprint on the floor and mock where nightstands would sit. If you cannot open the drawers with one hand while holding a cup of tea in the other, rethink the layout now.
Layout tweaks that make drawers work harder
The simplest way to get more usable storage is not always adding more drawers. It is making the existing ones easier to access and better organized, so you actually use them.
1) Create a daily side and a seasonal side
If your room layout makes one side tighter, designate that side for items you only need occasionally. Think extra bedding, off-season clothes, gift wrap. Put daily categories on the side with the easiest pull-out clearance.
2) Shift nightstands forward
A common mistake is centering a nightstand perfectly beside the bed, which can block drawer travel. Instead, place a slimmer nightstand slightly forward toward the head of the bed. It keeps the drawer path clear while still feeling balanced from the doorway.
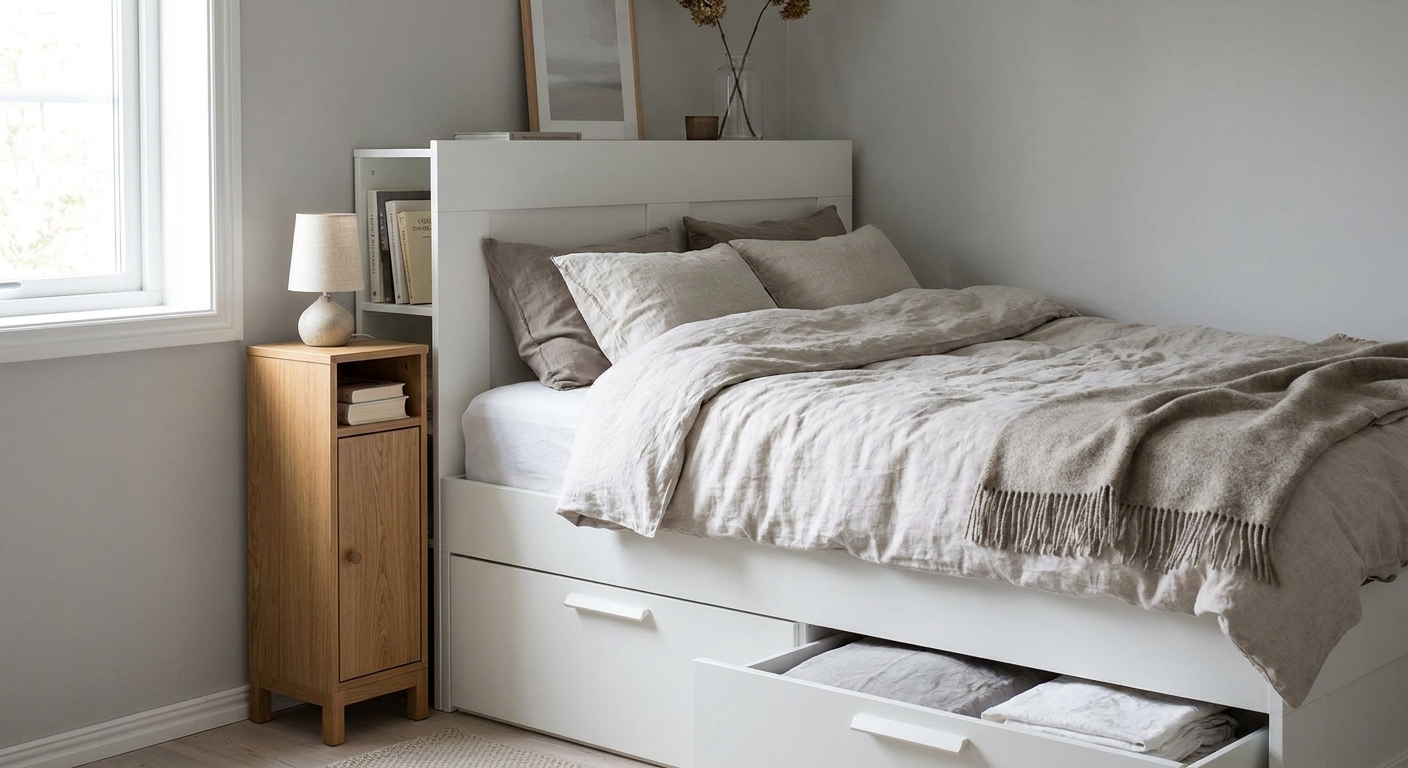
Hack 1: Add drawer-like storage
If you want the effect of more drawers, your best bet is to create additional drawer-like storage zones that match the BRIMNES face style. These feel integrated, cost less than custom carpentry, and keep the bed serviceable.
Option A: Add storage at the foot
In many rooms, the foot of the bed is wasted real estate. If you have clearance to walk comfortably, add a low storage unit that reads like an extension of the bed. Look for pieces with simple slab fronts so your eye reads one continuous “built-in” mass.
- Best for: long bedrooms, minimal closet space, anyone who wants “hotel tidy” vibes
- Styling tip: Keep the top surface calm. A tray, a small lamp, a stack of books. Do not make it a dumping ground or it will visually shrink the room.
Option B: Add a shallow pull-out in the surround
BRIMNES sits flush to the floor, so you cannot sneak a true toe-kick drawer under the bed without raising it. The cleaner solution is to add a shallow pull-out tray inside a surround that wraps the bed, usually at the foot of the bed or on the tight side where you do not use the BRIMNES drawers as often.
Think of it like a hidden valet tray for slippers, a book, chargers, or sleep masks. It gives you that “extra drawer” moment without touching the bed frame itself.
How it works: Build a simple U-shaped surround (like low cabinet panels) that sits just outside the bed footprint, then install a shallow tray on drawer slides inside that surround. Because it is part of the surround, not the bed, it can have its own little reveal and still look intentional once painted.
Note: This only makes sense if you are already adding a surround and you have enough clearance to pull it out comfortably. If you are not up for drawer slides, skip it. The built-in look can still happen with trim alone.
Option C: Upgrade the drawer interiors
This is the unglamorous hack that changes your life. Add drawer dividers, fabric boxes, or even simple cut-to-fit boards to create sections. Suddenly one drawer can hold pajamas, gym clothes, and linens without turning into a crumpled mess.
- Deep drawer divider idea: Use low bins for categories so you can lift out a whole section at once.
- Dust control: If you have pets, use lidded fabric boxes for anything fuzzy like sweaters.
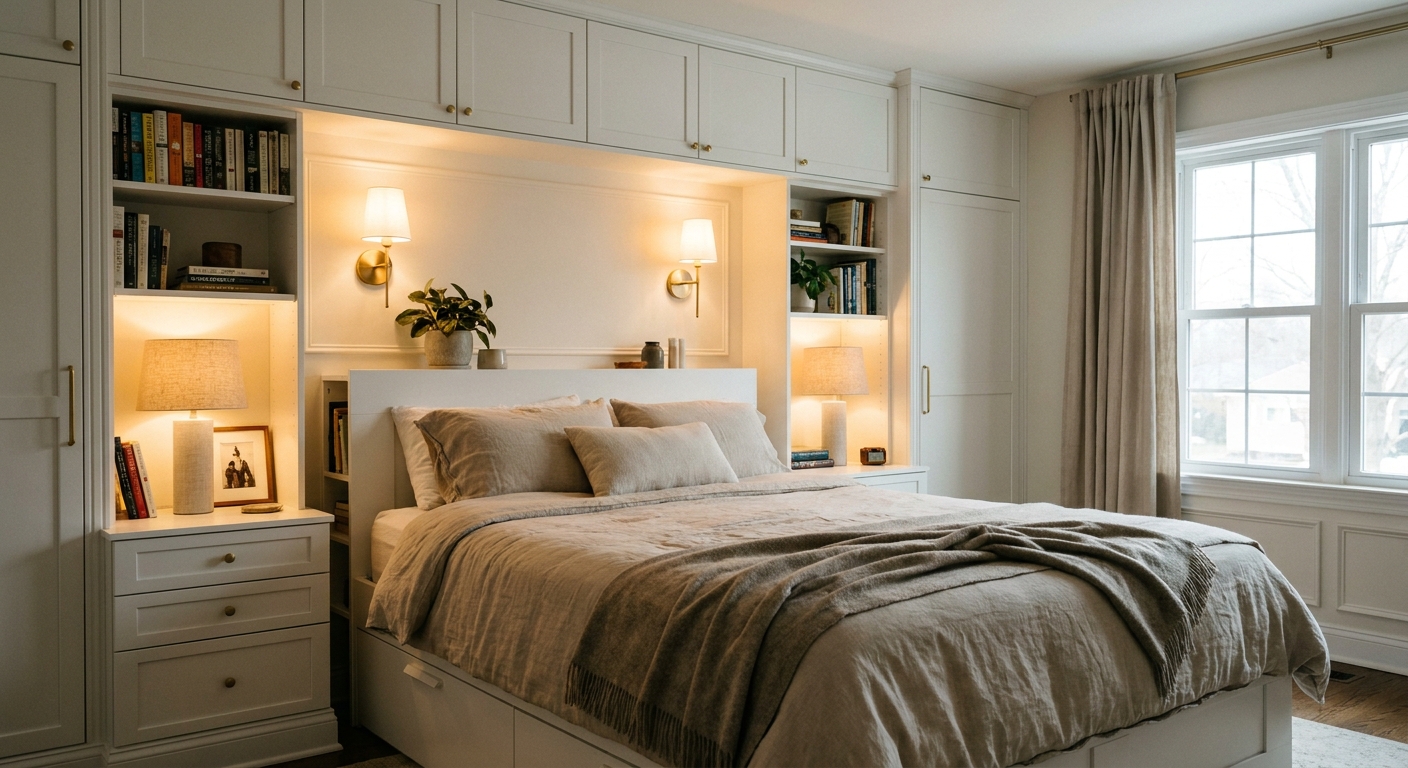
Hack 2: Built-in nightstands
The secret to “custom” is continuity. When your nightstands feel attached to the architecture, the whole bed reads like a permanent installation.
Two approaches that work
- Floating look: Mount a simple shelf or shallow wall-mounted cabinet above the drawer path. You get a nightstand surface without floor legs blocking drawers.
- Panel and perch: Build a side panel (like a skinny bookcase end) that sits slightly back from the drawer line, then add a small top ledge. It frames the bed like millwork.
Keep the nightstand depth modest. A nightstand only needs to hold the essentials: a lamp, a book, a glass of water, and the little things you do not want to admit you own.
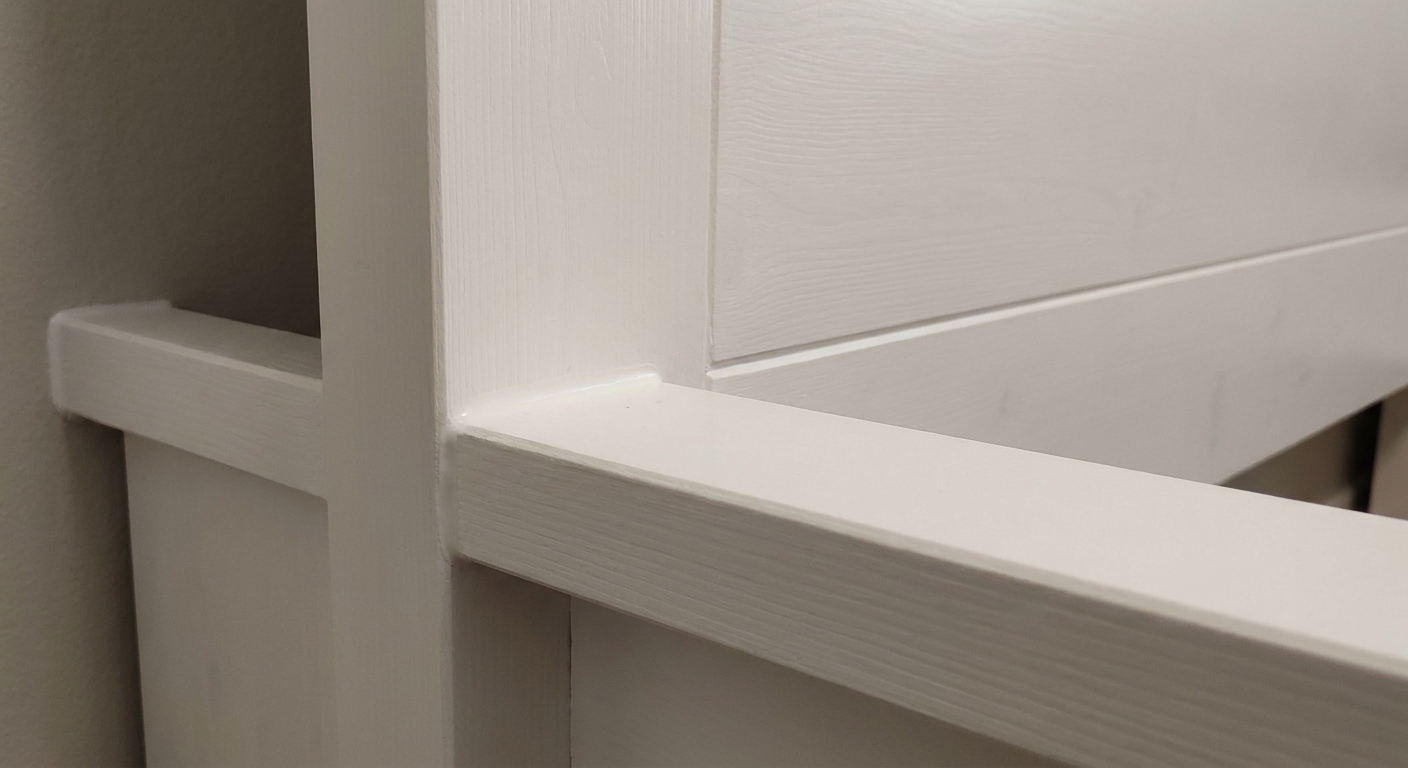
Hack 3: Trim like millwork
This is where BRIMNES transforms. Trim gives the bed a “base” and a “crown,” visually anchoring it so it feels designed, not placed.
Materials that work
- MDF or pine trim boards for clean lines and easy painting
- Quarter round or shoe molding to cover tiny gaps at the floor
- Caulk for seamless transitions at wall joints
- Wood filler for nail holes and seams
Three trim looks
- Modern built-in: flat stock trim with crisp edges, minimal detail
- Soft traditional: a slightly wider base and simple cap molding
- Vintage-inspired: add a subtle picture-frame molding detail on the surround panels
My best visual trick: Extend trim to meet the wall, then caulk and paint it the same color as the wall for a seamless “it was always here” moment. If you want the bed to stand out, paint the surround one shade deeper than the wall, like a soft mushroom or warm putty.
Finish and paint tips that last
IKEA finishes can be a little finicky because many surfaces are melamine or foil-wrapped. The magic formula is clean, scuff, prime, then paint . Skipping primer is usually where the heartbreak begins.
Prep steps
- Degrease: Clean surfaces with a gentle degreaser, especially drawer fronts you touch daily.
- Scuff sand: Lightly sand to create tooth. You are not trying to remove the finish, just dull it.
- Prime: Use a high-adhesion bonding primer designed for slick surfaces.
- Paint: Choose a durable cabinet and trim paint in satin or semi-gloss for wipeability.
- Cure time: Let it cure before heavy use. Dry is not the same as cured.
Color ideas
- Warm white: makes trim details feel architectural
- Dusty olive: dreamy with brass and linen
- Inky blue-black: gives instant boutique hotel energy with the right lighting
- Soft clay: perfect if you love vintage woods and want warmth without beige overload
Then add one tactile element so it does not feel too “new.” A vintage lamp with an amber shade. A linen pillowcase with a soft crease. A slightly imperfect antique mirror above the headboard. Patina is the antidote to flat-pack perfection.
Hardware upgrades that feel custom
Even if you do nothing else, upgrading hardware can make BRIMNES feel more intentional. The standard BRIMNES storage bed drawer fronts are flat and handle-free, opened from the top edge gap. That means you are working with a blank slate, and yes, you will be drilling if you want pulls.
Easy hardware moves
- Add knobs or pulls to match your lighting: brass with brass, matte black with black, mixed metals only if you repeat them elsewhere.
- Keep the scale right: longer pulls feel more “custom cabinet,” small knobs feel more cottage and vintage.
- Consistency matters: use the same pull style on any added units near the bed so it reads as one system.
- Plan placement first: use painter’s tape to mock the height and spacing, then drill once. Clean alignment is what makes it look built-in.
Safety notes
I know this is the part everyone wants to skip. But if you are creating a built-in surround or adding tall components near a bed, safety is not optional.
Weight basics
- Follow IKEA’s instructions for assembly and mattress type. The bed structure is engineered as a system.
- Do not overload drawers with extremely heavy items like books end-to-end. Use drawers for textiles, clothing, and lighter categories.
- Keep heavy items low if you add any surrounding storage. Stability improves when weight stays near the floor.
Anchoring
- Anchor any tall add-ons (like side towers, panels, or bookcases) to wall studs with appropriate hardware.
- Do not rely on drywall anchors for heavy or tall pieces near where you sleep.
- Leave service access so you can still tighten hardware over time. Built-ins should be maintainable, not sealed forever.
If you rent, you can still do a safer version: use shorter components, keep weight low, and opt for a floating nightstand that mounts properly into studs.
Style it like a built-in
This is the final 10 percent that makes the whole room exhale.
My go-to formula
- Lighting: swap table lamps for sconces when possible to clear surfaces and add that “designed” feeling
- Textiles: mix one crisp texture (percale or cotton) with one soft texture (linen or a washed quilt)
- One vintage note: an antique mirror, a thrifted ceramic lamp, or a brass picture frame so the space feels personal
- Calm surfaces: keep nightstands simple so the bed becomes the star
A simple weekend plan
Day 1: Function first
- Re-evaluate layout for drawer access
- Organize drawers with bins and dividers
- Decide on nightstand approach
Day 2: Built-in look
- Add trim or side panels
- Caulk and fill
- Prime and paint
If you have energy left, add hardware and swap in warmer lighting. That is when it starts feeling like a room that was made for you, not just assembled.
Velvet Abode note: the best IKEA hacks do not hide the fact that you live here. Let the room tell your story. A built-in look is lovely, but a lived-in home is the goal.