How to Zone a Studio Apartment Without Building Walls
Clara Townsend
Clara Townsend is an interior stylist, vintage furniture enthusiast, and the creative voice behind Velvet Abode. With over a decade of experience transforming both cramped city apartments and sprawling fixer-uppers, she believes that a beautiful home is built on personal stories rather than massive budgets. When she isn't hunting for the perfect brass sconce at a local flea market, she can usually be found rearranging her living room for the third time this month.
Studio living is a little like hosting three roommates in one room: your bed, your sofa, and your laptop all want attention at the same time. The good news is that you do not need drywall, permits, or a dramatic reno montage to make a studio feel organized and calm. You need clear zones, a few deliberate visual boundaries, and a layout that supports how you actually live.
Below are my favorite renter-friendly ways to separate sleep, work, and living using rugs, furniture backs, lighting, curtains, and color. Think of it as giving each part of your day its own little stage.
Start with zones
Before you buy anything, do one low-effort planning step: decide what zones you need and what they require to function.
- Sleep zone: bed, bedside lighting, small landing spot for phone and water, laundry catch.
- Living zone: comfortable seating, a surface for drinks, lighting that feels cozy at night.
- Work zone: desk surface, task light, charging, a chair you can tolerate for more than 20 minutes.
- Optional extras: dining perch, reading nook, workout corner, pet station.
Then measure the room. Not in a fussy way. Just enough to know: bed length, where outlets are, where the radiator or AC lives, and the walking path from door to kitchen to bathroom. Your studio will feel bigger when your circulation path is obvious and unobstructed.
Quick safety check: Keep clear access to exits and windows, and do not block radiators, baseboards, or AC vents. The most beautiful divider in the world is not worth turning your studio into a heat trap or an obstacle course.
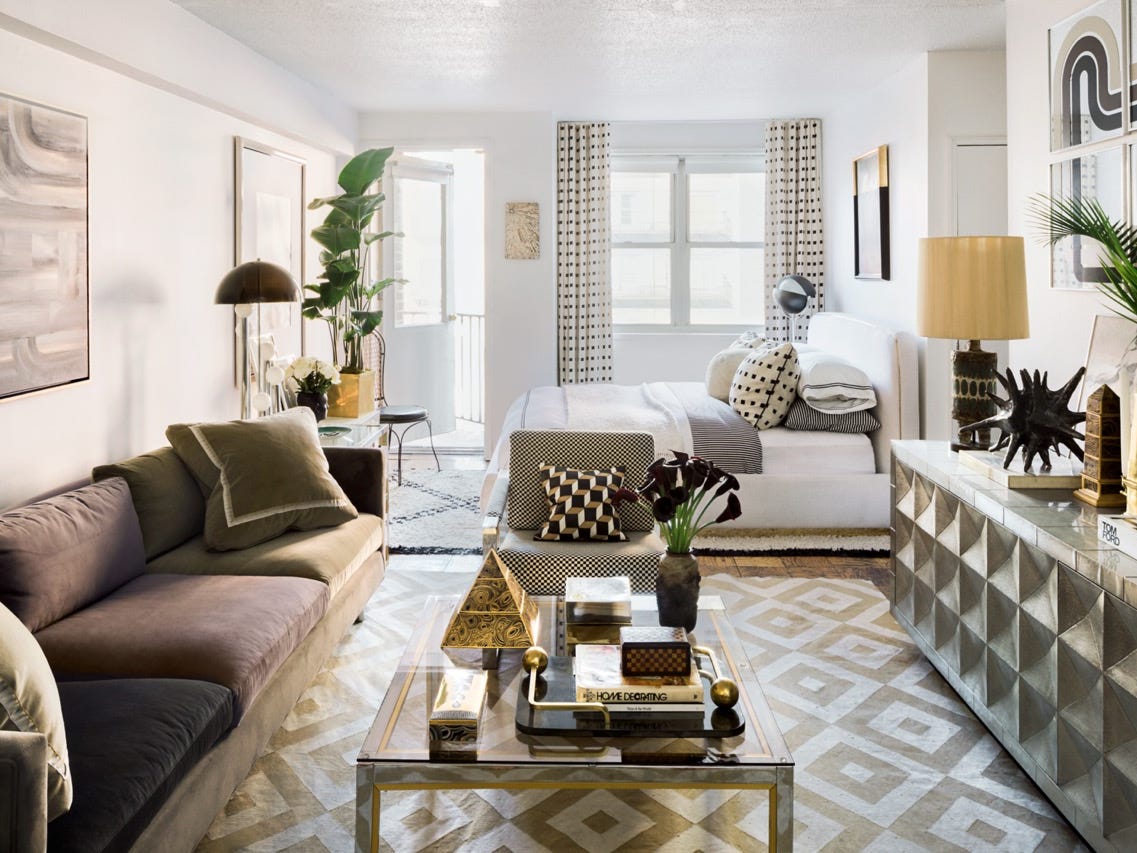
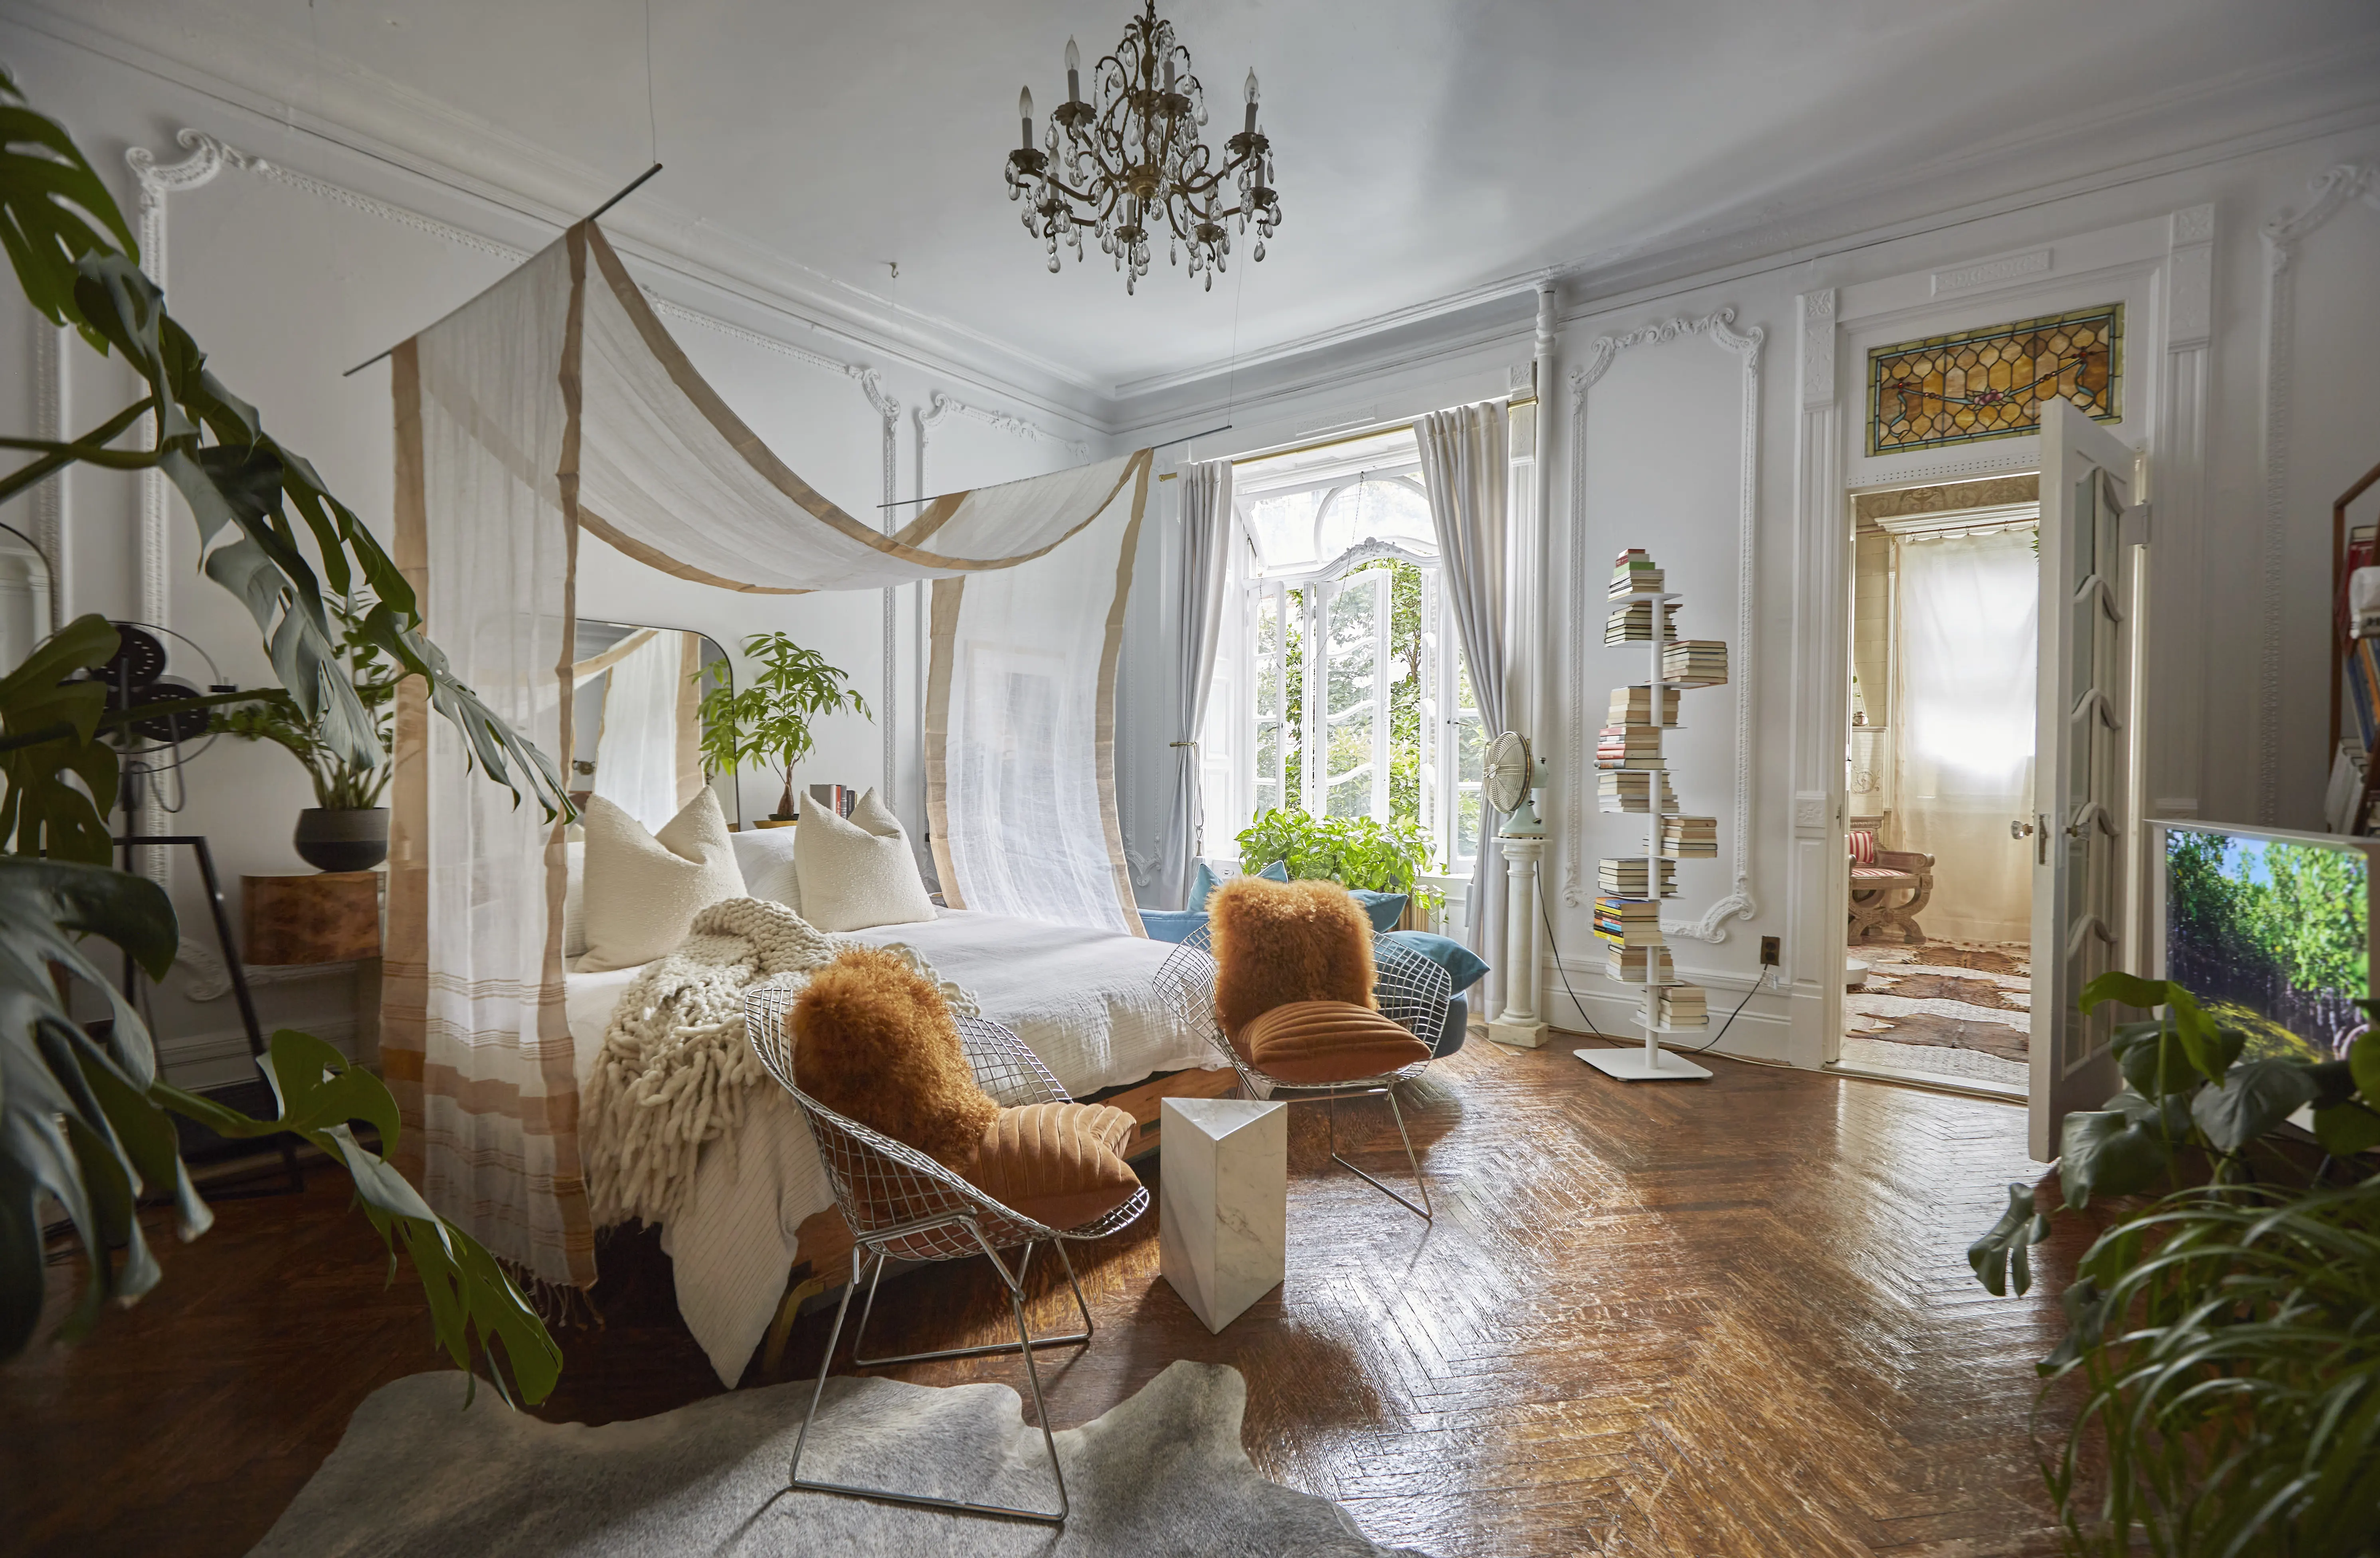
Rugs as dividers
Rugs are the easiest zoning tool because they create borders without eating up floor space. The trick is scale and placement.
Living zone rug
- Choose the largest rug you can reasonably fit in the seating area. Small rugs make a studio feel like everything is floating.
- Try to get at least the front legs of your sofa and any chairs on the rug.
- If your sofa is against a wall, a rug still helps set the mood: this is the living room.
Sleep zone rug
- A rug under the lower two-thirds of the bed adds a soft landing and helps the bed feel like it belongs to its own area.
- If space is tight, do runners on both sides instead. It is the same cozy effect with less bulk.
Work zone rug
- Only add a rug in the work area if your chair can roll on it. Flat-weave rugs or chair mats are your friend.
- If rolling is not essential, a small rug under the desk anchors the zone and visually separates it from the living area.
Budget tip: A thin, inexpensive rug can look dramatically better with a quality rug pad. It adds plushness, prevents curling corners, and keeps the zone from sliding around like it is trying to escape.
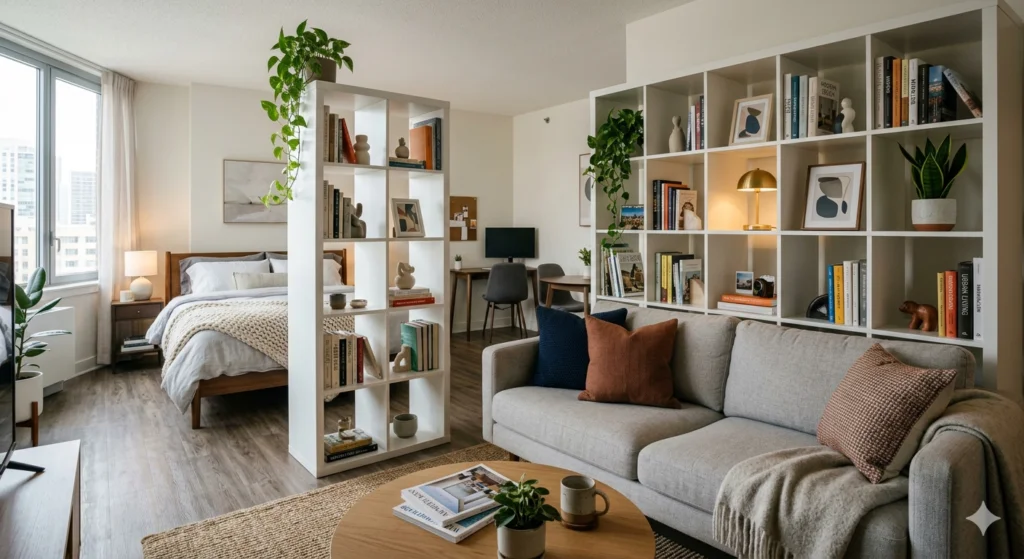
Use furniture backs
One of the most underused studio tricks is turning furniture into a boundary. You are basically borrowing the logic of an open-plan house, just on a smaller scale.
Float the sofa
If your studio allows it, pull the sofa off the wall and face it toward your media console or a blank wall. The back of the sofa becomes a “wall” that separates living from sleeping or dining.
- Leave a walkway behind it. Aim for about 30 inches if you can, but even a little breathing room helps.
- Add a slim console table behind the sofa for keys, candles, and a charging station. It reads finished and it is wildly practical.
Use a bookcase divider
A tall, open bookcase gives separation without blocking light. Style it with books and baskets on both sides so it looks intentional from every angle.
- Keep the bottom third more closed using baskets or lidded boxes. It hides clutter and makes the divider feel grounded.
- Leave some negative space. A bookcase that is packed edge to edge can start to feel visually loud in a small room.
IKEA BILLY adjacent idea: An affordable bookcase becomes a studio “architectural feature” when you anchor it with two matching lamps or plug-in sconces nearby. It is the styling equivalent of putting on earrings before you leave the house.
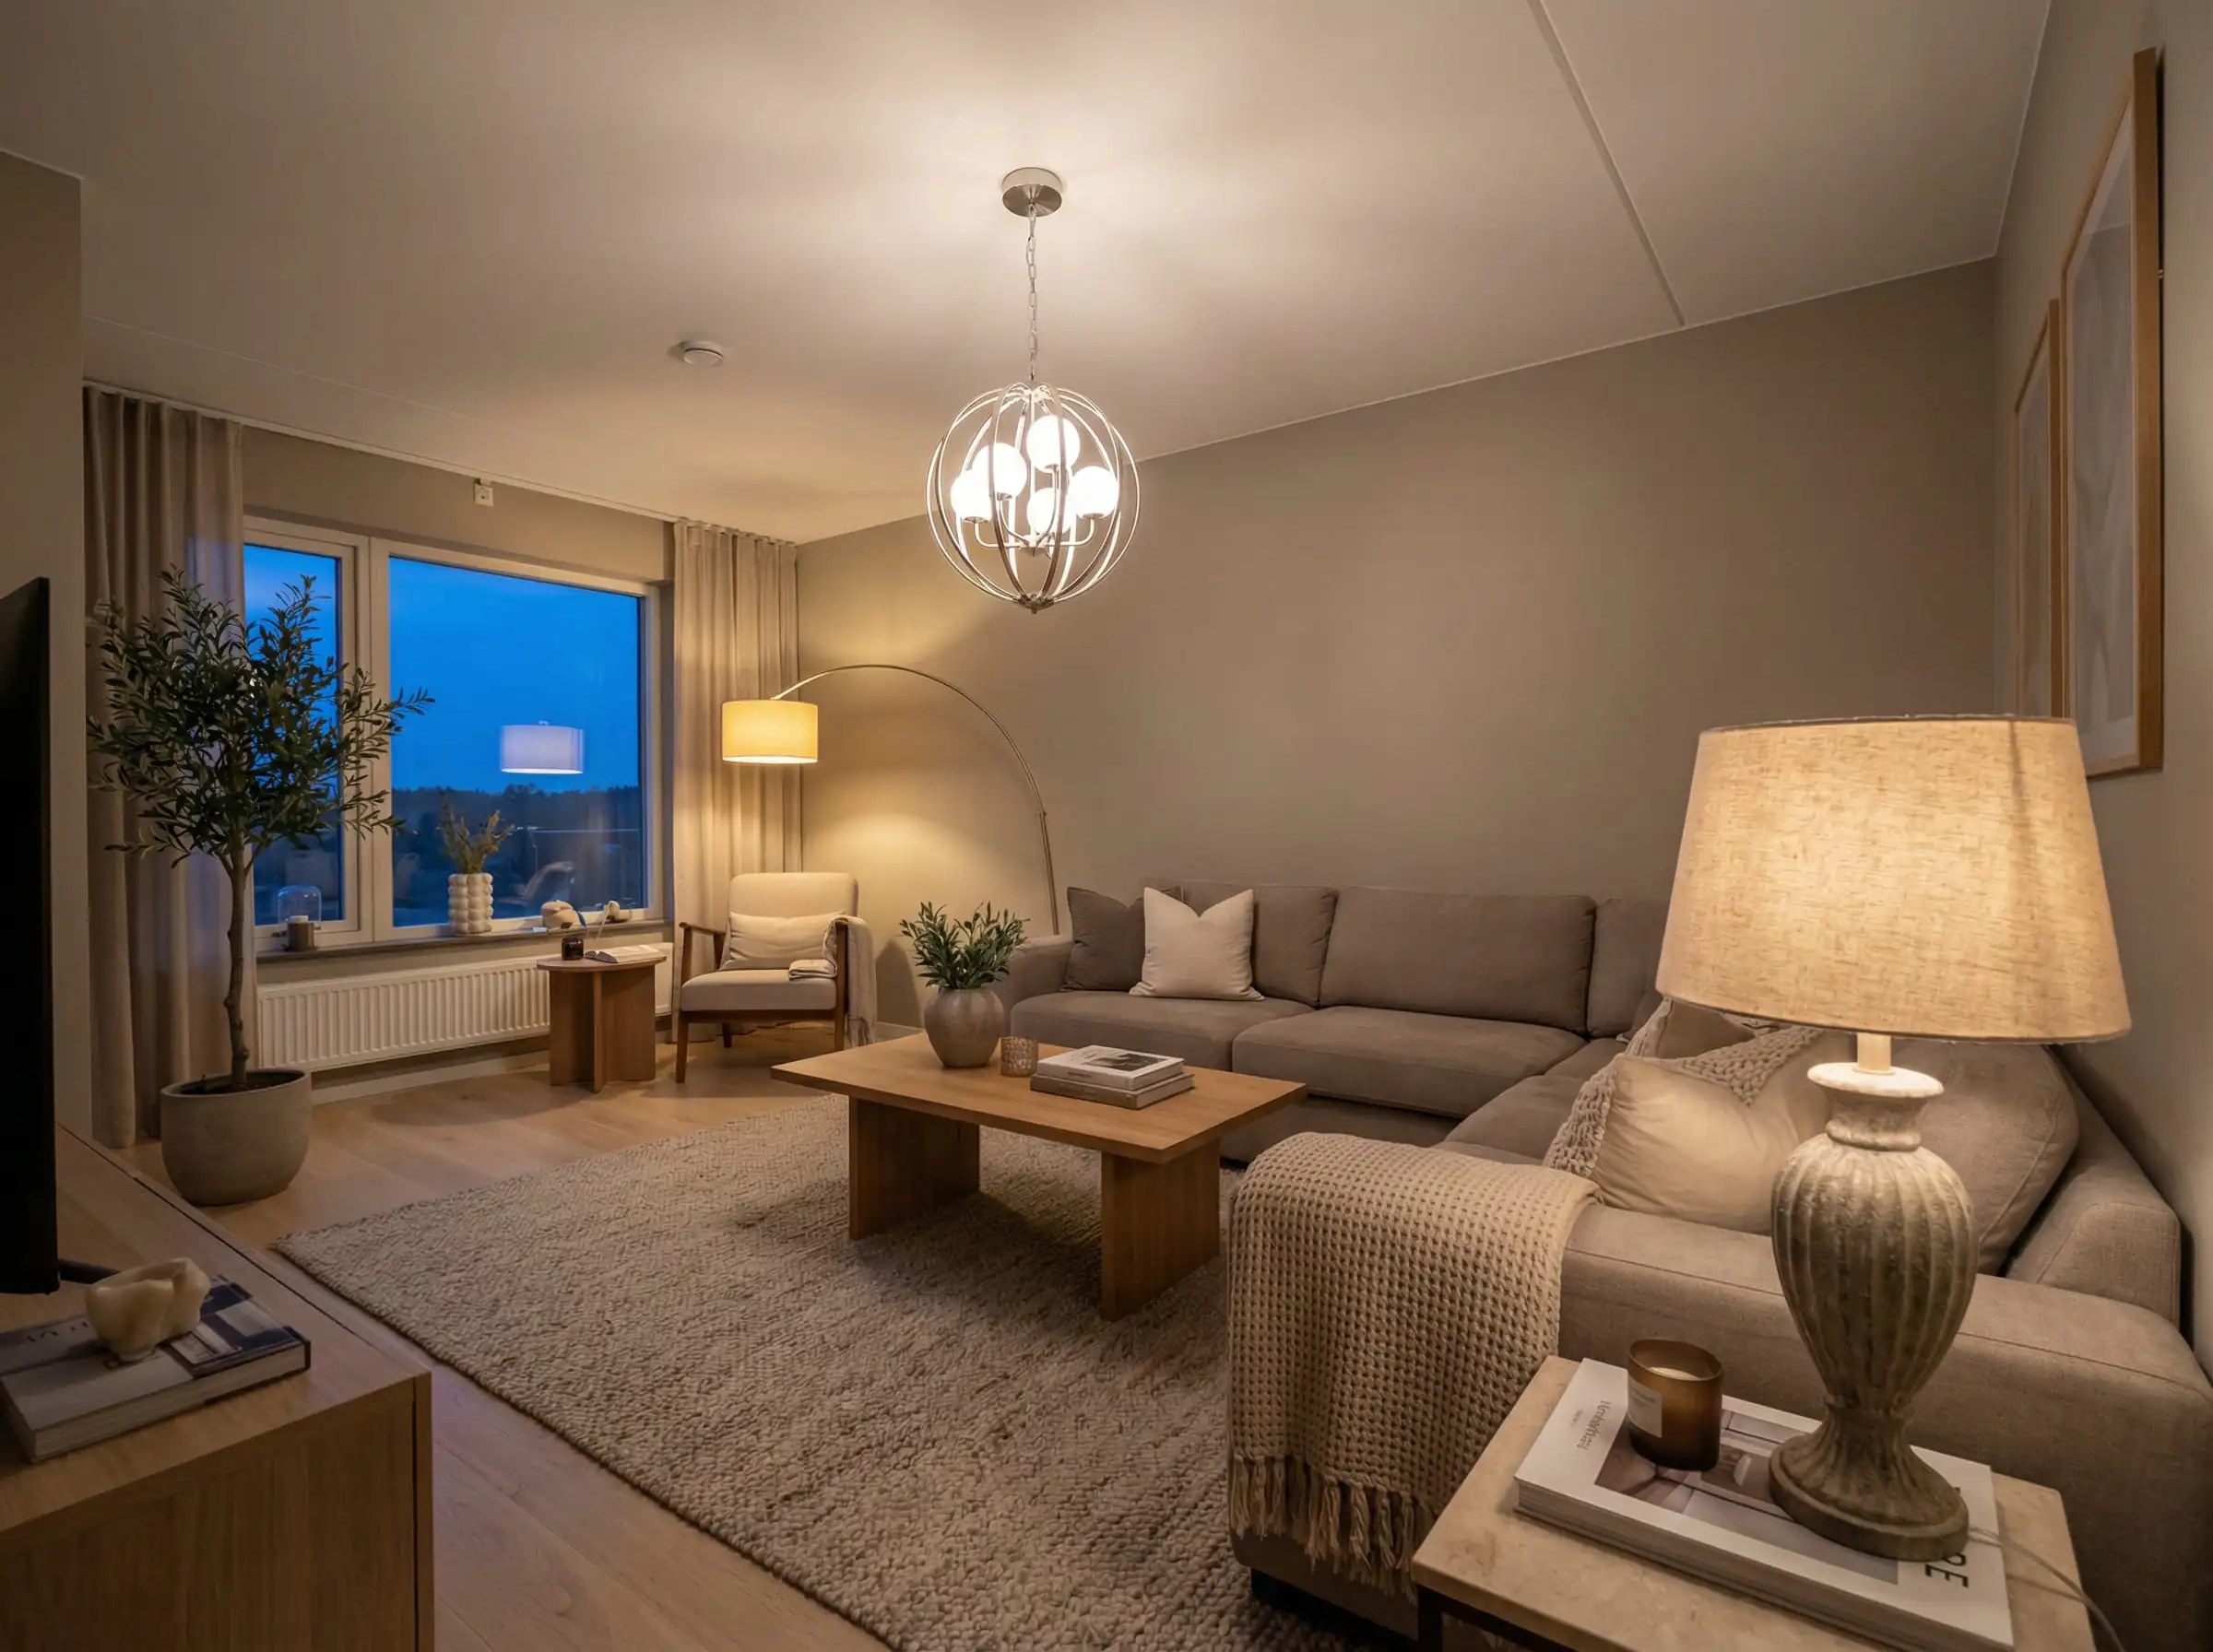
Layer lighting
Lighting is a sneaky zoning tool because it changes how a corner feels without moving a single piece of furniture. In a studio, aim for three lighting zones that match your daily rhythm.
Sleep zone lighting
- Use warm bulbs, ideally around 2700K for that soft amber glow.
- Choose bedside lamps or plug-in sconces so your overhead light is not your last memory before sleep.
- If you can, put the bedroom light on a dimmer plug.
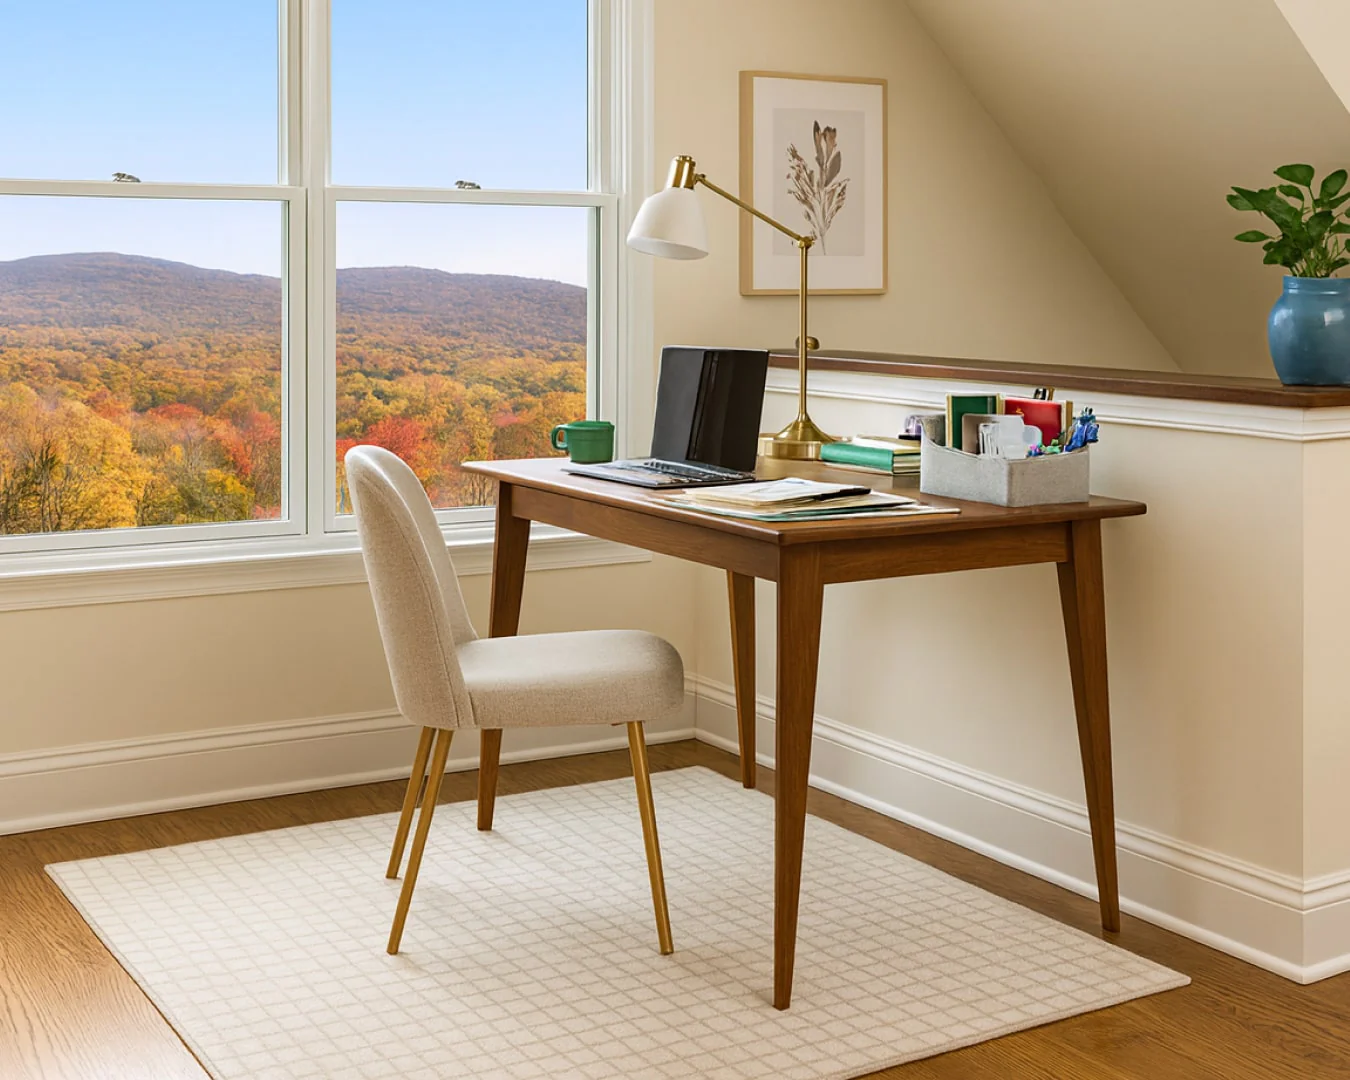
Work zone lighting
- Go brighter and more focused. A task lamp with a directional head keeps your work area feeling alert.
- If your studio gets low daylight, consider something in the 3000K to 4000K range depending on preference. If you do detail-heavy work (or you are fighting a gloomy corner), 4000K to 5000K is often used for a crisper task feel.
Living zone lighting
- Use at least two light sources: a floor lamp plus a table lamp, or two table lamps.
- Place one light at a lower level. Light that pools near the sofa instantly reads cozy.
Quick win: Put your lights on smart plugs or a simple remote outlet set. When your living room lights turn on together, your studio suddenly feels like it has rooms.
Curtains for separation
If you want your bed to feel more private, fabric is the gentlest divider. Curtains soften sound a bit, hide visual clutter, and make a studio feel more layered and intentional.
Ceiling-track curtains
If your lease allows it, a ceiling-mounted curtain track lets you draw a “bedroom” at night and open it in the morning. It is dramatic in the best way, like a tiny theater curtain for your real life.
Tension-rod curtains
For renter-friendly zoning, tension rods can work in doorway-like openings, or between two walls if the span is manageable. Choose a heavier linen-look fabric for a less dormy feel.
Garment rack plus curtain
A freestanding garment rack can be both storage and divider. Add a curtain panel on rings and suddenly your sleep zone feels calmer, and your clothes are not visually yelling at you from across the room.
Styling note: Hang curtains high and let them skim close to the floor. Even in a studio, that vertical line makes the ceiling feel taller.
Another practical note: Keep curtains and racks clear of heaters, radiators, and cooking zones. Fabric plus heat is not the vibe.
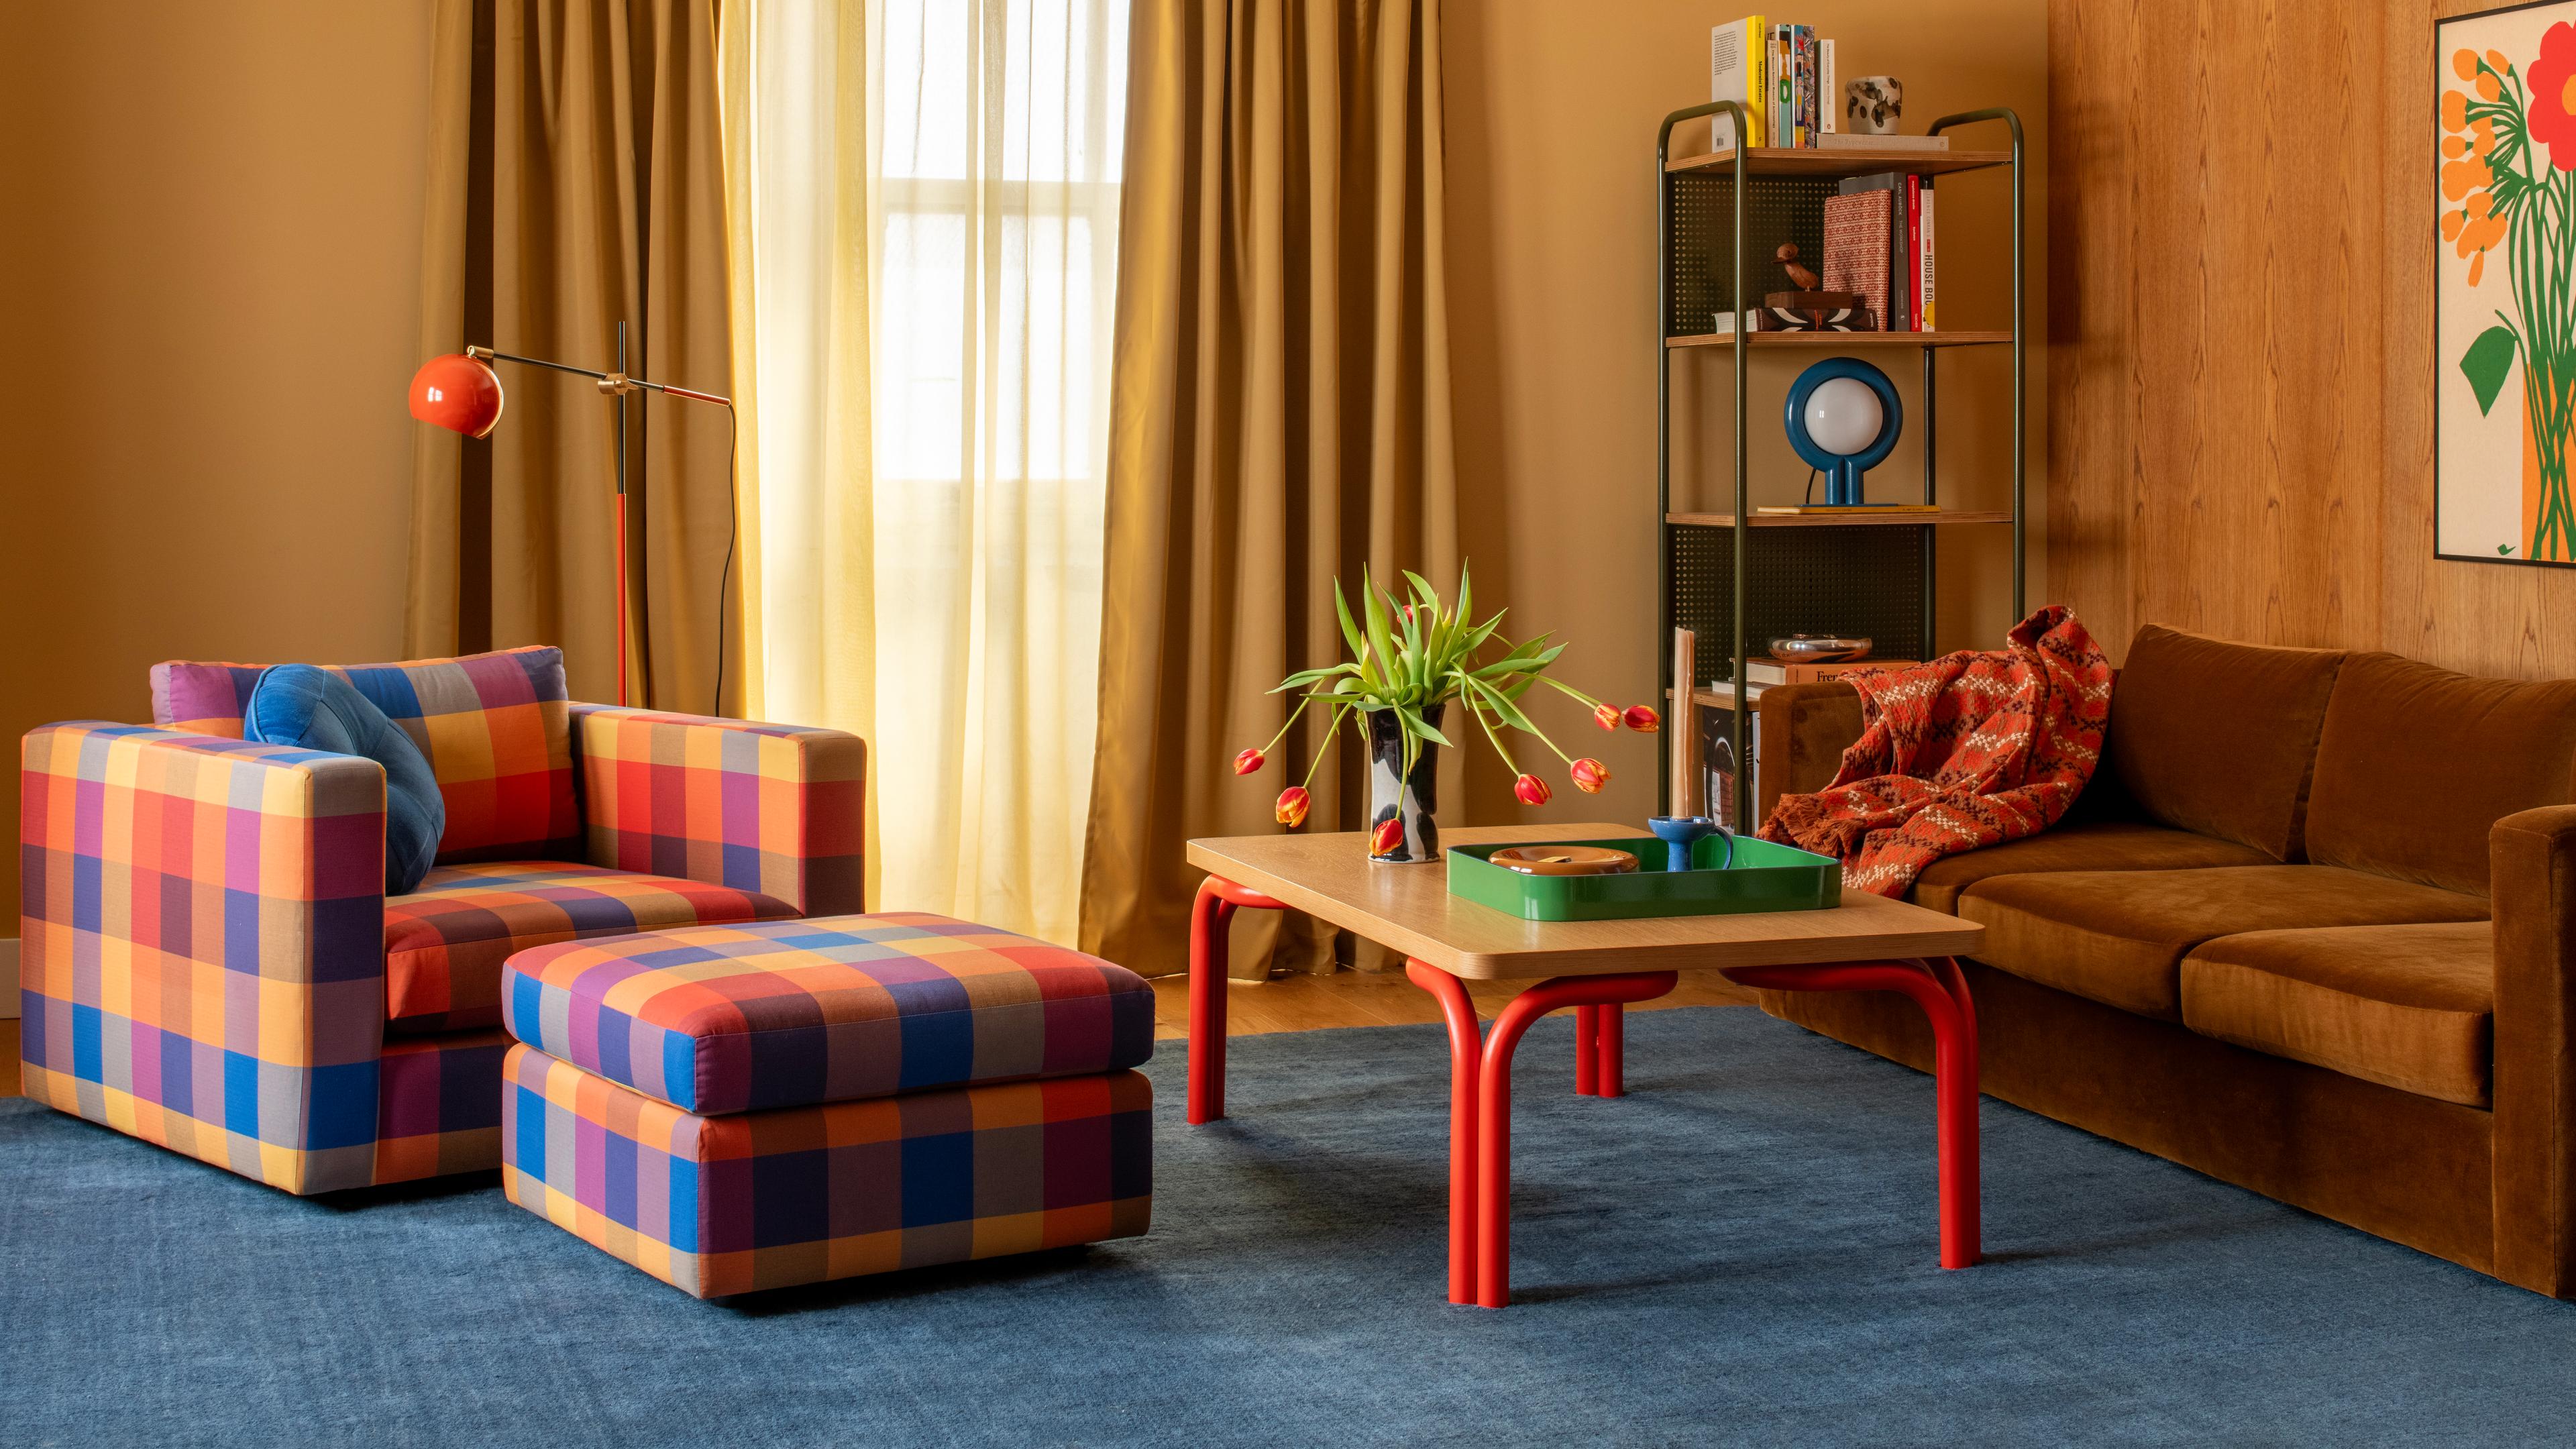
Color blocking
Paint is not always an option for renters, but color blocking is still on the table. The goal is to create subtle visual boundaries that tell your eye where one zone ends and another begins.
No-paint methods
- Textiles: keep bedding in one color story, living textiles in another. Even small shifts, like creams in the bedroom and warmer rust tones in the living area, create separation.
- Art clusters: make one gallery wall above the sofa, and a calmer, simpler moment near the bed. Different wall moods, different zones.
- Furniture finishes: repeat wood tones within a zone. For example, black metal and walnut in the work area, lighter oak in the living area.
Renter-friendly wall options
- Peel-and-stick wallpaper behind the bed to define the sleep zone.
- A large fabric wall hanging behind the sofa for a soft color block.
- A tall bookcase with a colored backing (even a neatly cut roll of removable wallpaper) to create a focal point without touching the walls.
My rule of thumb: pick one “whole studio” neutral, then give each zone one accent color that repeats at least twice inside that zone. That repetition is what makes it feel intentional, not accidental.
Three layout ideas
Every studio is its own little puzzle, but these layout patterns show up again and again for a reason.
1) Sofa-back divider
- Bed goes on one end of the room.
- Sofa floats with its back toward the bed.
- TV or media console faces the sofa.
Best for: people who want the living room to feel legit and do not mind the bed being partially visible from the entry.
2) Bookcase bridge
- Place an open bookcase perpendicular to the wall to create a sleep nook.
- Living area sits on the other side.
- Desk tucks near a window or into a corner.
Best for: studios with good light where you do not want to block windows.
3) Curtain cocoon
- Bed sits in the quietest corner.
- Ceiling-track curtain wraps the sleep zone.
- Living and work zones stay open and bright.
Best for: anyone who wants a stronger psychological separation between day space and night space.
Budget upgrades
You do not need expensive built-ins to get that “this makes sense” feeling. A few small upgrades go a long way.
- Raise your bed: if storage is a problem, a slightly higher bed frame with under-bed bins keeps the studio from overflowing. Choose bins in one color so it looks calm.
- Swap tiny side tables: a narrow shelf, a wall-mounted ledge, or a small vintage stool can function as a bedside table without eating floor space.
- Use matching baskets: repeat the same basket style on shelves and under consoles. Repetition makes everything feel designed.
- Go for “one big” over “many small”: one larger mirror, one larger rug, one larger piece of art. Studios can feel cluttered when everything is mini.
- Add one flexible piece: a storage ottoman, nesting tables, or a drop-leaf table can cover dining, coffee table duties, and extra seating without multiplying furniture.
IKEA BILLY adjacent hack, without getting fussy: Add a simple picture light or a plug-in sconce above a bookcase divider. That single focused glow makes the whole zone feel intentional and a little boutique hotel.
Common mistakes
Mistake: pushing everything against the walls
Fix: float one key piece, usually the sofa or a chair, even if it is just a few inches. The room will feel more like a home and less like a waiting room.
Mistake: too many focal points
Fix: choose one hero moment, like a bold rug in the living area or a statement headboard wall, then keep the other zones calmer.
Mistake: work bleeds into sleep
Fix: create an end-of-day ritual: close the laptop, put it in a drawer or basket, switch on only the warm lamps, and if you can, pull a curtain partially. Your mind loves a cue.
Mistake: no landing zone by the door
Fix: add a slim shelf with hooks, or a narrow console. When your entry clutter has a home, the whole studio feels less chaotic.
A weekend plan
If you want a step-by-step that does not spiral into a month-long project, try this.
- Friday night: measure the space, identify outlets, and decide your three main zones.
- Saturday: move furniture first. Establish the sofa back or divider. Then place rugs.
- Sunday: add lighting per zone, then finish with textiles and a few repeating accents to make each area feel cohesive.
Your studio does not need to pretend it is a one-bedroom. It just needs to feel like it understands you. When each zone supports a part of your day, the whole space gets quieter, warmer, and so much easier to live in.
Zone checklist
- Can you walk through without weaving? Keep a clear path.
- Does each zone have its own light? Task for work, warm for rest.
- Is there a visual boundary? Rug edge, sofa back, curtain, or color cue.
- Do you have hidden storage? Baskets, bins, drawers, closed bottom shelves.
- Does the bed feel calmer than the rest? If not, simplify that corner first.
If you are stuck, leave a comment with your studio’s rough shape, where the windows are, and what is not working right now. You will get better suggestions when the layout details are on the table.