How To Fix a Door That Won’t Close
Clara Townsend
Clara Townsend is an interior stylist, vintage furniture enthusiast, and the creative voice behind Velvet Abode. With over a decade of experience transforming both cramped city apartments and sprawling fixer-uppers, she believes that a beautiful home is built on personal stories rather than massive budgets. When she isn't hunting for the perfect brass sconce at a local flea market, she can usually be found rearranging her living room for the third time this month.
A door that won’t close has a special talent for making an entire home feel “off.” It is the hallway draft. The bathroom privacy panic. The bedroom door that clicks, bounces back, and leaves you standing there in socks, negotiating with wood.
The good news: most doors refuse to close for a handful of very fixable reasons. We are going to troubleshoot like an interior stylist who also keeps a screwdriver in her junk drawer. One small adjustment at a time, no drama.
Before you start: the 2-minute diagnosis
First, figure out where the door is getting hung up. This tells you which fix actually matters.
Do this quick test
- Close the door slowly and watch the gap around it.
- Look for rubbing marks on the door edge or frame. A little shiny spot is a clue.
- Check the latch: does the latch bolt line up with the strike plate hole, or is it hitting the metal?
- Listen: rubbing sounds mean friction. A loud click and bounce-back often means latch misalignment.
Pro tip: Keep a piece of chalk, a soft pencil, or even lipstick handy (yes, really). Mark the spot where it rubs. It is much easier than guessing.
Quick safety note
If you are filing metal, sanding, or cutting, protect the you that you live with every day. Wear safety glasses. For power tools, add hearing protection. Clamp a straightedge before you cut, and keep fingers well away from blades and bits.
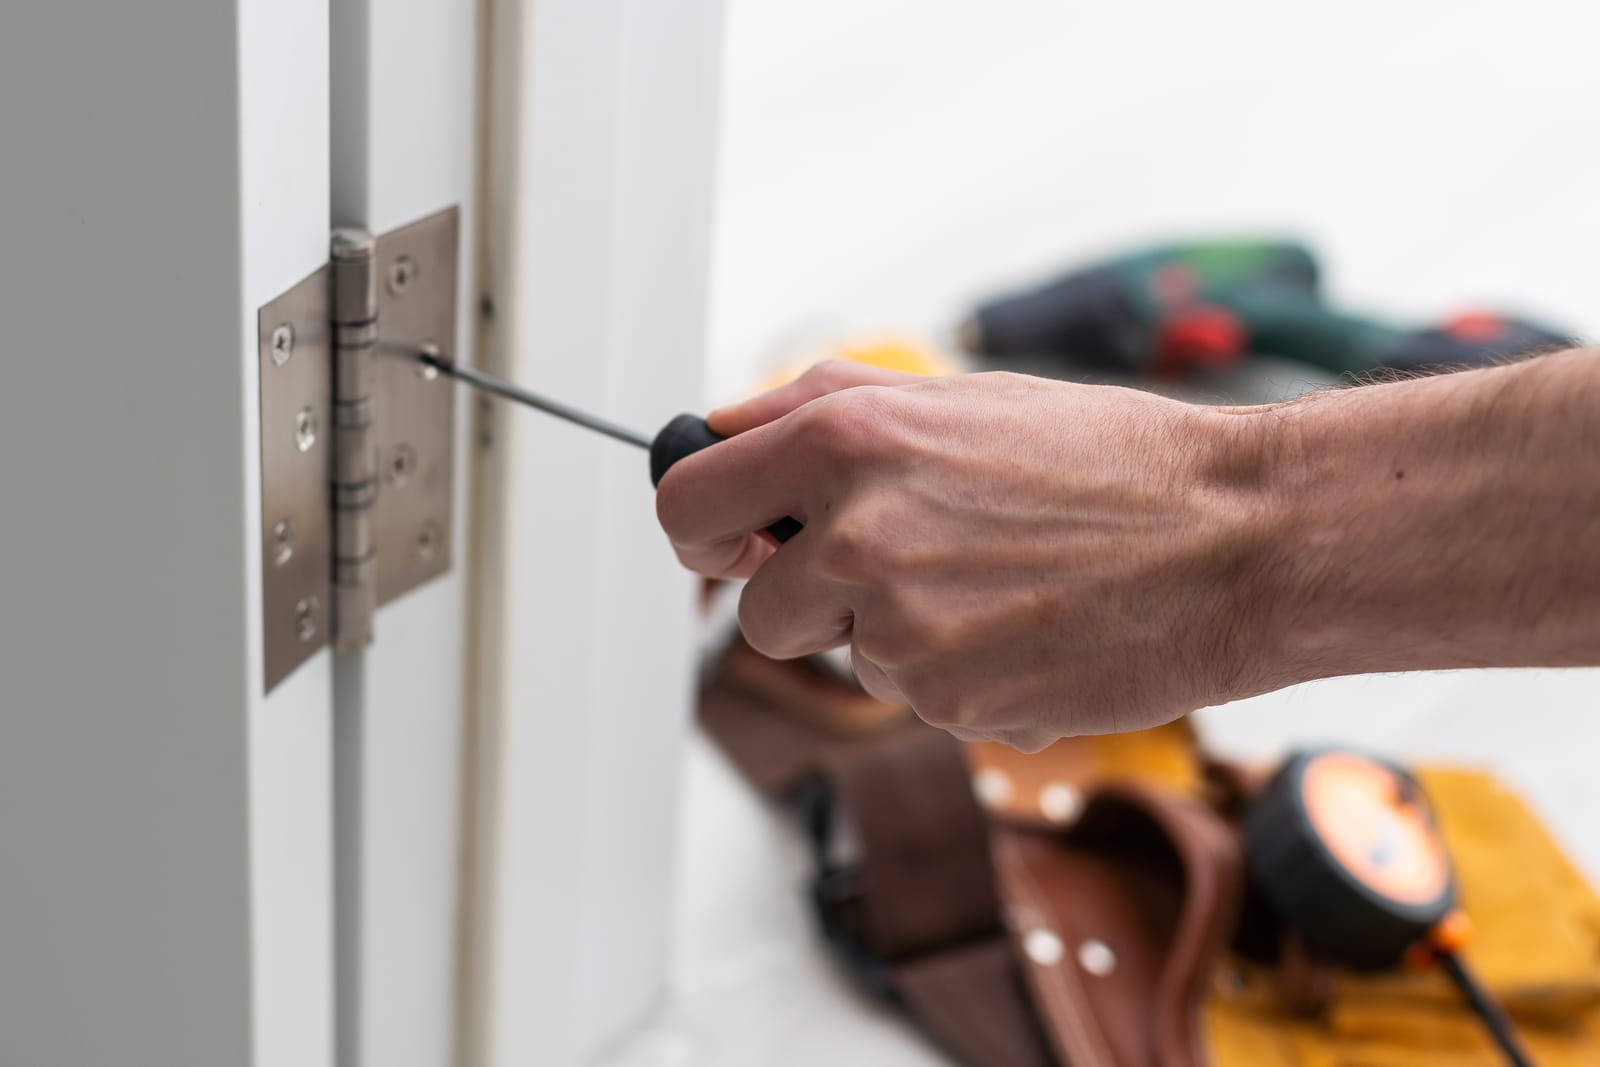
Fix #1: Tighten the hinges
If your door suddenly started acting up, chances are the hinges have loosened over time. A tiny bit of sag at the top hinge can make the latch miss the strike plate and the door scrape the frame.
What to do
- Open the door halfway so it is stable, and hold it steady (a doorstop helps if it likes to swing) while you tighten.
- Using a screwdriver, tighten every hinge screw on the door side and the frame side.
- If a screw keeps spinning and will not tighten, it is stripped. Go to the stripped screw fix just below.
Stripped hinge screw fix
- Remove the loose screw.
- Insert one or two wooden toothpicks (or a small sliver of wood) into the hole with a dab of wood glue if you have it.
- Snap or trim flush, then reinsert the screw.
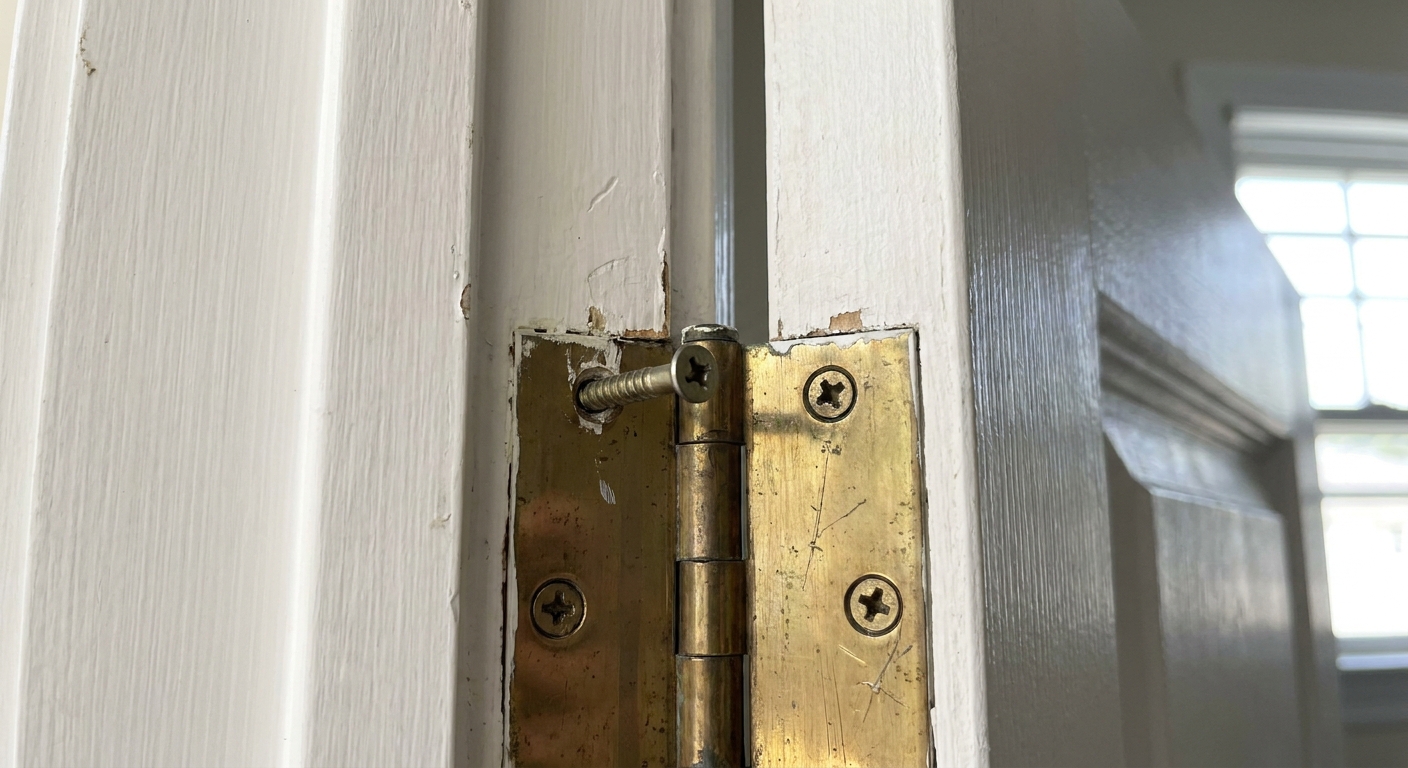
If the door is still sagging, swap one short hinge screw (often 3/4 inch) for a longer 2 to 3 inch wood or structural screw in the top hinge, on the frame side. This often grabs deeper framing and can gently pull things back into alignment. Go snug, not aggressive. Over-driving can tweak the jamb.
If the hinge itself is the problem
Rare, but real: a bent hinge, a sloppy hinge pin, or worn hinge knuckles can create a stubborn sag. If tightening does nothing and the hinge looks distorted, replace that hinge. Also check that the hinge mortise (the little recess) is not chewed up or loose in the jamb. If it is, a longer screw and a snug hinge plate usually help.
Fix #2: Align the latch and strike plate
If the door closes but the latch bolt smacks into the strike plate and refuses to click in, your latch is misaligned. This is especially common in older homes where things settle a bit, like a vintage dresser that always sits a touch crooked unless you shim it.
How to confirm
- Close the door slowly until the latch touches the strike plate.
- Look for a shiny rub mark on the strike plate where the latch is hitting.
Option A: Adjust the strike plate
- Loosen (do not remove) the strike plate screws.
- Nudge the strike plate slightly up, down, or sideways.
- Retighten and test.
If the jamb feels wiggly: swap the tiny strike plate screws for longer wood screws so the plate pulls the jamb tighter. This can help when the door only latches if you push hard.
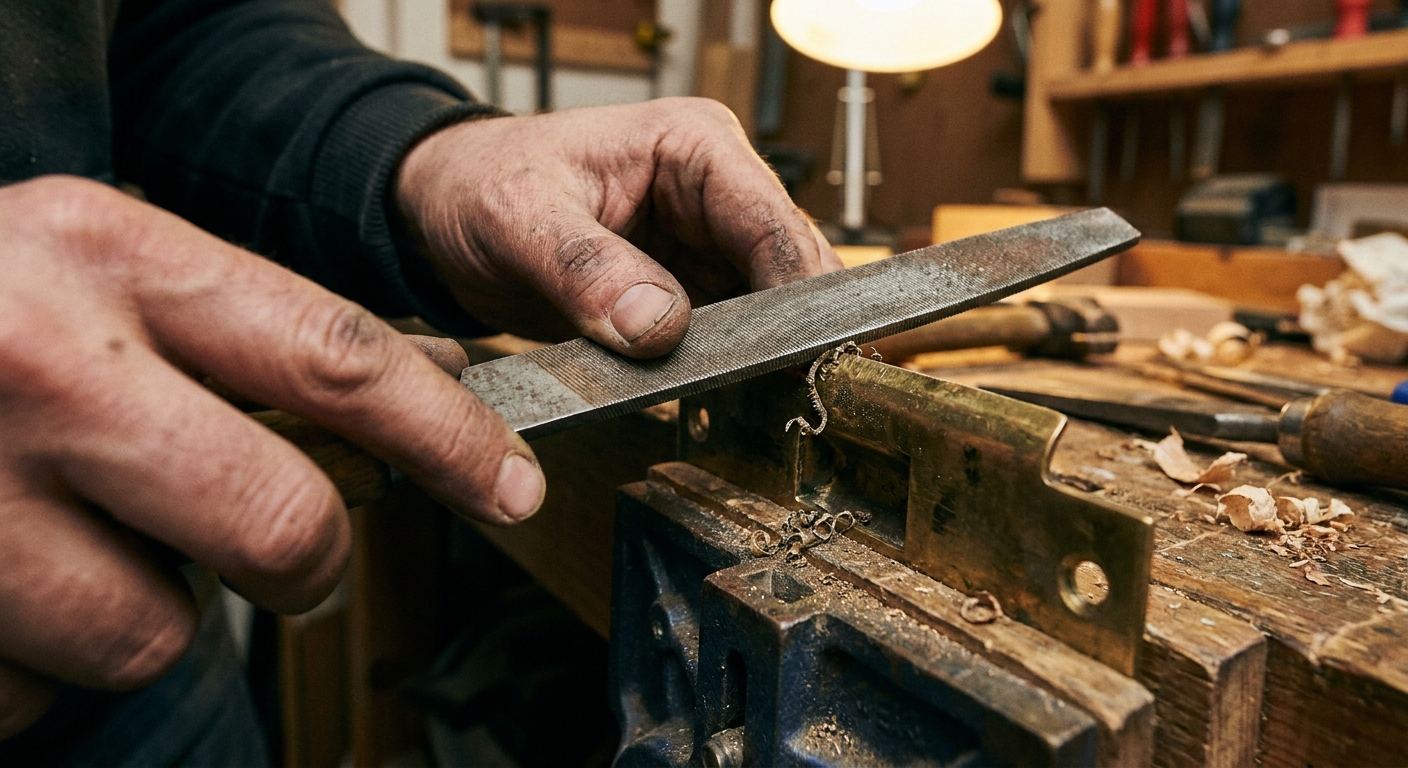
Option B: File the opening
- Remove the strike plate.
- Use a metal file to widen the opening in the direction the latch needs to go.
- Reinstall and test.
Go slowly. You can always file more, but you cannot un-file metal.
Fix #3: Stop frame rubbing
This is the classic “sticky door.” It usually shows up in humid seasons, after a fresh coat of paint, or in rooms that get steamy, like bathrooms and laundry areas. Wood swells. Paint adds thickness. Life happens.
Find the rub spot
- Close the door until it stops.
- Look for scuffing on the door edge or paint transfer on the frame.
- Mark the area lightly with pencil.
Try the gentlest fix first
- Clean the edge: built-up paint blobs can be carefully scraped with a utility knife.
- Temporary glide: a little candle wax can reduce friction in a pinch, but it can transfer to paint and collect dirt. Treat it as short-term, and skip it if you plan to repaint soon.
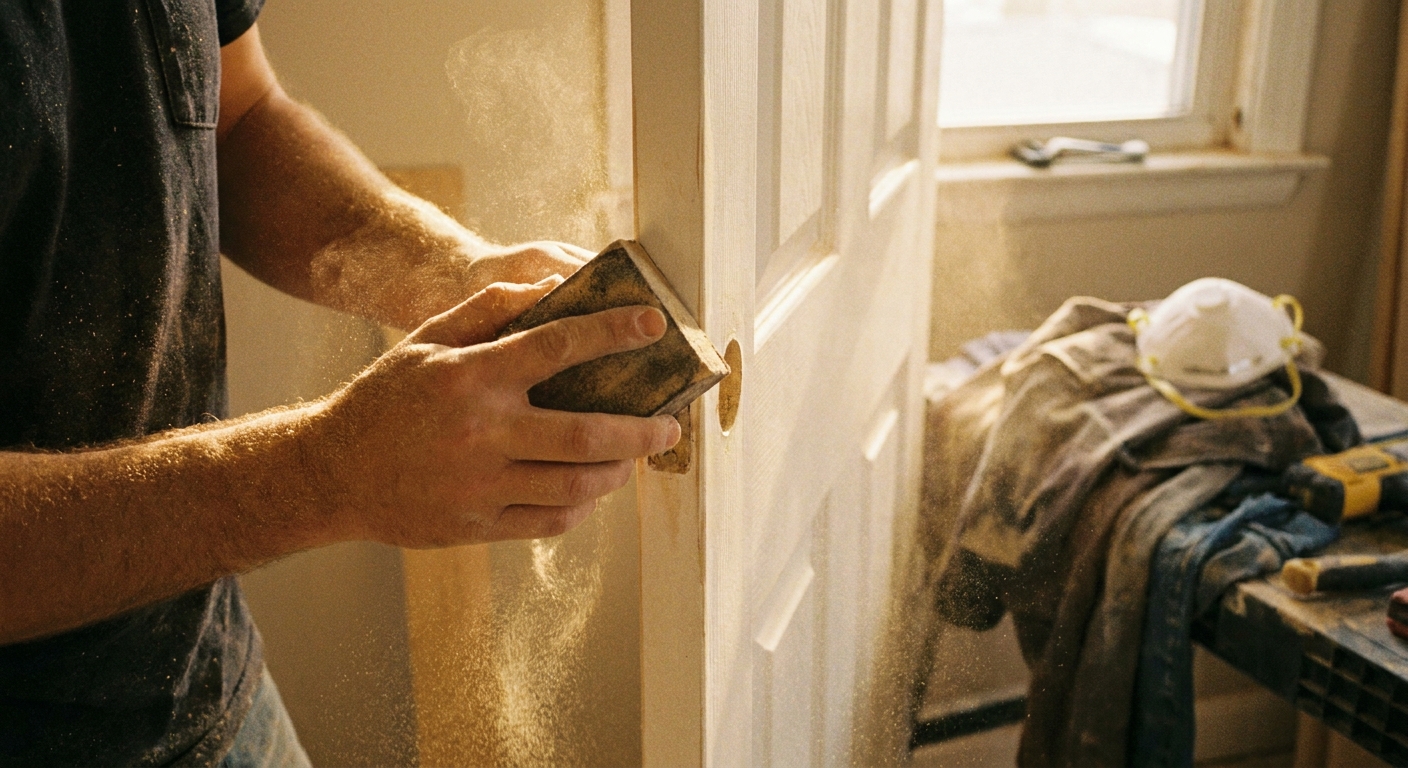
If you need a real fix: sand the edge
- Remove the door (optional, but easier for bigger sanding jobs).
- Use 120-grit sandpaper on a sanding block.
- Sand only the marked area, checking the fit often.
- Finish with 180-grit for a smoother edge.
- Seal the bare wood with paint or clear sealant to prevent future swelling.
Small style note: If you have a beautiful vintage door with original patina, seal the sanded spot with a clear matte finish rather than painting the whole edge. It keeps the character intact.
Fix #4: Stop floor dragging
If the door drags along the floor or a rug, the issue is often sagging hinges, a swollen door, or flooring that has changed (new carpet, thicker pad, added threshold).
What to do
- Tighten hinges first (see Fix #1).
- If it still drags, check whether the door is rubbing only at one corner. That points to hinge sag.
- If the drag is along a wider area at the bottom, you may need to trim the bottom of the door.
Trim the bottom (when sanding is not enough)
This is a bigger step, but still very doable if you are comfortable with tools.
- Remove the door and lay it flat on sawhorses.
- Mark the amount to remove with painter’s tape as a visual guide. Taping the cut line also helps reduce splintering.
- Use a circular saw with a straightedge guide for a clean cut, or a hand plane for smaller amounts.
- Important: many hollow-core doors have limited solid wood at the bottom. Do not remove too much, or you can cut into the hollow section.
- Seal the cut edge to prevent moisture absorption.
If you rent, trimming is usually a landlord job. Ask first so you do not accidentally buy yourself a door replacement.
Fix #5: Make it latch without lifting
If you have to shoulder the door, lift the handle, or lean your weight into it for the latch to catch, that is a classic alignment issue.
Common causes
- Loose hinges causing the door to drop slightly.
- Strike plate hole no longer lined up with the latch.
- Door frame slightly out of square from settling.
Try this order
- Tighten all hinge screws.
- Add a longer screw to the top hinge frame side (snug, not over-driven).
- Adjust the strike plate position, add longer strike screws if needed, or file the opening.
My rule of thumb: if lifting the handle makes it latch, the door has sagged. If pushing or pulling the door sideways makes it latch, the strike plate is usually the culprit.
Fix #6: Free a sticky knob
Sometimes the door is innocent and the hardware is the drama. Old knobs and latches can get gunky, or the internal spring can start sticking.
Quick fixes
- Tighten the doorknob screws.
- Clean around the latch bolt area (paint build-up can trap it).
- Use a dry lubricant like graphite or a dry PTFE lube in the latch mechanism. Avoid oily sprays that attract dust long-term.
If the latch still does not spring smoothly, it may be time to replace the latch mechanism. Many interior sets use common sizes, but measure before you buy. Check your backset (usually 2 3/8 inches or 2 3/4 inches), door thickness, and the faceplate style (rounded or square) so the new one fits without fuss.
Tools and supplies you might need
- Phillips screwdriver (and possibly a flathead)
- 2 to 3 inch wood or structural screws (for the top hinge and sometimes the strike plate)
- Toothpicks or wood matchsticks and wood glue
- Sandpaper (120 and 180 grit) and sanding block
- Utility knife or paint scraper
- Metal file (for strike plate adjustments)
- Pencil or chalk for marking rub points
- Safety glasses (and hearing protection for power tools)
When to call a pro
Most door issues are small, but a few situations deserve backup.
- The frame is visibly cracked or pulling away from the wall.
- The door is severely warped (it bows and will not sit flat).
- You have a metal door or exterior door with security or weather sealing issues.
- The latch side jamb is rotted or soft (often from moisture).
A good carpenter can square up a frame, reset hinges, and make it close like butter, especially in older houses where nothing is quite 90 degrees and that is part of the charm.
Quick troubleshooting cheat sheet
- Door scrapes on the hinge side: hinges are loose, the hinge is bent, or the door is sagging. Tighten screws, consider replacing a damaged hinge, add a longer screw at the top hinge.
- Door hits the frame near the latch side: door may have swollen, there is paint build-up, or the frame has shifted. Scrape, sand lightly, and reseal.
- Latch hits strike plate: adjust the strike plate, add longer strike screws if the jamb is loose, or file the opening.
- Door drags on the floor: hinge sag, swollen door, or flooring change. Tighten first, then consider trimming (especially carefully on hollow-core doors).
Final thought
Fixing a door that won’t close is one of those small home victories that makes everything feel calmer. You do not need a renovation budget. You need ten quiet minutes, a screwdriver, and the patience to test one change at a time. Your home should work for you, not the other way around.