How To Fix a Door That Won’t Close
Clara Townsend
Clara Townsend is an interior stylist, vintage furniture enthusiast, and the creative voice behind Velvet Abode. With over a decade of experience transforming both cramped city apartments and sprawling fixer-uppers, she believes that a beautiful home is built on personal stories rather than massive budgets. When she isn't hunting for the perfect brass sconce at a local flea market, she can usually be found rearranging her living room for the third time this month.
There are few household annoyances more persistent than a door that refuses to close. It is the little thunk that never happens, the latch that skims past the strike plate, the corner that suddenly kisses the frame like it owns the place.
The good news: most doors that won’t close are not “broken.” They are simply out of alignment. Houses move, humidity swells wood, hinges loosen, and paint builds up. With a screwdriver, a little patience, and a few small adjustments, you can usually get your door closing smoothly again without replacing anything.
Before you start: a 2-minute diagnosis
Think of this like styling a room. You do not buy a new sofa because one corner looks off. You step back, notice what is misaligned, then make a small tweak. Do the same here.
Step 1: Figure out what kind of “won’t close” you have
- Door sticks or rubs: You feel resistance, often at the top corner or along the latch side.
- Door closes but won’t latch: It swings shut, but the latch bolt does not click into the strike plate.
- Door pops back open: It closes, then slowly opens again. This is most often out-of-plumb hinges or a jamb that is slightly out of level, plus a latch that is not quite engaging enough to “hold.”
- Door hits the stop molding: It meets the frame but seems to land oddly or unevenly.
Step 2: Find the rub marks
Close the door slowly and watch where it touches. Look for shiny spots, scuffs, chipped paint, or compressed wood fibers.
Quick trick: Rub a piece of chalk or a pencil along the door edge where you suspect contact, then close the door. The mark will transfer to the frame at the exact rubbing point.
Tools you will actually use
You do not need a workshop. This is a very “top drawer plus a quick hardware-store run” kind of project.
- Phillips screwdriver (and sometimes a flathead)
- Utility knife (for paint buildup)
- Hammer and a nail set or punch (for hinge pins)
- Carpenter’s level (helpful but optional)
- 1 to 3 inch wood screws (for deeper bite into framing when appropriate)
- Sandpaper or a block plane (only if the door truly needs trimming)
- Wax, candle, or bar soap (temporary friction reducer)
- Dry lubricant (PTFE or silicone) for latches
Small safety note: If you are filing metal or chiseling wood, wear eye protection. If you are pulling hinge pins, keep a hand on the door so it does not shift unexpectedly.
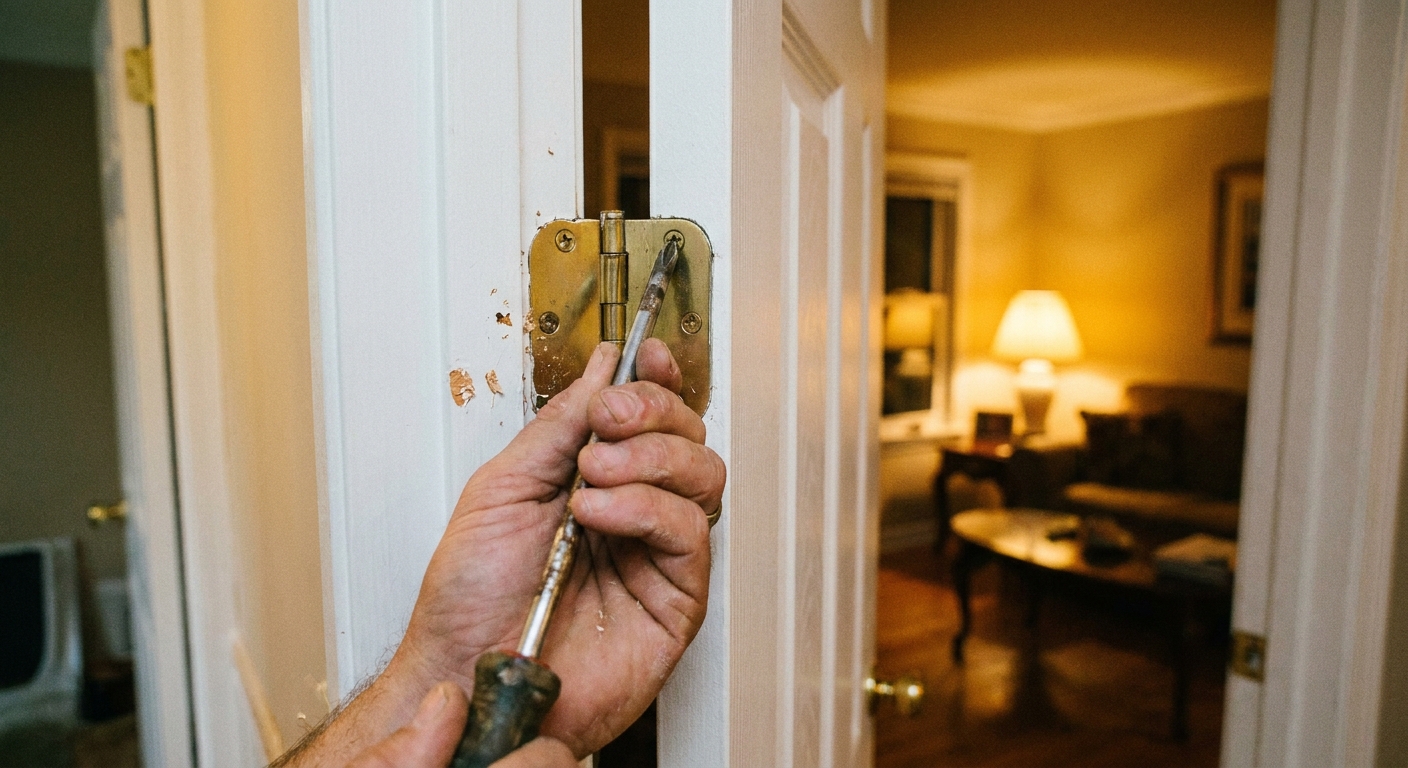
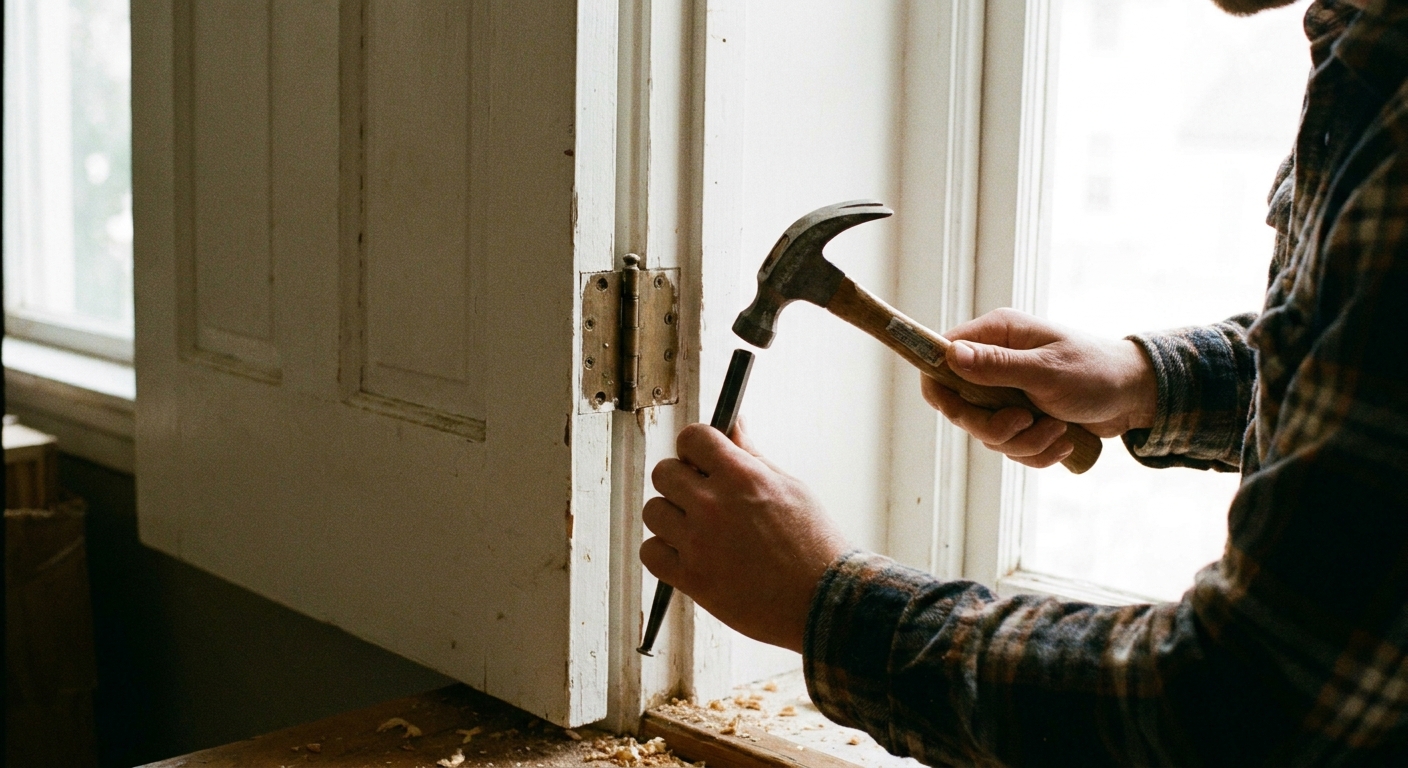
Fix #1: Tighten hinge screws first
If your door has started rubbing at the top latch-side corner, the door is usually sagging. The most common reason is simple: hinge screws have loosened over time.
What to do
Open the door enough to access the hinges and keep it from swinging. A doorstop or a folded towel under the edge can help steady things.
Tighten every hinge screw on the door side and the frame side.
If a screw spins and won’t tighten: it is stripped. Replace it with a longer screw, ideally 2.5 to 3 inches, in the top hinge on the frame side. That longer screw can reach solid framing and pull the door back into alignment.
Quick reality check: This works in many wood-framed homes. If you have a metal frame, masonry, or an older wall where you hit metal, stop and switch to the correct screw or anchor for your setup.
Small-but-mighty tip: If you are only going to do one “upgrade” screw, make it the top hinge, top hole closest to the stop molding. That spot has the most leverage to lift a sagging door.
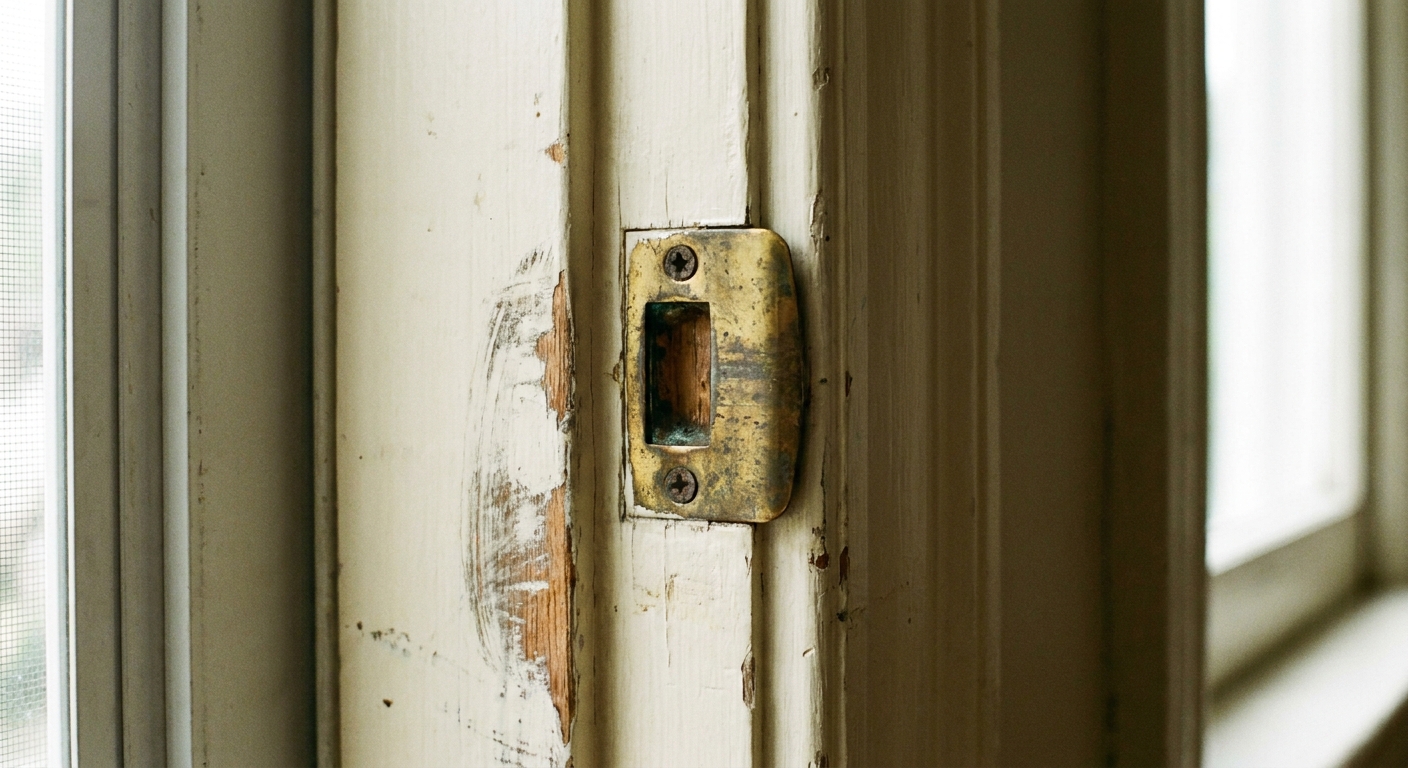
Fix #2: Adjust the strike plate
If the door closes but the latch does not click, you likely have a misalignment between the latch bolt and the strike plate hole.
Check the latch alignment
Close the door gently until the latch touches the strike plate. Look at where the latch hits. You will usually see a little crescent-shaped scuff on the metal.
Even easier trick: Dab a little lipstick, painter’s tape, or washable marker on the latch bolt. Close the door gently, then open it. You will get a clear “stamp” showing exactly where it is contacting the strike plate.
Two easy options
- Minor misalignment: Tighten the strike plate screws first. If it shifts even a hair, that may be enough.
- Moderate misalignment: Loosen the strike plate, nudge it up or down, then retighten. If the old holes are stripped or the plate wants to slide back to the wrong spot, fill the holes (toothpicks and wood glue work beautifully), let it set, then re-drill small pilot holes.
When the opening needs to be slightly bigger
If the latch is hitting the edge of the strike plate opening, you can enlarge the opening slightly with a metal file. For the wood behind the plate, a sharp chisel can deepen the pocket so the latch seats cleanly.
Quick caution: Go slow. File a little, test, repeat. This is the design equivalent of trimming curtain hems. You can always take off more, but you cannot un-file metal.
Exterior door note: Be extra conservative with filing and chiseling on exterior doors. Too much “extra space” can affect security and the weather seal. If weatherstripping is the real culprit, address that first.
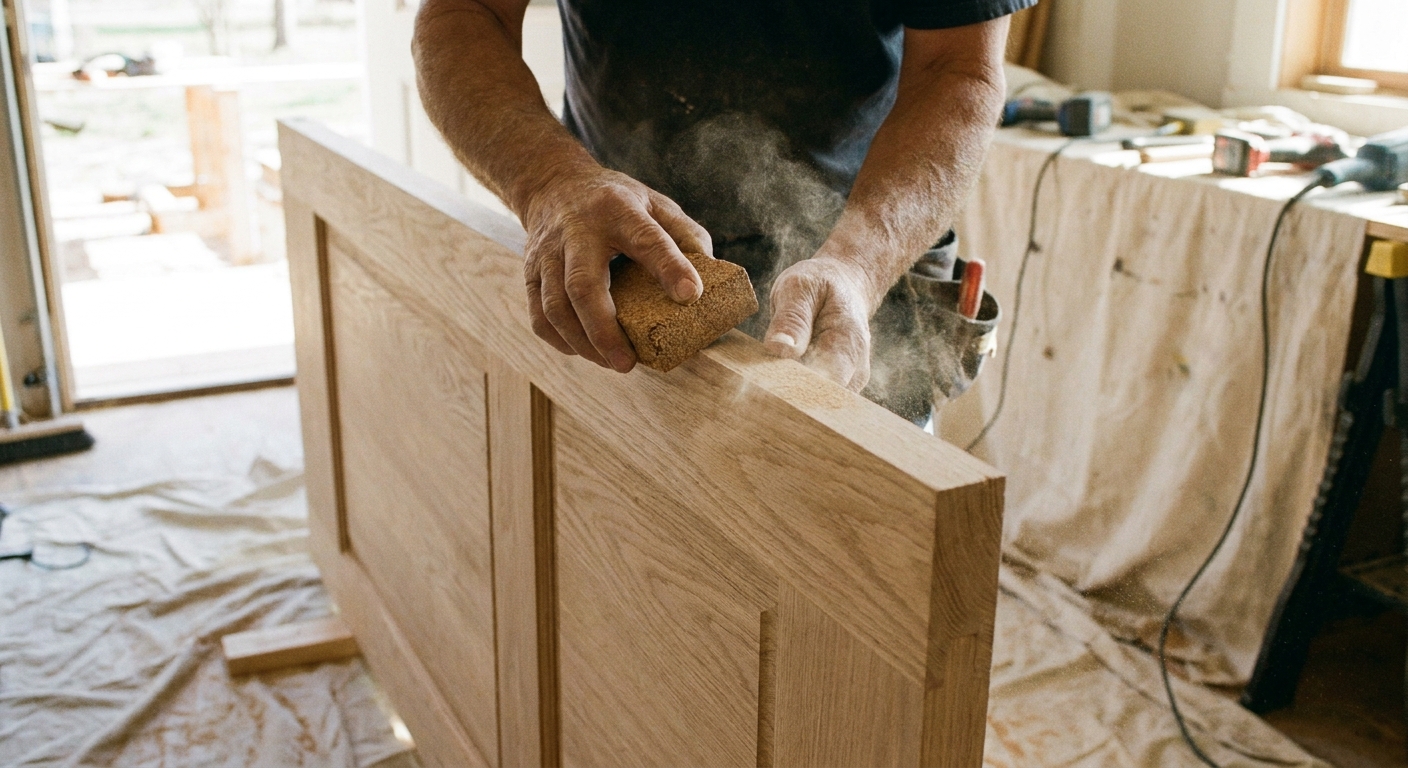
Fix #3: Sticking from humidity or paint
Older homes and humid summers have a way of making doors feel moody. If the door sticks only in certain seasons, or after painting, swelling and buildup are likely the culprit.
Try the gentle fixes first
- Check for paint ridges: Run a utility knife lightly along the door stop and the door edge where paint may have bridged.
- Reduce friction temporarily: Rub a candle (or wax) along the rubbing edge. It is not glamorous, but it works.
- Control moisture: A dehumidifier in a sticky hallway can make a surprising difference for wood doors.
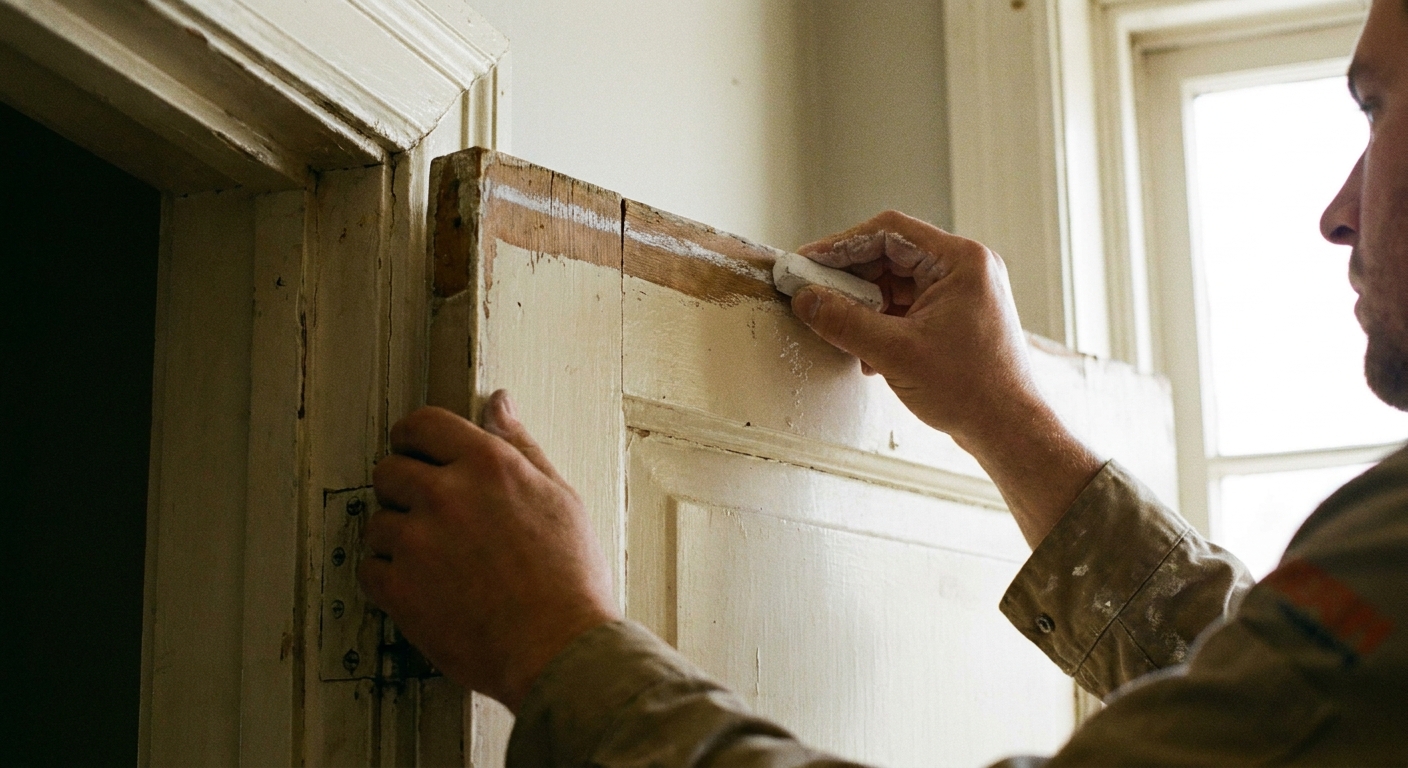
If it still rubs: sand or plane the tight spot
- Mark the sticking area (chalk trick from above).
- Remove the door if needed, or work with it open and supported.
- Sand the marked area gradually with medium-grit sandpaper.
- Test the fit often.
- Seal the fresh wood with primer and paint or a clear finish, especially on exterior doors. Unsealed edges soak up humidity like a sponge.
Fix #4: Correct a sagging door
If tightening screws did not fix sag, the hinge itself may be slightly bent or the door may need a more deliberate nudge back into place.
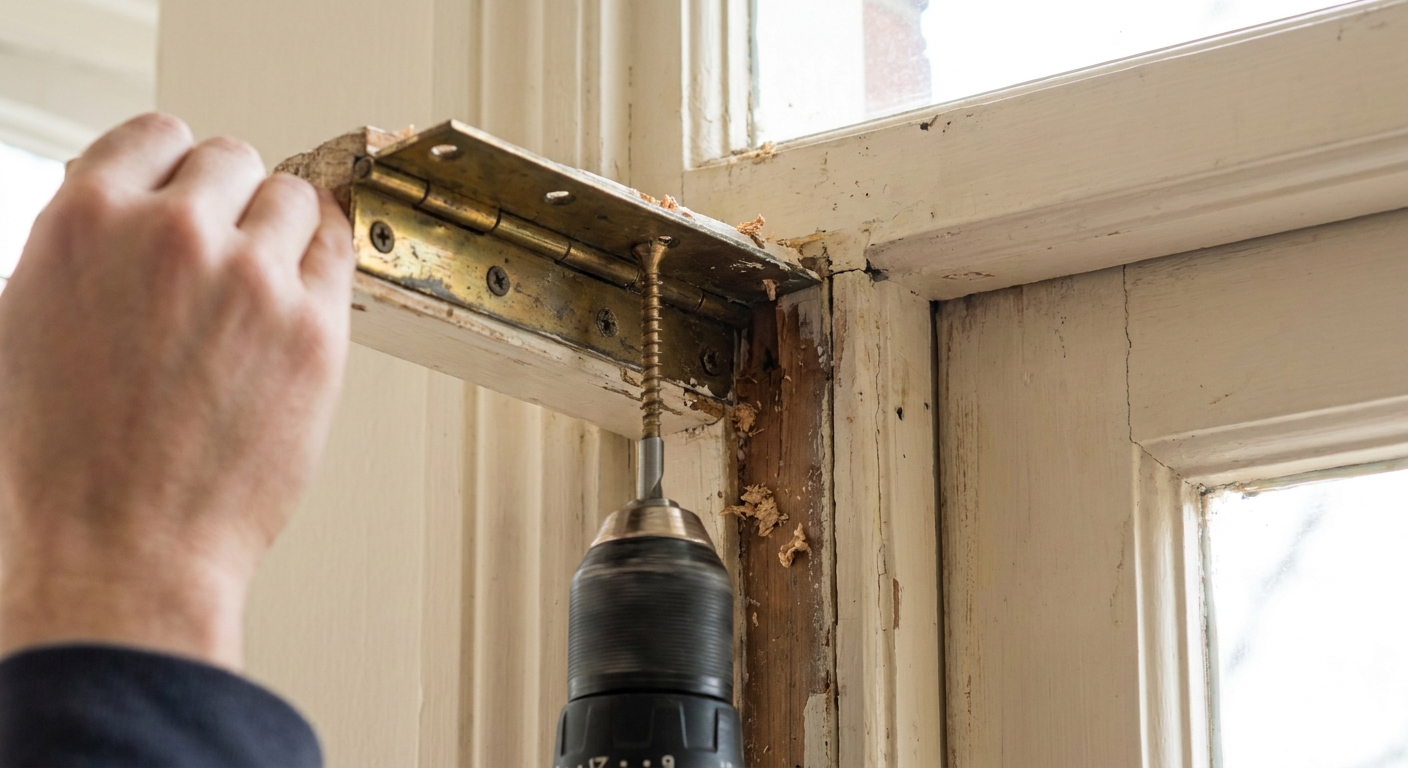
Option A: Pull the top hinge tighter
If the door rubs at the top latch-side corner, you can often fix it by pulling the top hinge tighter into the jamb.
- Replace one or two frame-side screws on the top hinge with 3-inch screws (when appropriate for your frame and wall type).
- Tighten until you see the gap at the top even out.
Option B: Shim the hinge (safer than bending)
If you need a tiny change, hinge shims are the calm, reversible option. You can buy thin hinge shims, or make one from cardstock.
- To move the door away from the latch-side jamb (common when the latch-side top corner rubs), add a shim behind the top hinge on the jamb side.
- To move the door toward the latch-side jamb (less common), shim the bottom hinge instead.
Option C: Bend hinge knuckles (only for tiny tweaks)
This is a classic old-house trick, but it is easy to overdo and can mar the finish. Only attempt this if you need a very small correction.
- Support the door so it is not hanging on one hinge while you work.
- Remove the hinge pin.
- If the door is rubbing at the top latch-side corner: you typically want to move the top of the door toward the hinge side. To do that, gently bend the top hinge knuckles toward the jamb (so the hinge closes slightly tighter) in tiny increments.
- If the door is rubbing on the hinge side: stop and reassess, because bending in the wrong direction can make it worse. Consider shimming instead.
- Reinstall the pin and test.
If you are nervous: skip this step and stick to screw adjustments or shims, or call a handyman. Hinges are forgiving, but only up to a point.
Fix #5: If it hits on the latch side
If the door is rubbing along the latch side, especially near the middle, the door may be slightly warped or the frame may have shifted.
What to check
- Even gaps: Look at the reveal (the gap between door and frame). Is it consistent?
- Weatherstripping: On exterior doors, compressed or misaligned weatherstripping can prevent a clean close.
- Latch bolt: A stiff latch can make a door feel like it is “sticking” when it is really a hardware issue.
Quick latch fix
Before you take anything apart, try this: extend the latch and spray a small amount of dry PTFE or silicone lubricant directly into the latch opening and around the moving parts using the straw attachment. Work the knob a few times to distribute it.
Avoid: heavy oils that attract dust and gum up over time. WD-40 can be useful as a cleaner in a pinch, but it is not a great long-term latch lubricant.
Fix #6: If it won’t stay closed
If the door closes and then swings back open, you are dealing with gravity and geometry.
Common causes
- House or floor is out of level: Very common in older homes.
- Hinge axis is out of plumb: Even a small tilt can make a door drift open.
- Latch is barely engaging: If the latch is not catching firmly, the door has no reason to stay put.
Two practical solutions
- Add a touch of hinge-pin friction: Remove one hinge pin, place it on a hard surface, and give it one gentle tap in the middle to create a tiny bend. Reinstall and test. Go subtle and make sure the pin still seats fully. Too much bend can bind the hinge or damage the finish.
- Fine-tune the strike plate: If the door almost latches but not quite, a small strike plate adjustment can stop the drift.
When to call a pro
Some door problems are bigger than a quick adjustment, and that is not a personal failing. It is just homeownership.
- The door frame is cracked or pulling away from the wall.
- The door is severely warped (you can see daylight through gaps).
- An exterior door has water damage or the threshold is failing.
- You suspect foundation movement because multiple doors suddenly stopped closing at once.
A quick cheat sheet
- Rubs at top latch corner: tighten hinges, add a long screw to the top hinge, consider a top-hinge shim.
- Rubs at bottom latch corner: check the bottom hinge for looseness, consider a bottom-hinge shim, and look for an uneven reveal.
- Closes but won’t latch: mark latch contact (lipstick or marker), adjust strike plate, deepen pocket, file opening slightly.
- Sticks only in summer: humidity swelling, sand lightly, reseal edge.
- Pops open after closing: improve latch engagement, add slight hinge-pin friction, check for out-of-level conditions.
If you take anything from this: start with the hinges. A door is basically a big, heavy styling object that hangs on a few small screws. When those screws get tired, everything looks and feels “off” until you snug them back into place.