How to Fix a Door That Won’t Close
Clara Townsend
Clara Townsend is an interior stylist, vintage furniture enthusiast, and the creative voice behind Velvet Abode. With over a decade of experience transforming both cramped city apartments and sprawling fixer-uppers, she believes that a beautiful home is built on personal stories rather than massive budgets. When she isn't hunting for the perfect brass sconce at a local flea market, she can usually be found rearranging her living room for the third time this month.
A door that won’t close has a special talent for making your whole home feel slightly “off.” It rattles, it sticks, it pops back open like it has opinions. The good news is that most door-closing problems come down to a few repeat offenders: loose hinges, a sagging door, a sticky spot from paint or humidity, or a latch that is no longer lining up with the strike plate.
This guide walks you through quick checks first, then slightly more involved fixes, all with minimal tools. I will keep it practical, and I will help you avoid the classic mistake of sanding the door to dust before tightening one tiny screw.
Before you start: a 2-minute diagnosis
Start by figuring out where the door is failing. Each symptom points to a different fix.
- Door hits the frame on the latch side (top or bottom): usually sagging hinges or a shifted strike plate.
- Door rubs along the top edge near the hinge side: hinges are loose or the door is sagging toward the latch side.
- Door latches only if you lift or push it: classic sag. Hinge adjustment time.
- Door sticks only in summer or after rain: humidity swelling, tight jamb, or paint buildup.
- Latch bolt hits the strike plate and will not click in: strike plate alignment issue.
- Door closes but springs back open: hinges are bound, the stop is pushing the door back, or the latch is not fully seating.
Quick test: close the door slowly until it touches the stop molding. Watch the gap around the door. The gap should look even, like a tidy picture frame. Big gaps on one side and tight rubs on the other mean the door has shifted.
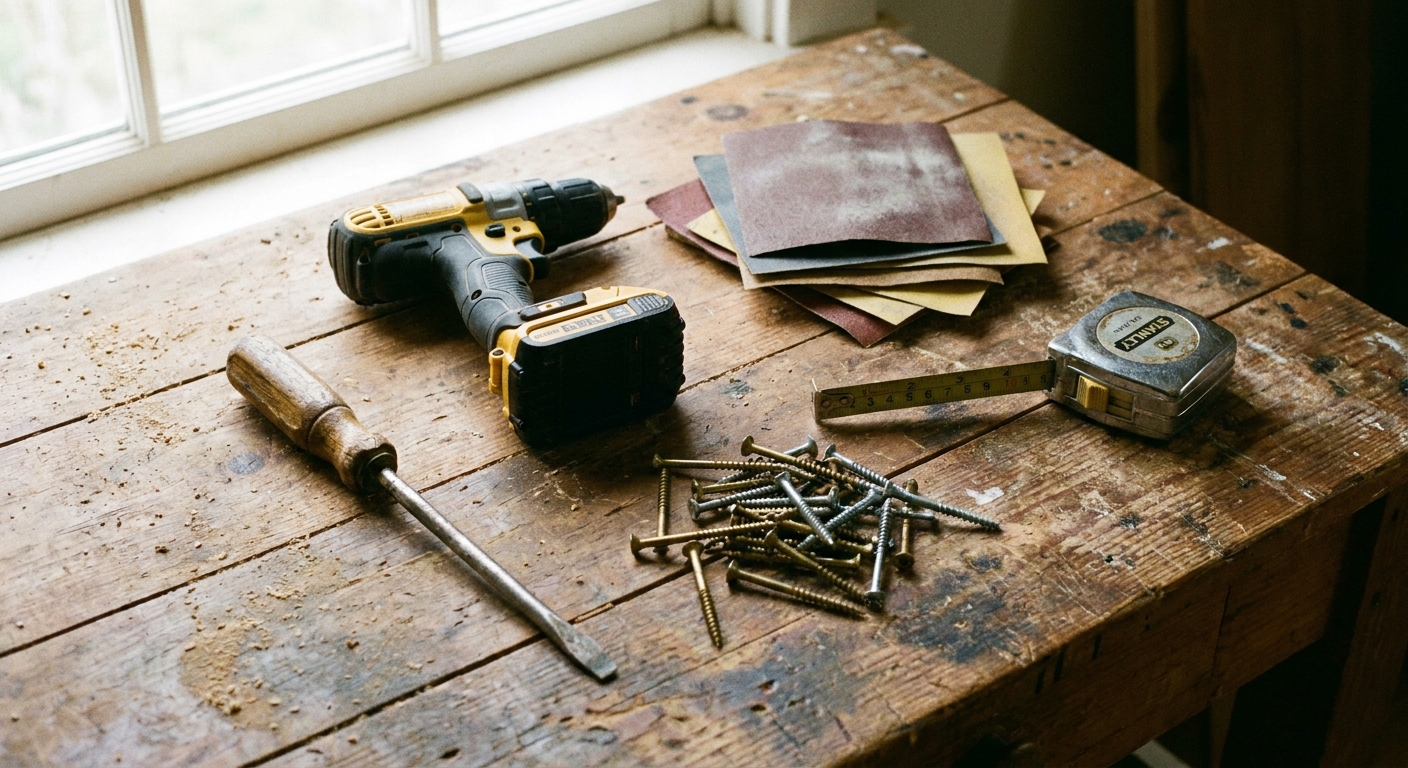
Tools you might need
You can do a lot with what is probably already in your junk drawer.
- Phillips screwdriver (or drill with a clutch setting)
- 1- to 3-inch wood screws (match the existing hinge screw gauge as closely as you can)
- Utility knife
- Pencil
- Sandpaper (120 and 220 grit) or a sanding block
- Wood shims or thin cardboard (even a cereal box works)
- Hammer
- Small level (helpful, not mandatory)
- Chisel (only for strike plate or jamb adjustments)
- Wood glue and toothpicks (or a golf tee) for stripped holes
Fix 1: Tighten the hinge screws
Loose hinge screws are one of the most common reasons an interior door starts acting up. As screws loosen, the door sags a little, and suddenly the latch side is scraping the frame.
What to do
- Open the door halfway so it is stable.
- Check all screws on all hinges. Tighten gently but firmly.
- If a screw spins without tightening, the hole is stripped. Move to Fix 2 or Fix 2A.
Clara tip: If you use a drill, set it to a low clutch setting so you do not overdrive the screw and strip it further.
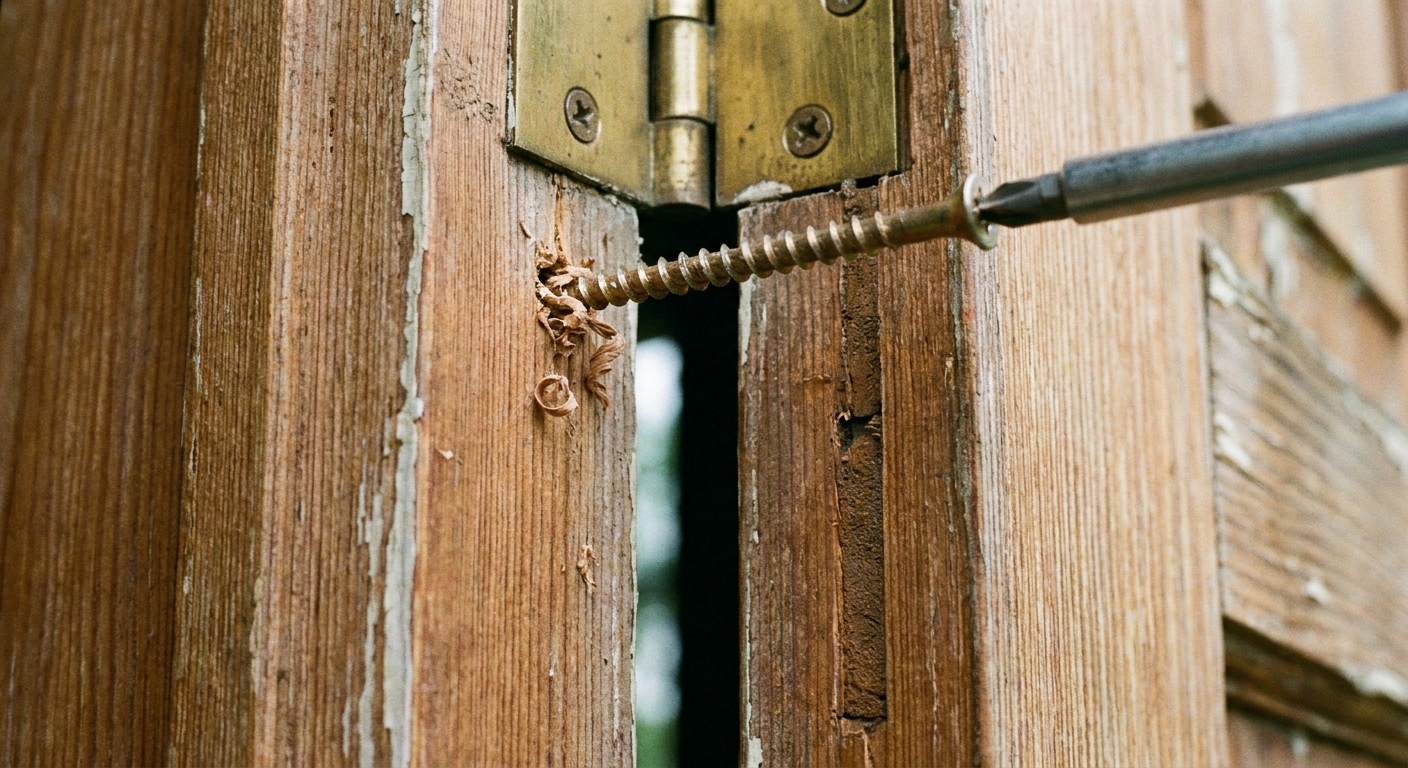
Fix 2: Use a longer hinge screw
If the top hinge is even slightly loose, the whole door droops at the latch side. A longer screw often reaches the framing behind the jamb (not just the trim wood), which can pull everything back into line.
What to do
- Support the door first: wedge a shim under the door or have someone hold it. Solid doors get heavy fast.
- On the top hinge, remove one screw from the hinge leaf that attaches to the jamb (not the door).
- Replace it with a 2- to 3-inch wood screw of similar diameter.
- Drive it in straight and snug. Do not crank so hard that the hinge leaf bends or shifts out of flat.
- Watch the gap around the door improve as you tighten.
Expected result: the door should latch without lifting or shoulder-checking it.
If the door still needs a tiny nudge to close, repeat with a second long screw in the same top hinge.
Fix 2A: Repair a stripped screw hole
This is the classic toothpick-and-glue trick, and it is worth knowing because strike plates and hinges both love to strip out over time.
What to do
- Remove the loose screw.
- Dip a few toothpicks (or a golf tee) in wood glue and pack them into the hole.
- Snap or cut them flush.
- Let the glue set (check the bottle, but 20 to 30 minutes helps and overnight is best).
- Drive the screw back in.
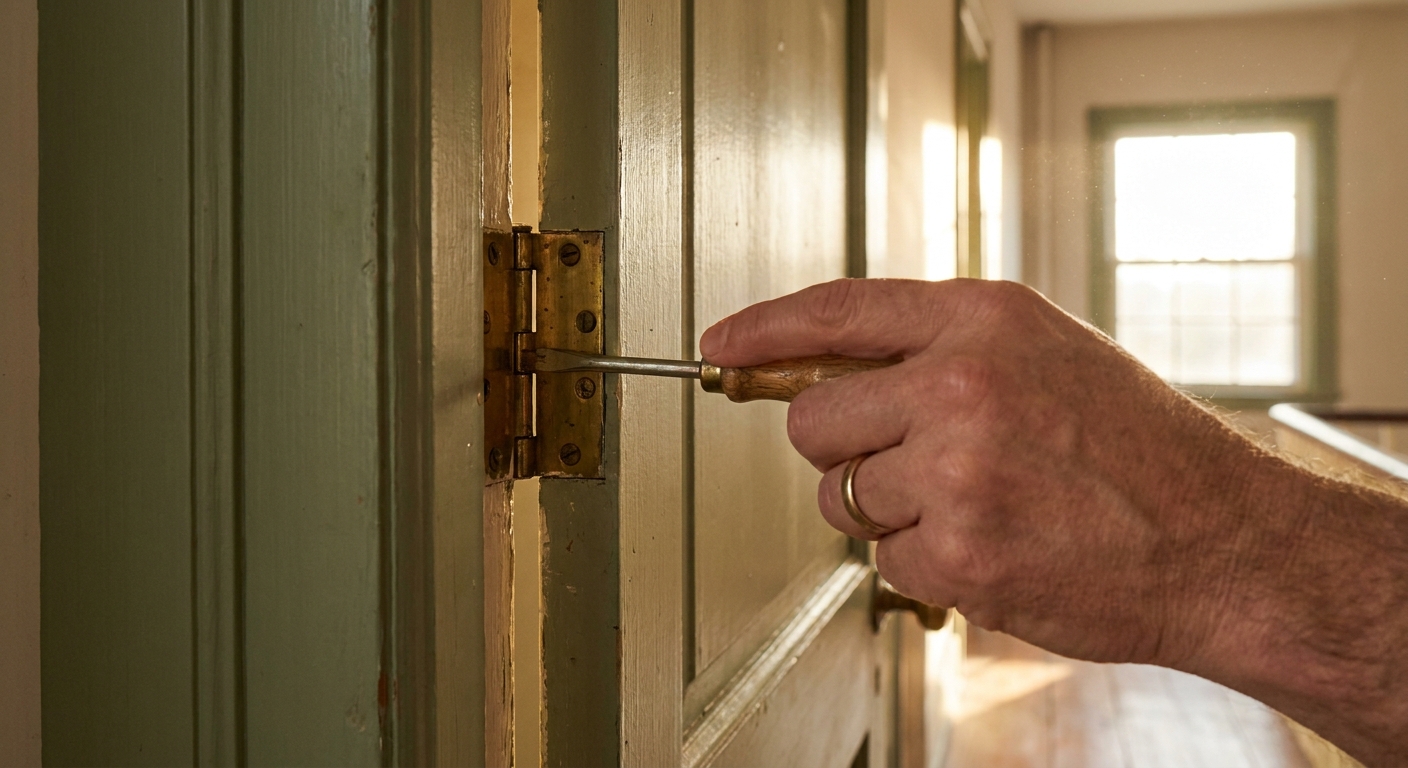
Clara tip: If you need to remove a hinge or strike plate that has been painted over, run a utility knife lightly along the edge first. That little score line can save you from peeling paint off the trim like a sunburn.
Fix 3: Shim a hinge
Sometimes the door is not just sagging. It is sitting slightly “twisted” in the opening, so one corner is tight and the opposite corner has a gap. A thin shim behind a hinge can shift the door just enough to clear the rub.
When to shim
- Door rubs on the latch-side top corner: shim the bottom hinge slightly.
- Door rubs on the latch-side bottom corner: shim the top hinge slightly.
How to shim
- Cut a thin piece of cardboard to match the hinge leaf shape.
- Unscrew one hinge leaf from the jamb, slip the shim behind it, and screw back in.
- Add a second thin layer only if needed. Go slow. Tiny changes matter.
Think of this like adjusting a picture frame on the wall. A millimeter can change everything.
Fix 4: Mark the sticking spot
If the door physically sticks, you need to identify exactly where it is rubbing. Otherwise, sanding becomes a guessing game and you end up with an uneven edge and regret.
Two easy ways to find the rub
- Pencil method: Scribble pencil on the door edge where you suspect contact, then close the door. The rubbed-off pencil shows the tight spot.
- Paper test: Slide a sheet of paper between the door and frame. Where it jams is where you are tight.
If the door is freshly painted, check for tacky paint along the stop molding or door edge. Paint can act like glue, especially in humid rooms.
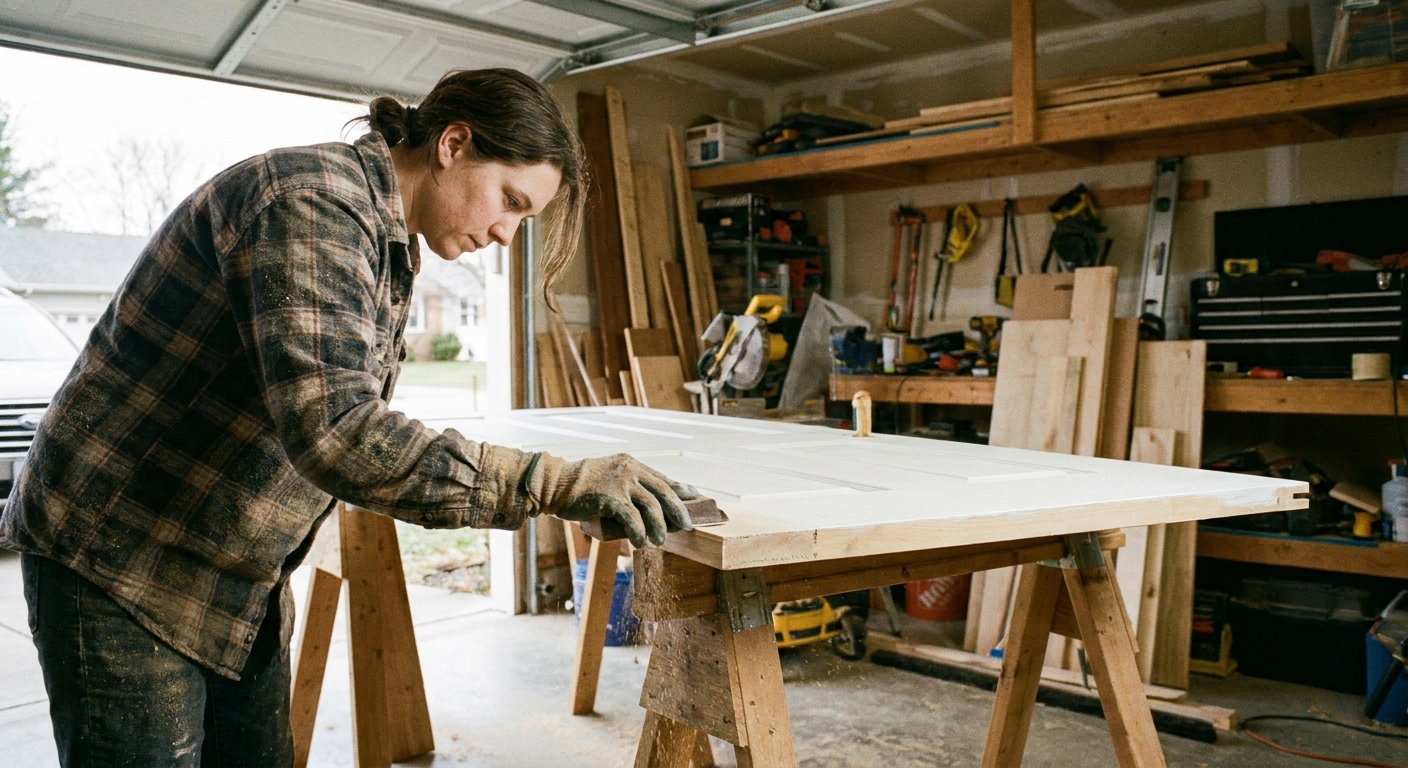
Fix 5: Sand a swollen edge
For seasonal swelling or paint buildup, a little sanding can restore that effortless click-close feeling.
How to do it without overdoing it
- Remove the door if possible (tap hinge pins up with a screwdriver and hammer).
- Sand the marked area with 120 grit first, then smooth with 220 grit.
- Test the fit often. You want to remove as little material as possible.
- Seal any bare wood with primer and paint, especially on exterior doors.
Important: In the U.S., homes built before 1978 may have lead-based paint. If you are sanding painted surfaces and you are not sure, consider testing or calling a pro.
Fix 6: Adjust the strike plate
If the door swings closed but the latch hits metal instead of slipping neatly into the hole, the strike plate is out of alignment. This is very common after a house settles or hinges loosen.
Step-by-step
- Close the door slowly and watch where the latch bolt hits the strike plate.
- Optional but excellent: dab a little lipstick or chalk on the latch bolt, then close the door. The transfer mark on the strike plate tells you exactly where it is hitting.
- Use a pencil to mark the contact point.
- Loosen the strike plate screws slightly and nudge the plate up or down.
- Retighten and test.
If the screws will not tighten
- Use Fix 2A (toothpicks and wood glue) to rebuild the holes, then reinstall the strike plate.
If you need a bit more room
- Score the paint first around the strike plate with a utility knife so you do not peel the trim.
- Remove the strike plate.
- Use a chisel to shave a tiny amount of wood in the direction you need the plate to move.
- Reinstall and test again.
If the latch hits but still will not “click”
- Check that the latch bolt can fully seat in the hole. Sometimes the pocket is too shallow and the latch bottoms out on wood before it can engage.
- You can deepen the hole carefully with a chisel.
For quick relief, you can also file the strike plate opening slightly, but I treat that like hemming pants. Small, careful, and only if you are sure.
Fix 7: Stop the bounce-back
If a door closes and then gently bounces open, it is often one of these:
- Hinge bind: one hinge leaf is slightly twisted, causing spring tension.
- Latch not engaging: the bolt is barely catching the strike plate, so it slips out.
- Stop molding set too tight or at an angle: the stop is pushing the door back before the latch fully seats.
- Paint buildup on the stop: the door is not reaching the fully closed position.
- Shallow strike pocket: the latch cannot sink in far enough to hold.
Try this
- First, do Fix 1 and Fix 6. Those solve most bounce-back situations.
- Confirm the latch bolt fully seats in the strike hole. If it does not, deepen the pocket slightly (Fix 6).
- If it persists, check hinge alignment. With the door open, look for a hinge that has a visible gap or looks slightly skewed.
- Tighten hinge screws evenly. If needed, remove the hinge and reinstall so the leaves sit flat.
Exterior doors: quick notes
Exterior doors add weatherstripping, thresholds, and bigger seasonal swings. If your front door will not close, check these before you start removing wood:
- Weatherstripping: compressed, torn, or shifted weatherstripping can block the door. Replace if it is bunched or brittle.
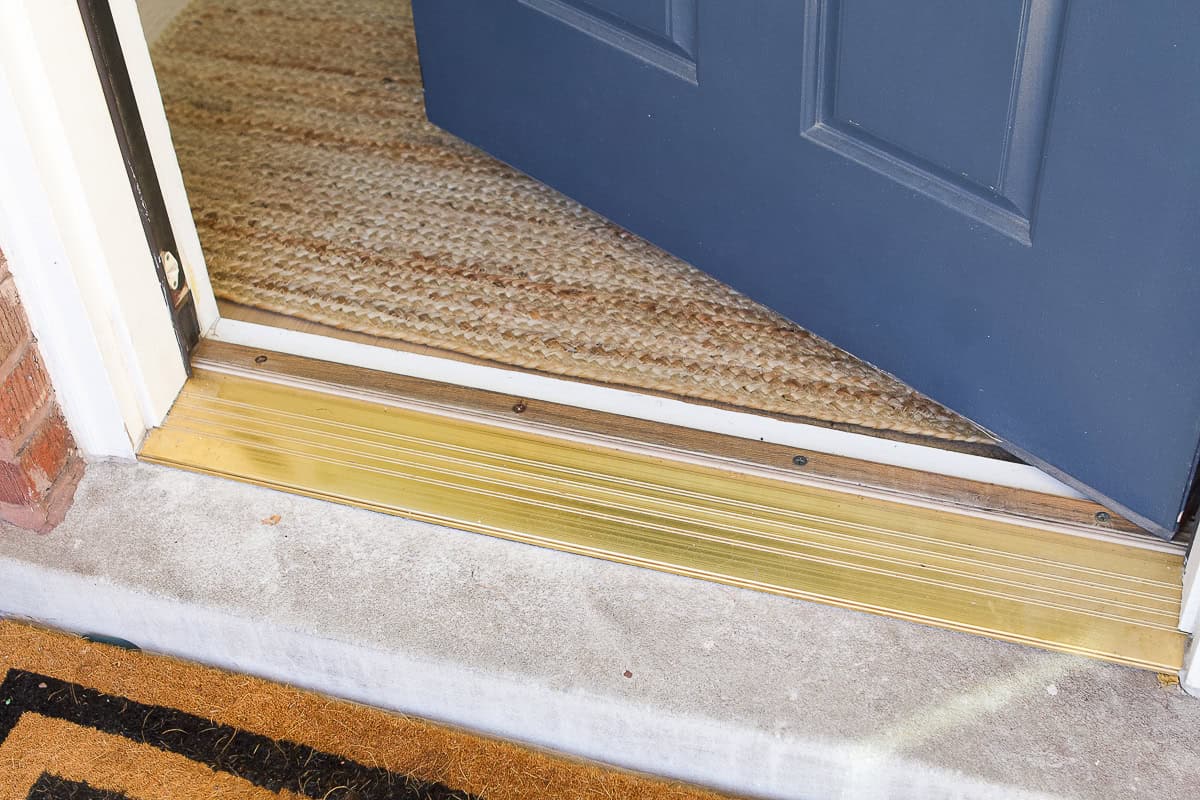
- Threshold: adjustable thresholds can be raised too high and cause rubbing. Look for adjustment screws along the threshold.
- Door sweep: a dragging sweep can make the door feel “stuck” even if the latch aligns.
Any exterior door sanding should be resealed and repainted promptly to protect the door from moisture.
Fast troubleshooting checklist
- Door won’t latch: adjust strike plate (Fix 6).
- Door scrapes the top latch corner: tighten hinges, add long screw to top hinge (Fix 1 and 2).
- Door scrapes the floor or threshold: check sag first, then threshold height (Fix 2, then exterior notes).
- Door sticks only sometimes: mark rub spot and sand lightly (Fix 4 and 5).
- Door needs lifting to close: long screw in top hinge (Fix 2).
- Screws won’t bite anywhere: toothpicks and wood glue (Fix 2A).
When to call a pro
If you have tried tightening hinges and adjusting the strike plate and the door still will not behave, it might be a bigger issue than a quick tweak.
- The door frame is out of square from settling.
- The door slab is warped (common with moisture changes).
- The hinges are damaged or mortises are poorly cut.
- It is an exterior door with security or weatherproofing concerns.
A carpenter can rehang a door or reset a jamb cleanly. Sometimes paying for that one crisp fix is worth the peace and quiet.
A cozy-home moment
Doors are one of those “background” elements you only notice when they are annoying. Fixing one is not glamorous, but it changes how your home feels. The click of a latch that finally lines up, the hush of a door that no longer scrapes, the way a room suddenly feels finished. Those tiny frictions add up, and removing them is its own kind of styling.
If you want, tell me what kind of door you are dealing with (interior or exterior, how it sticks, where it rubs), and I can help you pick the most likely fix without doing every step.