How to Clean and Deodorize a Mattress at Home
Clara Townsend
Clara Townsend is an interior stylist, vintage furniture enthusiast, and the creative voice behind Velvet Abode. With over a decade of experience transforming both cramped city apartments and sprawling fixer-uppers, she believes that a beautiful home is built on personal stories rather than massive budgets. When she isn't hunting for the perfect brass sconce at a local flea market, she can usually be found rearranging her living room for the third time this month.
A mattress is a little like a favorite white T-shirt. It looks innocent until the light hits it just right, and suddenly you are noticing every snack crumb, mystery smudge, and that lingering “old room” smell you thought was coming from somewhere else. The good news: you can make a mattress feel genuinely fresher at home without renting machines or buying specialty sprays.
Below is my go-to, no-fuss method that works for renters, small spaces, and real life. It is gentle, practical, and built around two goals: remove what you can and fully dry what you dampen.
Before you start: what you need
You probably have most of this already. If you are missing something, do not panic. Mattress cleaning is more about patience and drying than owning the perfect product.
- Vacuum with upholstery attachment (or a handheld vacuum)
- Baking soda (plain, unscented)
- Clean spray bottle
- White distilled vinegar
- Dish soap (gentle, non-bleach)
- Enzyme cleaner (strongly recommended for urine, sweat, vomit, and other biological stains)
- 3% hydrogen peroxide (optional, for certain stains)
- Clean white cloths or paper towels
- A soft brush (optional, for baking soda and light agitation)
- Fan and access to airflow (open windows help)
- Waterproof mattress protector for after (highly recommended)
Quick safety notes: Test any liquid on a small, hidden area first. Never soak a mattress. Memory foam and pillow-top styles can trap moisture and develop mildew if they stay damp too long, so keep liquids extra minimal and plan for longer drying. If you have a latex mattress, follow the manufacturer care notes and keep liquids extremely minimal.
Step 1: Strip the bed and wash everything
Pull off sheets, pillowcases, blankets, and the mattress protector if you have one. Wash on the warmest setting the fabric allows. If odors are the issue, add one of these to the wash:
- White vinegar: up to 1/2 cup in the rinse cycle (and check your washer manual, since some manufacturers do not recommend frequent vinegar use)
- Baking soda: 1/4 to 1/2 cup in the drum (use the lower amount for HE machines to avoid residue)
Dry thoroughly. Any “clean mattress” moment falls apart fast if you put damp, slightly sour-smelling bedding right back on top.
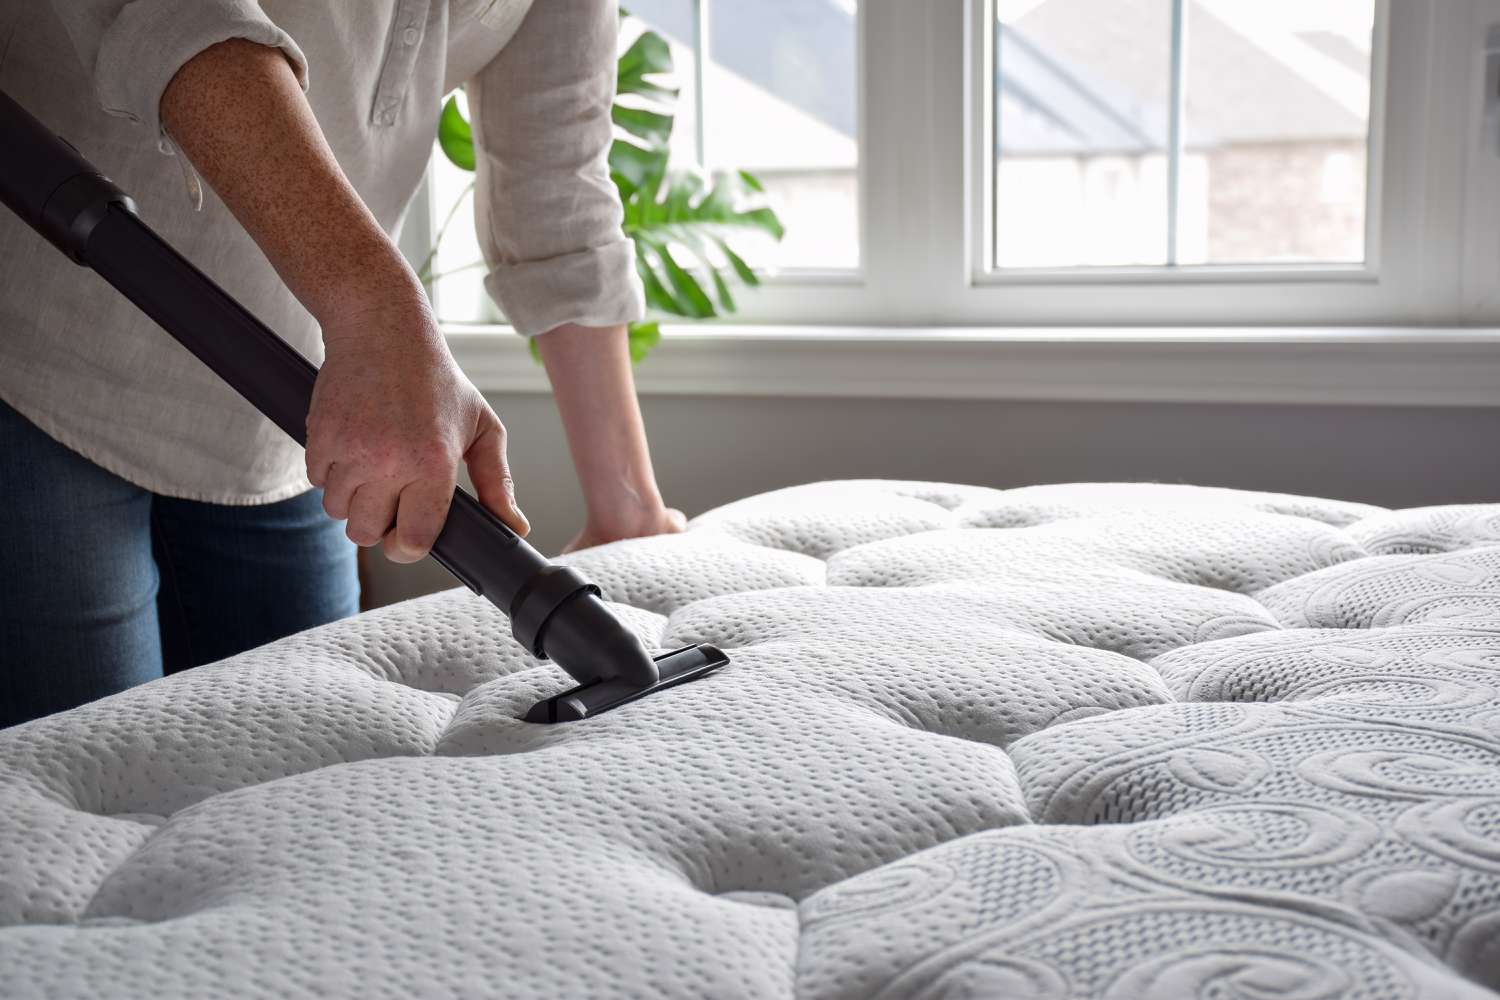
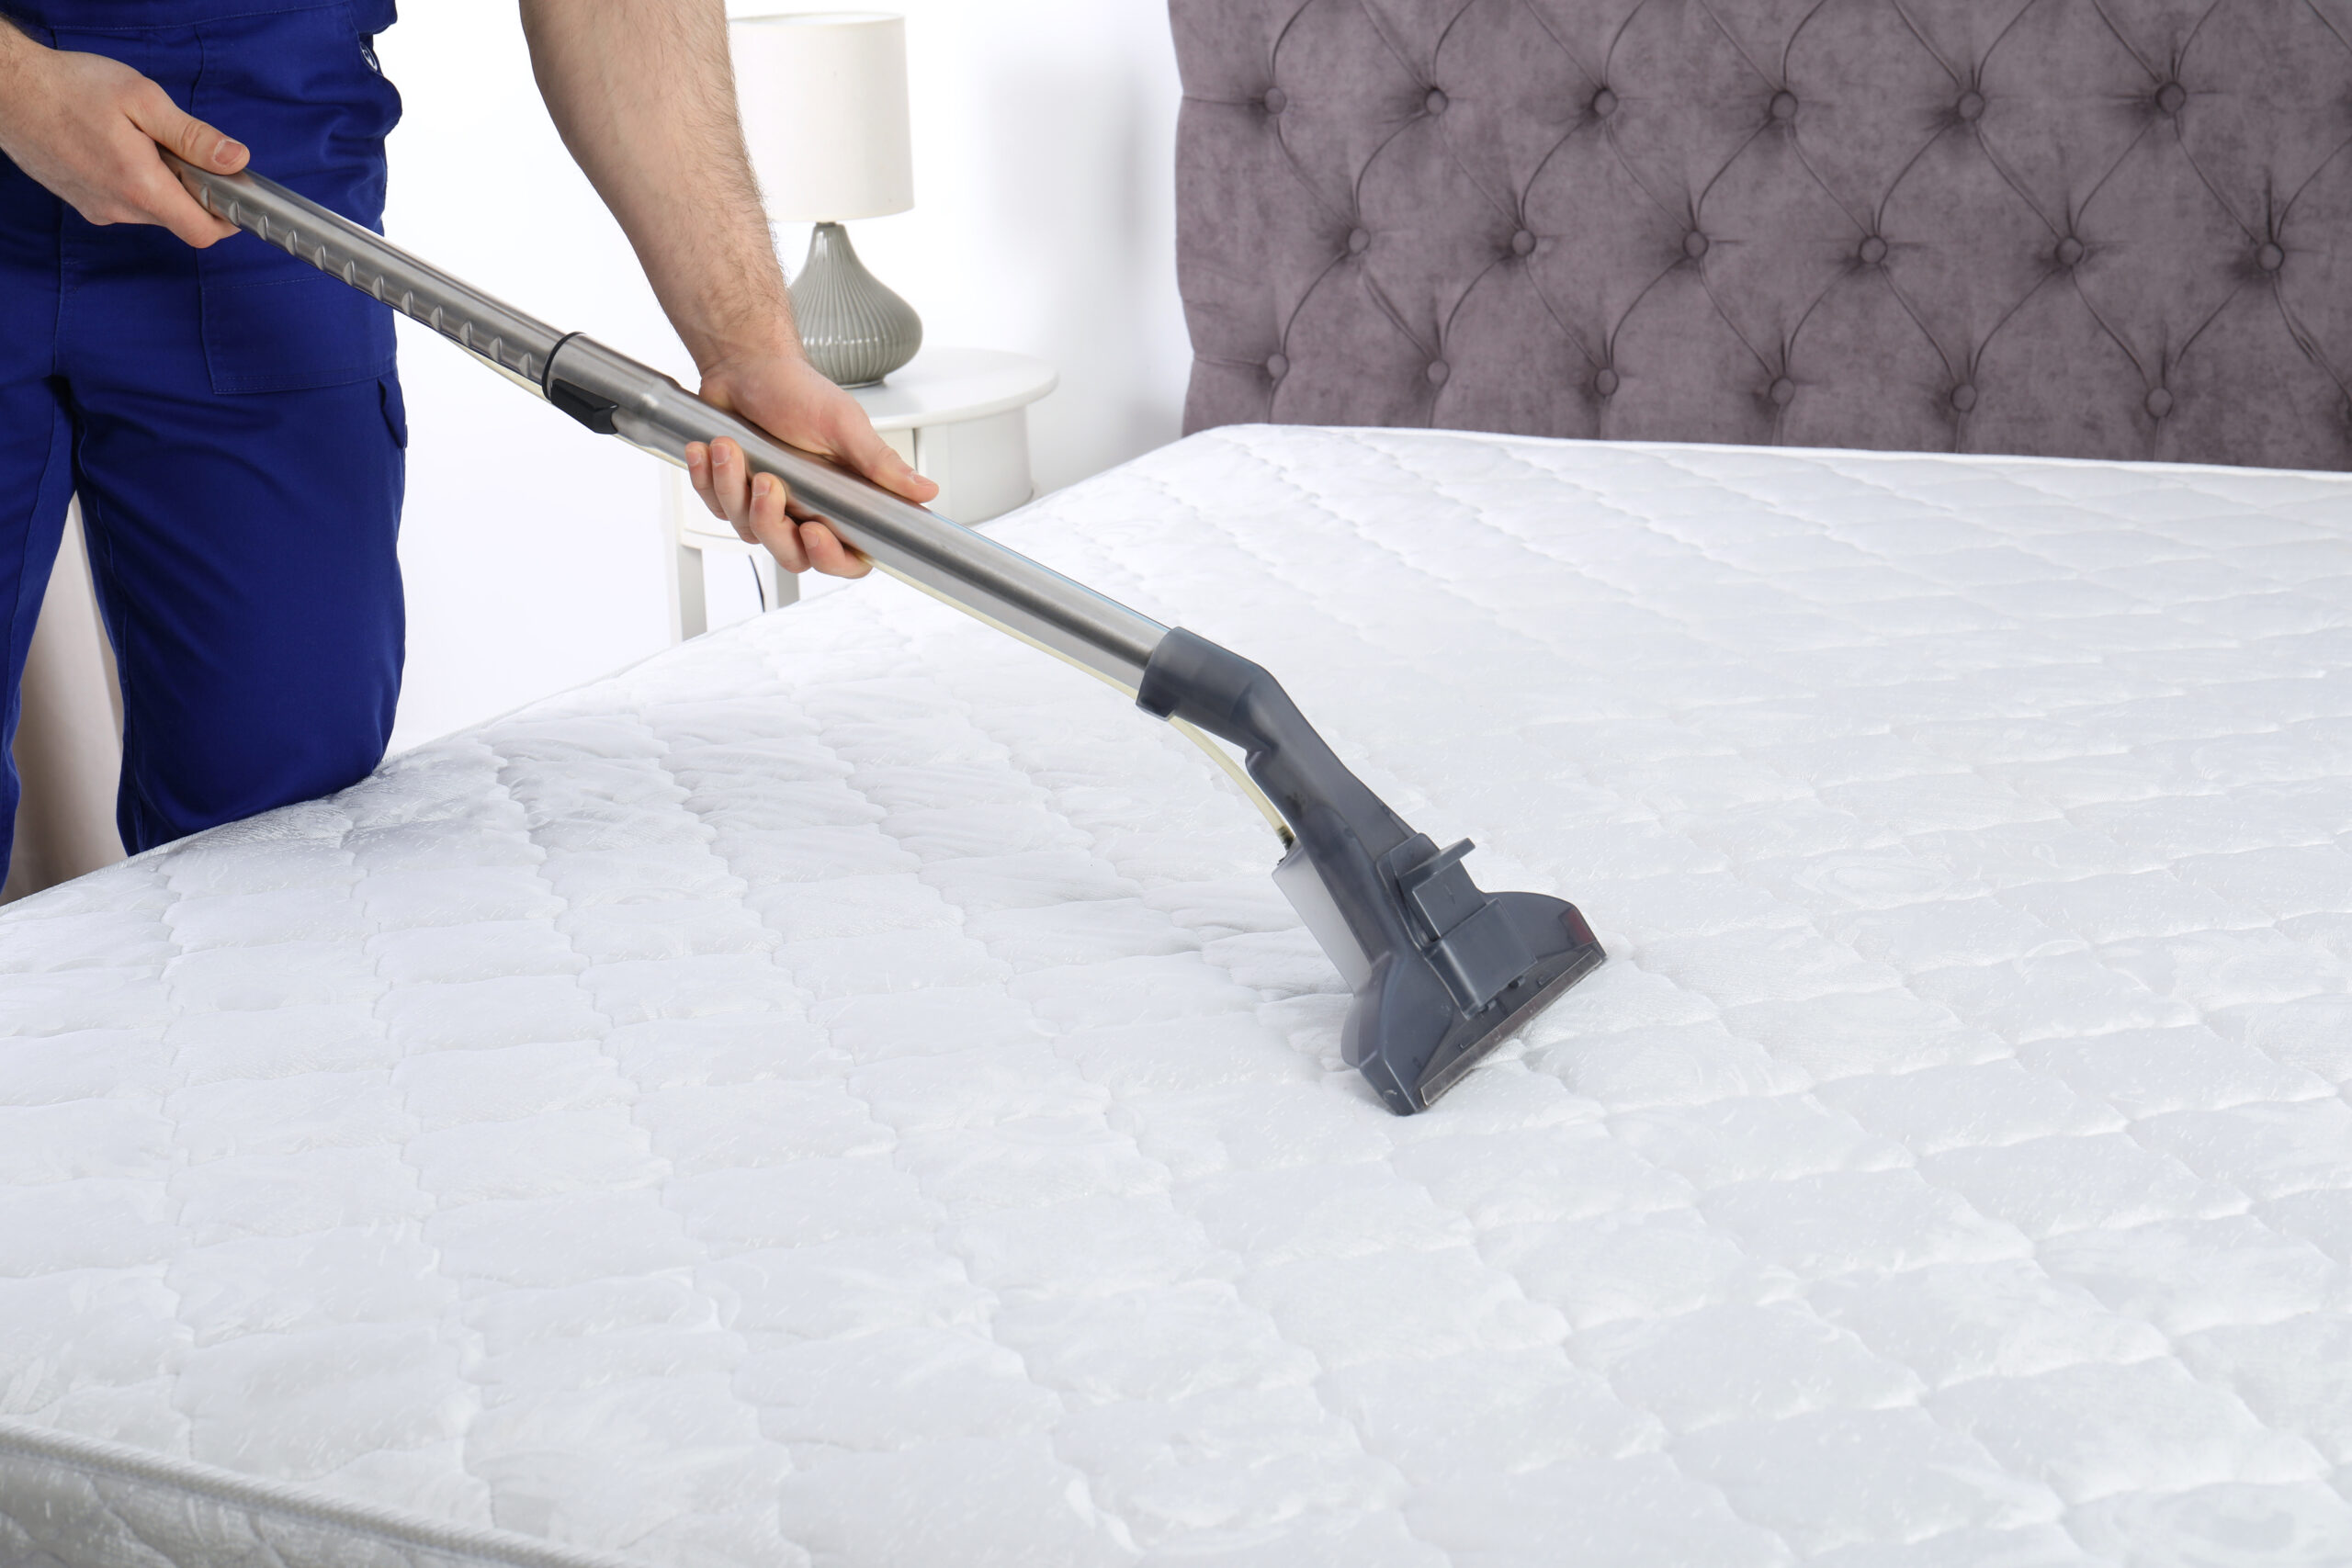
Step 2: Vacuum slowly, like you mean it
This is the unglamorous step that makes the biggest difference. Vacuum the entire surface, including seams, tufts, and the piping around the edges. Go slowly and overlap passes. If you have allergies, consider wearing a mask during this part.
Do not skip the sides. Dust clings to the vertical panels, and that dust is part of the stale smell.
Step 3: Spot-treat stains without soaking
Think “blot and lift,” not “scrub and drown.” The number one mistake is using too much water, which pushes the stain deeper and leaves the inside of the mattress damp.
A gentle all-purpose spot cleaner (best for light stains)
Mix in a small bowl:
- 2 cups cool water
- 1/2 teaspoon dish soap
Dampen a cloth (do not pour onto the mattress), blot the stain from the outer edge inward, then blot with a clean cloth dampened with plain water to remove soap residue. Finish by pressing a dry towel firmly on top to pull up moisture.
Common stain playbook
- Sweat or light yellowing: Use the gentle soap mix above, then sprinkle a light layer of baking soda on the area once it is barely damp. Let it sit while you treat other spots. For stubborn body-odor smells, an enzyme cleaner can help more than soap alone.
- Urine: Blot immediately. Press paper towels (or a clean towel) firmly and repeatedly to pull up as much liquid as possible before you mist anything. Then mist lightly with a 1:1 mix of white vinegar and water, blot again, and wait until you have blotted up most of that moisture before adding anything powdery. Sprinkle baking soda generously over the area, let it sit 6 to 8 hours, then vacuum.
Important: DIY steps can help on the surface, but urine odor often comes back on hot or humid days because uric acid crystals need enzymes to break down. If the stain is old, strong, or from a pet, use an enzyme cleaner and follow the label exactly (including dwell time). Dry fully afterward. - Blood: Use cold water only at first. Blot with a cloth dampened in cold water. If needed, dab with a small amount of 3% hydrogen peroxide on a cloth and blot gently, then stop. Peroxide can lighten some fabrics, so patch test first.
- Food and drink: Blot, then use the gentle soap mix. For coffee or tea, a small mist of vinegar and water can help lift tannins after soap, followed by water blotting.
A note on enzyme sprays: They are the closest thing to a “worth it” specialty product for biological stains (urine, vomit, sweat). They are not always necessary for a tiny fresh spot, but they are strongly recommended for odors that keep returning.
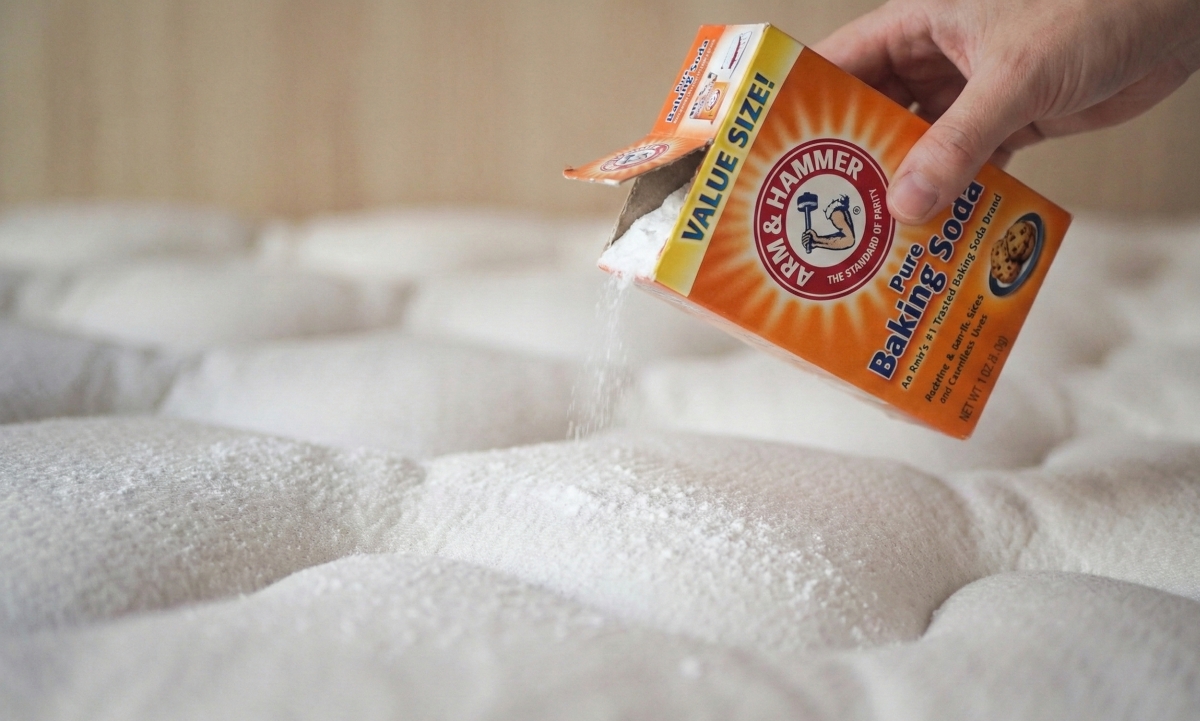
Step 4: Deodorize with baking soda
If your mattress smells a little tired, baking soda is the simplest reset button. After vacuuming and spot-treating, sprinkle a thin, even layer over the entire top surface. You want a soft snowfall, not dunes.
- Let it sit for at least 2 hours.
- For deeper odors, let it sit 6 to 12 hours (a full workday or overnight).
If you want, gently work it in with a soft brush. Then vacuum slowly and thoroughly, including seams again.
Please skip adding essential oils directly. Oils can leave stains and attract dirt. If you want a fresh scent, focus on clean bedding and good airflow instead.
Step 5: Dry it completely
It matters. A mattress that stays damp can develop mildew, and that smell is much harder to fix.
Best drying setup (no machines required)
- Open windows if weather allows.
- Run a fan aimed across the mattress surface (not necessarily down into it).
- If you can, prop the mattress slightly so air can move underneath. Even sliding a couple of sturdy books under the corners helps.
How long to wait before making the bed: At minimum, wait until the fabric feels completely dry and cool to the touch. If you used any liquid, give it several hours of airflow. A simple test: press a dry paper towel firmly on the dampest-looking spot for 10 seconds. If it picks up moisture, keep drying.
Flip or rotate (check the tag)
Not every mattress is meant to be flipped, and some modern mattresses have specific rotation guidance (or none at all). Check the tag or brand instructions. If rotation is recommended, turning it head-to-foot every 3 to 6 months helps with wear and can reduce body impressions that trap dust and odors.
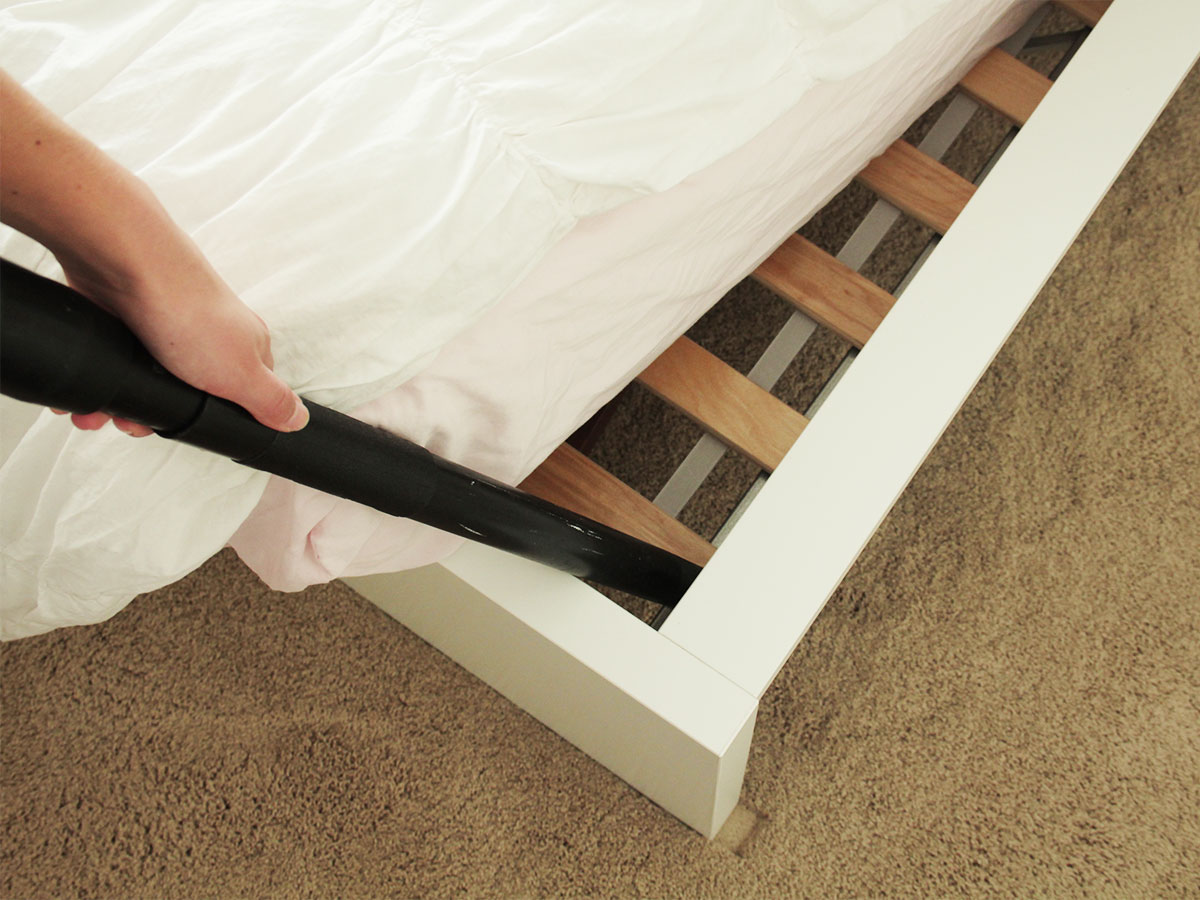
Also take a peek at what is underneath:
- Slats: Are they dusty or mildewy? Wipe them down and let them dry.
- Box spring or base: Vacuum it. It holds onto odors more than people realize.
- Wall and floor area behind the bed: If there is mustiness, that is often where it is living.
What not to do
- Do not soak the mattress or “rinse” it with lots of water.
- Do not use bleach (it can damage fabrics and leave harsh residue).
- Do not rely on perfume sprays to cover odors (they fade, the funk stays).
- Do not steam clean unless the manufacturer specifically allows it. Steam adds moisture fast, and many mattresses cannot dry deeply enough afterward.
Renter notes: protect the rental and your deposit
If you are renting, mattress issues can turn into awkward conversations fast, especially in furnished places. Here is how to keep things clean and documented without making it a whole saga.
Do this after cleaning
- Use a waterproof mattress protector that fully encases or fits snugly. This is the easiest way to prevent future stains and odors.
- Take a quick photo of any pre-existing stains if the mattress came with the unit, especially if you just moved in.
- Ventilate regularly: once a month, pull back the duvet for an hour to let moisture from sleep dissipate.
If the mattress is not yours
Keep your cleaning gentle. Avoid bleach and heavy saturation. If there is a significant stain that feels “beyond you,” it can be wiser to notify the landlord or property manager rather than experimenting with harsh chemicals that could damage fabric or violate agreements.
When a cover or replacement wins
I love a good revival story, but sometimes the kindest choice is a barrier or a goodbye.
A mattress protector makes sense if:
- The mattress is generally clean but smells lightly stale.
- You have allergies and want a dust-mite barrier.
- You are in a furnished rental and want a hygienic layer between you and the mattress.
Consider replacing the mattress if:
- There is visible mold or a persistent mildew smell even after thorough drying.
- The mattress has been heavily soaked (flooding, repeated accidents) and you cannot confidently dry the interior.
- It is often time at 7 to 10 years old, especially if it is causing pain, sagging, or deep body impressions.
- You see signs of pests (small black spotting, shed skins, or bites). Pause cleaning and address the pest problem first. Bed bugs, in particular, typically require professional treatment. DIY cleaning will not solve an infestation.
If you are unsure about mold or pest issues, it is okay to call a professional for an assessment before you invest time and energy into DIY steps.
A simple maintenance rhythm
- Weekly: Wash sheets, and let the bed air out for 30 to 60 minutes before making it.
- Monthly: Vacuum the mattress surface quickly, especially if you have pets.
- Every 3 to 6 months: Rotate (if recommended) and do a deeper deodorizing with baking soda.
A fresh mattress is not about perfection. It is about that quiet, clean feeling when you slip into bed and the room smells like nothing at all. That is the dream.
Quick FAQ
Can I use vinegar on any mattress?
Vinegar is generally safe in light dilution for deodorizing, but always patch test. Keep it minimal and prioritize drying, especially with foam layers. If you have a memory foam mattress, use the lightest mist possible and plan for extra drying time.
Will baking soda ruin my vacuum?
It can. Fine powders can bypass filters on some bagless or cyclonic vacuums and may damage motors or void warranties. Check your vacuum manual first. If your manufacturer warns against fine powders, skip vacuuming baking soda with it, or use a bagged vacuum or a shop-vac instead. (Another option: use baking soda in a very thin layer and wipe up most of it with dry paper towels first, then vacuum the remainder if your machine allows it.)
How do I get rid of “old mattress smell” fast?
Vacuum thoroughly, then use baking soda for several hours, then vacuum again using a vacuum that is safe for fine powders. Pair that with fresh bedding and airflow. Odor is often a mix of dust, body oils, and trapped humidity.