How to Clean a Fabric Lampshade Without Discoloring or Warping It
Clara Townsend
Clara Townsend is an interior stylist, vintage furniture enthusiast, and the creative voice behind Velvet Abode. With over a decade of experience transforming both cramped city apartments and sprawling fixer-uppers, she believes that a beautiful home is built on personal stories rather than massive budgets. When she isn't hunting for the perfect brass sconce at a local flea market, she can usually be found rearranging her living room for the third time this month.
A fabric lampshade is basically a tiny room for dust, cooking grease in the air, and the occasional mystery smudge. The tricky part is that many modern shades are held together with glue, stiffeners, and delicate frames, while others are sewn or mechanically wrapped. The wrong cleaning method can leave you with a yellowed spot, a wavy hem, or a shade that suddenly looks like it has opinions.
The good news: you can clean most fabric lampshades at home if you go slowly, test first, and let the shade dry in a way that protects its shape. Let’s keep the color true and the silhouette crisp.
Before you clean: quick checks
1) Unplug and cool
Turn the lamp off, unplug it, and let the bulb cool completely. Warm fabric dries faster and less evenly, which can make water marks and lines more likely if you use any moisture.
2) Identify the fabric
If you know the fabric, you can choose a safer method. If you have a care tag or brand instructions, follow those first.
- Cotton and cotton blends: Usually the most forgiving, but can shrink or wrinkle if over-wet.
- Linen: Beautiful texture, but it can show water rings if you spot-clean too aggressively.
- Silk: High risk for water spots and dye bleed. Stick to dry methods or professional care.
- Velvet: Pile can crush and show streaks. Dry methods first, very light spot-cleaning only.
- Polyester and synthetics: Often more forgiving and less prone to water spotting, but finishes vary, so test anyway.
- Paper-backed, laminated, or plastic-lined shades: Treat like “do not soak.” Too much moisture can loosen layers, warp structure, or trap moisture inside.
3) Check the construction
Look inside the shade where the fabric meets the frame.
- If you see glue seams, assume soaking can soften adhesive.
- If the shade has trim, fringe, tape, or binding, those are often the first things to bleed color or loosen.
- If there is a hard inner liner, paper insert, or visible sizing, avoid heavy moisture and be cautious with alcohol.
4) Always test a hidden seam
This is the renter-safe, stress-saving step. Pick an inner seam near the top or bottom ring, dip a cotton swab in your cleaner, blot it on a paper towel (so it is damp, not dripping), and dab the seam.
- If you see color on the swab or towel, stop and switch to dry methods or a pro.
- If the fabric darkens but dries back evenly within 10 to 15 minutes, you are likely safe to proceed gently.
Step one: dusting
Most lampshade “stains” are actually dust plus airborne oils. Regular dusting keeps the fabric bright and reduces the need for wet cleaning.
Best tools for dusting
- Microfiber cloth: For smooth weaves like cotton or linen.
- Soft upholstery brush on a vacuum: Use the lowest suction setting.
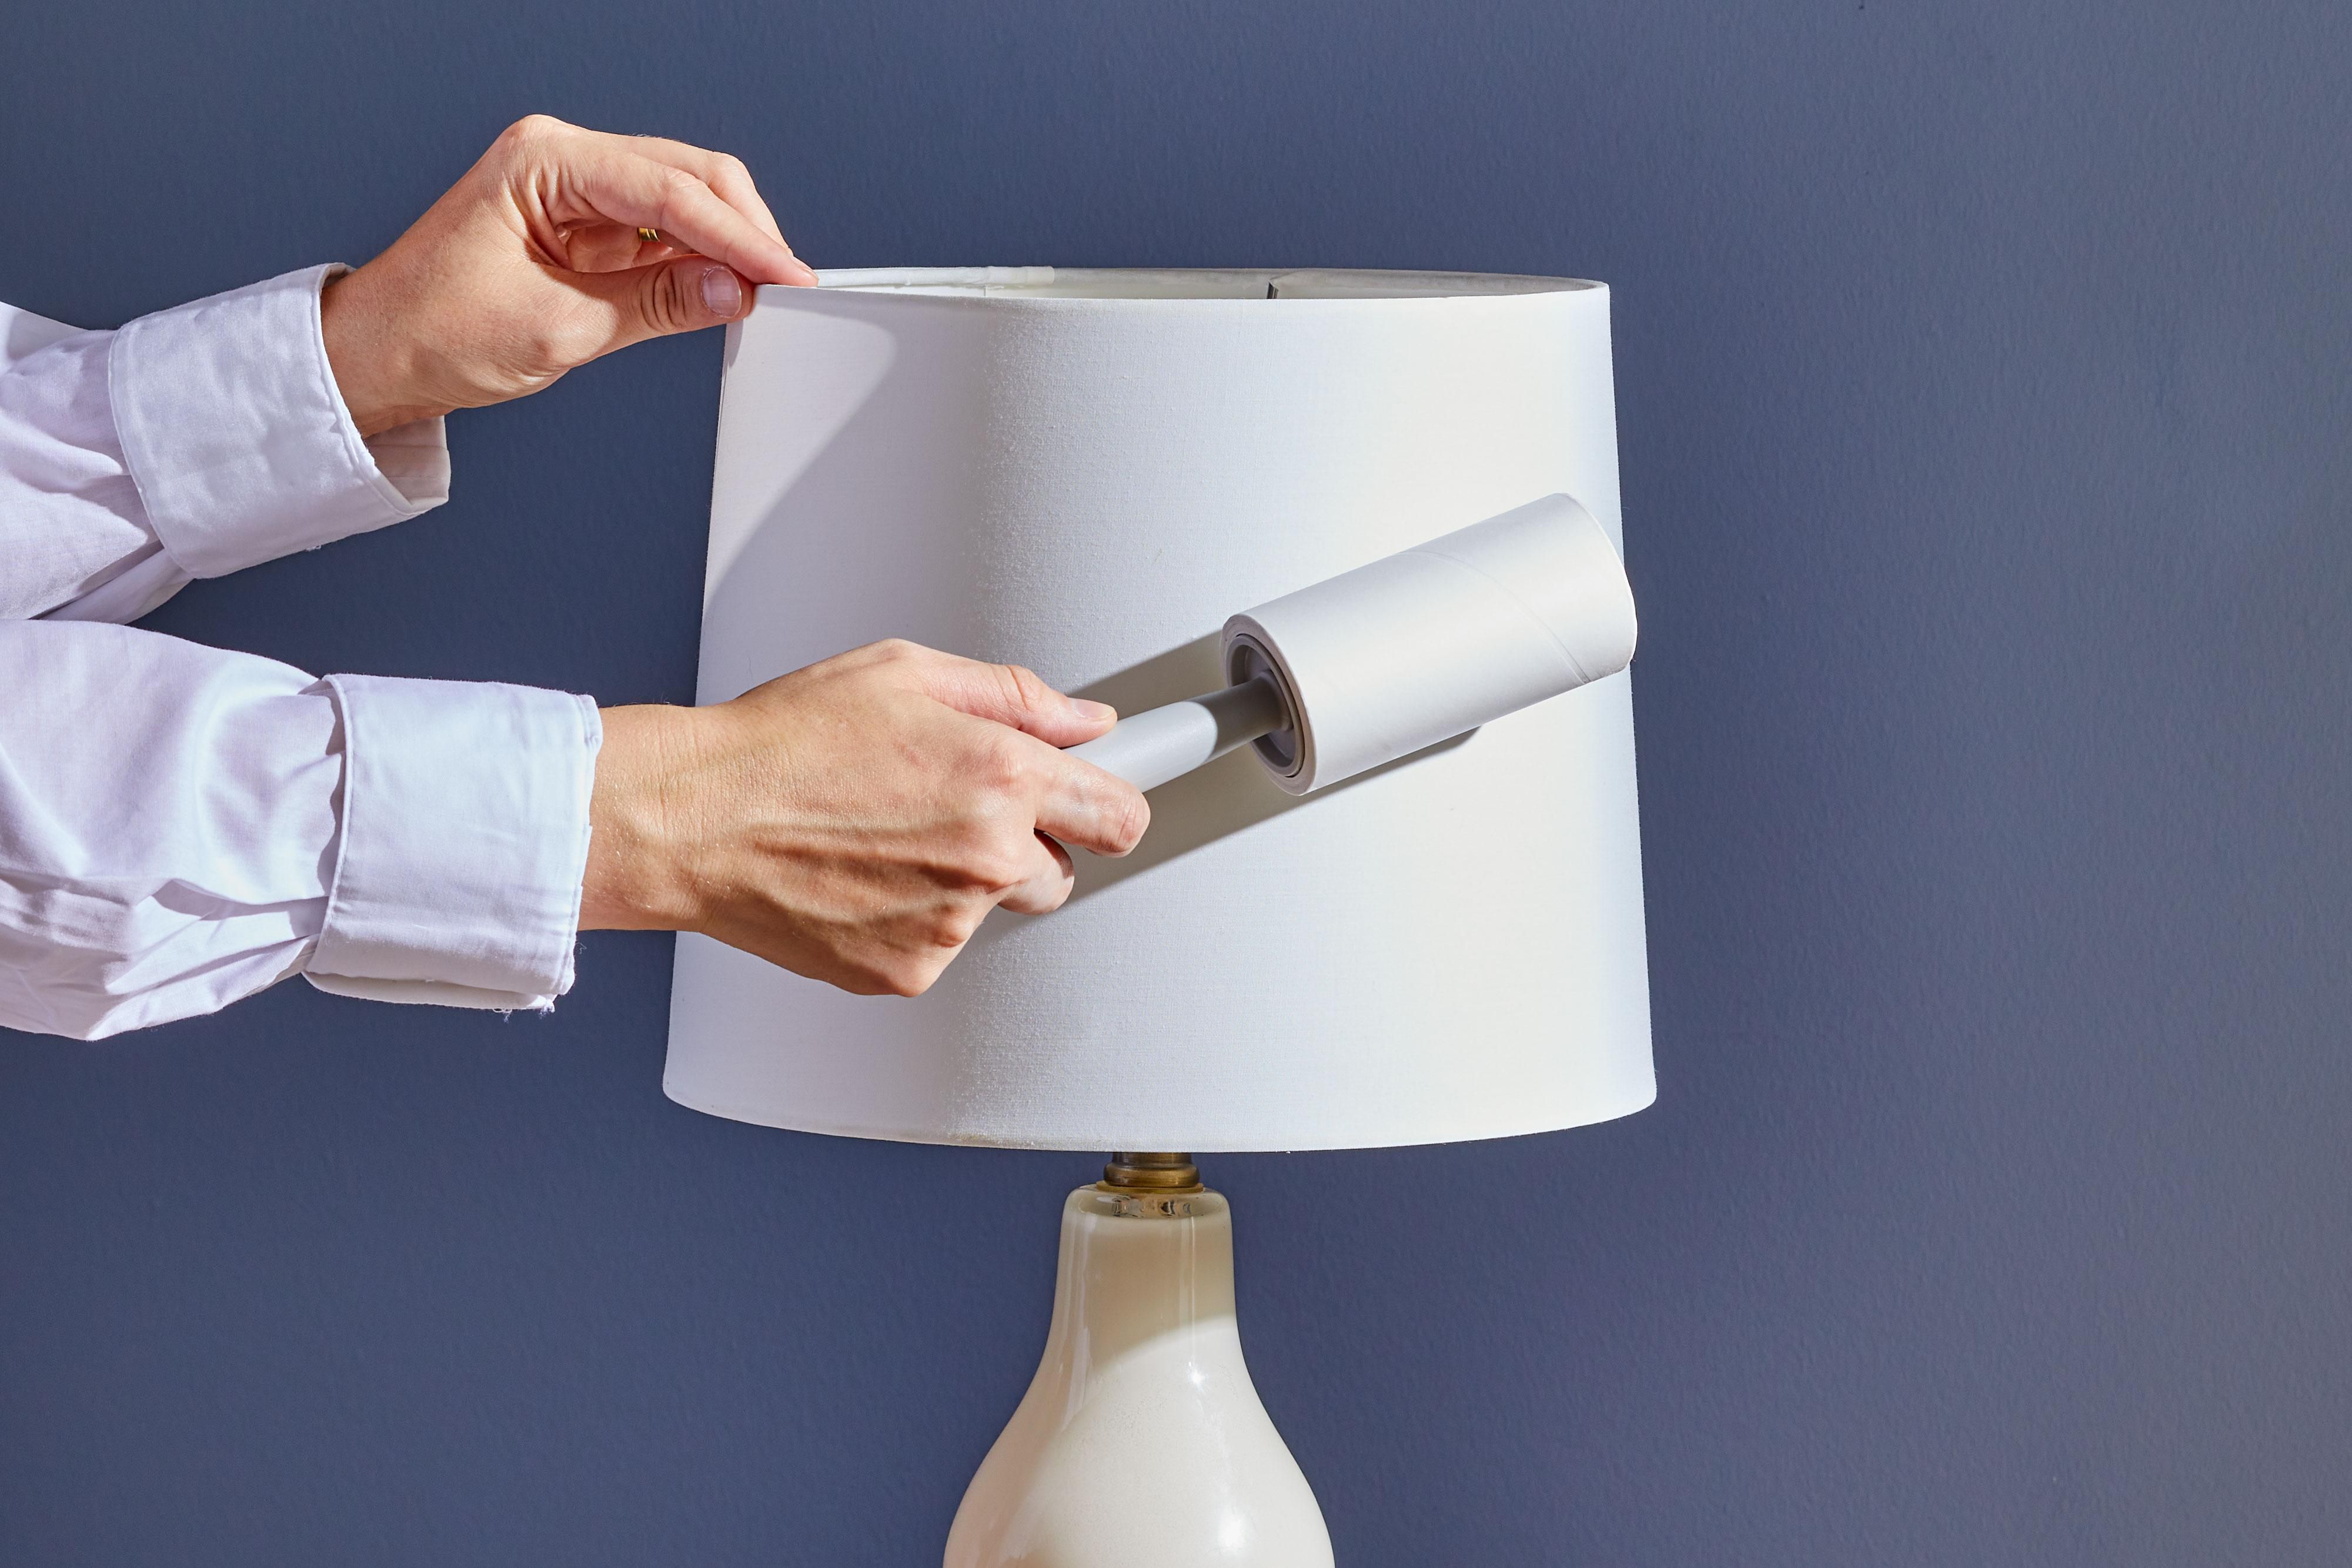
- Lint roller: Great for textured fabrics and pet hair.
- Clean, soft paintbrush: Perfect for pleats, trim, and delicate edges.
How to dust without bending the frame
Remove the shade from the lamp. Hold it by the metal ring or the sturdiest part of the frame, not the fabric.
- Work top to bottom, rotating the shade as you go.
- If vacuuming, hover the nozzle about 0.5 to 1 inch off the fabric, and let the brush do the work.
- Finish with a quick pass of a lint roller to pick up what brushing loosens.

Spot-cleaning: small marks
Spot-cleaning is the sweet spot for most shades. You use as little moisture as possible, only where needed, and you avoid soaking glue, stiffeners, and seams.
Simple cleaning kit
- Distilled water (helps prevent mineral rings)
- White microfiber cloths or soft cotton cloths
- Mild dish soap (a tiny amount)
- Soft sponge
- Rubbing alcohol (70%) for some oily marks, used sparingly
- Dry towel for blotting
Make a gentle solution
In a small bowl, mix:
- 1 cup distilled water
- 1 to 2 drops mild dish soap
You want barely-there suds. If it looks like bubble bath, it is too strong and can leave residue that attracts dust and may dull or discolor over time.
Spot-clean step-by-step
- Blot first. If the stain is fresh, blot with a dry cloth to lift what you can.
- Dampen, do not soak. Dip a cloth in the solution, wring it out very well, then blot the spot.
- Work outside in. This helps avoid spreading a ring.
- Rinse lightly. Use a second cloth dampened with distilled water only, then blot again to reduce residue.
- Dry right away. Press with a dry towel, then air dry (more on shaping below).
For oily spots (fingerprints, cooking film)
Try a tiny amount of rubbing alcohol on a cotton swab, tested on an inner seam first. Dab lightly, then blot with a cloth dampened with distilled water to soften the edge.
- Extra caution: Alcohol can lift dye, dissolve some finishes or sizing, and can soften certain adhesives. Avoid using it near glued seams, trim, bindings, or lined shades.
- Avoid alcohol on acetate, rayon, or unknown blends where the finish may react.
- Stop immediately if you notice tackiness, stiffness changes, or a tide line forming.
If the fabric is silk, velvet, or clearly dyed in a way that looks hand-finished, stay in the dry-cleaning lane. Water is where heartbreak happens.
Deeper cleaning: overall dullness
If the shade has an overall gray cast, a smoky film, or that “it used to be brighter” look, you may need more than spot-cleaning. The method depends on how sturdy the shade is and whether it can handle moisture.
Option A: Dry methods (safest)
- Lint roller plus vacuum: Do a full pass with both.
- Dry cleaning sponge (chemical sponge): Often used for soot and smoke residue. Gently wipe the surface, turning the sponge to a clean side as it picks up grime. Test first on an inner seam.
- Baking soda deodorize (no contact): If the shade smells stale, set it in a large box with an open bowl of baking soda nearby (not on the fabric). Leave it overnight, then air it out.
If mustiness persists, treat it as a possible moisture or mildew issue. In that case, professional cleaning or replacement may be the safer move.
Option B: Light all-over wipe (only if it passes the test)
Use the mild soap solution from above, but think “barely damp.” Work in small sections, rotating the shade as you go.
- Wipe gently in the direction of the weave.
- Follow immediately with a distilled-water-only cloth to remove soap.
- Blot dry as you work so no area stays wet for long.
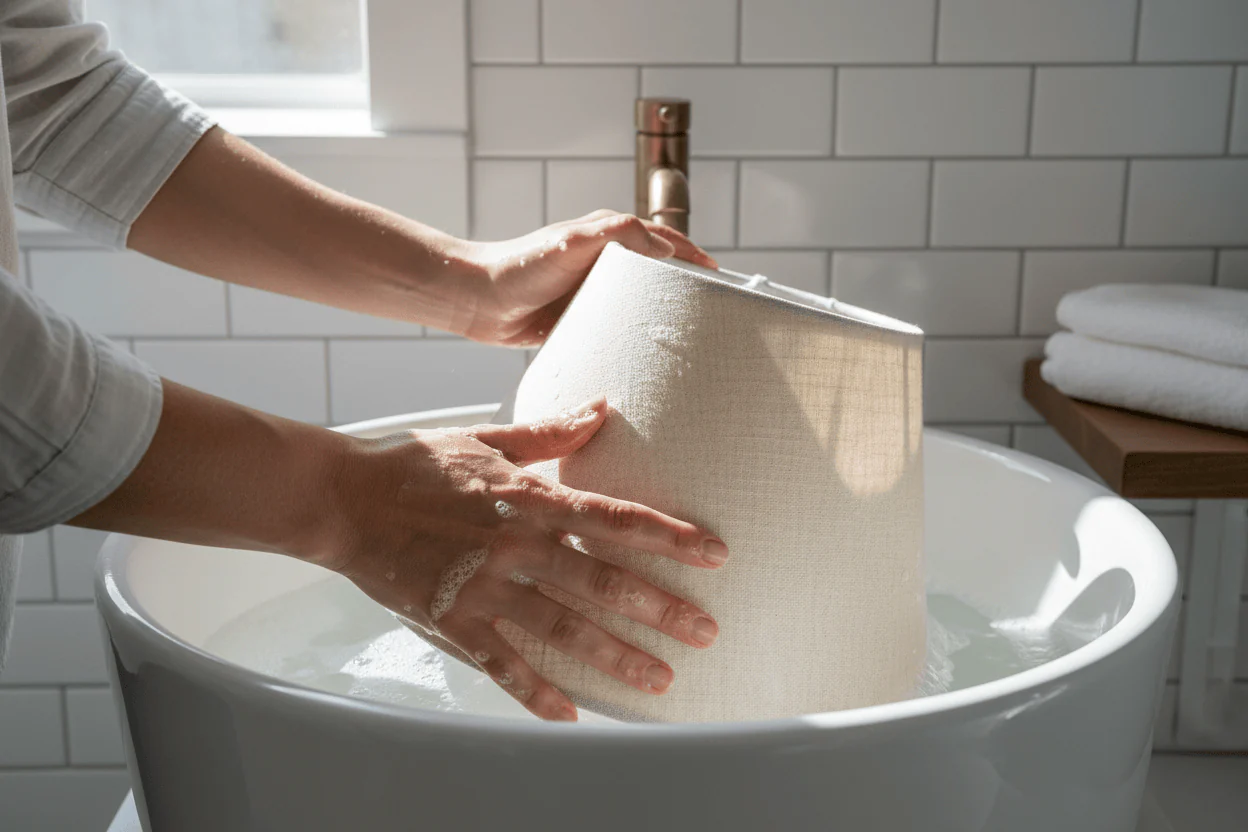
Option C: Bath method (rare)
Some sturdy, untrimmed cotton shades can handle a quick dip, but many cannot. If your shade has glued trim, paper backing, plastic liner, hand-dyed fabric, pleats, or any stiffness you want to preserve, skip this and go pro.
If you do choose a bath method for a simple, robust shade:
- Fill a clean tub with cool distilled water and a few drops of mild soap.
- Dip briefly and swish gently. No scrubbing.
- Rinse in cool distilled water.
- Do not twist or wring. Lift and let water drip off.
This is the most likely method to cause warping, so I treat it as a last resort for shades you could replace if needed.

Drying: keep the shape
Drying is where warping happens, not always the cleaning itself. Your goal is even airflow and zero pressure on the fabric while it is damp.
Best drying setup
- Air dry only. No hair dryer, no radiator, no direct sun. Heat can shrink fabric and soften adhesives.
- Keep it upright. Set the shade on a clean, dry towel with the wider opening down (if it is a drum shade) so air can move through.
- Support the rings. If the shade wants to wobble, nest it gently in a bowl lined with a towel so the ring stays round and elevated.
- Rotate occasionally. Turn the shade every 30 minutes for the first couple of hours for even drying.
Fix a slight wave before it sets
If you notice a ripple along the bottom edge while the shade is still slightly damp, reshape it with your hands by holding the metal ring and smoothing the fabric lightly. Do not press hard. Then let it dry completely without touching.
Before you reinstall
Do not reattach the shade or turn the lamp on until it is fully dry inside and out. If it feels cool to the touch, it is still drying.
Fabric-specific cautions
Linen
Linen can watermark. If you spot-clean, feather the dampness outward and rinse lightly with distilled water so the edge dries evenly.
Silk
Silk can spot and lose dye. Stick to dusting, lint rolling, and dry cleaning sponge. For stains, professional cleaning is the safest choice.
Velvet
Vacuum with a soft brush and use a lint roller gently. If you must spot-clean, blot only and avoid rubbing the pile. Let it dry without touching so the texture does not flatten.
Polyester and synthetics
Usually easier to spot-clean, but finishes can still react. Use the seam test, keep moisture minimal, and avoid alcohol unless you have confirmed no finish transfer.
Patterned or richly colored shades
Dye bleed is more likely. Your hidden-seam test matters here. If you see even a whisper of color transfer, stop using water.
Pleated shades
Dust with a clean paintbrush first, then a very light vacuum. Wet cleaning can relax pleats and distort the crisp lines.
Quick stain notes
Smoke, nicotine, soot
Start with dry methods: vacuum, lint roll, then a dry cleaning sponge. If you are dealing with heavy yellowing or smoke odor that will not budge, this is a strong “call a pro” category.
Mildew spots
If you see speckling plus a musty smell, treat it seriously. Avoid soaking the shade. Move it to a dry, ventilated area and consider professional cleaning. If mildew has penetrated the fabric or lining, replacement is sometimes the safest option.
Insect specks
Let any spots dry fully, then lift gently with a slightly damp cloth and a drop of mild soap. Blot, rinse with distilled water, and dry promptly. If the fabric is delicate or dyed, stick to dry methods and spot-test first.
When to DIY vs. call a pro
DIY spot-clean if
- The shade is cotton, a sturdy blend, or a tested synthetic.
- The stain is small and recent.
- The hidden-seam test shows no dye transfer.
- There is minimal trim and no delicate pleating.
Call a pro if
- The shade is silk, velvet, vintage, or has unknown dyes or finishes.
- There is smoke damage, heavy yellowing, or widespread staining.
- The shade has glued-on fringe, ribbon, or ornate trim you do not want to loosen.
- You tried cleaning and the fabric looks patchy, ringed, stiff, or tacky.
A local lampshade shop or upholstery cleaner can often advise based on photos. If the shade is sentimental or hard to replace, that consultation is worth it.
Common mistakes
- Using too much soap: Residue attracts dust and can leave the shade looking dull.
- Using tap water: Minerals can leave rings, especially on light fabric.
- Scrubbing: Roughs up fibers and spreads stains.
- Soaking a glued or lined shade: Can soften adhesive, loosen trim, or warp layers.
- Drying near heat or in sun: Leads to shrinkage, rippling, and uneven color.
- Cleaning on the lamp: Moisture can get into the socket area and it is harder to control pressure on the frame.
Simple maintenance
I like “tiny habits” for home care because they keep your space feeling loved without turning your weekend into a chore.
- Weekly: One quick lint-roll pass if you have pets or open windows often.
- Monthly: Vacuum with a soft brush attachment on low.
- Seasonally: Take the shade off, dust inside and out, and check for dullness near the top where heat and airborne oils collect.
And if you cook a lot, run the range hood and keep fabric shades a little farther from the kitchen zone. Grease in the air is sneaky and it loves lampshades.
One more heat tip for the long game: use the correct bulb wattage, and consider LEDs to reduce heat and slow future discoloration.