How to Brighten Yellowed Fridge and Dishwasher Door Seals
Clara Townsend
Clara Townsend is an interior stylist, vintage furniture enthusiast, and the creative voice behind Velvet Abode. With over a decade of experience transforming both cramped city apartments and sprawling fixer-uppers, she believes that a beautiful home is built on personal stories rather than massive budgets. When she isn't hunting for the perfect brass sconce at a local flea market, she can usually be found rearranging her living room for the third time this month.
Those once-white gasket seals around your refrigerator and dishwasher doors have a way of turning… tea-stained. It's rarely dramatic. It's more like a slow fade into yellowing, plus a little mystery grime tucked into the folds.
The good news: you can usually brighten them significantly with gentle steps and patience, without resorting to harsh chemicals that dry out rubber or make it crack. Below is my go-to sequence for lifting visible discoloration and cleaning the creases where gaskets love to hoard crumbs, drips, and detergent residue.
Quick note: If you still have your appliance manual (or can pull it up online), it's worth a 30-second check for gasket-safe cleaning guidance. Some manufacturers are picky, especially with dishwashers.
Before you start: what you're seeing
Not all yellowing is the same, and your approach should match the cause. Think of gasket discoloration as falling into three buckets.
1) Surface grime (most common)
This is the grayish film, sticky spots, or speckled dirt sitting on the surface and in the creases. It usually lifts quickly with warm water, a little soap, and a soft brush.
2) Embedded staining (slower to lift)
Older gaskets often yellow from oxidation, airborne oils, cooking residue, and time. This isn't “dirt” so much as staining within the rubber or plastic. You can often improve it, but it may not return to bright white.
3) Pink or black spotting in folds
This is often mildew, mold, or bacterial biofilm that likes damp, hidden creases (dishwashers are the usual culprit). You want gentle but thorough physical removal from the folds, and the hydrogen peroxide step can be especially helpful for neutralizing what you can't fully see. If it returns quickly, it's also a clue to focus on drying and airflow.
What not to use (so you don't damage the gasket)
Gaskets are flexible for a reason. They need to stay supple to seal properly. Many “power” cleaners work by being abrasive or aggressively alkaline, which can dry and roughen rubber over time.
- Abrasive powders or gritty pastes that can scuff the surface and create more places for grime to cling.
- Metal scrubbers that nick the gasket and tear thin edges.
- Strong disinfectants or high-concentration bleach that can degrade some gasket materials (it depends on what your seal is made of, plus contact time). If you're unsure, check the manual first and always dilute and rinse thoroughly if a manufacturer approves it.
- Solvents like acetone that can damage plastics and rubber compounds.
If you're renting, keeping it gentle is also your safest path for avoiding accidental damage.
Gather your gentle toolkit
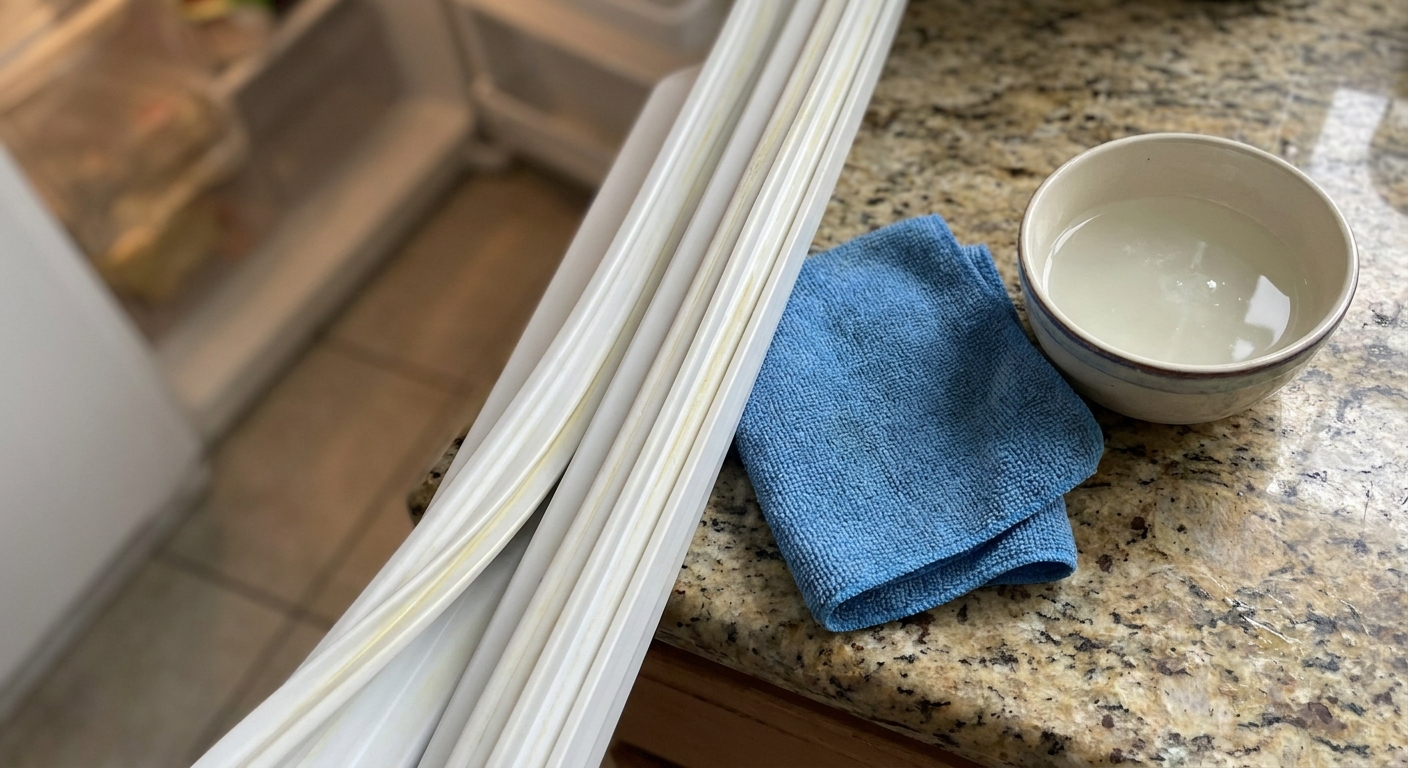
You don't need a cabinet of products. This is my simple, gasket-safe kit:
- Warm water
- Mild dish soap
- Microfiber cloths (at least two)
- A soft toothbrush or small, soft detailing brush
- Cotton swabs for tight corners
- Baking soda (optional, for a targeted whitening paste)
- 3% hydrogen peroxide (optional, for stubborn yellowing or spotting)
- A small bowl and a spray bottle (optional)
- Optional: gloves and good ventilation if you're sensitive to cleaners
The best step-by-step cleaning sequence
This is the order I recommend because it moves from mild to slightly stronger, and it prioritizes rinsing well. That's what keeps gaskets healthy.
Step 1: Open the door and remove debris
For refrigerators, wipe the bottom edge of the gasket and the frame where crumbs collect. For dishwashers, look for food particles and gunk in the lower corners and along the hinge side where drips settle. (If your dishwasher smells or drains poorly, check the filter too, but that's a separate mini-project.)
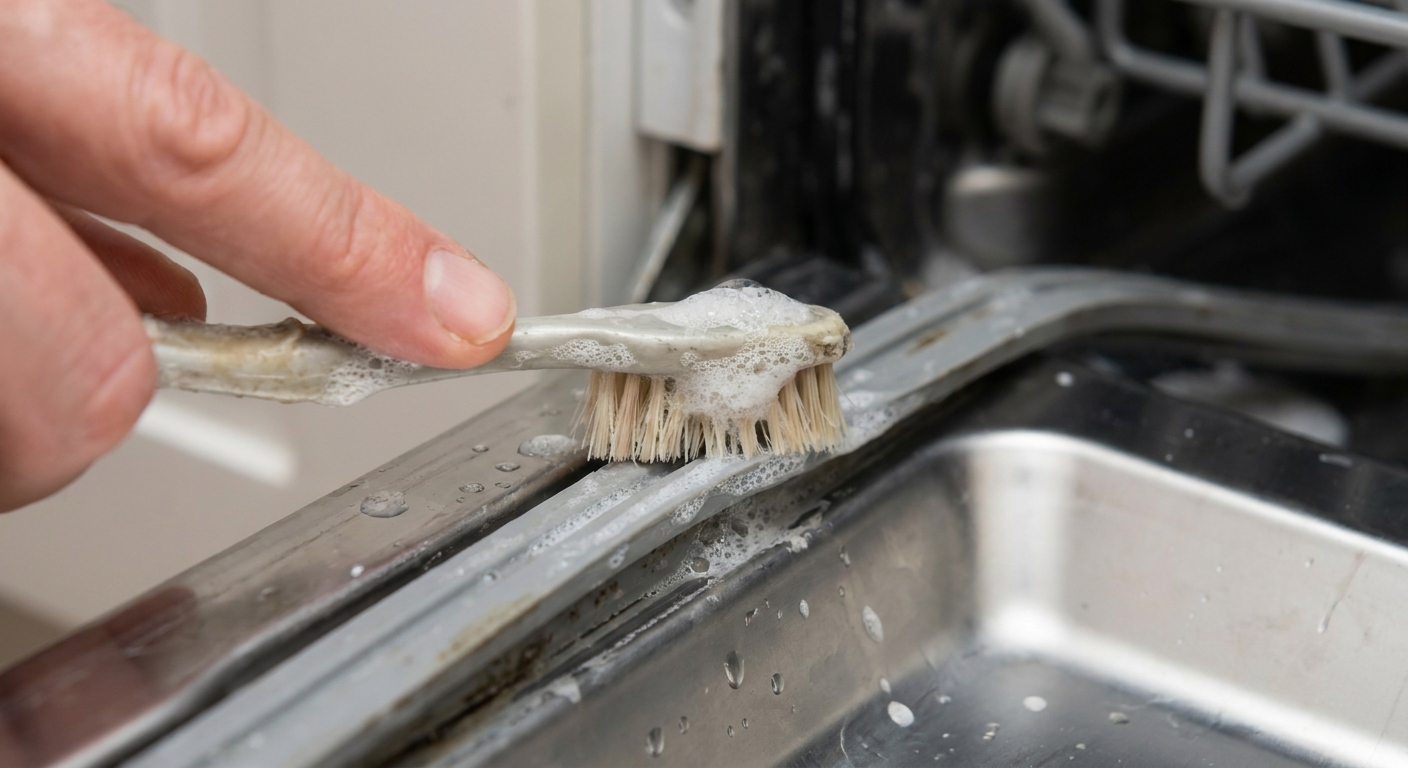
Step 2: Wash with warm soapy water
Mix a few drops of dish soap into warm water. Dip a microfiber cloth, wring it well, and wipe the gasket thoroughly. Then use the soft toothbrush to gently scrub inside the folds.
- Go with the shape of the gasket, not against it. Think sweeping motions, not aggressive scrubbing.
- Pull the folds open gently so you can reach the hidden creases.
Step 3: Rinse like you mean it
Soap residue can attract grime later. Use a clean cloth dampened with plain warm water and wipe again, especially inside the folds. If you can, do two passes with clean water.
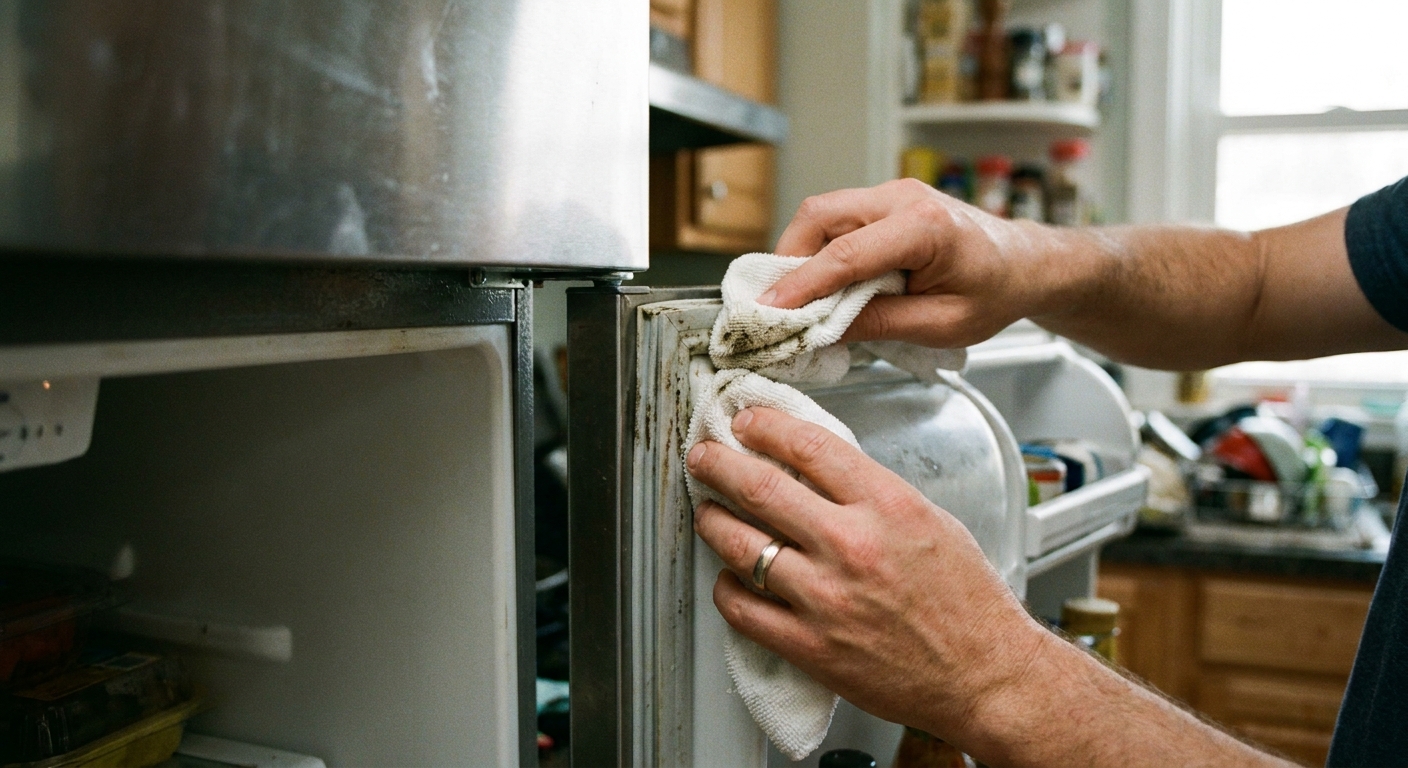
Step 4: Dry the gasket fully
Use a dry microfiber cloth and press into the folds. This step is simple but powerful. A dry gasket stays cleaner-looking longer.
Step 5 (optional): Baking soda paste for surface dinginess
If the gasket still looks dull or lightly stained, make a paste: 2 tablespoons baking soda + 1 tablespoon water. Apply a thin layer to the yellowed areas, let it sit for 10 to 15 minutes, then gently rub with a damp cloth or soft brush. Rinse well and dry.
Step 6 (optional): Hydrogen peroxide for stubborn yellowing or spotting
If you're dealing with older yellowing that seems “in” the material, or pink or black spotting in the folds, hydrogen peroxide can help brighten and neutralize without the harshness of chlorine bleach.
- Dampen a cloth with 3% hydrogen peroxide and lay it over the affected section for 15 to 30 minutes.
- Check every 10 minutes and keep the cloth damp so it doesn't dry on the surface (drying can lead to uneven lightening or residue).
- Wipe, rinse with water, and dry thoroughly.
Important: Spot test first on an inconspicuous area. And don't mix peroxide with vinegar or bleach. When in doubt, keep it simple, rinse well, and stop if you notice any texture changes.
Step 7: Clean the mating surface on the appliance frame
Even a perfectly clean gasket looks dingy if the frame it seals against has sticky residue. Wipe the door frame edge with the same warm soapy water, rinse with clean water, and dry.
Step 8 (optional): Quick seal check
For a refrigerator seal, try the simple dollar-bill test: close the door on a bill and gently pull. If it slides out easily in multiple spots, the seal may not be sealing well, even if it's clean. If you're in a rental, that's a great photo-and-message moment for maintenance.
Fridge vs dishwasher gaskets
Refrigerator seals
- Grease and handprints are common near the handle side. Spend extra time there.
- Check for tiny cracks along the inner bend. If the rubber is splitting, stick to gentle cleaning only. Over-scrubbing can speed up damage.
Dishwasher seals
- Detergent film can leave a chalky look. Rinsing well after cleaning (and not leaving soap behind in the folds) is key.
- Creases hold moisture. Drying the folds after cleaning makes a visible difference in keeping them bright.
- Help it dry out: after a cycle, crack the door open for a bit if you can. Less trapped moisture means less repeat spotting.
If it's still yellow: what's realistic
I'm all for a satisfying before-and-after, but gasket materials age. If you've done the gentle wash, the baking soda paste, and a careful peroxide soak and it's still buttery-yellow, you may be seeing oxidation or permanent staining.
Here's a helpful mindset shift: your goal is often clean and even, not necessarily “brand new white.” A clean gasket that seals well is a win, even if it has a little vintage patina energy.
Maintenance that keeps seals bright
This is the low-effort rhythm I recommend for most homes and rentals:
- Weekly: Quick wipe of the visible outer gasket edge with a damp cloth, especially on the fridge handle side.
- Monthly: Open the folds and wipe inside with warm water. Dry after.
- Every 3 to 6 months: Full wash with warm soapy water, brush the creases, rinse, and dry. Use baking soda paste only if needed.
If you cook a lot (hello, sauté splatter) or your kitchen runs humid, you might prefer the monthly deep wipe. It takes five minutes and saves you from the “why is this yellow again?” spiral.
When cleaning isn't enough
Sometimes the gasket is telling you it's ready to retire. Consider replacement if you notice:
- Cracking, brittleness, or tearing along the folds
- Areas that no longer spring back when pressed
- Gaps where the door doesn't seal evenly (you may feel cool air leaking on a fridge)
In a rental, it's worth documenting with a photo and sending a friendly maintenance request. A failing gasket affects energy use and performance, not just aesthetics.
A final styling-minded note
I know this isn't the glamorous side of making a home feel beautiful. But there's something quietly luxurious about clean edges and well-kept details, the kind you notice when the kitchen is calm and the light hits just right.
Take it slow, stay gentle, and let “brighter and cleaner” be enough. Your gasket doesn't have to be perfect to make your whole kitchen feel more cared for.