Garbage Disposal Leaking Under the Sink: Renter-Safe Checks

Clara Townsend
Clara Townsend is an interior stylist, vintage furniture enthusiast, and the creative voice behind Velvet Abode. With over a decade of experience transforming both cramped city apartments and sprawling fixer-uppers, she believes that a beautiful home is built on personal stories rather than massive budgets. When she isn't hunting for the perfect brass sconce at a local flea market, she can usually be found rearranging her living room for the third time this month.
There is a specific kind of panic that hits when you open the under-sink cabinet and find a growing puddle: the “Is this going to ruin the cabinet, my stuff, and my security deposit?” panic. Take a breath. Most garbage disposal leaks come from a few predictable spots, and you can usually figure out which one it is with a flashlight, a couple of paper towels, and some calm, renter-safe detective work.
This guide focuses on checks you can do without taking things apart, plus what is safe to tighten, what should be handled by maintenance, and how to protect your cabinet while you wait.
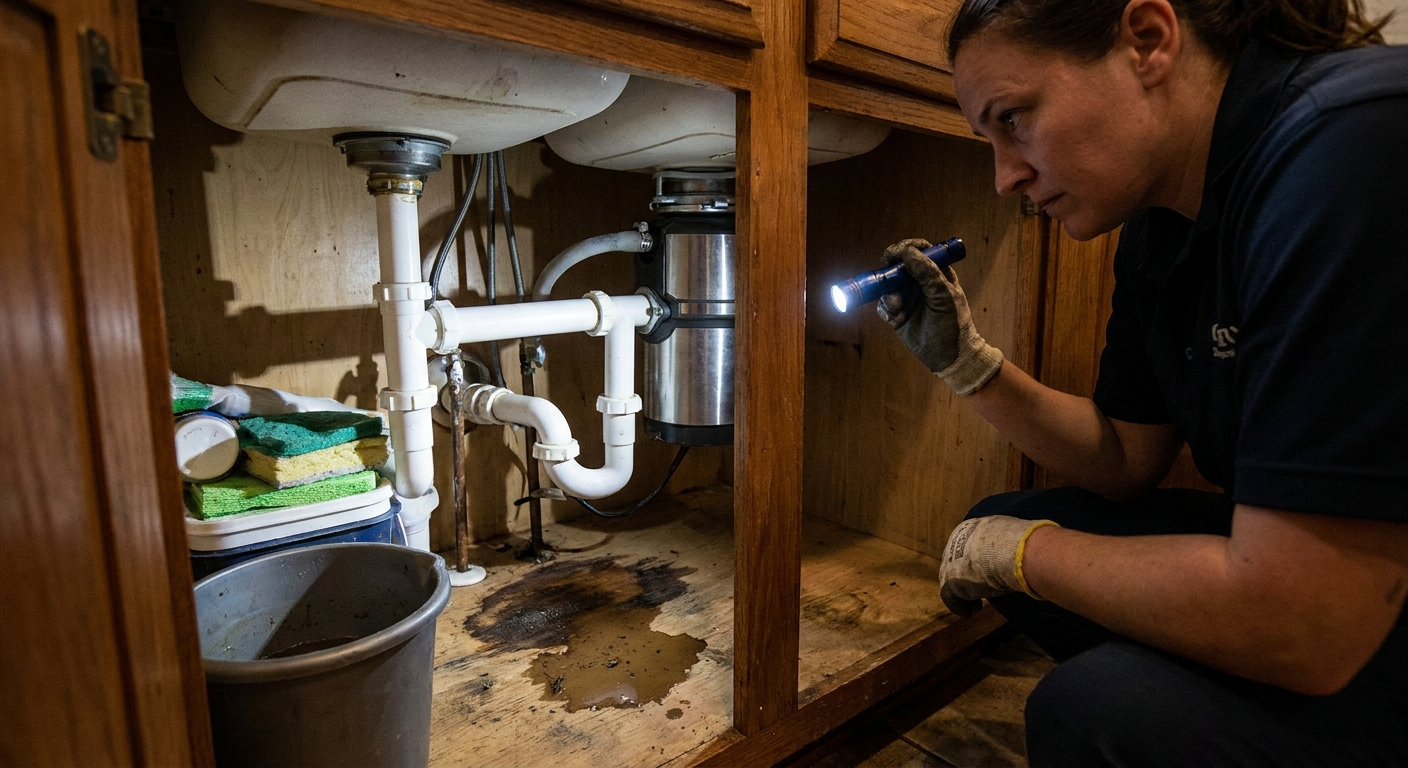
First: make it safe (and stop the water)
1) Turn off power to the disposal
- Switch off the wall switch that runs the disposal.
- Unplug the disposal from the outlet under the sink (if it has a plug-in cord). This is the most common setup in many rentals.
- If it is hardwired or you are not sure, turn off the breaker labeled “disposal” or “kitchen outlets.”
- If the outlet, plug, or any wiring is wet, do not touch it. Shut off power at the breaker and call maintenance.
- Do not put your hands anywhere near the disposal opening, even if it is off.
2) Stop active water flow
- If the leak happens only when the faucet runs, turn off the faucet and avoid using that sink until you identify the source.
- If water seems to be continuously dripping, you can shut off the hot and cold supply valves under the sink (turn clockwise). This stops water to the faucet, not necessarily drain leaks, but it helps prevent surprises while you look around.
3) Protect the cabinet immediately
Even a small leak can swell particleboard fast. While you troubleshoot:
- Slide everything out from under the sink.
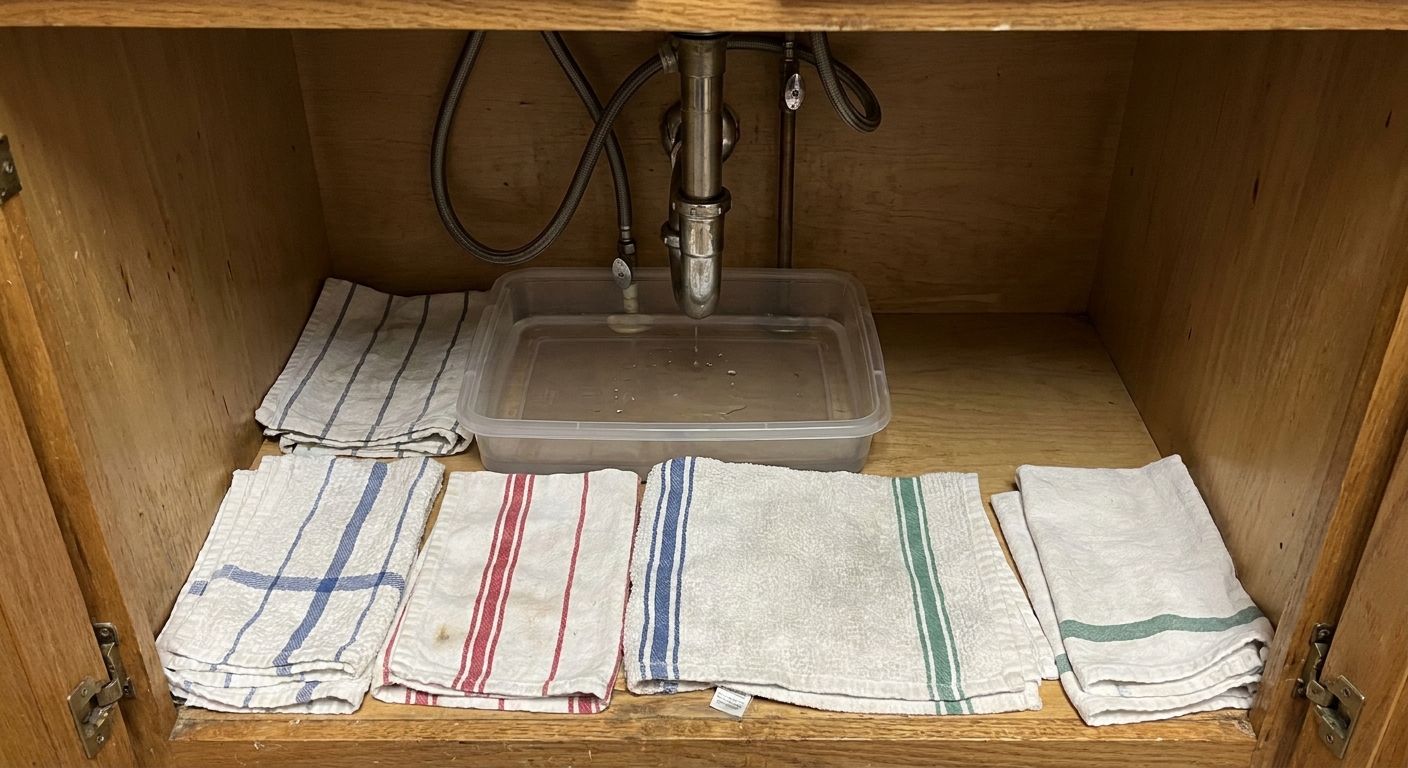
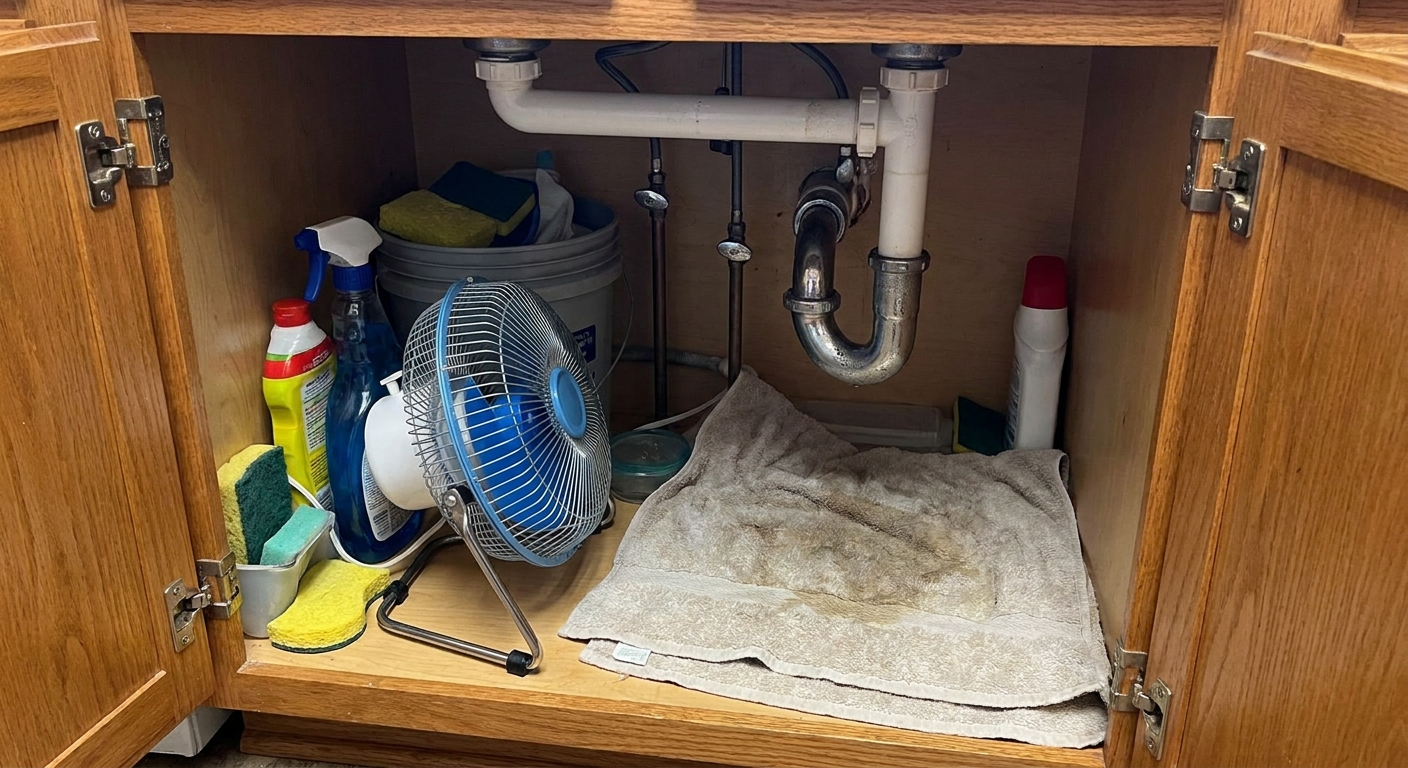
- Lay down an old towel plus a shallow tray, baking sheet, or plastic bin to catch drips.
- If the cabinet floor is already wet, blot it dry and leave the door open to air out.
Quick safety note: Skip liquid chemical drain cleaners while there is an active leak. They can turn that puddle into a toxic mess for you and the maintenance worker.
How to pinpoint the leak (the 5-minute method)
The easiest way to find the exact source is to start with a dry slate and then introduce water in a controlled way.
What you need
- A flashlight or phone light
- Paper towels or a dry rag
- A couple of dry tissues (they show tiny drips fast)
Step-by-step
- Dry everything you can reach: the disposal body, the pipes, the hose connections, and the underside of the sink.
- Place a dry paper towel under each “suspect” spot (sink flange area, dishwasher hose connection, discharge tube or outlet elbow area, and the bottom of the disposal).
- Run water into the sink basin only for 15 to 20 seconds, without turning on the disposal. Watch for drips.
- Then drain the sink and watch the connections as water rushes through.
- If you have a dishwasher connected, run the dishwasher for a few minutes (or cancel after it starts draining) and watch the dishwasher hose area.
Where the first moisture appears is usually your culprit.
If you cannot reproduce it
- Dry everything again and line the cabinet floor with paper towels.
- Use the sink normally for a day and check which towel gets wet first.
- If you have other nearby plumbing (an ice maker line, a filtered water system, or a pull-out sprayer hose), include those in your check. They can drip and look like a disposal leak.
Common leak spot #1: the sink flange (top seal)
If the leak seems to start high up, near where the disposal meets the bottom of the sink, the issue is often the sink flange seal. That is the ring at the drain opening inside the sink, sealed with plumber’s putty or a gasket.
What it looks like
- Water beads or runs down from the top of the disposal mount.
- You only see leaking when water is in the sink or draining, not when the dishwasher drains (unless it routes through the same path).
Renter-safe checks
- With the sink dry, run a thin stream of water around the drain opening and watch underneath.
- Feel around the mounting ring area with a dry tissue. If it gets wet first, the flange seal is suspect.
What you can do (usually safe)
- Check the mounting ring for looseness. If the disposal looks slightly saggy or the ring seems loose, you can sometimes gently tighten the mounting ring according to your model’s mounting system (often a twist ring). Do not force anything.
What you should not do as a renter
- Do not remove the disposal, loosen the full mount assembly, or re-seat the flange with putty unless your lease specifically allows it.
- A failing flange seal typically needs re-seating or replacing a gasket, which is a maintenance job in most rentals.
Call maintenance if: the leak clearly starts at the top seal, tightening does not help, or the disposal is wobbly at the mount.
Common leak spot #2: dishwasher hose connection
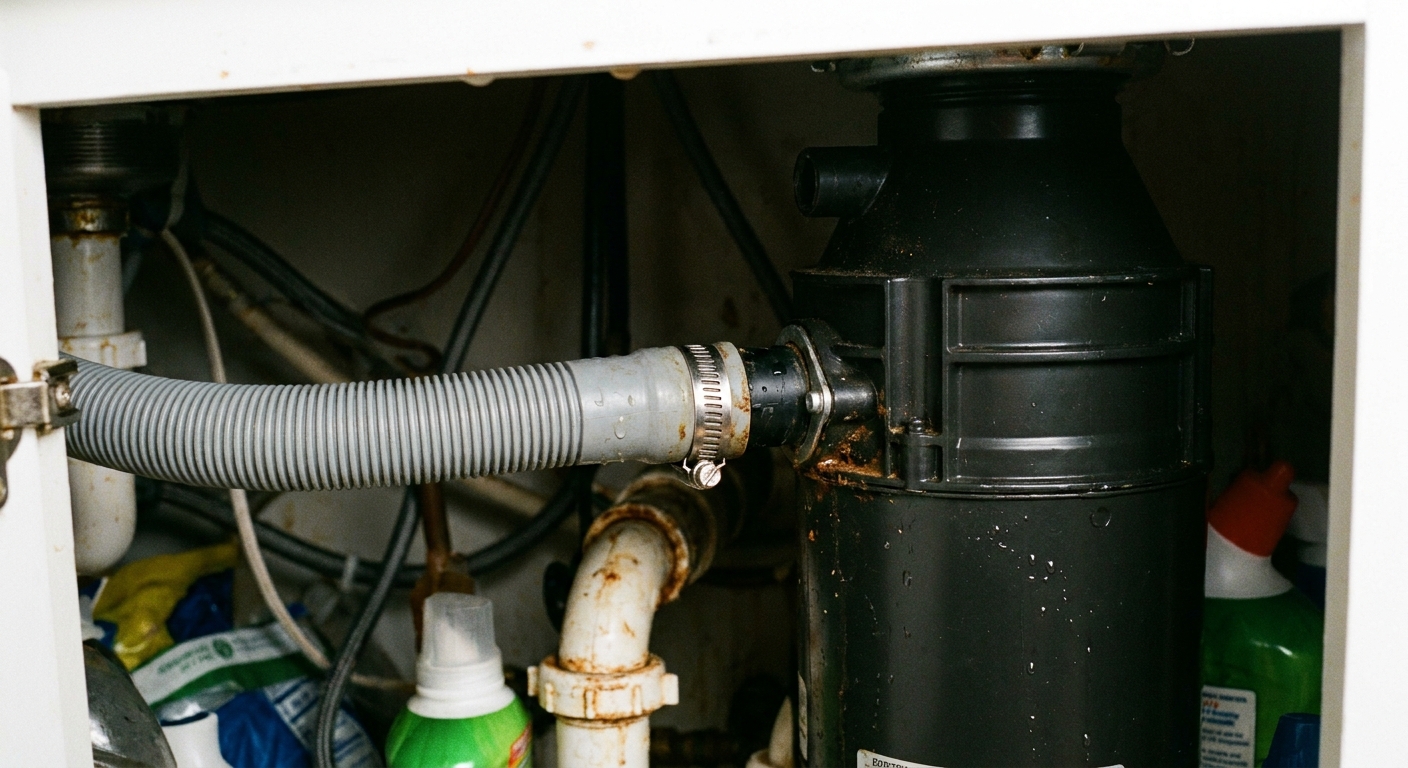
If your dishwasher drains into the disposal, there is usually a small hose connected to a side inlet on the disposal. Leaks here are common and often show up as a drip that starts only when the dishwasher drains.
What it looks like
- Water drips from the side of the disposal where a ribbed hose attaches.
- The cabinet stays dry during normal sink use, then suddenly leaks during a dishwasher cycle.
Renter-safe checks
- Dry the hose connection completely.
- Run the dishwasher briefly and watch the hose clamp area closely with a flashlight.
What you can do (usually safe)
- Snug the hose clamp with a screwdriver if it is clearly loose. A quarter turn can make a difference. Stop if the clamp starts to strip or deform.
- Check the hose seating: it should be pushed fully onto the disposal inlet.
Worth flagging to maintenance
- If the dishwasher connection was recently installed, the knockout plug inside the inlet might not have been fully removed. This most often causes the dishwasher to back up and leak elsewhere (like the air gap or dishwasher connection), so it is worth mentioning when you submit a request.
Call maintenance if: the hose is split, the clamp will not tighten, or the leak happens specifically during dishwasher draining and persists.
Common leak spot #3: discharge tube and slip joints
Under most sinks, the disposal outlet connects to a short pipe section often called the discharge tube or outlet elbow (some people also call this a tailpiece). From there, it meets the trap. These connections often use slip nuts and beveled washers. If a nut loosens or a washer shifts, you get a slow, steady drip that can look worse than it is.
What it looks like
- Drips form at the white or metal nut connections below the disposal outlet.
- You see moisture on the pipe joints, not on the disposal body itself.
Renter-safe checks
- Dry the joints and wrap a dry tissue around each slip nut. Drain the sink. The tissue will show exactly which joint is weeping.
- Look for a nut that is visibly crooked or not fully threaded.
What you can do (often safe)
- Hand-tighten first. Many slip nuts are meant to be snugged by hand.
- If needed, use a pair of channel-lock pliers to tighten just a little. Think “snug,” not “crank.” Over-tightening can crack plastic nuts or deform washers.
When to stop and call maintenance
- If tightening does not stop the leak.
- If you see a cracked nut, split pipe, or missing washer.
- If the trap arm looks misaligned or forced into place.
Common leak spot #4: disposal housing (internal leak)
If water is coming from the bottom of the disposal body, especially from the underside seams or the area near the reset button, that is usually a sign of an internal leak. In plain terms: the disposal itself is failing.
What it looks like
- Water drips from the very bottom of the unit, not from a pipe joint.
- You may see rust, mineral streaks, or corrosion on the disposal shell.
- The leak can happen even with normal draining and all connections dry.
What to do
- Do not run the disposal.
- Keep a catch tray underneath and avoid using the sink if possible.
- Call maintenance promptly. A leaking housing typically means the unit needs replacement, not a gasket tweak.
If the leak is from the disposal body itself, no amount of tightening pipes will fix it. This is the “hand it off” moment, and that is perfectly okay.
Quick troubleshooting: match the leak to the moment
Use this as your shortcut when you are standing there with a flashlight and a slightly offended sponge.
- Leaks when the sink basin is full or water is pooled near the drain: likely sink flange seal.
- Leaks only when the dishwasher drains: likely dishwasher hose connection or clamp (or a backup issue you should flag to maintenance).
- Leaks when water is draining through pipes: likely discharge tube, trap, or slip-joint washer.
- Leaks from the bottom of the disposal body: likely internal failure, call maintenance.
Rule out non-disposal sources
Sometimes the disposal gets blamed for leaks that actually start somewhere else and drip down. Two quick checks can save you a lot of confusion.
Faucet and supply lines
- Run the faucet and watch the shutoff valves and supply hoses. A slow drip can run along the hose and land right by the disposal.
- Feel the valves and hose connections with a dry tissue to spot sneaky moisture.
Sprayer hose and sink rim
- If you have a pull-out sprayer, check the sprayer hose and the connection under the faucet. Also look for drips where the hose passes through the cabinet, especially when you pull the sprayer out and retract it.
- Look for water that splashes over the sink rim or runs through a gap at the countertop seam, then drips into the cabinet.
What is renter-safe to tighten or adjust?
Every lease is different, but in most rentals, these are the low-risk, commonly acceptable moves:
- Turning off the disposal switch and breaker
- Unplugging the disposal (if it is plug-in)
- Shutting off the hot and cold water supply valves under the sink
- Hand-tightening a slip nut that is clearly loose
- Gently tightening a dishwasher hose clamp
- Cleaning up water and setting a drip tray
These are usually not renter-safe unless you have explicit permission:
- Removing the disposal from the mounting ring
- Replacing flange putty or gaskets
- Disassembling the trap and re-plumbing sections
- Using sealants or tape as a “permanent fix”
Protect the cabinet while you wait
Even if maintenance cannot come until tomorrow, you can keep things tidy and prevent damage.
Make a drip-catching setup
- Place a shallow tray under the leak point (a roasting pan works beautifully).
- Put a folded towel in the tray to reduce splashing and noise.
- Set a reminder to check and wring it out every couple of hours if the leak is active.
Dry the cabinet the right way
- Blot standing water.
- Leave doors open for airflow.
- If you have a small fan, aim it into the cabinet for an hour or two.
Move vulnerable items
- Paper goods, cleaning pods, wood cutting boards, and anything in cardboard packaging should live somewhere else until the leak is fixed.
When to call maintenance right away
If you are renting, it is completely reasonable to loop in maintenance early, especially since leaks can damage cabinets quickly. Put in a request promptly if you notice any of the following:
- Water dripping from the bottom of the disposal housing
- A wobbly disposal or obvious separation at the mount
- A cracked pipe or hose, or a clamp that will not hold
- Any sign of electrical risk (wet outlet, wet wiring, tripped breaker)
- Leak is fast enough that towels cannot keep up
What to say in your request
Keep it simple and specific. Example:
“Garbage disposal leaking under sink. Leak appears to come from (top flange / dishwasher hose connection / discharge tube or slip joint / bottom of unit). I have shut off disposal power (switch off and unplugged or breaker off) and placed a drip tray. Please repair as soon as possible to prevent cabinet damage.”
A few gentle myths to skip
- Myth: Duct tape fixes plumbing leaks. It rarely holds under moisture and vibration, and it can make the real repair messier.
- Myth: If I crank it tighter, it will stop. Over-tightening can crack plastic fittings or warp washers, creating a bigger leak.
- Myth: A little leak is fine for a few days. Under-sink cabinets can swell and stain quickly, especially if they are particleboard.
One last cozy-home note
I am all for a home that feels like a comforting hug. And part of that is not letting a sneaky leak quietly wreck the cabinet floor you have been trying so hard to keep clean. Do the safe checks, document what you see (a quick phone video helps), and hand off the deeper repairs to maintenance. Your future self and your cabinet shelves will thank you.