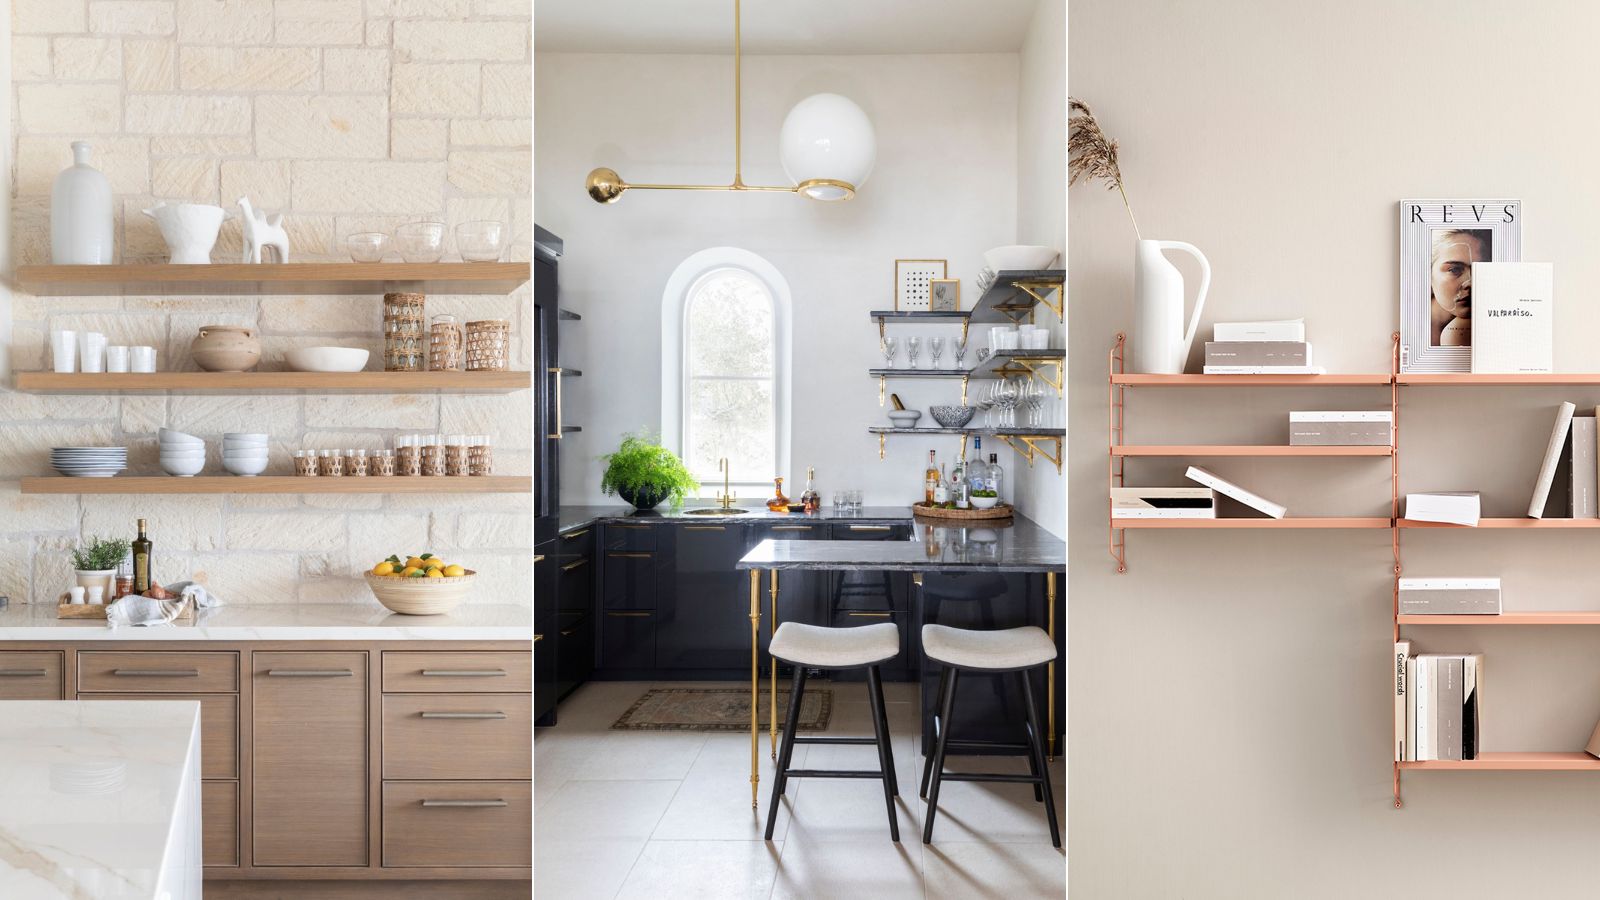
Floating Shelf Decor That Looks Intentional
Clara Townsend
Clara Townsend is an interior stylist, vintage furniture enthusiast, and the creative voice behind Velvet Abode. With over a decade of experience transforming both cramped city apartments and sprawling fixer-uppers, she believes that a beautiful home is built on personal stories rather than massive budgets. When she isn't hunting for the perfect brass sconce at a local flea market, she can usually be found rearranging her living room for the third time this month.
Floating shelves are the design equivalent of a good haircut. When they’re done well, everything around them suddenly looks more polished. When they’re done badly, you notice every little thing you tried to hide. The good news is that most floating shelf problems come down to two fixable categories: they aren’t mounted for the weight, or they’re styled like a crowded windowsill.
Let’s handle the safety basics first, then I’ll walk you through my go-to shelf styling formula that works in every room, from a rental kitchen to a moody library wall.
Before you style: weight and mounting basics
Floating shelves are only as strong as what’s behind the drywall. Styling is the fun part, but I want your shelves to stay on the wall when you walk past them with a cup of coffee.
Studs and spacing (high level)
In many North American homes with modern framing, wall studs are commonly spaced 16 inches on center, sometimes 24 inches. It’s not universal, especially in older homes or after renovations, but it’s a helpful baseline when you’re planning bracket placement.
- Best case: your bracket hits studs. This is the gold standard for strength.
- Next best: at least one side hits a stud and the other side uses a heavy-duty anchor rated for the load.
- Risky: relying on basic plastic drywall anchors for anything that’ll hold real weight like stacks of dishes, heavy planters, or chunky stoneware.
If you’re not sure where studs are, use a stud finder and confirm by locating multiple studs to see consistent spacing. If you want extra certainty, a tiny finish nail test in an inconspicuous spot can help (patching is easy). When in doubt, follow the shelf manufacturer’s instructions or consult a local contractor. Different walls and fasteners behave very differently.
Drywall anchors: what to know (without the jargon)
Anchors aren’t one-size-fits-all. The package rating is usually for ideal conditions, and shelves create a lever effect (torque) because the weight sits away from the wall. Translation: be conservative. And always check your shelf or bracket manufacturer’s specific load rating, because drywall thickness, fastener type, bracket design, and shelf depth all change the math.
- Toggle bolts or snap toggles: a strong choice for drywall when you can’t hit a stud.
- Metal self-drilling anchors: convenient, but choose high-quality versions and keep weight modest.
- Plastic expansion anchors: fine for very light decor, not for dishware or heavy ceramics.
If your shelves are going into plaster and lath, tile over drywall, brick, or concrete, your fastener and drill bit choices change. Follow the shelf instructions and use hardware designed for that surface. For tile, use the right tile bit and go slowly so you don’t crack it.
Depth matters more than you think
Deeper shelves look generous, but depth also increases leverage. If you’re shopping or planning, these are good starting points:
- 8 to 10 inches: decor, framed photos, small book stacks.
- 10 to 12 inches: everyday dishes and larger serving pieces (only if mounted properly).
Whatever depth you choose, make sure items sit comfortably without teetering at the edge.
Hollow-core kits vs. bracket systems
Not all “floating shelves” are built the same. Some are hollow-core sleeves that slide over a bracket, and some are solid shelves with concealed supports. The bracket system and how it’s anchored to the wall is what determines real-world strength, so treat the manufacturer’s rating as your north star.
Before you drill: a quick checklist
- Confirm your wall type (drywall, plaster, tile, masonry).
- Locate studs and plan bracket placement accordingly.
- Check the manufacturer’s orientation notes and load rating.
- Mark level lines and bracket holes, then measure twice.
- Pre-drill where recommended and use the correct anchors for the wall.
Quick weight reality check
Instead of guessing a pound limit, think in categories. This keeps you safer even if you don’t know the exact bracket rating.
- Light: framed photos, small vases, candles, faux stems, paperback books.
- Medium: a few hardcovers, a small lamp, a small potted plant, a modest stack of bowls.
- Heavy: dinner plates, Dutch ovens, big planters with wet soil, stone sculptures, large stacks of books.
If you’re planning to store heavy items, prioritize mounting into studs, use a shelf with a strong bracket system, and keep depth in mind. Styling tricks can’t replace correct hardware.
Signs your shelf isn’t happy
These are early failure signs, so don’t ignore them.
- The shelf tilts forward even slightly.
- You see hairline cracks forming around bracket points.
- The shelf wiggles when you gently lift up on the front edge.
- Drywall around the mounting point looks compressed or crushed.
If you notice these, take everything off and address the mounting before restyling. A “just one more vase” approach doesn’t end well.
Shelf spacing: how far apart?
Spacing is the invisible thing that makes shelves look custom instead of accidental. Think of these numbers as starting points, then measure the tallest things you actually use (and give yourself a little hand clearance).
Vertical spacing guidelines
- Between two shelves: start with 12 to 16 inches of clear space.
- For tall decor: try 16 to 20 inches if you want vases, larger frames, or a small lamp on a shelf.
- For kitchen function: 10 to 12 inches can work for everyday glassware and small plates, but confirm clearance for pitchers, stacks, and your hands.
Here’s my styling-first advice: decide what the tallest everyday item needs, then set spacing from there. Shelves should serve your life, not the other way around.
Horizontal breathing room
The most common styling mistake is treating a shelf like a single line that must be filled end to end. Leave negative space. Let the wall show. It’s what makes the objects feel chosen.
- As a guideline, leave 20 to 35 percent of the shelf length open.
- Keep at least 2 to 4 inches of space between separate groupings.
- Don’t push everything to the very front edge. Give pieces a little “settle in” room.
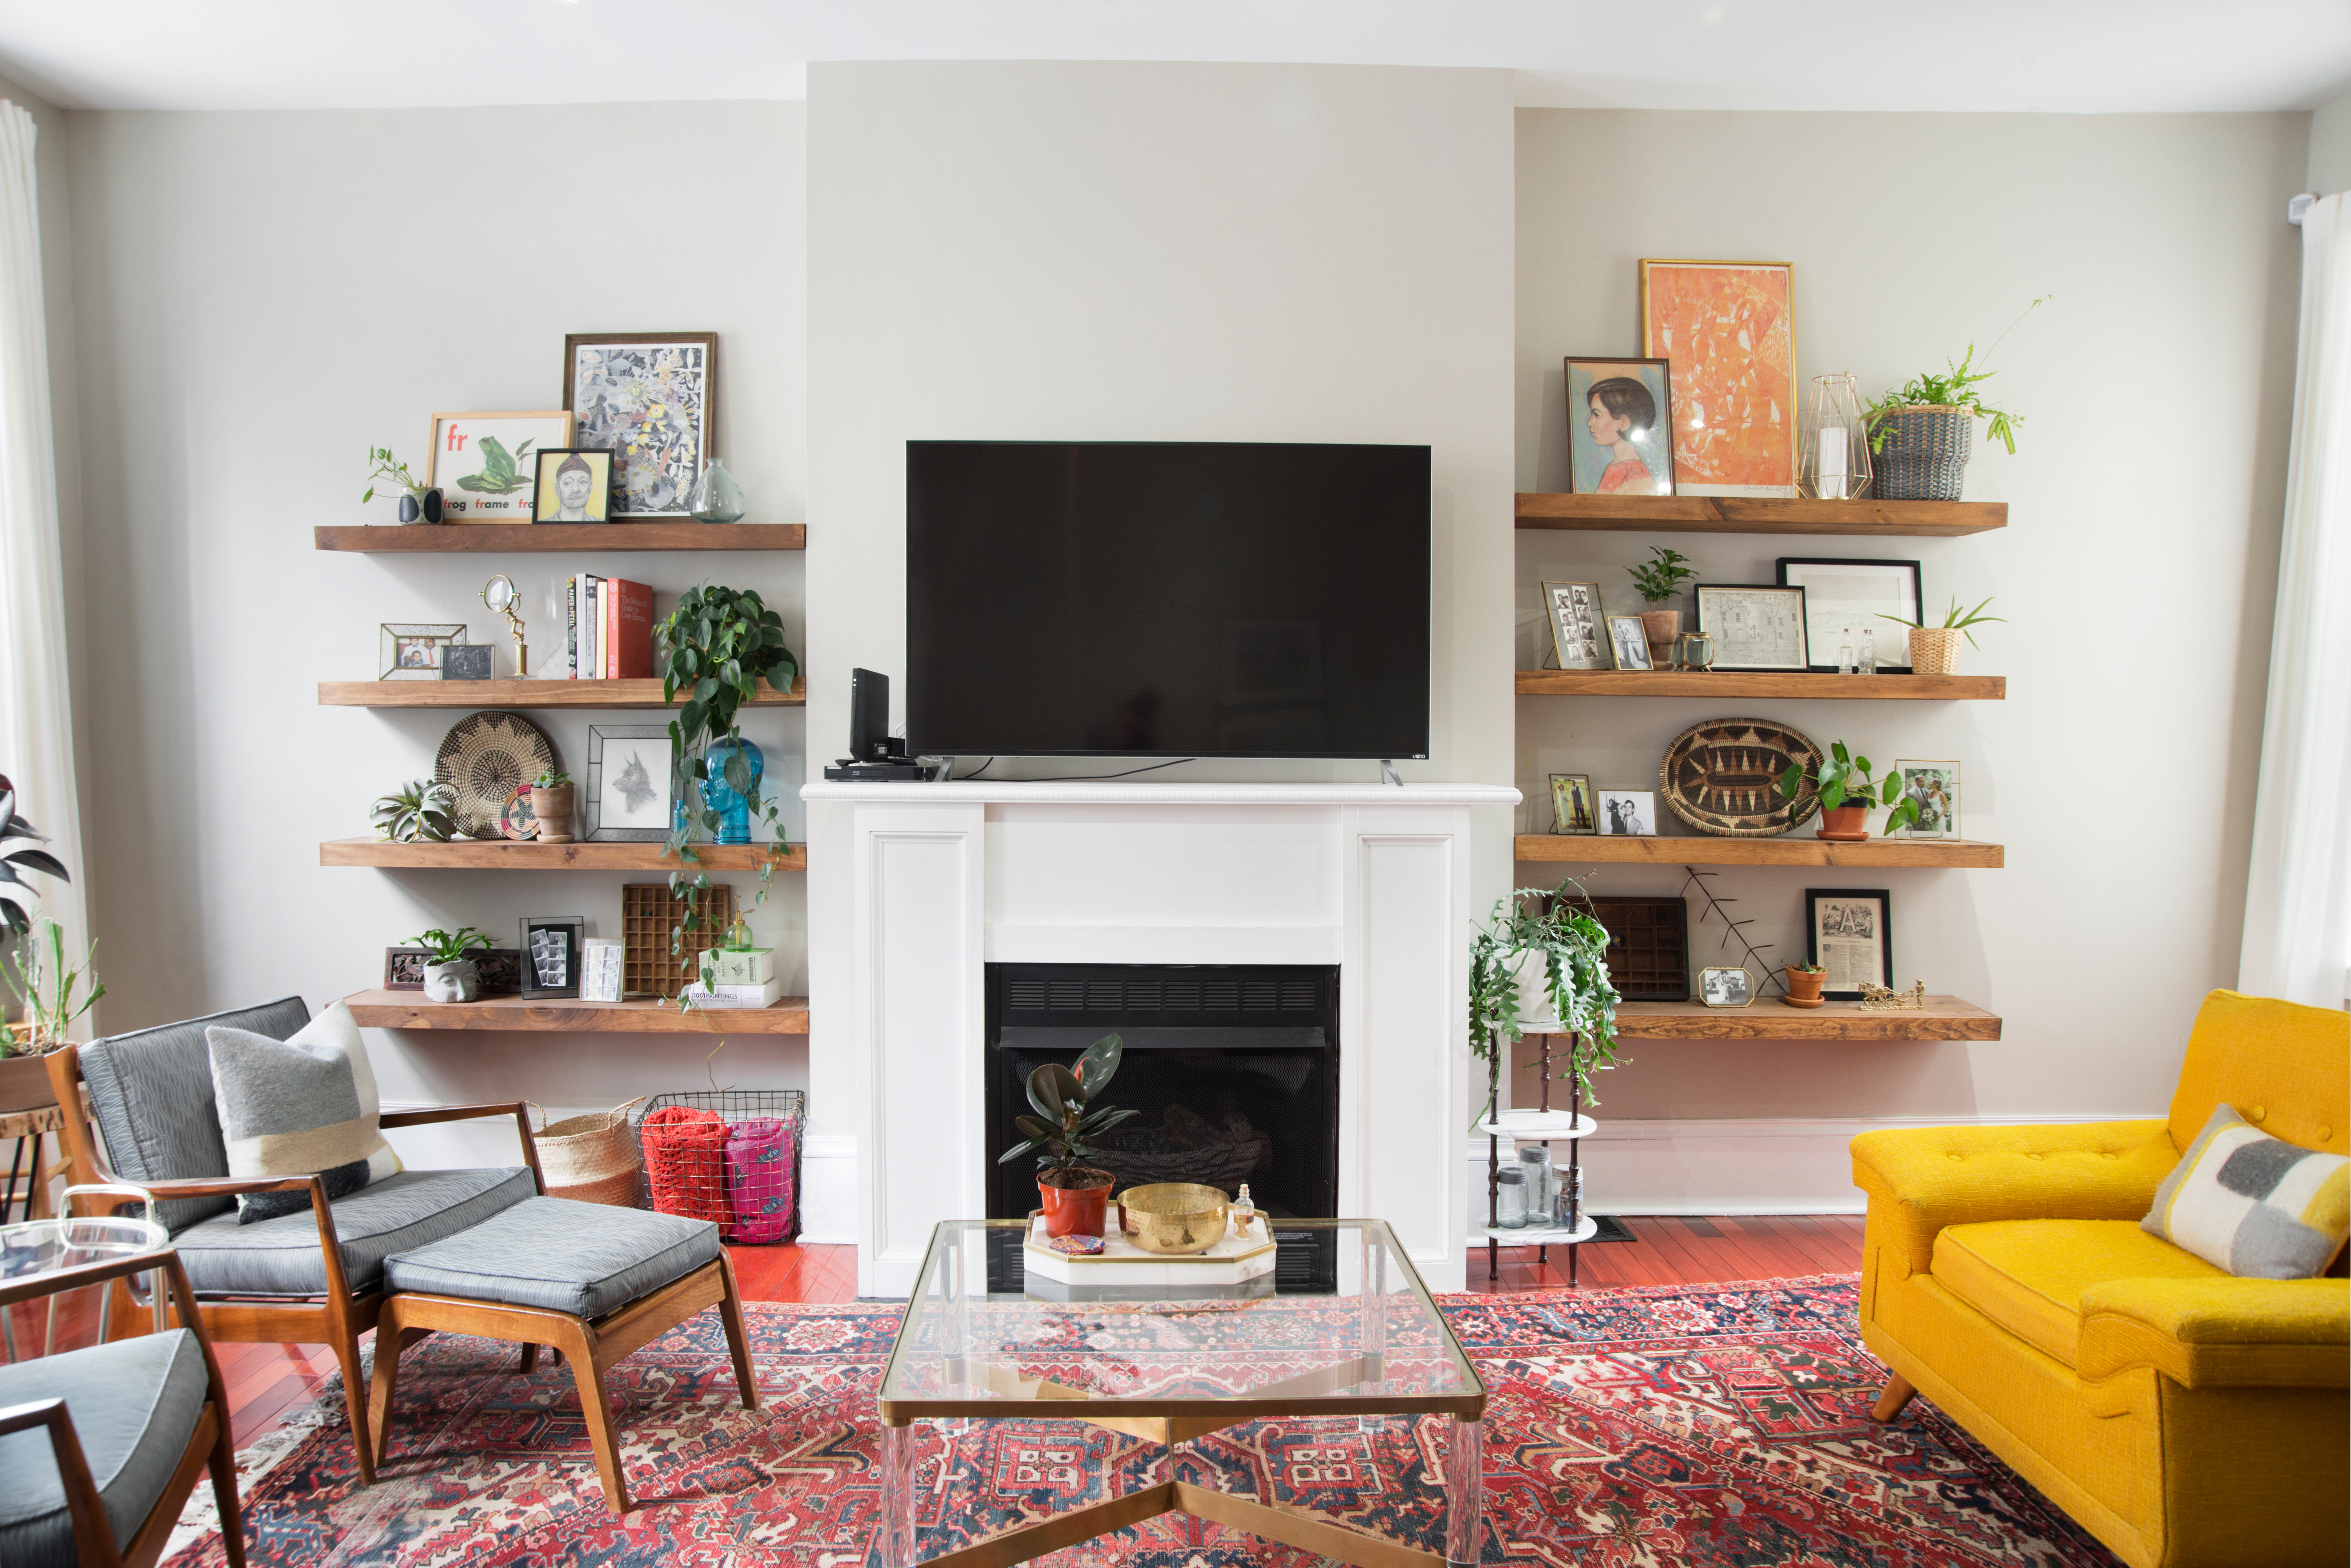
Clara’s no-fail shelf styling formula
When I style a shelf, I’m not trying to show off my stuff. I’m trying to create a tiny still life that feels calm, layered, and lived-in.
The 3-2-1 formula
This is the simplest structure I know, and it scales up or down depending on shelf length.
- 3 heights: something tall, something medium, something low.
- 2 textures: for example matte ceramic plus glossy glass, or linen plus brass.
- 1 grounding piece: a tray, a shallow bowl, or a stack of books that visually anchors the grouping.
Mini example (one grouping):
Back: leaning frame (tall)
Middle: ceramic vase (medium)
Front: book stack with a small object on top (low + grounding)
Repeat the formula once or twice on a long shelf, then leave space. You’re building rhythm, not packing a suitcase.
Styling moves that always look intentional
- Lean art in the back: a framed print or small canvas adds height without taking up much depth.
- Stack books horizontally: it creates a platform for a small object, and it feels collected.
- Use one small box or lidded vessel: it hides tiny clutter and adds a clean shape.
- Add one living thing: even a small pothos or a stem in a bud vase brings softness to hard lines.
Keep it from looking cluttered
If your shelves feel visually loud, try this quick edit. Remove everything, then add it back in this order:
- Anchors first: trays, book stacks, larger bowls.
- Height second: vase, frame, lamp, or tall candlestick.
- Small accents last: matches, a tiny framed photo, a small object.
Stop when it feels slightly underdone. Shelves almost always look best at 90 percent finished.
Room-by-room ideas
Living room
In a living room, shelves can feel like part storage, part mood lighting. I love mixing a few meaningful pieces with one soft glow source.
- Try a small plug-in picture light above shelves if you want instant warmth.
- Mix vintage and modern by pairing a clean-lined vase with an old brass frame.
- Keep tiny items corralled in a shallow tray so they read as one moment, not five separate things.
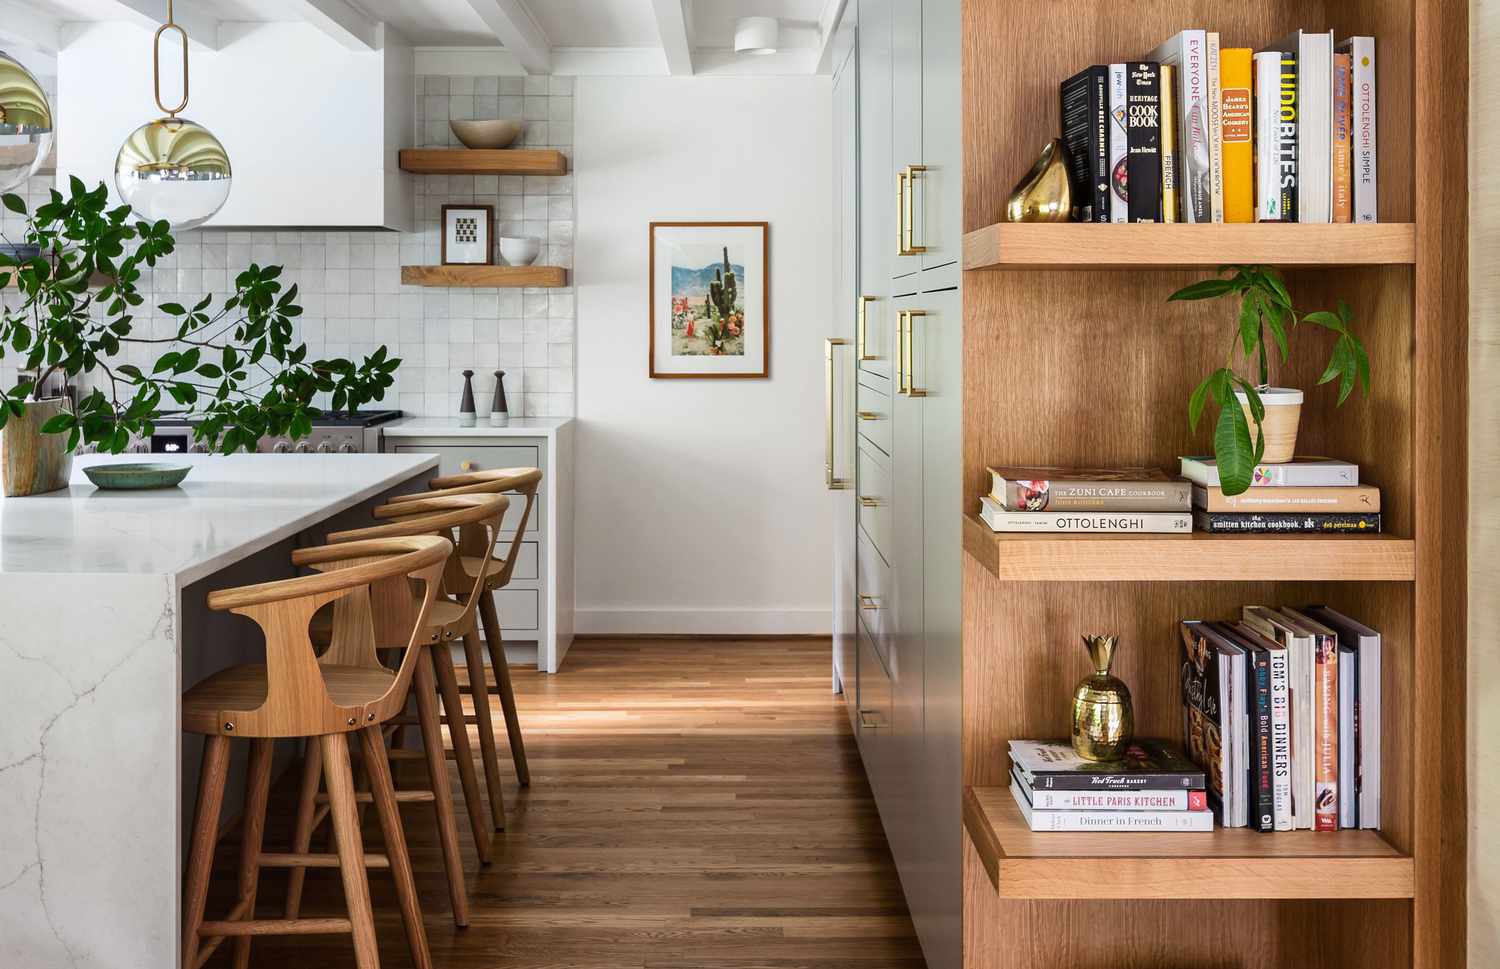
Kitchen
Kitchen shelves need to earn their keep. The secret is to style with the things you already use, then add just a few pretty extras.
- Mounting first, then placement: putting heavier items near studs can reduce leverage, but it doesn’t replace proper bracket requirements. If the system needs multiple studs or specific mounting points, follow that.
- Group by type: stacks of bowls, a row of glasses, a little cluster of mugs.
- Add one break: a small plant, a framed recipe card, or a sculptural pepper mill to keep it from looking like a store display.
If you cook daily, skip overloaded stacks. Two neat stacks of four bowls look better and are safer than one precarious tower.
Bathroom
Bathrooms love simplicity. Moisture and daily routines can turn shelves into chaos fast, so I keep the styling tight and easy to wipe down.
- Decant cotton swabs or bath salts into glass jars for clean, functional texture.
- Use a small tray for skincare bottles so you can lift everything off quickly to clean.
- Choose sealed faux stems or humidity-friendly plants if your bathroom gets steamy.
Bedroom
Bedrooms are where I want shelves to feel like a quiet exhale. Keep colors softer, shapes calmer, and avoid anything that feels like work.
- Try a short stack of books plus a candle and a small dish for jewelry.
- Add a fabric element like a small folded linen runner on a deeper shelf for softness.
- Keep breakables away from the edge, especially if the shelf sits above a nightstand.
Choosing objects that work together
If you’re staring at a pile of cute items and none of them want to cooperate, it usually comes down to scale and repetition.
Repeat one thing
Pick one element to repeat across shelves. This creates cohesion even when the objects are eclectic.
- Repeat a material: brass, black metal, clear glass, warm wood.
- Repeat a color: creamy white ceramics, deep green accents, dusty rose.
- Repeat a shape: rounded vessels, rectangular frames, sculptural arches.
Scale is the secret
Most shelves look off because everything is the same size. Add at least one piece that’s visibly taller than the rest, and one piece that’s very low. That height contrast is what makes the shelf feel styled rather than stored.
Troubleshooting
It looks cluttered
- Remove 30 percent of the items.
- Group the remaining items into 2 to 3 clusters.
- Add one tray or one book stack to turn small pieces into a single moment.
It looks flat
- Add a leaning frame or art piece in the back.
- Introduce a reflective surface like a small mirror or glossy vase.
- Layer objects: a small item on top of a book stack is instant depth.
It feels too matchy
- Swap one item for something older, rougher, or more organic, like a vintage candlestick or a stoneware bowl.
- Add a natural element: wood, rattan, linen, or a plant.
The shelf sags or tilts
- Remove everything immediately.
- Check the bracket and fasteners.
- Remount into studs where possible, or upgrade to anchors appropriate for the wall type and load, following the manufacturer’s requirements.
A simple checklist
If you want a quick “am I done?” moment, run through this list:
- Is the shelf mounted for the heaviest thing you plan to place on it, using the manufacturer’s rating as your guide?
- Do you have at least three heights in each grouping?
- Did you repeat a material, color, or shape at least twice?
- Is there negative space so the shelf can breathe?
- Did you stop before adding the last two tiny items?
Floating shelves are a little stage for your everyday life. When they’re safe, spaced well, and styled with intention, they stop feeling like storage and start feeling like a story.