Fixing Cigarette Burns on Fabric Couches
Clara Townsend
Clara Townsend is an interior stylist, vintage furniture enthusiast, and the creative voice behind Velvet Abode. With over a decade of experience transforming both cramped city apartments and sprawling fixer-uppers, she believes that a beautiful home is built on personal stories rather than massive budgets. When she isn't hunting for the perfect brass sconce at a local flea market, she can usually be found rearranging her living room for the third time this month.
Cigarette burns on a fabric couch are one of those heartbreakingly small disasters that somehow manage to catch your eye from across the room. The good news is that most burn damage can be made far less noticeable with a little patience and the right “tiny hole triage” approach. The not-so-fun truth is that burned fabric is missing fabric, so there is a point where camouflage stops looking charming and starts looking like a patch (and that is when a pro earns their fee).
Below, I will walk you through what to do for a singed spot, what to do for a pinhole, and what to do when the damage is larger or in a high-touch area like the seat edge. We will also talk renter expectations, because “good enough to get your deposit back” is a different goal than “I want this to disappear forever.”
Do this first
Before you start snipping or coloring, do a quick setup. It makes every method safer and more predictable.
- Ventilate the area and wash your hands (so you do not grind soot into the fabric).
- Unzip and remove the cushion cover if you can. Working from the inside is cleaner and reduces the chance of glue or color ending up where you do not want it.
- Vacuum or lint-roll first to pick up loose char. Dry removal beats wet removal almost every time.
- Protect the insert if you are working on a cover while it is still on the cushion. Slide a piece of thin plastic or wax paper between the cover and the foam so nothing soaks through.
- Fire-safety reality check: If there is any chance the foam inside was scorched or smoldered, stop using the cushion until you inspect it. If it smells sharply smoky, looks melted, or seems brittle inside, replacement is the smart move.
Quick decision guide
- Singe (no hole): Dry clean, snip char tips, then blend color if needed.
- Pinhole (about 1 to 3 mm): Backing mesh behind the spot, tease fibers inward, then light color blending.
- Small hole (about 3 to 10 mm): Backing mesh plus a few discreet stitches or fiber placement, then color blending.
- Bigger than a pea, on a seam, on piping, or on a seat edge: Patch intentionally or call a pro for a panel or cover replacement.
First: Identify the damage
Before you grab scissors or start coloring, take 30 seconds to classify the damage. This tells you which fix will actually hold up.
- Singed spot: Fibers are browned or stiff, but there is no hole. Think “crispy fuzz.”
- Pinhole (1 to 3 mm): A tiny opening where fibers burned away. Often surrounded by a dark halo.
- Small hole (3 to 10 mm): You can see through it. Edges may be brittle.
- Larger damage: Anything bigger than a pea, multiple burns, or a burn on a seam, piping, or a cushion edge.
Quick safety note: If the cushion insert smells smoky or you suspect the foam inside was scorched, unzip and inspect. A surface burn is one thing. A deeply scorched insert is a replacement situation, and also a fire-safety situation if you are not sure what happened inside.
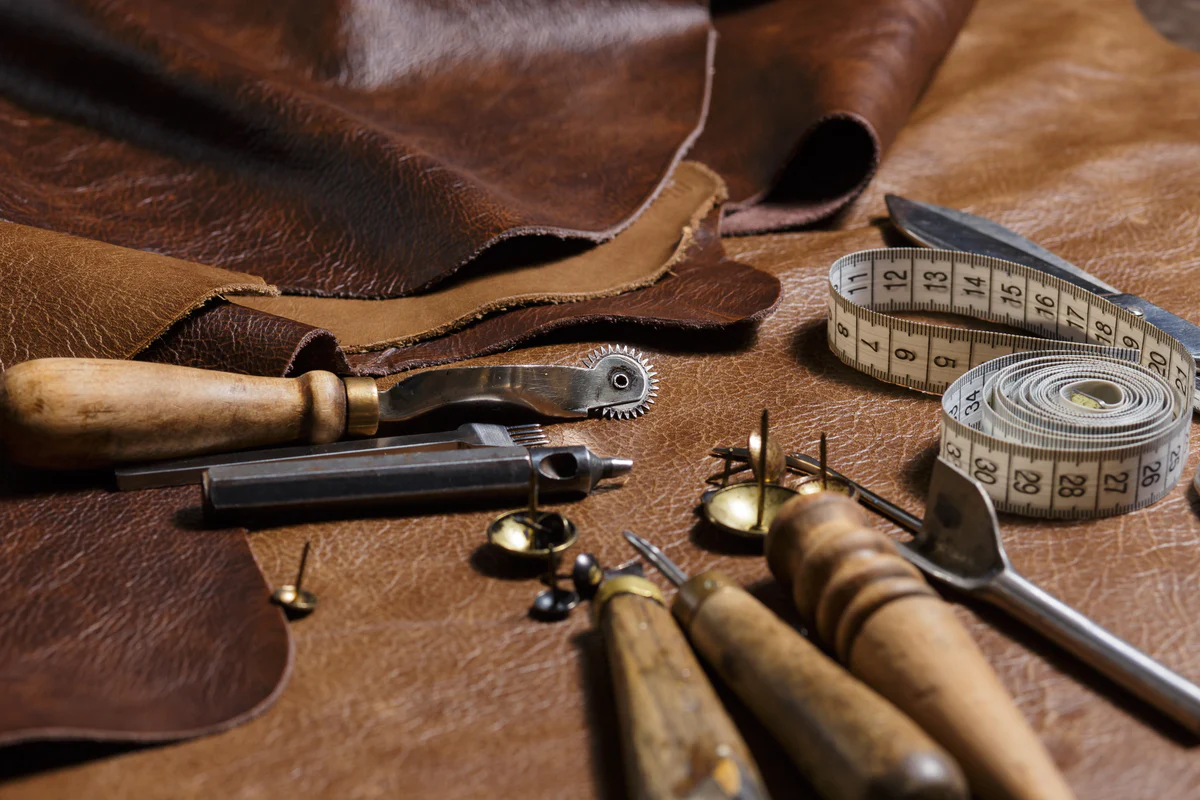
Tools that help
You can improvise, but these are the few items that actually pull their weight.
- Small, sharp embroidery scissors or curved nail scissors
- Tweezers
- Lint roller or low-suction vacuum with upholstery attachment
- Soft brush (optional, good for lifting loose char)
- Self-adhesive repair mesh or a peel-and-stick backing patch (used behind holes)
- Flexible fabric glue (clear, dries soft)
- Matching thread and a hand needle (optional but helpful)
- Fabric markers in 2 to 3 close shades (or alcohol-based markers if you know your fabric tolerates them)
- A small scrap of similar fabric if you have it (from an inside hem, hidden skirt, or a matching throw pillow)
About fusible products: Some repair meshes are heat-activated. Upholstery fabrics, especially synthetics, can melt, shine, or shrink with heat. For couches, I generally prefer peel-and-stick or adhesive-only backing to avoid the “I tried to fix it and now it is worse” spiral. If you do use a fusible product, follow the manufacturer directions, test on a hidden area, and apply heat from the inside only, with a pressing cloth, at the lowest setting that works.
Skip the fabric shaver: It is tempting, but it can create a clean bald circle fast. Tiny scissors give you more control.
If it is a singe: trim and blend
Singed areas often look worse than they are because the burnt fibers stand up and catch the light. Your goal is to remove the crispy tips without creating a bald patch.
Step 1: Remove loose soot (dry first)
Start with a lint roller or a gentle vacuum pass. If you still see smudgy soot, you can test first: dab rubbing alcohol on a hidden spot with a white cloth and check for dye transfer or a ring. If the fabric passes that test, lightly dab (do not rub) the singe with a cloth barely dampened with alcohol. If color transfers, stop and stick to dry methods only. Some fabrics and finishes are dramatic about solvents.
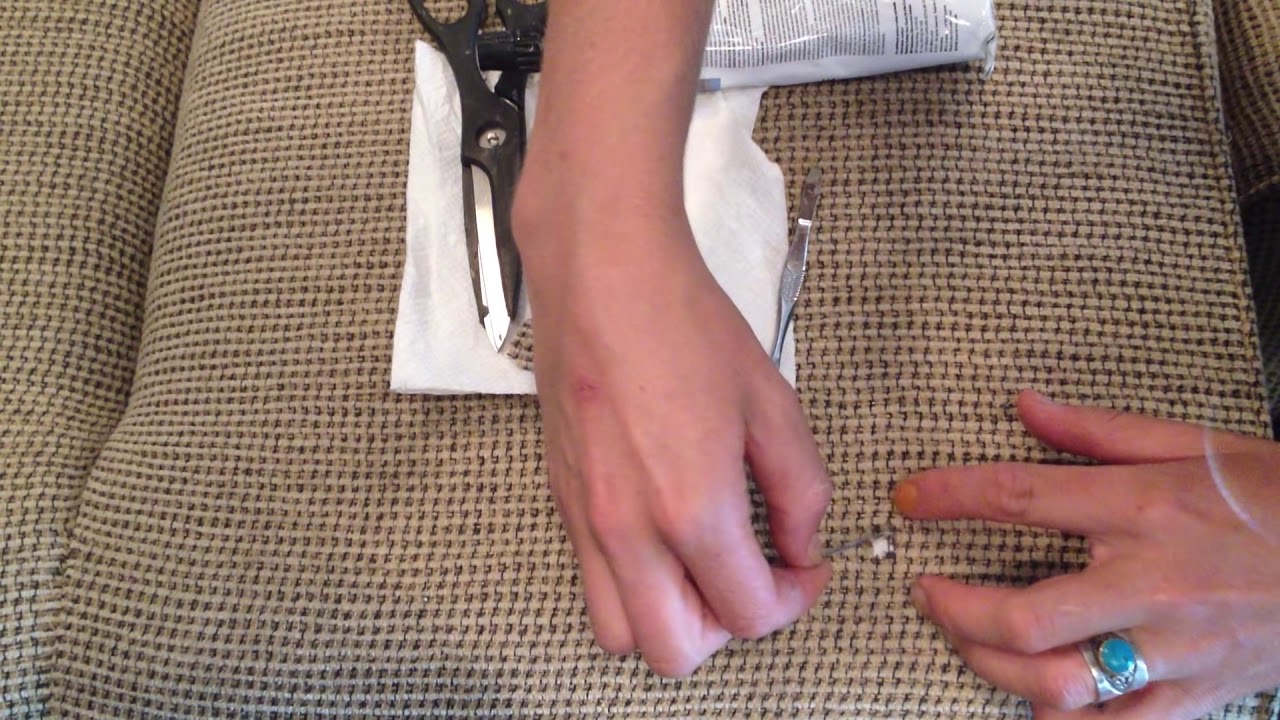
Step 2: Snip the char, do not shave
Use the very tip of your scissors to snip only the blackened fiber ends. Work slowly. You are basically giving the burn a tiny haircut.
Step 3: Fluff and check from standing height
Brush the area with your fingers, then step back. Up close you will always find it. The test is whether it reads as a “spot” from a normal distance.
Step 4: Add a whisper of color if needed
If the singe left a pale or rusty cast, use a fabric marker in a close tone. Tap lightly. Build color in thin layers rather than drawing a dot like you are filling in a bubble on a test. Let it dry fully before you sit on it, because some markers can transfer if they are still even slightly damp.
Pinhole and small hole triage
For pinholes (about 1 to 3 mm) and small holes (about 3 to 10 mm), the most renter-friendly, least fussy approach is a backing patch plus fiber and color blending. You are creating support behind the missing fibers so the hole stops gaping.
Step 1: Stabilize the edges
With tweezers, remove any loose, crusty bits. Then snip the charred ring just until the edge is soft, not brittle. Brittle edges keep breaking, which makes the hole grow.
Step 2: Add backing behind the hole
If you can unzip the cushion cover, turn it inside out. Place a small piece of self-adhesive repair mesh behind the hole, at least 1 to 2 cm larger than the damage on all sides. Press firmly.
If you cannot access the back easily, you can still slide a thin backing patch behind with tweezers, but it is fiddly. In that case, a very small amount of flexible fabric glue can help anchor the backing. Be sparing so it does not soak through and create a stiff, shiny spot.
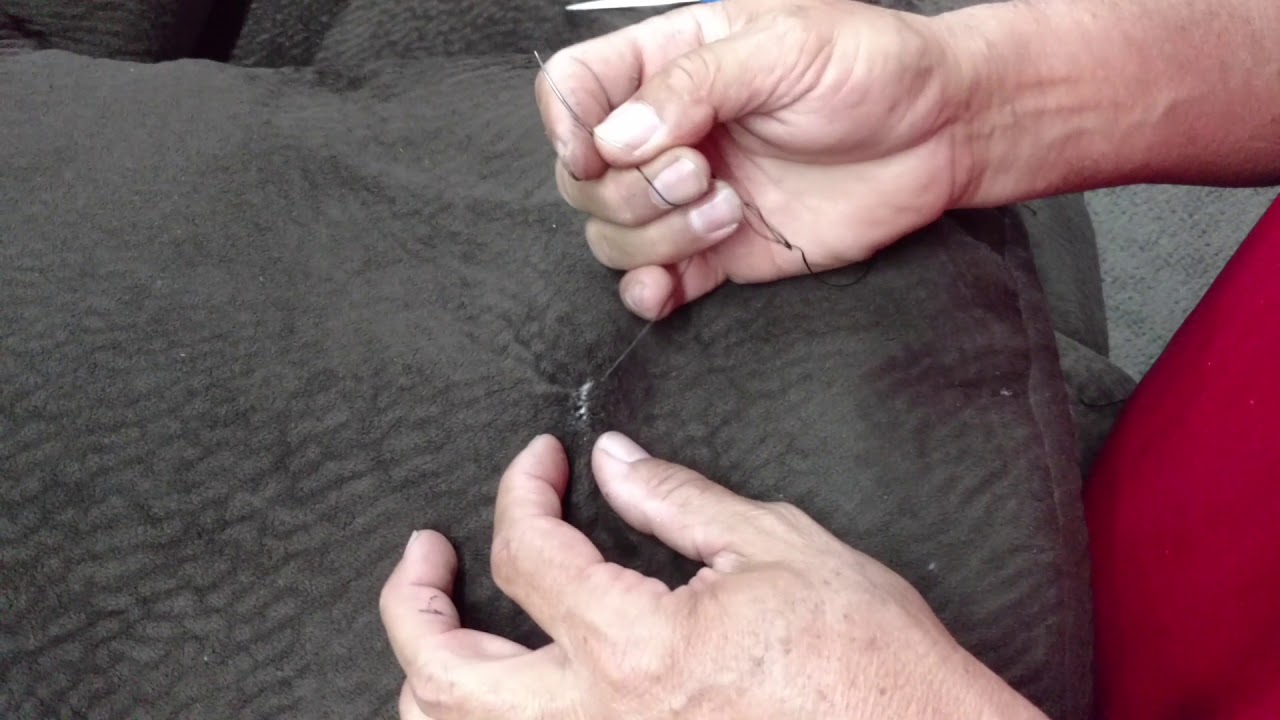
Step 3: Close the hole visually
- For textured weaves: Gently tease nearby fibers toward the center with tweezers, then tack them to the backing with a dot of flexible fabric glue.
- For flatter fabrics: A few tiny hand stitches (catching only the underside) can pull the opening slightly closed before you color blend.
Step 4: Color blend carefully
Use two shades if possible: one slightly lighter, one slightly darker than the fabric. Dab, let it dry, and reassess. A little variation looks more natural than one perfect flat tone.
Marker note: Upholstery can wick color along the weave. Test on a hidden area first, apply in light layers, and let it dry completely. If your sofa gets damp often (kids, pets, cleaning sprays), a pro repair or a fabric-donor patch may hold up better long-term.
Step 5: Let it cure before you sit
If you used glue, let it cure fully before putting the cushion back into heavy use. Many flexible fabric glues need 12 to 24 hours to reach full strength. Check your label and be patient. This is the part that keeps the fix from peeling up the next day.
When the burn is larger
Once a burn gets bigger than a pea, pure camouflage tends to fail fast, especially on a seat cushion where you sit and shift all day. At this stage, you are deciding between a disguised patch and a professional panel replacement.
Option A: A hidden patch
This works best on tweeds, heathered solids, and nubby textures.
- Back the area with mesh to prevent stretching.
- Use a fabric donor if you have it. The underside of a skirt, inside back flap, or a matching pillow sometimes provides enough material for a small patch.
- Edge-bond carefully with flexible fabric glue and press under a book (with wax paper in between) until cured.
The goal is not invisibility. It is “your eye slides past it.”
Option B: A visible patch
If the sofa is casual, a small patch can look genuinely intentional if it is repeated. Think of it like mending on a favorite jacket.
- Choose a fabric that matches the texture more than the color.
- Cut a clean shape (oval or rounded rectangle reads softer than a square).
- Stitch around the edge with a thread that blends, or go contrasting and commit to the look.
Option C: Replace the cover panel
For tailored sofas, velvets, smooth linens, or anything with a strong nap, a patch often catches the light differently and screams “repair.” A professional upholsterer can replace the damaged panel or the entire cushion cover so the texture and direction match.
When replacement is smarter: If the fabric is visibly melted (common with some polyester blends, microfiber, and faux suede), the surface can turn hard or shiny in a way that is almost impossible to disguise. If the burn is on a seam, piping, or seat edge, it also tends to unravel and spread. In those cases, replacing the cover or panel is often cheaper than repeatedly fighting a failing DIY fix.
Fabric-specific notes
Velvet and microfiber
These show texture changes immediately. Snipping can create a shiny bald spot, and marker can look like a bruise. For small burns, backing plus very careful fiber coaxing is safer than aggressive trimming. For anything larger, consider a pro or a replacement cushion cover.
Linen and cotton weaves
Often the easiest to patch and blend because the weave has natural variation. Mesh backing and a touch of color blending can go a long way.
Polyester blends
Poly can melt rather than char, creating a hard bead. Snip away the hard bits, then stabilize with mesh. Avoid heat tools. They can make it worse fast.
Wool
Wool can scorch and felt. Snip minimally. Color blending usually works well, but test markers in a hidden spot first.
Renters: what is realistic
If you are renting, your goal is usually cosmetic improvement, not heirloom restoration. Here is a realistic framework.
Good renter fixes
- Snipping singed fuzz to reduce the dark spot
- Backing a pinhole so it does not expand
- Soft color blending so the spot is less obvious
- Using a throw, cover, or cushion rotation to move the damage out of the spotlight
Things that backfire
- Over-trimming until you create a bald circle
- Heavy glue that soaks through and leaves a stiff, shiny patch
- Trying to iron, steam, or heat the area to “fix” it
- Using markers without testing, especially on light fabrics
- Using solvent (including rubbing alcohol) without testing in a hidden spot first
Document your repair
Take clear photos before and after in natural light. If the couch belongs to a landlord or furnished rental, honesty plus evidence of a careful repair can go further than you think.
When to call a pro
I love a scrappy DIY moment, but upholstery is one of those trades where expertise shows immediately. Consider a pro if:
- The burn is on a seam, piping, or cushion edge
- There are multiple burns clustered together
- The sofa fabric has a directional nap (velvet, velour, some chenilles)
- You see scorched foam or smell lingering smoke inside the cushion
- The couch is valuable or sentimental and you want a near-invisible finish
- You cannot match the fabric well enough for a patch to blend
Ask whether they can replace just the cushion cover or one panel. That is often far cheaper than full reupholstery, and it can look brand new.
Camouflage tricks
Sometimes the smartest move is to repair what you can, then shift the visual focus so the area is not the star of the show.
- Rotate cushions so the damage lands at the back or underside.
- Add texture nearby like a nubby throw or a linen pillow. Texture creates visual noise that makes tiny flaws disappear.
- Adjust lighting if the burn catches a harsh lamp beam. A warmer bulb and softer shade can be surprisingly forgiving.
- Use a draped throw that looks intentional, not tucked like a bandage. Let it fall naturally over an arm or corner.

Troubleshooting
The hole keeps getting bigger
You likely left brittle char at the edge. Trim back slightly until the edge feels like normal fabric, then back it with mesh.
My marker looks too dark
Blot immediately with a clean cloth lightly dampened with rubbing alcohol only if you tested first and your fabric tolerates it. Next time, use lighter taps and layer slowly.
The spot looks shiny
This happens when fibers melt (common with synthetics) or when glue seeped through. A pro may be the cleanest solution, but sometimes gently brushing the area can reduce shine a little.
Expectation reset
Burn damage is not like a stain. You are not lifting something out. You are rebuilding what is missing, then convincing your eye to move on. The win is usually one of these:
- From across the room, you cannot see it.
- You have stopped catching it in your peripheral vision.
- The couch feels “good” again.
And honestly, that is the whole point of a home. Not perfection. Comfort. The kind that welcomes you back at the end of a long day.