Fix Cat Snags in Woven Upholstery
Clara Townsend
Clara Townsend is an interior stylist, vintage furniture enthusiast, and the creative voice behind Velvet Abode. With over a decade of experience transforming both cramped city apartments and sprawling fixer-uppers, she believes that a beautiful home is built on personal stories rather than massive budgets. When she isn't hunting for the perfect brass sconce at a local flea market, she can usually be found rearranging her living room for the third time this month.
Cat snags have a special talent for appearing right where your eye lands first: the front corner of the sofa, the top of a dining chair, the exact spot where the afternoon sun shows every texture. The good news is that many snags in woven upholstery can be repaired so they look calm again, without turning one pulled thread into a full-on unraveling situation.
This is the Velvet Abode way: slow hands, good light, and tiny, reversible moves. We are going to cover needle-pull techniques vs. clipping, how a snag repair needle (like a Snag Nab-It tool) can save time, how to use a latch hook to re-seat stubborn loops, when a backing patch quietly saves the day, and how to fill tiny holes so they stop growing.
First, name the fabric
Before you touch the snag, take ten seconds to identify how the fabric behaves. It changes everything.
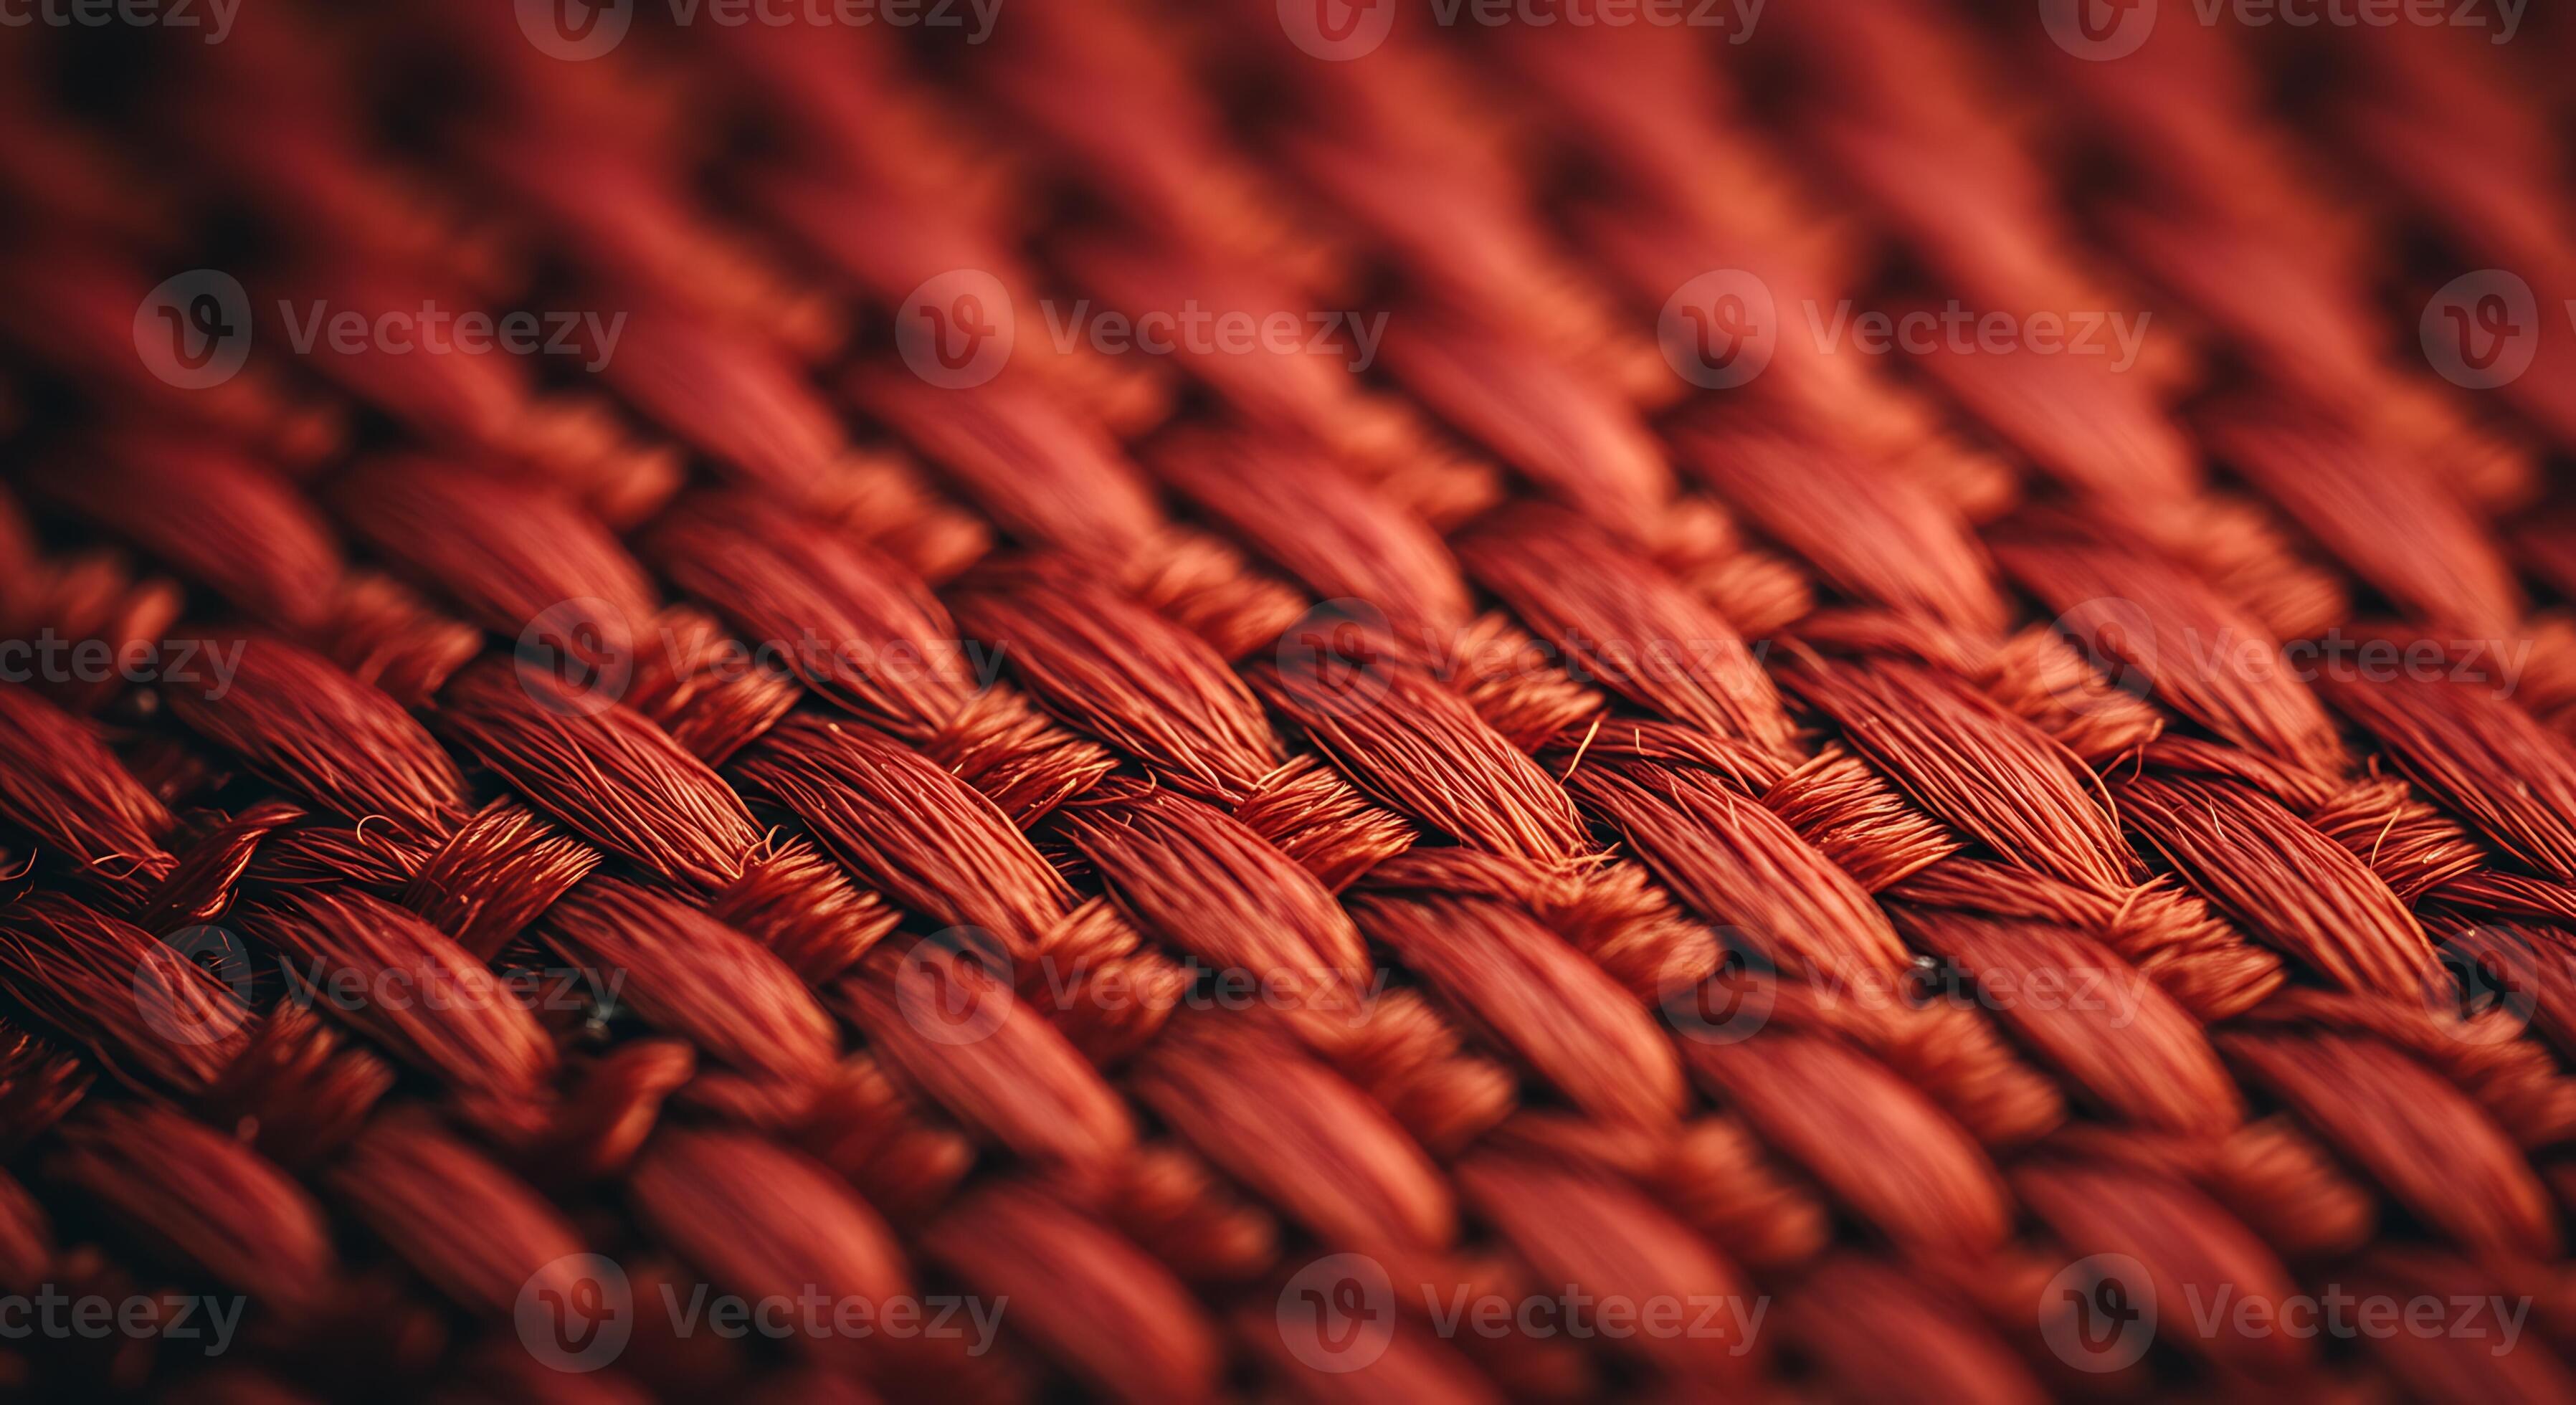
Woven upholstery (what this guide is for)
Woven fabric is made from threads that cross over and under each other, like a tidy grid. Think jacquard, tweed, tapestry-style weaves, many performance weaves, and a lot of textured designer upholstery. When a cat pulls a loop in a woven, you usually have one of two situations:
- A looped snag: A single loop is sticking up, but it is still connected to the fabric.
- A pulled run: The snag has dragged a thread so the surrounding weave looks slightly puckered or drawn.
Pattern note: On patterned weaves (especially jacquards), pulled threads can shift the pattern alignment slightly. The fix is the same, just slower and gentler, with more massaging to even things out.
Knit upholstery (different rules)
Knit fabrics are made from interlocking loops, more like a sweater. If you clip a snag on a knit, you can accidentally encourage a run to travel. Knit also tends to ladder more dramatically. If your upholstery feels like a jersey, stretchy bouclé knit, or sweater-like cover, treat it with extra caution. When in doubt, do not clip and consider a pro textile repair or pro knit repair.
Before you start
If the cover is removable (zipper, Velcro, or a panel you can access), life is easier because the cleanest fix is usually pulling the loop to the underside. If the piece is fully upholstered with no access to the back side, you can still improve the look by redistributing tension on the surface, but a truly invisible result may require a pro.
Tools that help
You do not need a craft room. You need a small kit you can grab before you do something impulsive with scissors.
- Bright light and, if you have it, reading glasses or a magnifier
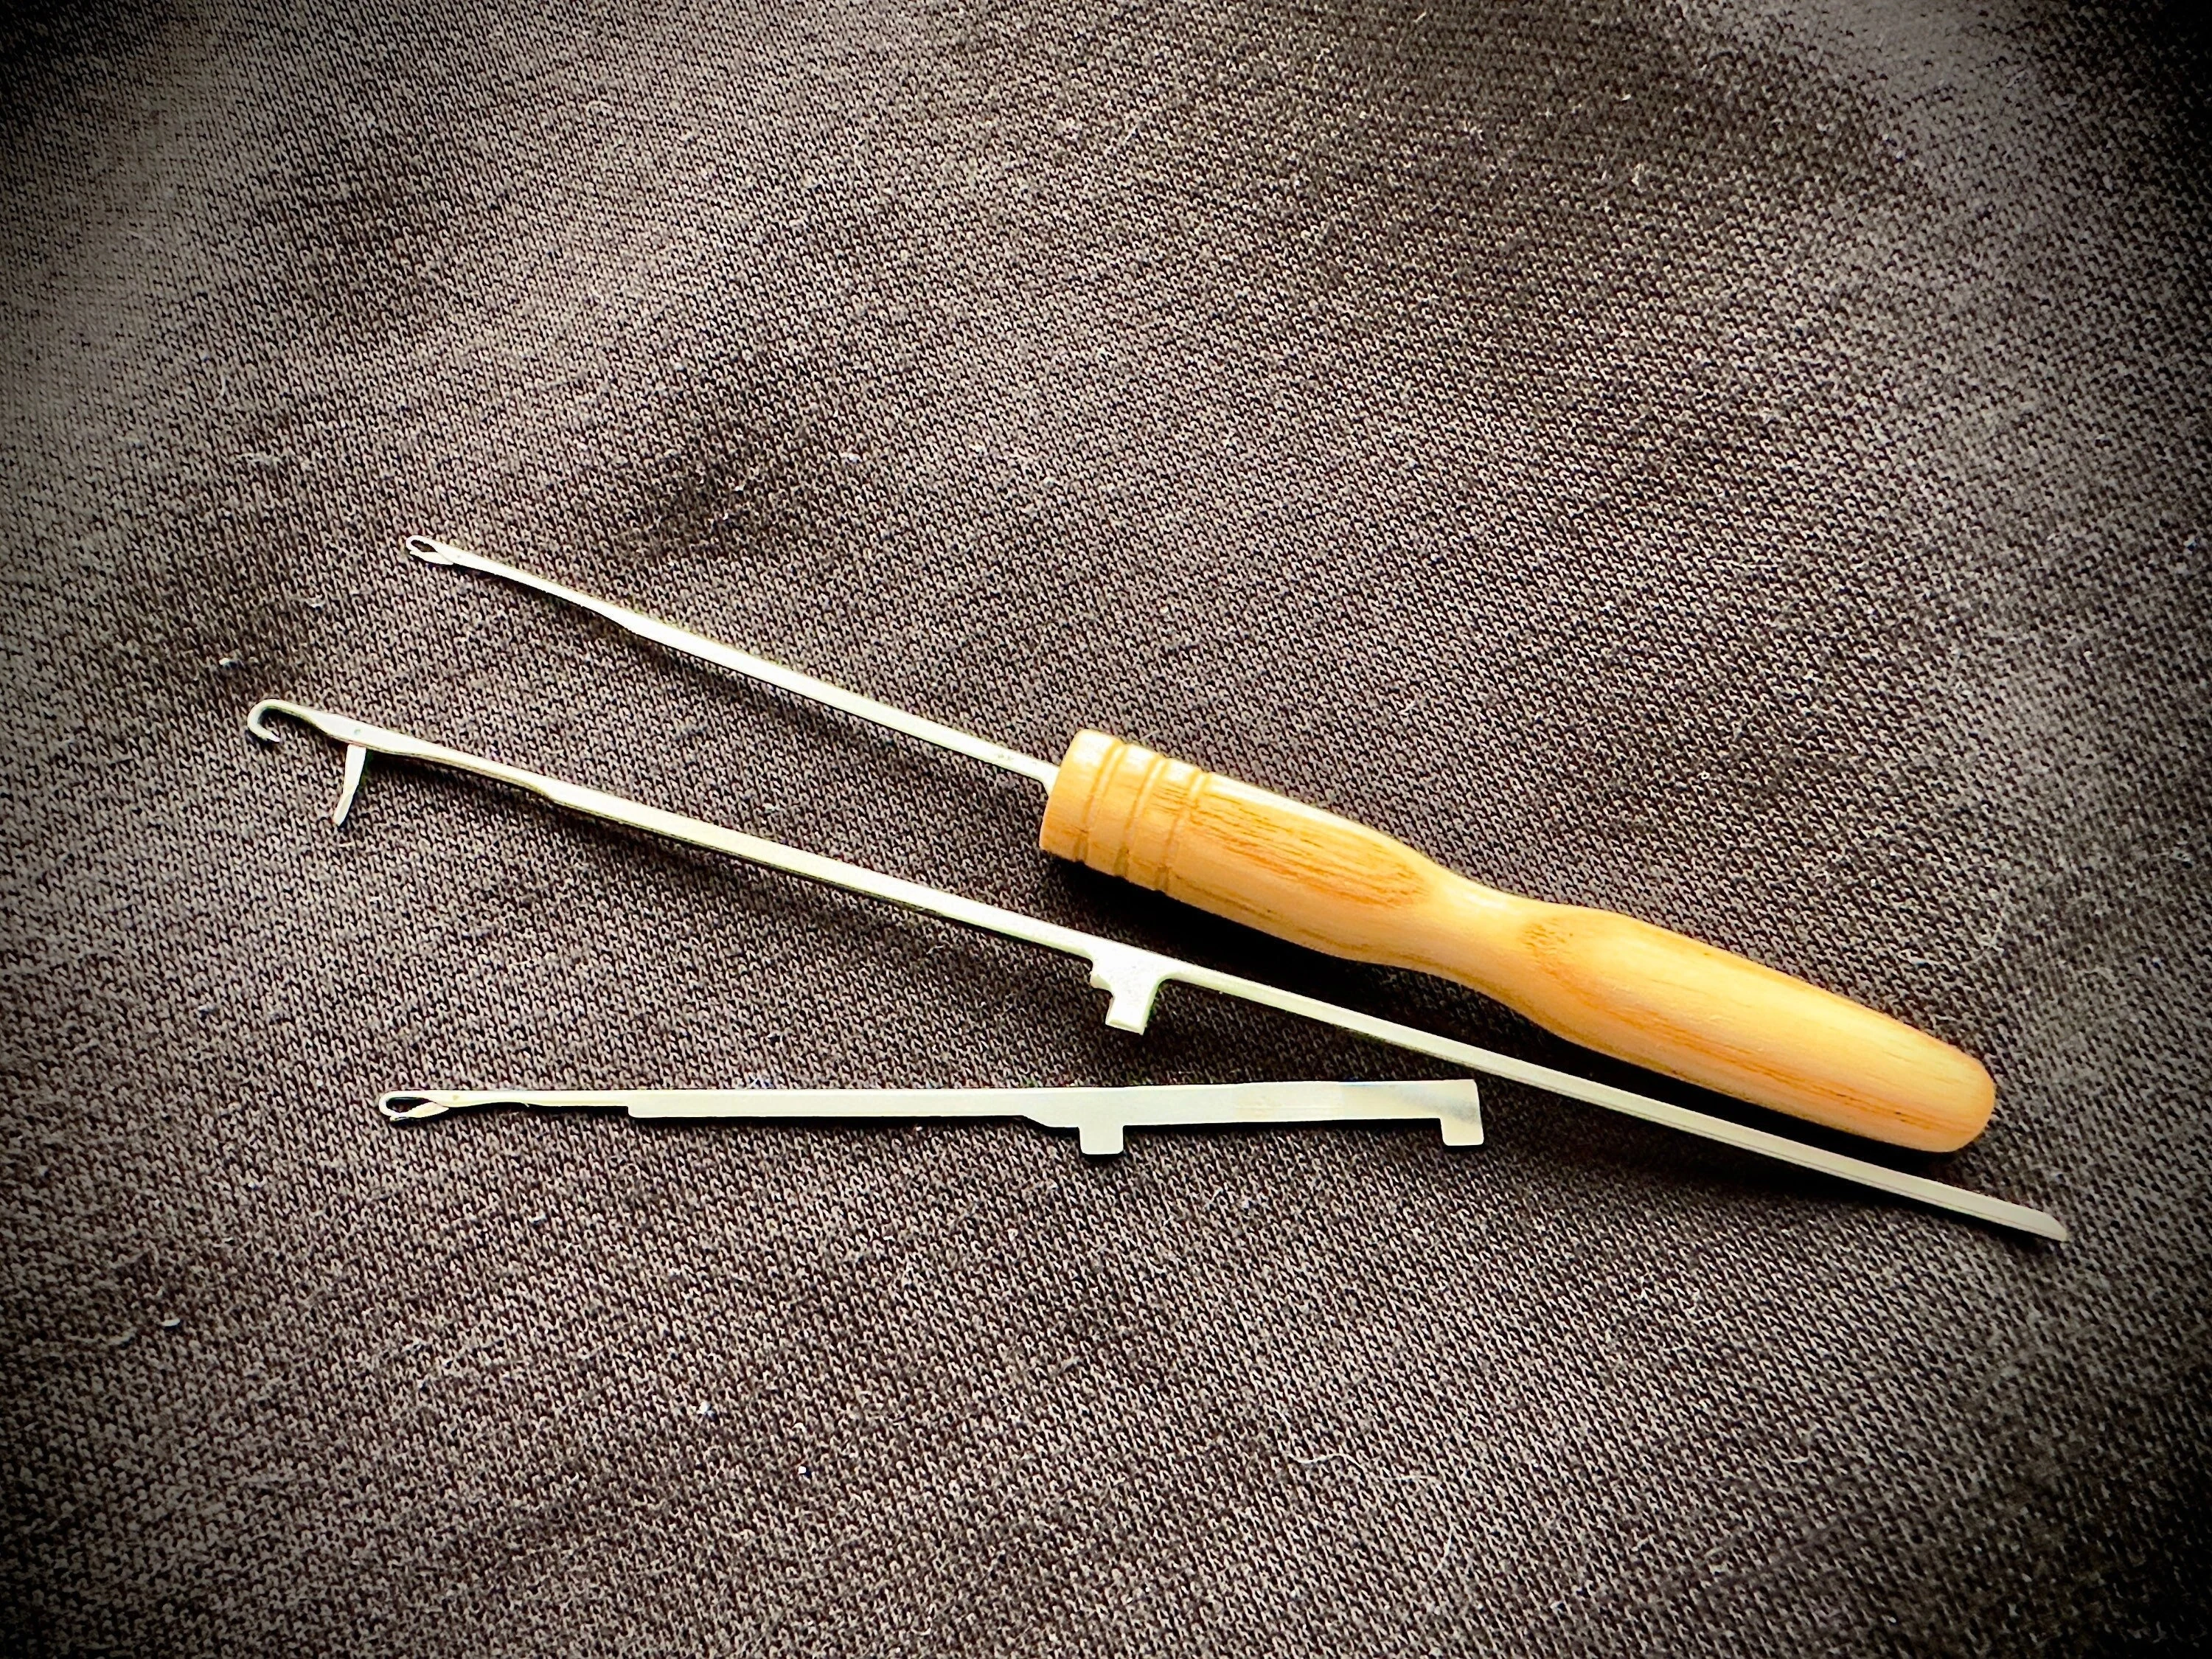
- Snag repair needle (Snag Nab-It style tool) for quickly pulling loops to the back
- Blunt tapestry needle or a large-eye darning needle
- Small latch hook (the rug-making tool) for thicker weaves and stubborn loops
- Small sharp embroidery scissors (for very specific, last-resort snips)
- Fabric shaver (optional, for fuzz around the snag only, never for the snag itself; test on an inconspicuous area first because some synthetics and performance fabrics can pill or lighten)
- Fusible knit interfacing or a lightweight backing fabric (for stabilizing weakened areas)
- Press cloth and a household iron (for backing only, never directly on delicate fibers)
- Fray check or clear fabric glue (tiny amounts, used strategically; patch-test first to avoid shine or staining)
- Matching thread and a hand-sewing needle for micro tacking (optional)
The golden rule
If you remember one thing, make it this: do not yank the snag upward to get it back in line. That is how a small loop becomes a long pulled thread, and that is how the weave loosens.
Instead, in most woven upholstery situations, you want to re-seat the pulled loop by bringing it to the back side of the cushion cover or chair panel. The front looks smoother, the tension redistributes, and the snag is no longer standing like a little flag.
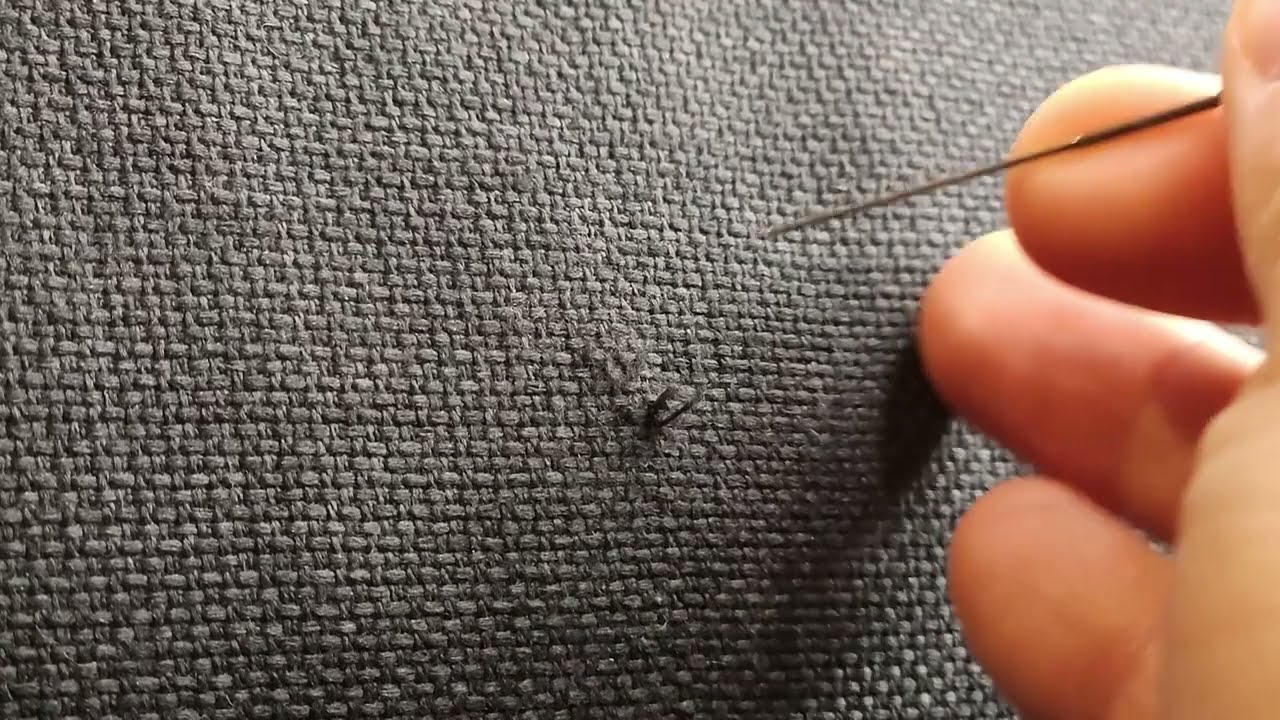
Snag repair needle method
If you have a snag repair needle (Snag Nab-It style), this is often the fastest, cleanest fix for a simple looped snag.
Step-by-step
- Stabilize the area. Lay your hand flat around the snag so the fabric does not shift.
- Insert next to the loop. Go in beside the snag, not through the loop itself.
- Catch the loop and pull it through. The textured end is designed to grab stray fibers. Pull the tool back through so the loop travels to the underside.
- Massage the front. Rub the surrounding weave in small circles to redistribute tension.
Tip: If the tool is grabbing too much, try a slightly different entry point a thread or two away. The goal is one loop, not a whole neighborhood.
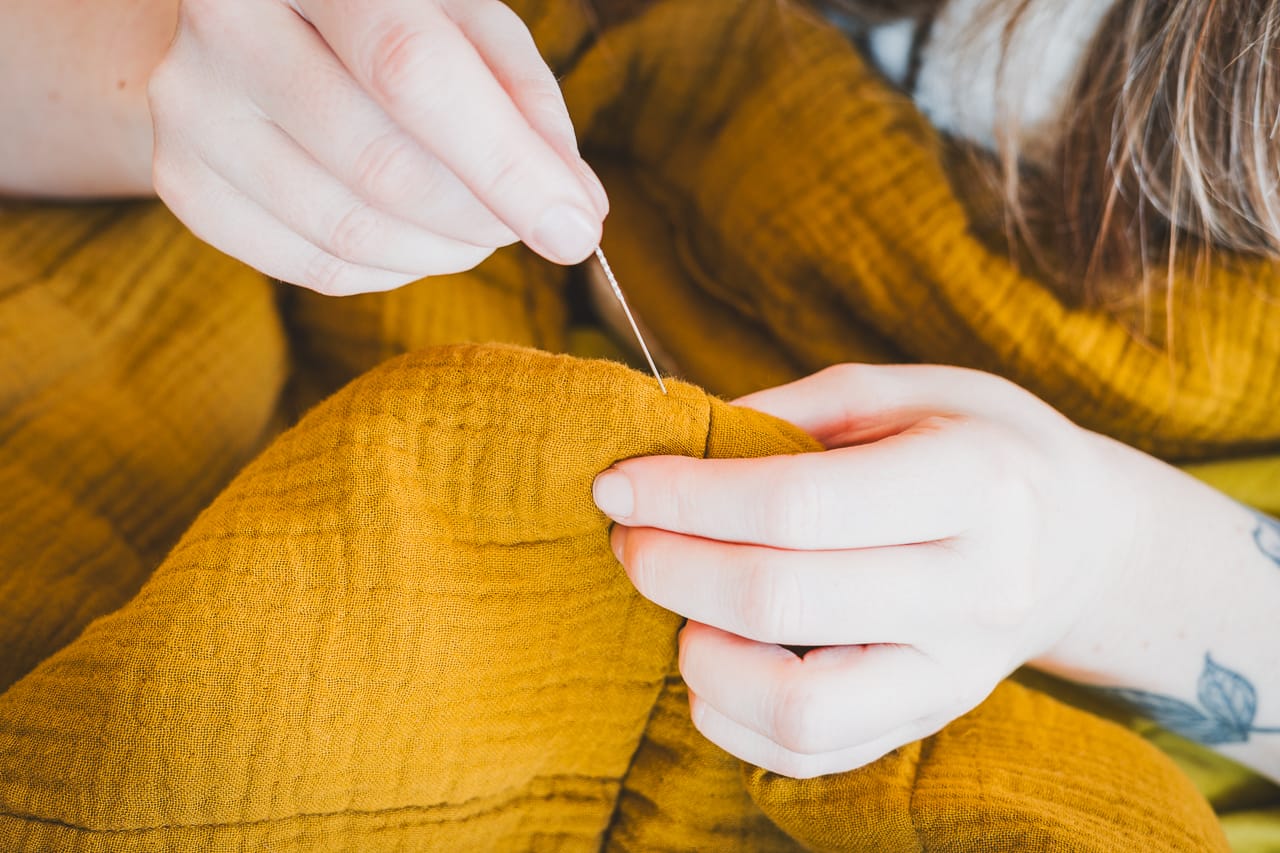
Needle-pull method
This is a gentle, reliable fix when you do not have a snag repair needle, and it works beautifully on many woven upholstery snags.
Step-by-step
- Stabilize the area. Lay your hand flat around the snag so the fabric does not shift while you work.
- Use an unthreaded needle. You are using the needle like a tool, not sewing with it.
- Insert beside the snag. Go in right next to the snag (not through the loop itself). Aim to pass through the thickness of the upholstery fabric.
- Hook the loop on the underside. Once the needle tip is through, rotate it slightly so the eye can act like a tiny hook. Catch the snagged loop with the eye, then gently pull the needle back through, bringing the loop to the back.
- Massage the front. Use your fingertip to lightly rub the surrounding weave in small circles to redistribute tension. The goal is even again, not perfectly erased.
Tip: If the loop is too short to catch, insert the needle a hair farther from the snag so you have a better angle to hook it.
Latch hook method
If your upholstery is chunky, nubby, or tightly textured, a latch hook can grab a loop more confidently than a needle. It is also lovely for snags that keep popping back up.
Step-by-step
- Insert the latch hook next to the snag and push through to the underside.
- Open the latch, catch the loop, then close the latch by gently pulling back so the loop is secured.
- Pull the loop through to the back slowly. No jerks.
- On the underside, spread the loop out with your fingers so it lays flat and does not form a new bump.
Extra gentle option: If you can unzip the cushion cover, work from the inside. Seeing the underside makes it much easier to control where the loop lands.
When clipping is OK
I know. The tiny scissors are calling. Clipping can be fine, but only in specific situations. The goal is to avoid cutting a structural thread that the weave needs.
Clipping is usually safe when
- The snag is a single fuzzy filament or hairy fiber that is clearly not carrying tension.
- You have already pulled the loop to the underside and there is a tiny tail sticking out on the back.
- The fabric is a tight, stable woven (not a loose basket weave).
Do not clip when
- The upholstery behaves like a knit or has noticeable stretch.
- The snag looks like it is part of a continuous yarn running across the fabric (clipping can create a visible gap).
- The weave is loose and airy, where threads can shift easily.
- You see the area starting to open into a hole rather than just a raised loop.
If you must clip: Clip only the excess loop height, not flush to the surface. Leaving a whisper of fiber reduces the chance of the yarn retreating and opening the weave.
Stabilize with backing
If a cat snag has created a weak spot, or you are seeing the weave spread into a tiny window, stabilization is what prevents the damage from growing. This works best on removable cushion covers or any upholstery panel you can access from the back side.
What to use
Choose a lightweight fusible knit interfacing (it flexes and moves with upholstery) or a lightweight backing fabric you can sew in. You want support, not a stiff board.
Durability note: Fusible interfacing is a stabilizer, not a structural rebuild. In high-friction zones (seat tops, favorite cat launch pads), a sewn-on backing patch often holds up better long-term than fusible alone.
How to apply fusible (underside only)
- Turn the cover inside out so you are working on the wrong side.
- Trim interfacing so it extends at least 1 to 2 inches beyond the weakened area.
- Place a press cloth over the interfacing.
- Press, do not slide. Use the iron’s recommended setting for the interfacing and the upholstery fiber. Press in place for a few seconds, lift, and move.
- Let it cool flat before you handle it. Cooling sets the bond.
Caution: Some upholstery fibers and finishes hate heat. If you cannot test safely, or if the fabric is silk-blend, vintage rayon, or unknown, skip fusing and use a sewn-on backing patch instead.
Filling tiny holes
If a snag has progressed into a pinhole or small open spot, your mission is to close the gap and support the surrounding weave.
Option A: Nudge and reweave
If you still have surrounding threads to work with, you can coax them back into place.
- Use a blunt needle and, from the front, gently nudge adjacent threads toward the hole.
- Work in tiny increments around the opening rather than forcing one side.
- Finish with light rubbing to relax the tension.
Option B: Back it with a patch
- Cut a small patch of lightweight fabric or interfacing for the underside.
- Attach it with a few hand stitches around the perimeter, or a very small amount of fabric glue if sewing is not possible.
- From the front, nudge the weave to close the opening as much as it naturally wants to.
Micro-glue note: If you use fray check or fabric glue, patch-test first. Apply it with a toothpick to the underside only, and use the smallest amount you can. The goal is to stop fraying, not create a shiny, crunchy spot.
Troubleshooting
The snag keeps popping back up
- Pull the loop to the underside again, then spread the loop flat with your fingernail so it does not sit like a bump.
- If the cover is removable, add a small backing patch behind the spot to help hold tension.
The area looks puckered after you pull the loop through
- Massage the fabric gently in circles.
- Try pulling a tiny bit of slack from neighboring areas by rubbing outward from the snag, like smoothing a bedsheet.
- If it still looks drawn, you may have a pulled run rather than a simple loop. Do not keep tugging. This is a good moment to stop and reassess.
The fabric is a loose basket weave and I am nervous
You are right to be cautious. Loose weaves shift easily. Favor the needle, snag repair needle, or latch hook pull-through and then stabilize from behind. Avoid clipping unless it is truly just surface fuzz.
What not to do
- Do not pull with tweezers from the front. It is too easy to over-tension one thread.
- Do not knot the yarn on the surface. It creates a hard bump that catches again.
- Do not use superglue. It can discolor fabric, turn brittle, and create a permanent shiny spot.
Prevent the next snag
I am not here to tell you to stop living. I am here to help your sofa survive it.
- Add a decoy texture. Place a cozy throw or a quilted cover on the cat’s favorite corner. Bonus points if it looks intentional.
- Trim claws regularly and consider soft nail caps if your cat tolerates them.
- Choose tighter weaves when you buy new upholstery. In general, tighter, flatter weaves snag less than loose, loopy textures.
- Keep a snag kit in a drawer near the living room. Quick fixes prevent bigger ones.
When to call a pro
Some damage is simply above the coffee table repair level, and that is not a failure. Reach out to an upholsterer or textile repair specialist if:
- The snag has turned into a long run across a highly visible area.
- The upholstery is antique, rare, or sentimental.
- You have a large hole where structure is compromised.
- The fabric is velvet, silk-blend, or otherwise fussy and you cannot test safely.
- You cannot access the underside and the snag is getting worse with handling.
If you are unsure whether to pull or clip, choose the move that is most reversible. Pulling a loop through can be adjusted. Cutting cannot.