Fill Nail Holes and Small Wall Anchors Before Move-Out
Clara Townsend
Clara Townsend is an interior stylist, vintage furniture enthusiast, and the creative voice behind Velvet Abode. With over a decade of experience transforming both cramped city apartments and sprawling fixer-uppers, she believes that a beautiful home is built on personal stories rather than massive budgets. When she isn't hunting for the perfect brass sconce at a local flea market, she can usually be found rearranging her living room for the third time this month.
There is a very specific kind of move-out panic that hits when the couch is gone, the walls look suddenly huge, and you can see every tiny nail hole you forgot existed. The good news: most small wall damage is genuinely easy to fix, and you can do it in a calm, tidy way that reads “normal wear and tear” instead of “weekend drywall surgery.”
This is my renter-friendly approach to filling nail holes and small anchor spots so your walls look clean under harsh overhead lights and in the landlord’s phone photos.
First: what you can patch vs what to disclose
I am not a lawyer and I cannot interpret your lease, but I can help you think like a property manager doing a walkthrough. Most landlords expect you to patch small nail holes from picture hanging. Larger holes, missing drywall paper, plaster damage, and failed anchors that tore the wall are more likely to be considered “damage” that needs professional repair or at least honest disclosure.
A practical rule of thumb
- Usually safe to patch yourself: pin holes, small nail holes, and small screw holes where the wall surface is intact and the opening is roughly 1/8 inch (3 mm) or smaller.
- Patchable, but do it carefully: many common plastic expansion anchors and small drywall anchors that leave an opening around 3/16 to 1/4 inch (4 to 6 mm), as long as the paper face is not torn and the area is not cratered. Note: some “1/4 inch” anchors leave a much larger, ragged opening when they fail, so go by the real damage, not the package size.
- Consider disclosing or requesting permission: anything larger than 1/4 inch, holes from toggle bolts, spots where the drywall is soft or broken, plaster walls that have cracked or chipped, water damage, or areas where the paper face has peeled off. These can be repaired DIY, but they are also the places landlords notice first.
If your lease bans wall holes entirely, follow the lease. When in doubt, send a quick email: “I’m patching a few small nail holes with spackle and touching up paint to match. Any preferred method?” That one sentence can save your deposit and your nervous system.
Spackle vs compound vs filler
The main move-out mistake I see is using the wrong product, then over-sanding, then panic-painting a shiny blob. Here is the cheat sheet, with plain-language buying guidance.
Spackle (best for tiny holes)
Use it for: pin holes, nail holes, hairline dents, shallow dings.
Buy this: a small tub labeled “lightweight spackle” or “patching spackle.”
Watch for: some spackles shrink a little. If the hole is deeper than it looks, plan on two thin applications.
Lightweight joint compound (best for lots of spots)
Use it for: a wall with many small patches, or when you want extra working time for feathering.
Buy this: a small tub labeled “lightweight” or “plus 3” style joint compound (pre-mixed).
Watch for: it dries slower than spackle and is easier to dent until painted.
Setting-type compound or hard-drying filler (best for crumbly anchor holes)
Use it for: small anchor holes that feel a little busted around the edges, or spots closer to 1/4 inch that need more strength.
Buy this: a small tub of “ready-mix patch” that dries hard, or a small bag/box of setting-type joint compound (often marked 20, 45, or 90 minutes). If you are new to patching, ready-mix is easier.
Watch for: setting compounds can firm up quickly, and some hard fillers are tougher to sand. Use a light touch and fine grit.
Should you remove the anchor?
- If it is a plastic expansion anchor: remove it. Leaving it in can read as unfinished.
- If it is a metal self-drilling anchor: remove it if it backs out cleanly. If it spins and chews up drywall, stop and treat it like a repair (see the anchor section below).
- If removing it will cause a crater: sometimes the cleanest move is to push it slightly below the surface (not deep, just recessed) and fill over it. Treat this as a last resort because some landlords dislike buried hardware, metal can rust and telegraph, and a shrinking patch can reveal the outline later. If you can remove it cleanly, do that.
Your patch kit
- Spackle or lightweight joint compound (small tub)
- Putty knife (a 2 inch flexible knife is perfect)
- Fine sanding sponge (220 grit) and medium (120 to 150 grit)
- Microfiber cloth
- Painter’s tape (optional but helpful)
- Small foam roller or soft mini roller (for paint blending)
- Small angled brush (for corners and tight spots)
- A disposable plate or tray for paint
- Drop cloth or old sheet
Optional, but lovely: a vacuum with a brush attachment. It makes the cleanup feel like a salon blowout instead of a dust storm.
Before you sand: a quick safety note
Wall patching is small-scale, but sanding makes dust. A few renter-friendly precautions:
- If your home was built before 1978: be cautious about lead paint. Do not dry-sand unknown old paint. Consider a lead test kit or ask management about paint history. When in doubt, skip sanding and use a damp-sponge smoothing method only on the patch itself, or call a pro.
- Wear a dust mask and consider safety glasses if you are sanding overhead.
- Turn off HVAC while you sand so dust does not get pulled into vents. Open a window if you can.
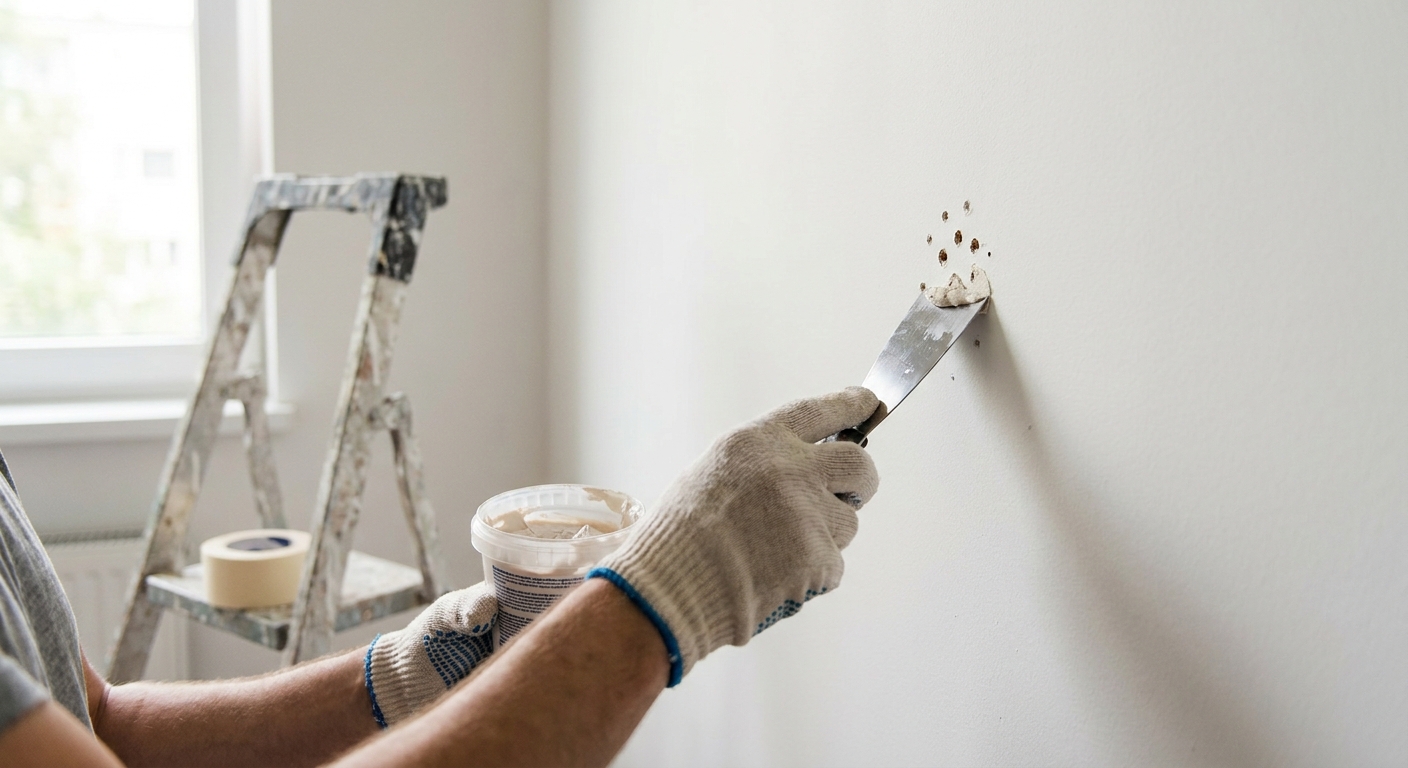
Fill nail holes
1) Clean the spot
Wipe the area with a slightly damp microfiber cloth. Dust and oily fingerprints can keep filler from bonding cleanly.
2) Apply a thin skim
Load a tiny amount of spackle on the knife, then press it across the hole in two directions like you are buttering toast. The goal is to force filler into the hole and then scrape off the extra so you are not sanding a mound later.
3) Let it dry fully
Dry means dry, not “seems dry.” As a rough guide: many lightweight spackles dry in 15 to 60 minutes, while joint compound can take a few hours depending on thickness, temperature, and humidity. If you sand too early, it pills and drags.
4) Sand gently
Use a fine sanding sponge and small circular motions. Stop the second it feels flush. Over-sanding can create a shiny burnished ring that touch-up paint loves to highlight.
5) Wipe and check in side light
Stand to the side and look across the wall. Raking light shows bumps and dips instantly. If it is still indented, do a second thin coat instead of trying to build one thick blob.
Patch small anchor holes
Anchor holes are less about the hole itself and more about the torn paper and crumbly edges they leave behind. Also, plaster walls are a different animal than drywall. If you are working on plaster and it is cracking or delaminating, go slower and consider getting guidance before you start digging.
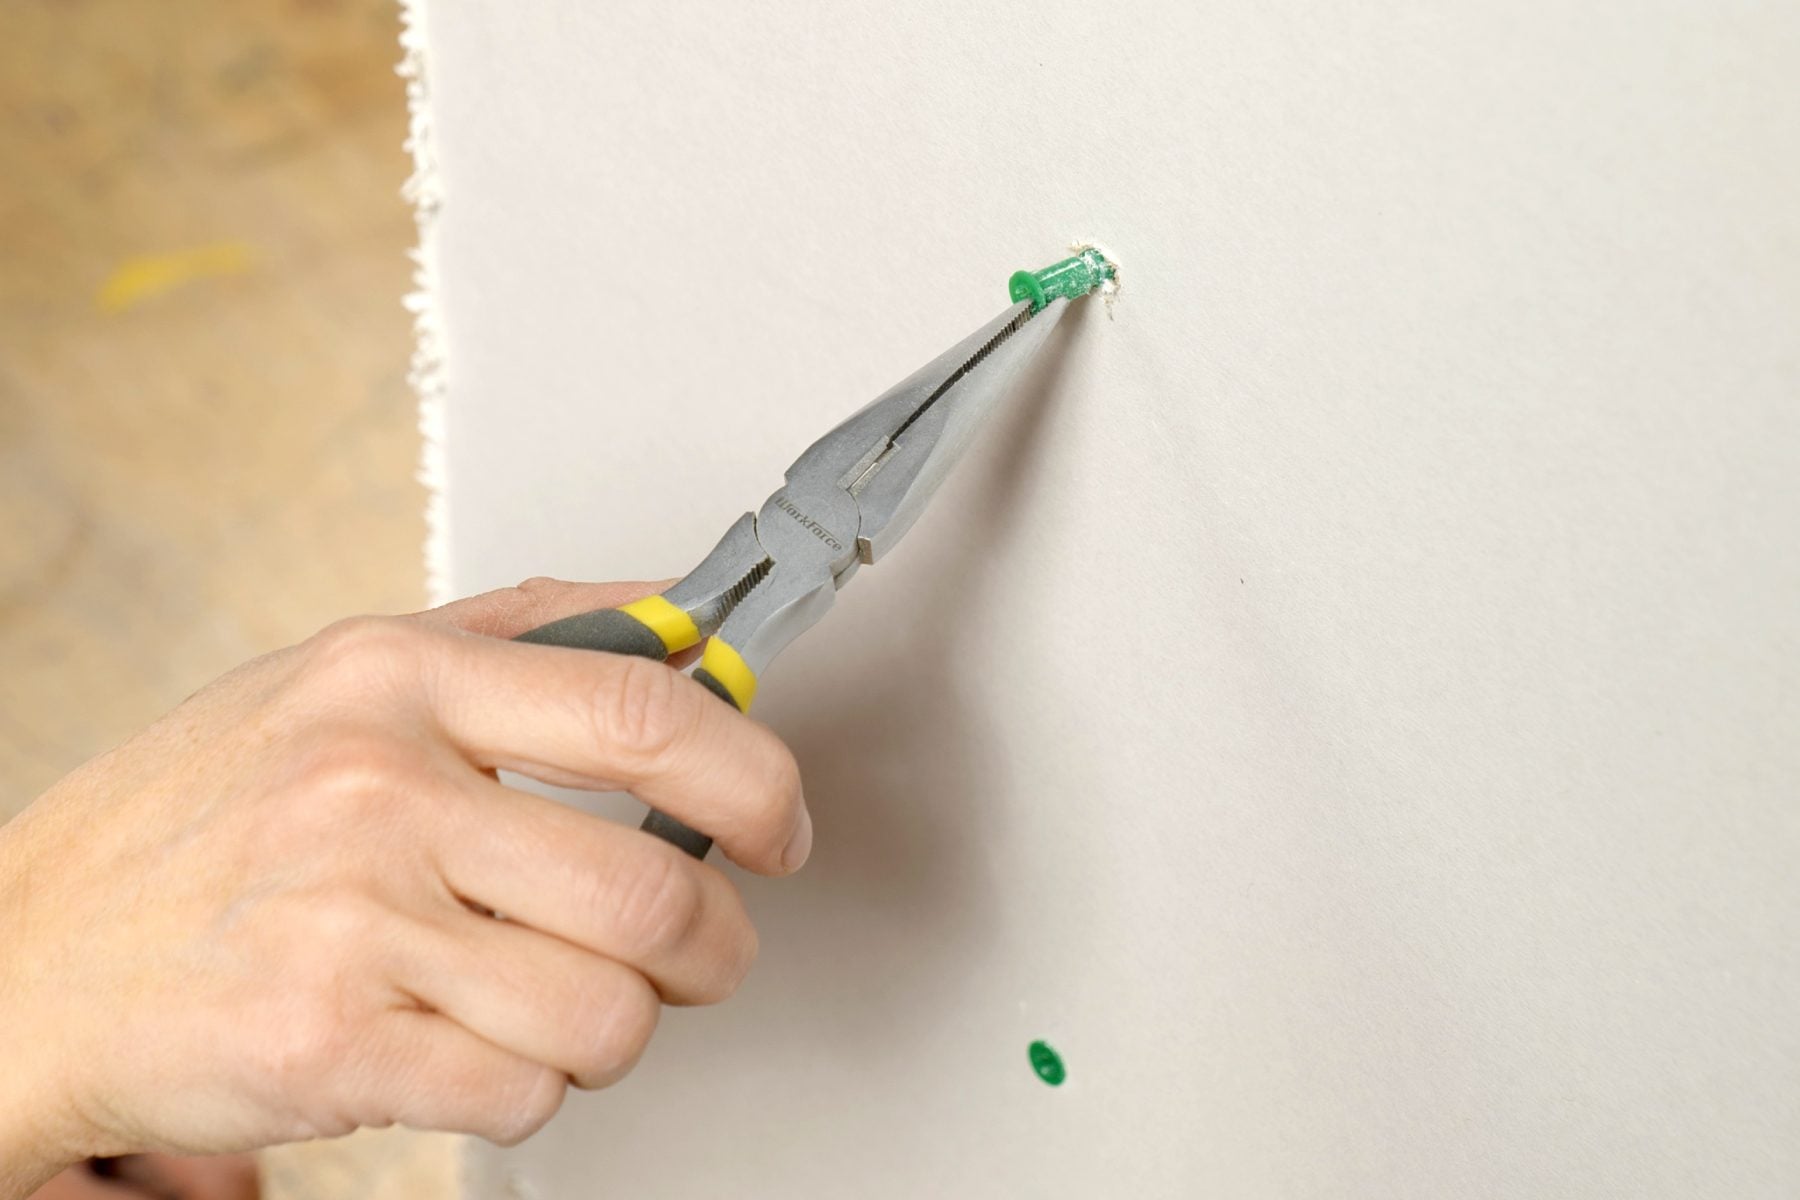
1) Remove the anchor gently
- For plastic anchors: grip with pliers and pull straight out. If it resists, screw a screw partway in, then pull on the screw to coax the anchor out.
- For self-drilling metal anchors: unscrew counterclockwise. If it spins, press the anchor inward slightly while turning to help the threads catch.
2) Trim fuzzy paper
If the drywall paper edge is ragged, take a utility knife and lightly trim the fuzz. Do not gouge the gypsum. You are just removing what would otherwise bubble under filler and paint.
3) Seal torn paper if needed
If you can see torn brown paper or a fuzzy spot that keeps lifting, seal it before you mud. A quick coat of primer (or a shellac-based sealer for stubborn areas) helps lock it down so it does not blister later. Let it dry, then patch.
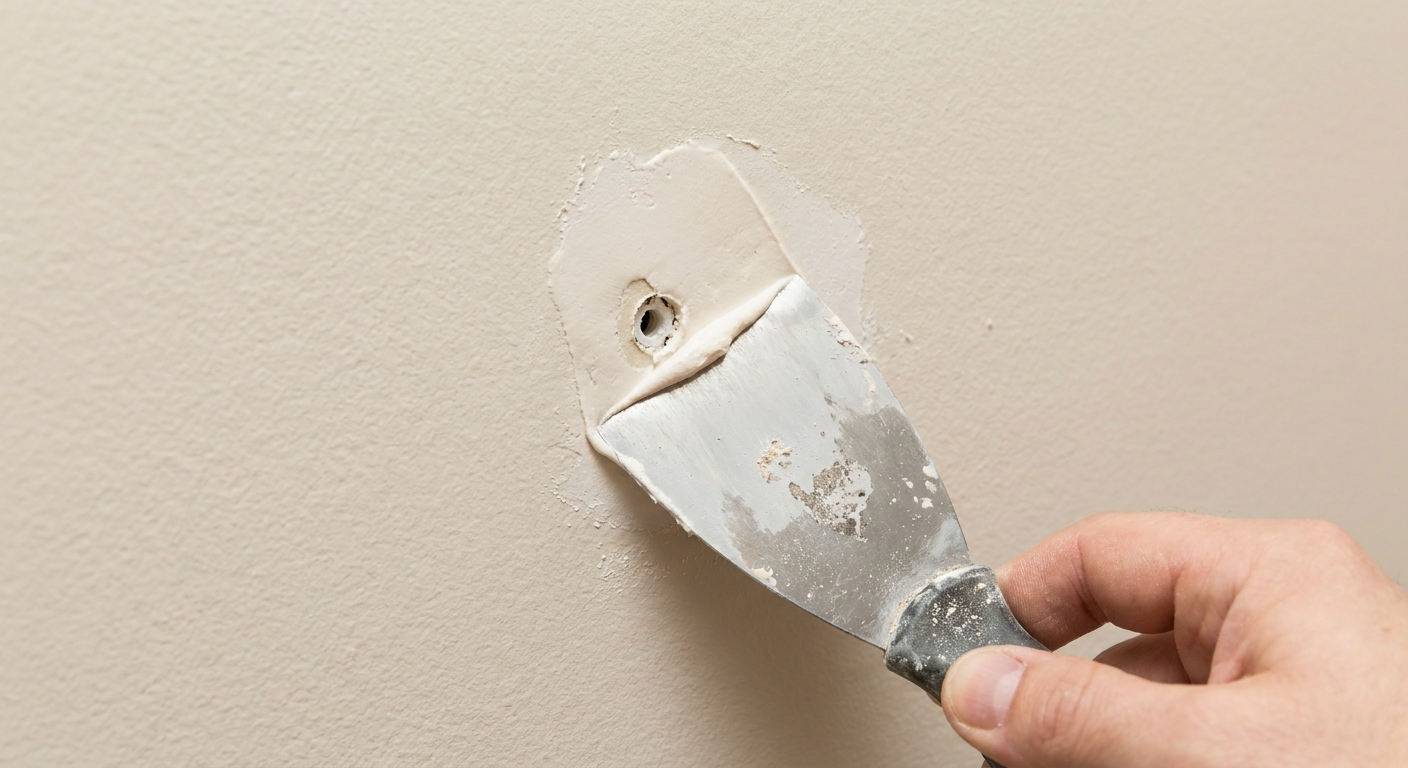
4) Fill in layers
For anything near 1/4 inch or deeper than a simple pinhole, fill in two thin passes. Press the first pass firmly to pack the hole, let it dry, then skim a second coat to level it.
5) Feather the edges
Hold the knife at a shallow angle and drag outward so the patch fades into the wall. Think: pancake, not cupcake.
Low-dust sanding
Sanding does not have to feel like you are making flour in your living room. These are my low-drama methods.
Use a sanding sponge
A sponge conforms to the wall and is less likely to dig grooves.
Vacuum as you go
Hold the vacuum brush near the patch while you sand. It is oddly satisfying.
Try the damp sponge trick
For very shallow fills (think pinholes and tiny nail holes), you can sometimes skip sanding entirely: once the filler is almost dry (not wet, not fully cured), gently wipe the edges with a slightly damp sponge to soften the ridge. Test first. Some products smear or pull right back out of the hole if you do this too early, or if the fill is deep.
Protect your paint sheen
If your wall is eggshell or satin, aggressive sanding can create a matte halo. Go lighter than you think you need.
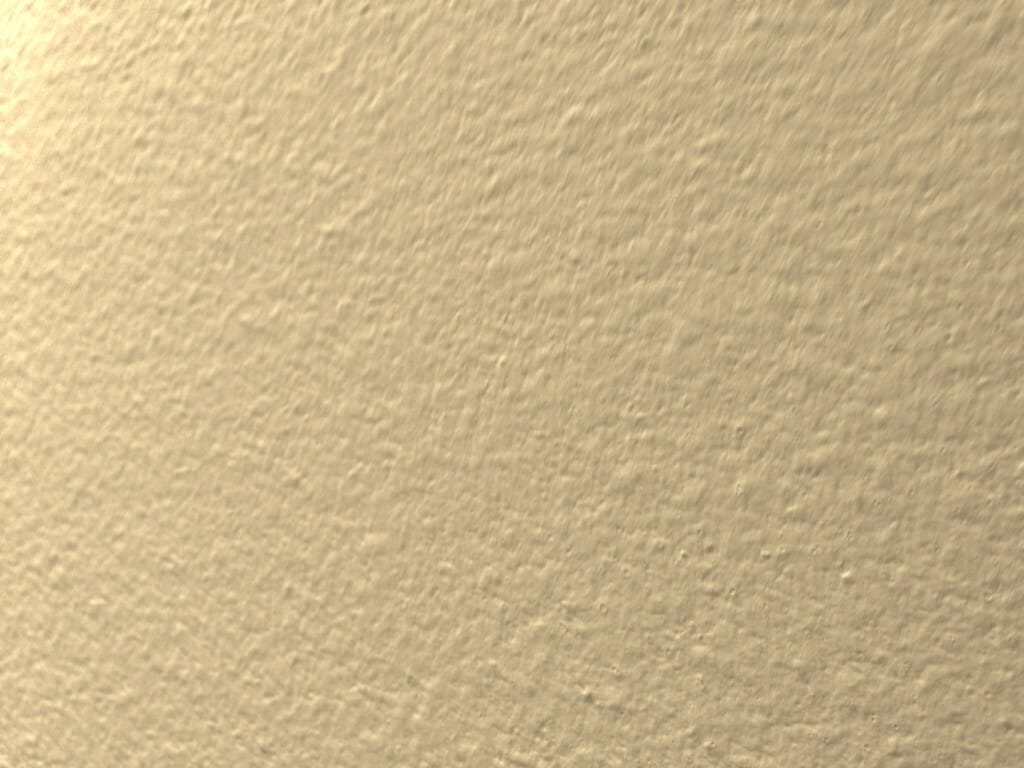
Match wall texture
Texture is where move-out patches either disappear or scream “I tried.” Here is what works for common rental walls.
Mostly smooth walls
You are aiming for flat and feathered. Do not overbuild the patch.
Orange peel texture
You can mimic light orange peel by stippling a nearly dry second coat with a stiff brush or a small piece of sponge. Tap lightly, let it dry, then do a whisper of sanding to knock down peaks.
Knockdown texture
Patch, then add a little stipple while the final coat is setting. Once it is partially dry, gently drag a wide knife across the tops to “knock down” the texture. Practice on cardboard first if you have never done it.
Heavy texture
If your walls are very textured, your best bet is often to keep the patch as small as possible and blend paint well. Texture matching can spiral quickly. If you need to recreate texture across a larger area, consider asking maintenance for the preferred method or hiring a pro.
Touch-up paint that passes photos
Touch-up paint is where most “perfect” patches get caught. Color and sheen both matter, and sheen is the one renters forget. Also, even the right paint can still look wrong if the wall has faded from sun or simply aged. When touch-ups fail, painting to a corner or doing the whole wall is the cleanest fix.
1) Confirm color and sheen
If you have the original paint can label, look for both the color name or code and the sheen (flat, matte, eggshell, satin, semi-gloss). Touching up with the wrong sheen can flash under light even if the color is right.
If you do not know the paint, ask your landlord or property manager. Many will tell you because it makes their life easier.
2) Primer: optional for tiny spots, helpful for best match
Primer is not always required for a pinhole-sized spackle spot, but it often improves touch-ups because it evens out porosity. If you want the best odds of an invisible patch, a quick spot-prime is a smart move, especially for:
- Porous patches: joint compound that can “drink” paint and look dull
- Any torn paper: always seal first
- Bigger patches: anything larger than a coin, or clusters of repairs
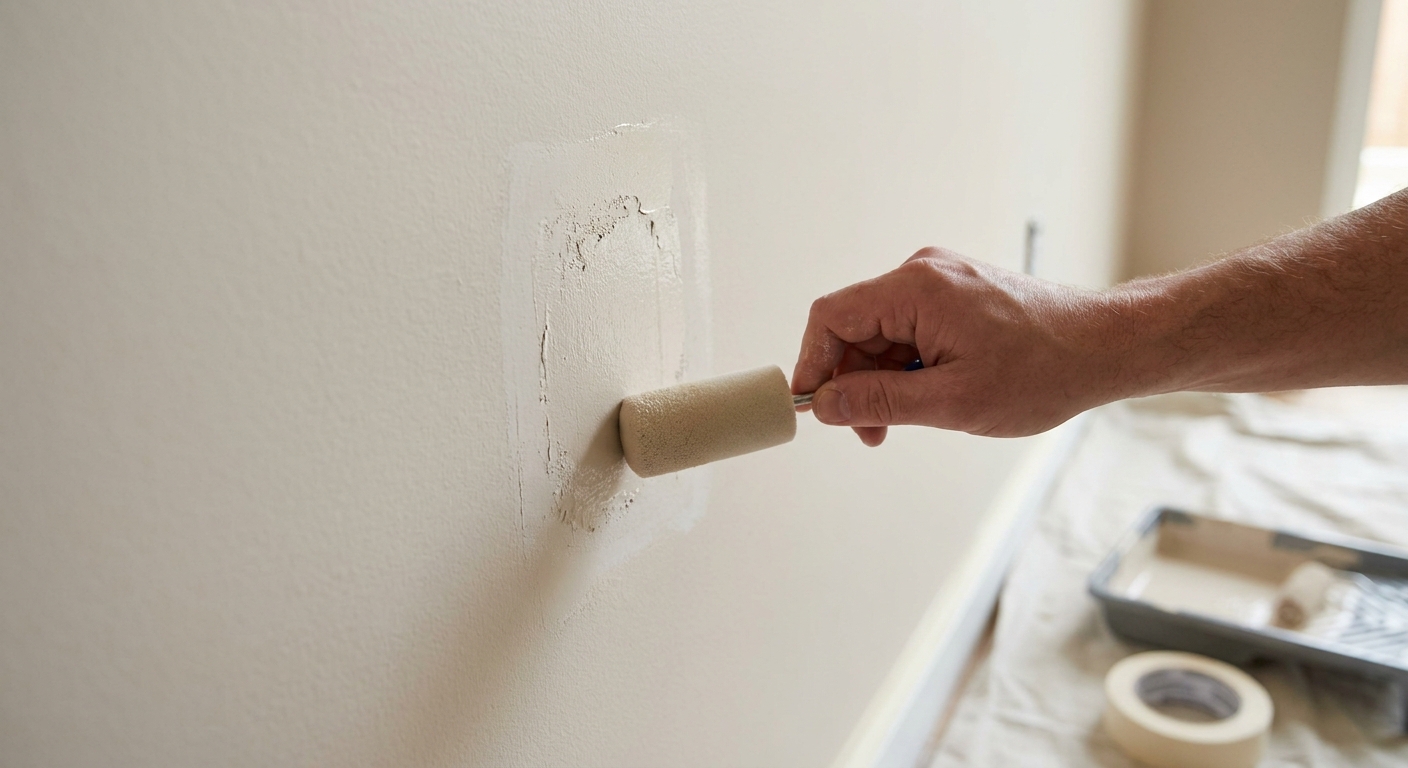
3) Feather the paint
This is the landlord-friendly trick: do not paint a hard-edged square.
- Start with a small amount of paint over the patch.
- Use a mini roller or foam roller to roll outward, lighter and lighter, so the edge disappears.
- If using a brush, use very light strokes at the perimeter to soften the boundary.
Whenever possible, paint to a natural break like a corner, trim edge, or the full wall. Touch-ups can work, but whole-wall paint is the most invisible, especially if the existing paint has faded.
4) Let it dry before judging
Fresh paint often looks brighter or duller until it dries fully. Give it time before you decide you need another coat.
Quick fixes
Shiny spot after sanding
That is burnished paint. Lightly scuff with a fine sanding sponge, wipe clean, then feather paint wider than you think you need.
Patch shrank and dipped
Add another thin coat, feather the edges, let dry, then lightly sand.
Paint flashing
Usually a sheen mismatch, unprimed porous compound, or too-small touch-up area. Spot-prime if needed, then feather farther out with a roller. If it is still obvious, repaint the full wall.
Texture looks too smooth
Stipple a very thin coat of compound and gently knock it back once it sets. Then repaint.
What not to do
- Do not overfill. More filler means more sanding and more chance of a visible hump.
- Do not sand like you mean it. Heavy sanding can leave a halo, especially on eggshell or satin paint.
- Do not use toothpaste or soap. It dries weird, cracks, and can stain through paint.
- Do not use caulk for holes. Caulk stays flexible and can look rubbery under paint.
- Do not paint a perfect square. A crisp rectangle is basically a “look here” sign.
- Do not ignore sheen. The color can be right and still look wrong.
Move-out checklist
- Walk the apartment in daylight and mark holes with painter’s tape
- Remove nails, hooks, and anchors gently
- Patch in thin coats and feather edges
- Let patches dry fully (humidity and cold slow everything down)
- Sand with a fine grit, vacuum and wipe
- Spot-prime when needed
- Touch up paint with feathered edges (or paint the whole wall)
- Do a final check at night with lamps on, since side light shows everything
If you do this one or two days before your final clean, you will have time for drying, second coats, and calm touch-ups without rushing.
When to call maintenance or a pro
If you are staring at a toggle bolt hole, a ripped-out chunk of drywall, a plaster crack that keeps spreading, or a long crack that keeps reappearing, it may be cheaper to ask for guidance than to experiment. A quick maintenance visit or a small handyman fee can protect your deposit, and it protects the next tenant too.
A home does not have to be pristine to be loved, but a move-out wall does need to look cared for. Think of patching as returning the space with the same quiet respect you would want from the person who moves in after you.