DIY Closet Lighting Upgrades
Clara Townsend
Clara Townsend is an interior stylist, vintage furniture enthusiast, and the creative voice behind Velvet Abode. With over a decade of experience transforming both cramped city apartments and sprawling fixer-uppers, she believes that a beautiful home is built on personal stories rather than massive budgets. When she isn't hunting for the perfect brass sconce at a local flea market, she can usually be found rearranging her living room for the third time this month.
Closets are where good outfits go to die in bad lighting. If you have ever held up two nearly identical black tops and whispered, “Are you navy,” you already understand the assignment.
The good news is you can upgrade closet lighting in an afternoon with peel-and-stick fixtures and plug-in LED options, no electrician required. (Real life note: timing depends on closet size, cable routing, and how much surface prep you do.) I’ll walk you through the most reliable options, where to place them so they actually help, and the safety limits so you don’t turn your linen collection into a heat experiment.

Pick the right type of light
Before you buy anything, take thirty seconds to answer two questions: Do you have an outlet inside the closet, and do you want the lights to turn on automatically?
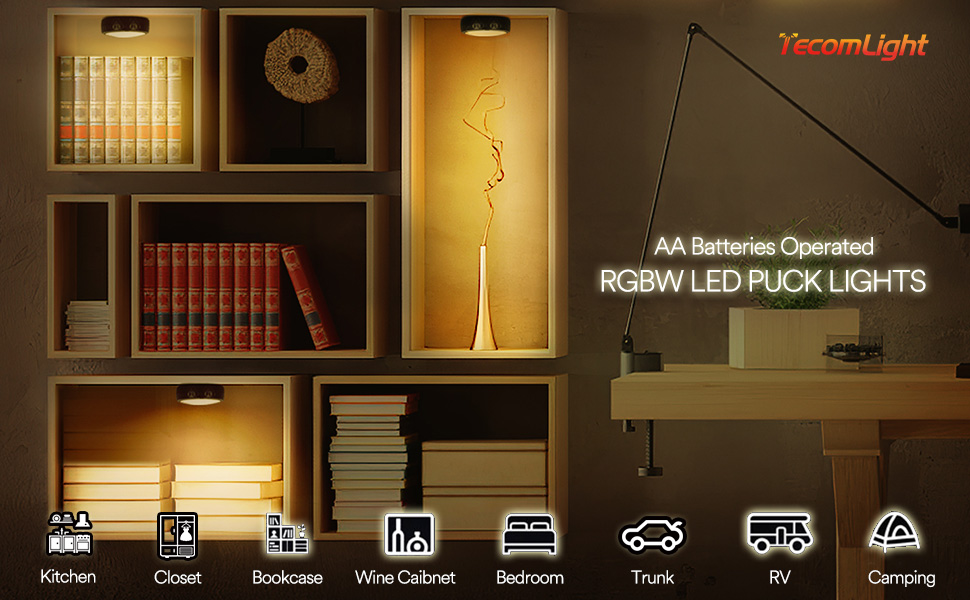
- No outlet, want simple: battery puck lights
- No outlet, want hands free: rechargeable motion sensor bars
- Outlet available, want the “boutique closet” look: LED strip lights (plug-in) for rods and shelves
- Need serious brightness or a permanent solution: that’s when we talk electrician
Quick win #1: Battery puck systems
Puck lights are the gateway upgrade. They’re inexpensive, easy to install, and they instantly eliminate that shadowy “cave shelf” situation above your hanging clothes.
What to look for
- LED, not incandescent. LEDs run cooler and last longer.
- Warm to neutral white. Aim for 2700K to 3500K so your clothes look flattering and familiar, not like a hospital hallway.
- High CRI if possible. If a product lists CRI 80+, you’re in decent shape. If you can find CRI 90+, even better, especially for tricky dark neutrals.
- Tap on or remote. Tap is fine for low shelves. Remote is better for high shelves or deep walk-ins.
Best placement
Most closets cast the worst shadows at the front edge, not the back. Put light where it can wash down the face of your clothes.
- Under the top shelf, near the front edge: this is the sweet spot for reach-in closets.
- Under each shelf: if you have cubbies or stacked shelving, one puck per “bay” keeps it even.
- Above shoe shelves: shoes are basically shadow magnets, especially under hanging garments.
Install tips that save frustration
- Clean first: wipe the surface with isopropyl alcohol and let it dry so adhesive actually sticks.
- Use better tape if needed: the included adhesive is often weak. Swap to quality mounting strips rated for the weight.
- Textured walls are tricky: if the surface is bumpy, dusty, or unfinished wood, adhesive may fail. If you’re allowed to, use small screws or brackets. If you’re renting, test a single light for a few days and check removal in a hidden spot first.
- Think about battery access: don’t bury the puck behind a shelf lip where you can’t open it later.
The honest tradeoff
You’ll replace batteries. If that annoys you now, it’ll annoy you more later. If you want “set it and forget it,” jump to rechargeable motion lights.
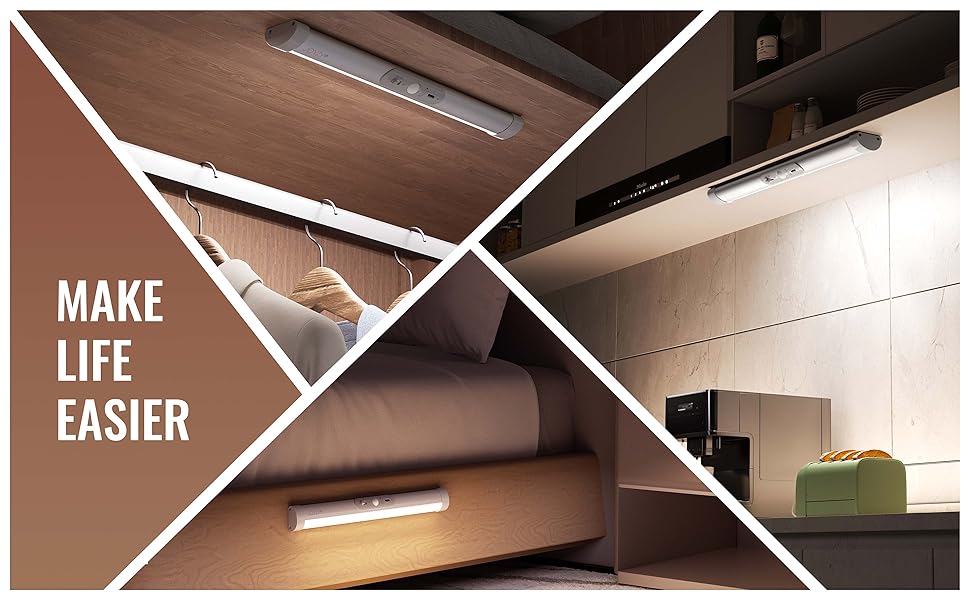
Quick win #2: Rechargeable motion lights
This is my favorite upgrade for people who want their closet to feel quietly luxurious. Motion sensor bars turn on when you walk in, then turn off after a short timer. No fumbling, no forgetting, and no disposable batteries to buy over and over.
Why they work so well in closets
- They follow your behavior: you open the door, step in, and the light kicks on.
- They’re usually magnetic: a metal strip sticks to the wall or shelf, and the light snaps on and off for charging.
- They’re slim: perfect for tight closet headers and narrow shelving.
What to look for
- USB rechargeable (USB-C is a plus).
- Motion plus light sensor modes. A good unit won’t turn on in full daylight if your closet has a window.
- Brightness as a starting point: 200 to 400 lumens per bar can work well for many reach-ins, but it depends on bar length, closet depth, and wall color. Rule of thumb: for a typical 4 to 6 foot reach-in, aim for roughly 400 to 800 total lumens across one or two bars, then adjust from there.
- Adjustable color temperature if you’re picky about warm versus neutral.
Where to place motion lights
- On the closet header (top front frame): shines down and forward, which is what you want for hanging clothes.
- Under the top shelf: centered left to right, near the front edge.
- Vertical on side walls: excellent for deeper closets because it reduces harsh overhead shadows.
One important detail: most motion sensors are PIR, which means they detect movement and heat, not the door itself. If the sensor is aimed at the back wall or blocked by clothing, opening the door might not trigger it. Point the sensor toward the entry and keep it out of the “coat forest.”
If you’ve got sliding or bifold doors, the header can be awkward or partially blocked. In that case, side-wall mounting usually performs better and looks cleaner, too.
If you’re doing a walk-in, treat it like a tiny room. Two or three motion bars placed around the perimeter often feel better than one super bright light that creates a spotlight effect.
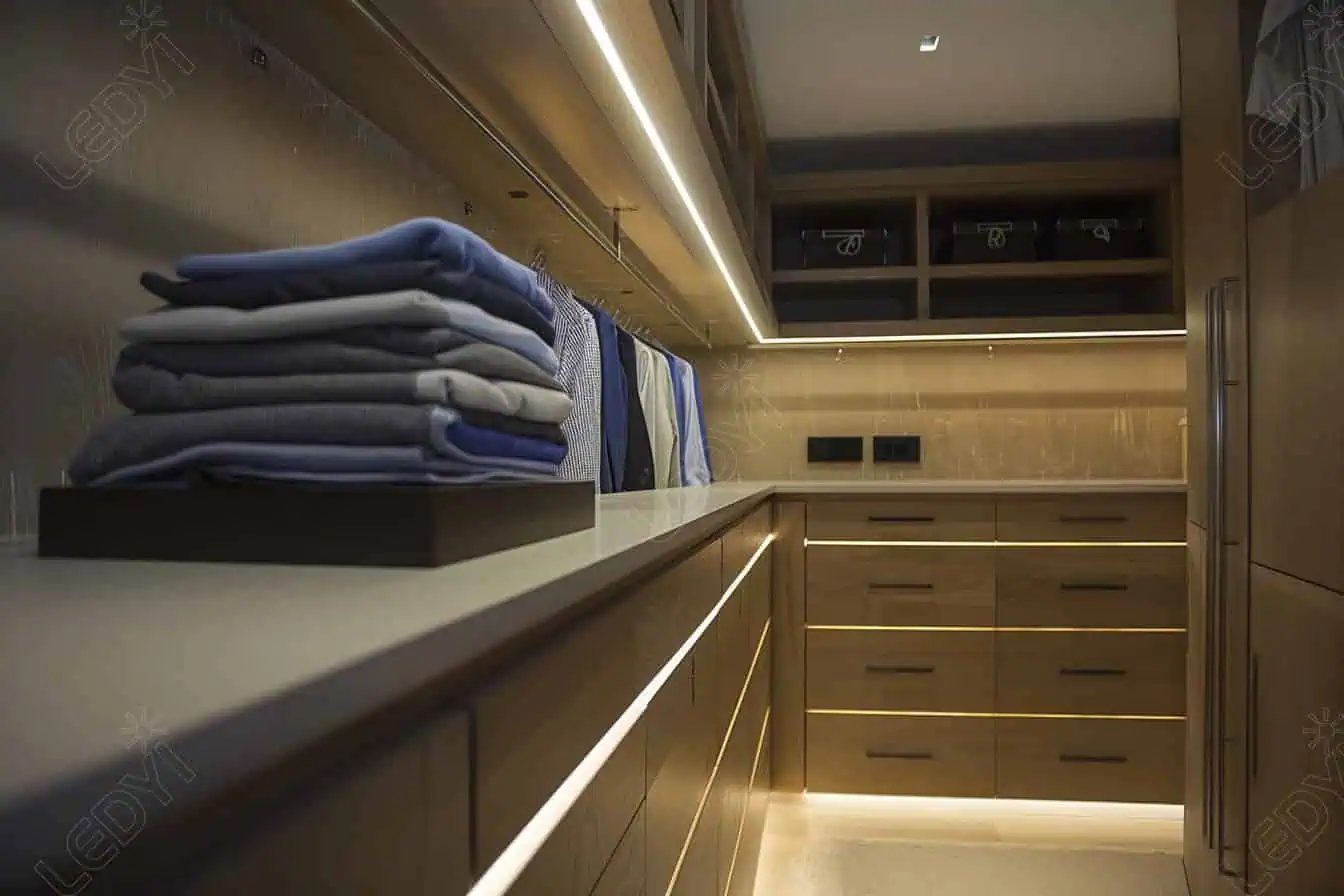
LED strip lights for rods and shelves
If you want that “high-end closet showroom” glow, LED strips are the move. Done well, strips make your closet feel intentionally designed, not just “brighter.” Done poorly, they create glare, visible dots, or a harsh beam that makes everything look the wrong color.
Plug-in vs hardwired
For DIY without an electrician, stick to plug-in LED strip kits or USB powered strips. If you’re tempted to hardwire a driver into a junction box, that’s typically the point where you hire out and follow local code.
Where strips look best
- Under shelves, tucked behind a front lip: hides the strip and prevents glare. If your shelf has no lip, add a simple aluminum channel with a diffuser cover.
- On the inside of the face frame: in reach-in closets, placing strips vertically on both sides lights clothing more evenly.
- Above the closet rod, facing toward the back wall: the light bounces forward and fills shadows without shining directly into your eyes.
Rod lighting without rewiring
True “lit closet rods” are often hardwired. The DIY-friendly alternative is to place a strip above the rod so the clothes are lit from the top down.
- Mount location: underside of the top shelf or upper cabinet panel, about 1 to 3 inches in front of the rod line.
- Aim: angle slightly toward the back wall so light washes down the garments.
- Hide the dots: use a diffuser channel, especially if the strip is visible from standing height.
Choose a strip that flatters your clothes
- Color temperature: 2700K to 3000K feels cozy, 3500K feels crisp but still flattering.
- CRI: aim for CRI 90+ if you can. Closet lighting is all about color accuracy.
- Dimmable: useful if your closet is small and bright light feels aggressive.
Glare rules (so you don’t hate your new lights)
- Don’t aim bare LEDs at eye level: if you can see the strip directly when you’re standing in front of the closet, you’ll get glare.
- Face strips inward: aiming toward the back wall or down toward shelving usually looks softer.
- Diffusers fix a lot: channels make the light look more expensive and less like a DIY science project.
Clean cable routing that doesn’t scream “DIY”
- Run along corners: follow shelf undersides and vertical corners where the eye doesn’t linger.
- Use paintable cord cover: especially for the last stretch down to an outlet.
- Plan your power source first: don’t buy 16 feet of strip before confirming where the plug will land.
Mini shopping checklist for strip kits
- Power and control: plug-in adapter length, on-off switch location, and whether the dimmer is included.
- Adhesive quality: better kits use stronger tape, but you may still want a channel for long runs.
- Voltage and cut marks: make sure you can cut at the intervals you need for your shelf widths.
- Channel size: confirm the strip fits the diffuser channel you plan to use.
A simple lighting plan
Small reach-in closet
- 1 motion sensor bar on the header or under the top shelf
- 2 to 4 puck lights under the top shelf for extra fill if needed
Reach-in with shelves on one side
- LED strip under each shelf (or one strip that runs the whole column)
- Motion sensor bar for general light when you open the door and step in
Walk-in closet
- 2 to 4 motion sensor bars placed around the perimeter, not all in one spot
- LED strips under shelving for that tailored finish
Safety limits to follow
I love a brave DIY moment, but closet lighting is one place where we keep it boring and safe. Closets are enclosed, full of fabric, and often poorly ventilated.
Stick with cool-running LEDs
- Avoid incandescent or halogen puck lights. They run hot and aren’t worth the risk.
- Don’t bury power supplies. Some adapters and drivers are fully enclosed and rated for tight installs, but many still need reasonable clearance. Follow the manufacturer’s instructions, keep components accessible, and don’t tuck power bricks under piles of sweaters.
Mind adhesive and heat
- Use mounting products rated for the surface. Closet walls can be dusty, textured, or freshly painted.
- Check strips after 48 hours. If an LED strip is sagging, fix it now before it peels onto clothing.
Battery basics
- Don’t mix old and new batteries.
- If a battery compartment looks corroded, replace the unit.
- Charge rechargeable lights on a nonflammable surface and follow the manufacturer instructions.
Moisture and heat sources
If your closet shares a wall with a hot water heater, HVAC equipment, or has humidity issues, choose products rated for those conditions and avoid stuffing adapters in tight corners.
When DIY isn’t enough
There’s no shame in calling a pro. In fact, it’s often the more budget-friendly choice long term if you’re planning a renovation or dealing with electrical quirks.
Hire an electrician if you want
- A new ceiling light where no fixture exists
- New switches, dimmers, or a switch relocated outside the closet
- Hardwired LED tape with concealed drivers and wall controls
- Any wiring changes inside walls, ceilings, or junction boxes
- Flickering lights, warm outlets, buzzing switches, or tripping breakers
Also, if you’re in a rental and your lease is strict, stick to removable options like magnetic motion bars and adhesive pucks. They give you the glow without the goodbye patch-and-paint saga.
My go-to checklist
- Measure your closet width and shelf depth
- Find your power situation: battery, rechargeable, or outlet
- Choose a color temperature between 2700K and 3500K
- Prioritize CRI 80+ (90+ if possible) for accurate clothing color
- Aim lights near the front edge to reduce shadows
- Clean surfaces with isopropyl alcohol before sticking anything
- Hide glare with diffuser channels or tucked placement
- Keep adapters and drivers accessible and installed per manufacturer guidance
Closing thought
Closet lighting isn’t just practical. It changes how your mornings feel. When you can actually see your clothes, you stop second-guessing and start enjoying what you already own. And that, to me, is the most Velvet Abode kind of upgrade: small, personal, and immediately comforting.