Designer Bookshelf Styling Formula
Clara Townsend
Clara Townsend is an interior stylist, vintage furniture enthusiast, and the creative voice behind Velvet Abode. With over a decade of experience transforming both cramped city apartments and sprawling fixer-uppers, she believes that a beautiful home is built on personal stories rather than massive budgets. When she isn't hunting for the perfect brass sconce at a local flea market, she can usually be found rearranging her living room for the third time this month.
There is a very particular kind of frustration that comes from “nice” shelves that still look a little… unsettled. Like they can’t decide if they are a library, a souvenir display, or a storage unit with aspirations.
The good news is you don’t need more stuff. You need a plan.
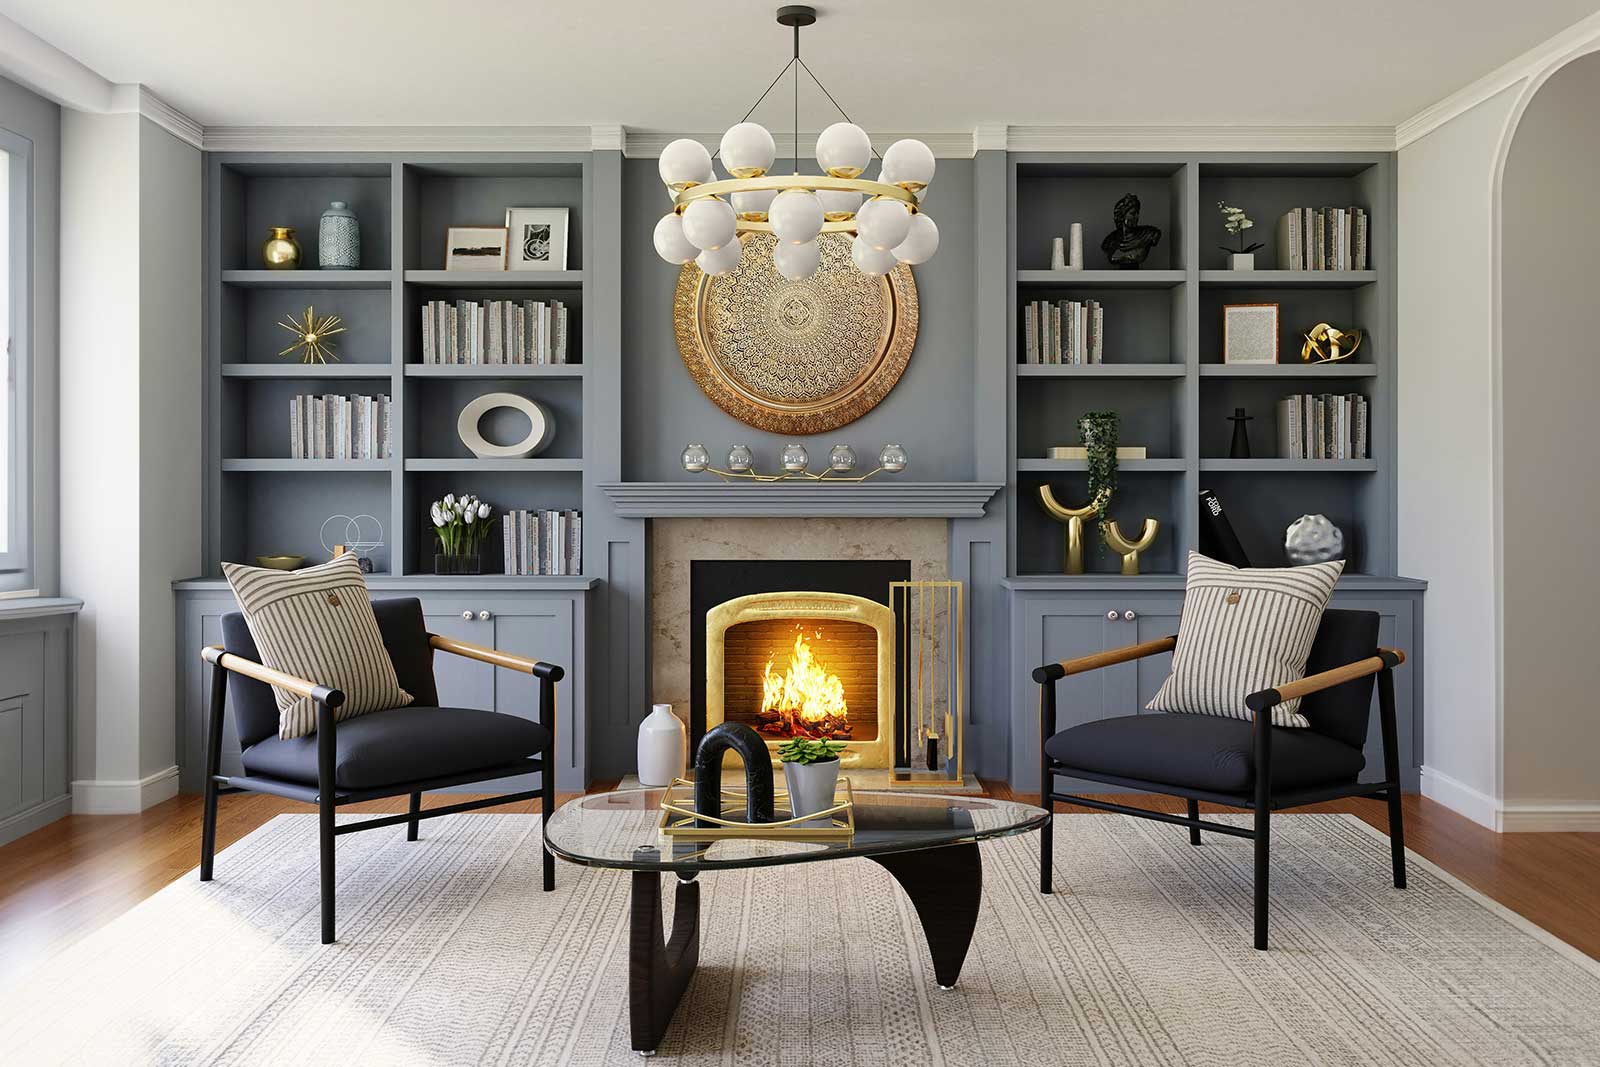
This is my simple, repeatable formula for balanced shelves that feel collected, not cluttered: triangles of height + layering + book orientation mix + negative space. This is styling only, meaning we’re not building shelves, adding legs, anchoring units, or changing the structure. We’re just making what you already have look intentional.
The 4-Part Shelf Formula
Whenever I style a bookcase, I want each shelf to have the same quiet rhythm: something tall, something medium, something low, plus space to breathe. That rhythm comes from four moves.
- Triangles of height: groups that step down visually, like tall to medium to small.
- Layering: depth created by placing items in front of, beside, or overlapping other items.
- Book orientation mix: some vertical spines, some horizontal stacks, and a little breathing room between.
- Negative space: intentional emptiness that makes everything else look more special.
Keep this in your head as you go. If a shelf feels off, it’s almost always because one of these four is missing.
Step 1: Clear and Sort
I know. You want the pretty part. But a quick sort usually saves a lot of second-guessing later.
Quick reset
- Pull everything off one shelf at a time.
- Wipe it down. Dust changes how “finished” a shelf reads.
- Sort into four piles: books, art, vessels (vases, bowls), oddities (candles, boxes, small objects).
Then choose a rough vibe: light and airy, moody and layered, colorful and playful. This helps you edit. If the vibe is airy, you’ll use fewer objects per shelf and more negative space.
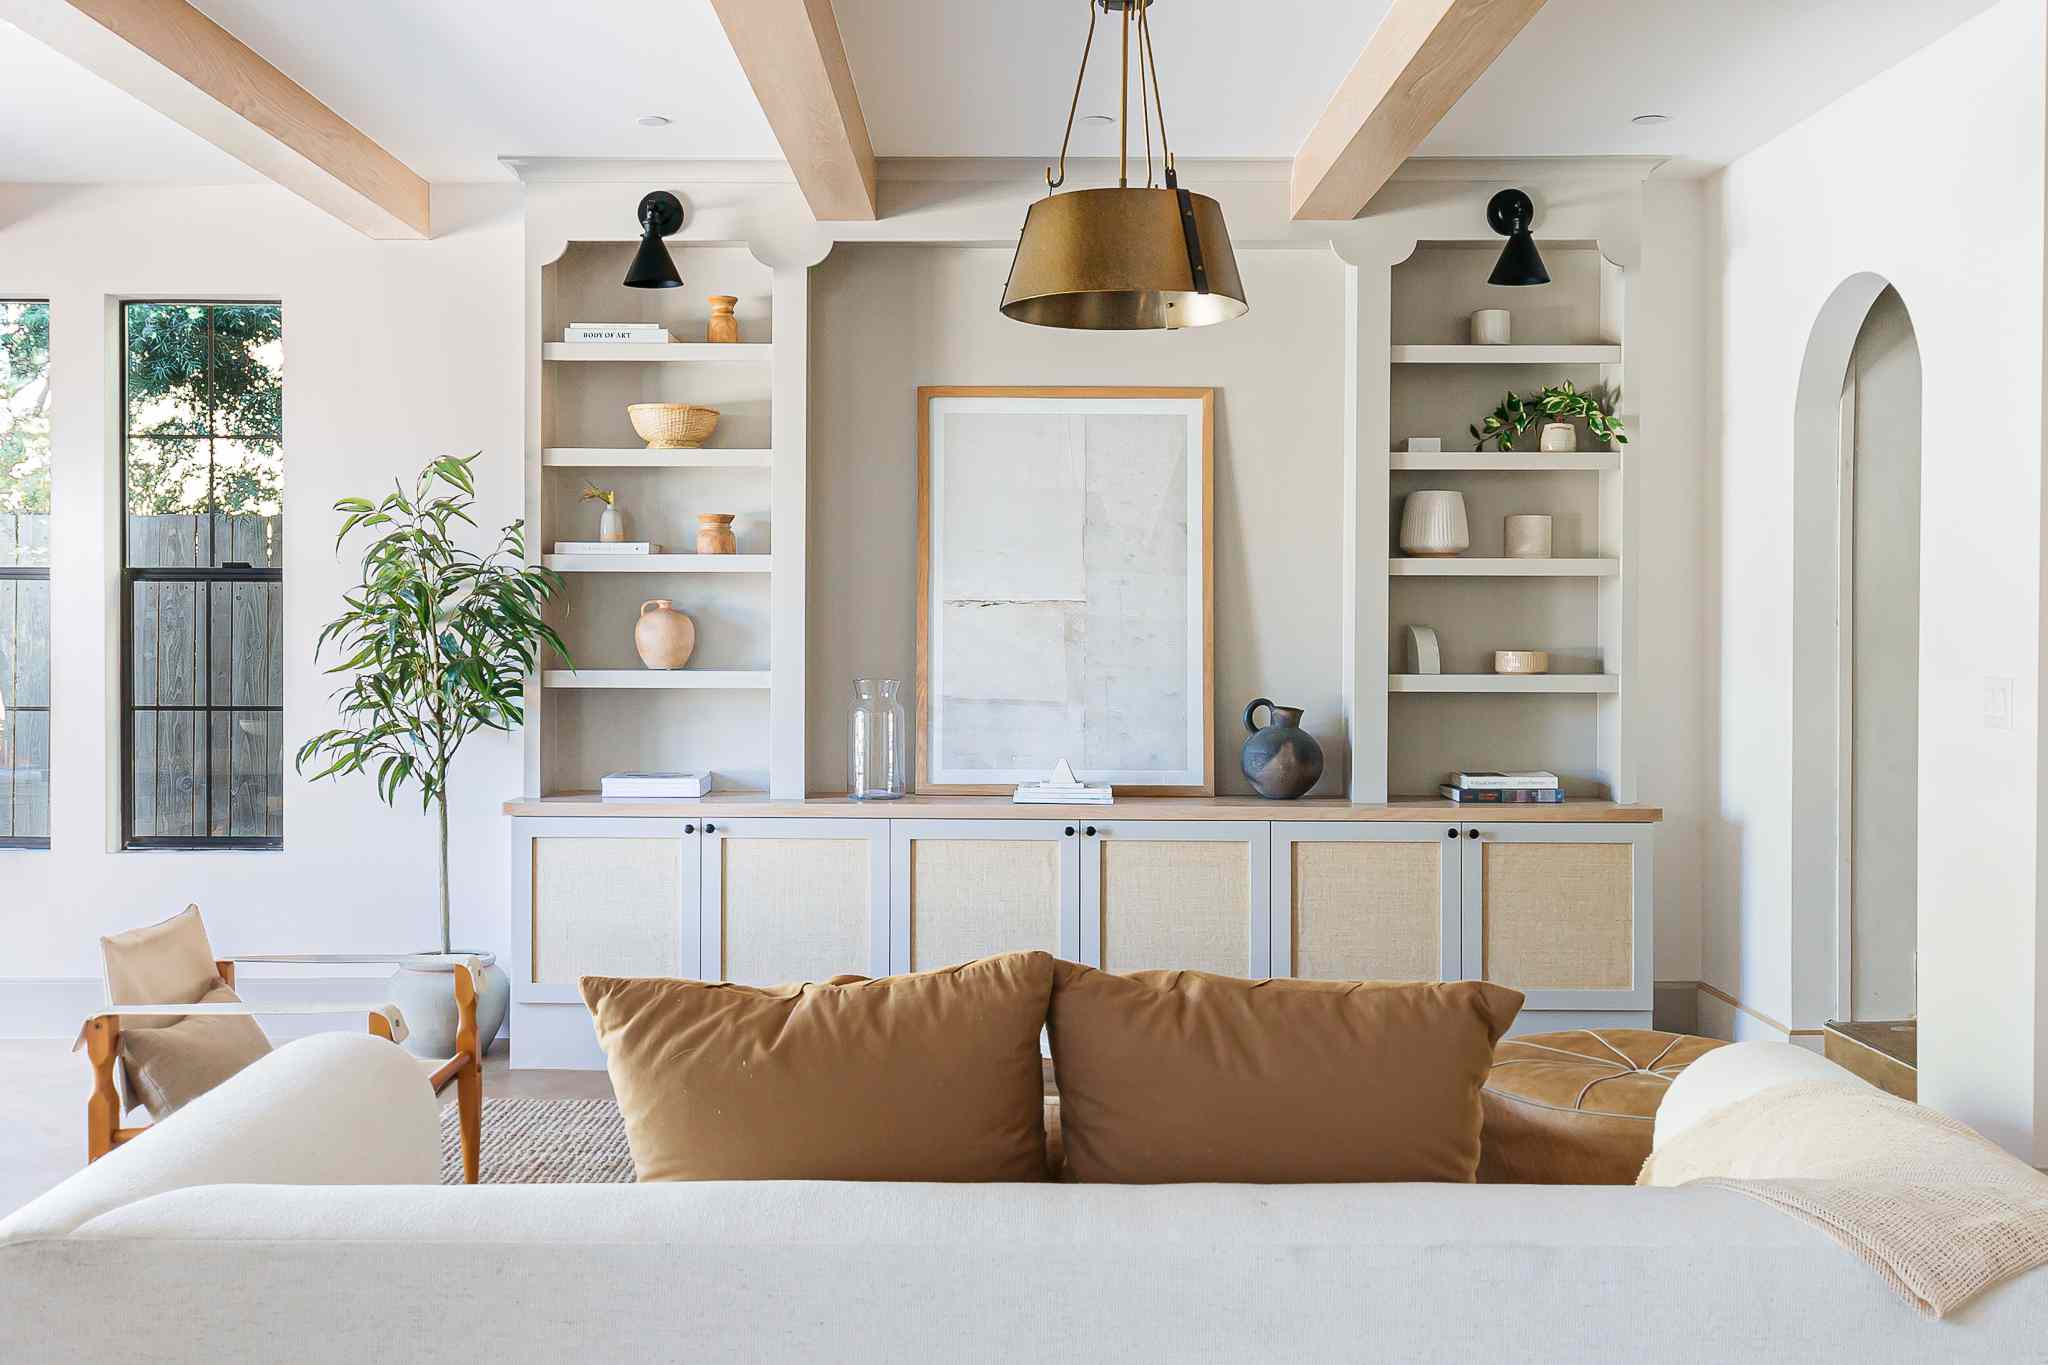
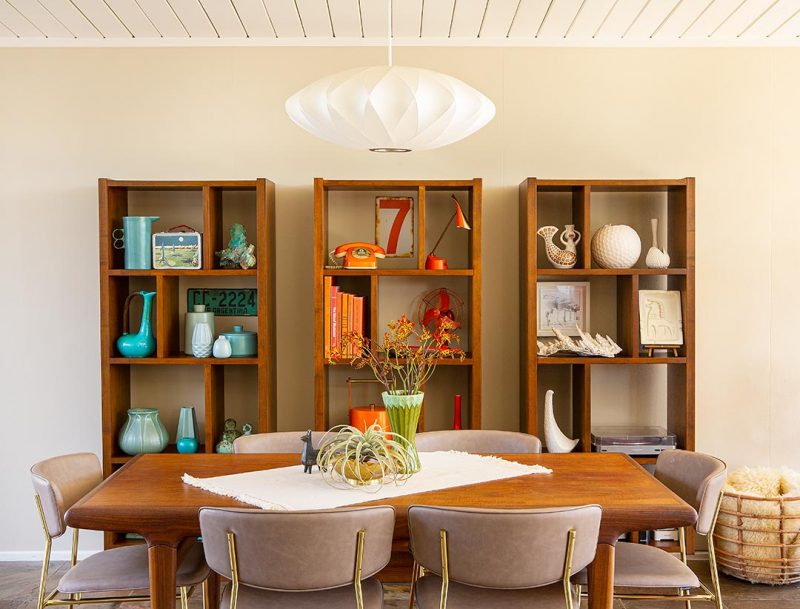
Step 2: Build Height Triangles
This is the designer trick that makes shelves look balanced without being boring.
Think in groups of three (or five) where the heights step down. Your eye reads the group as a single composition instead of a lineup of unrelated items.
How to build a triangle
- Anchor (tall): a vase, a taller sculpture, a table lamp, a stack of books with art behind it.
- Middle: a medium vessel, a framed photo, a lidded box.
- Low: a small bowl, candle, paperweight, or a short horizontal book stack.
Place the tallest item slightly off-center, then step down as you move outward. If everything is the same height, your shelf will feel flat. If everything is tall, it’ll feel tense.
Height cheat codes
- Stand a larger book upright like a “bookend” moment, then tuck smaller items in front.
- Lean art at the back to create height without adding bulk.
- Use a footed bowl or a small riser to lift a medium object.
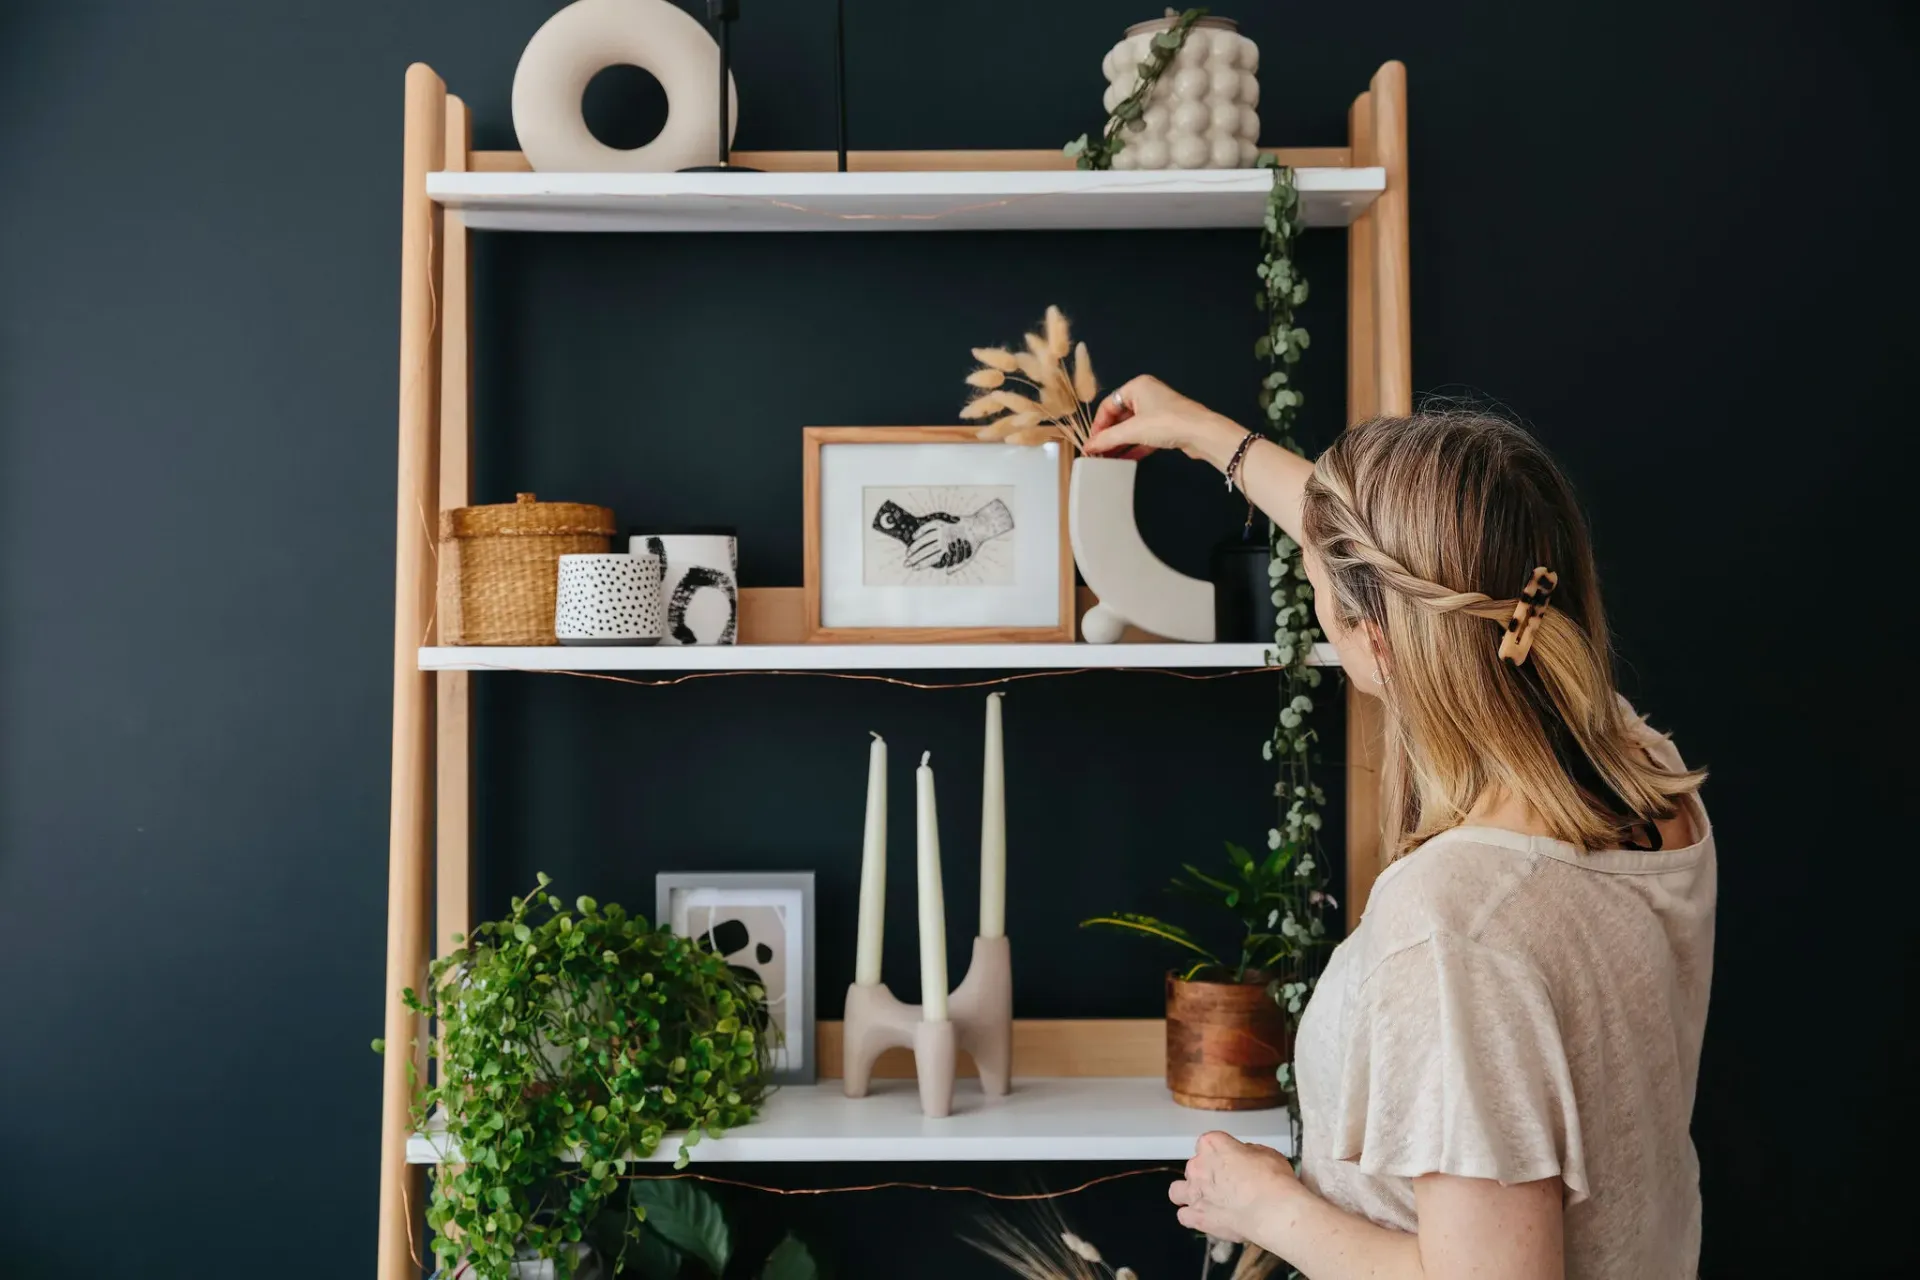
Step 3: Layer for Depth
Most “unfinished” shelves aren’t actually missing items. They’re missing depth.
Layering is what keeps things from looking like they’re lined up for inspection. You want a shelf to feel like a little room, not a display case.
My easy layering method
- Back layer: lean art or a framed photo against the wall of the shelf.
- Middle layer: books, a box, a bowl, or a medium vessel.
- Front layer: one small object, often something with shine or texture.
A few specifics that always work:
- Lean a frame behind a horizontal book stack, then add a small object on top of the stack.
- Place a small bowl in front of books to break up the rectangle shapes.
- Overlap two frames slightly for a relaxed, collected look.
If you only remember one thing: put something flat behind something dimensional. That contrast is magic.
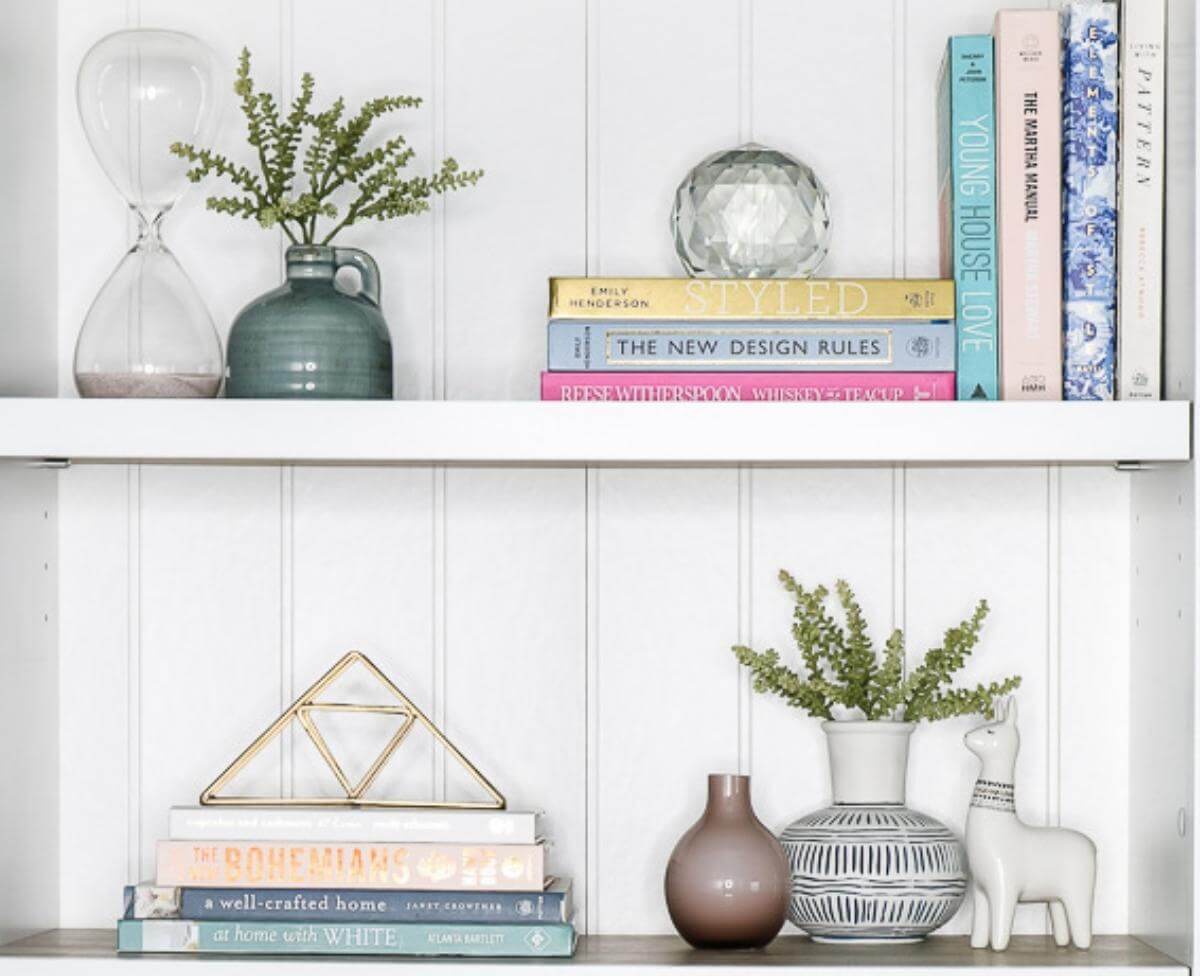
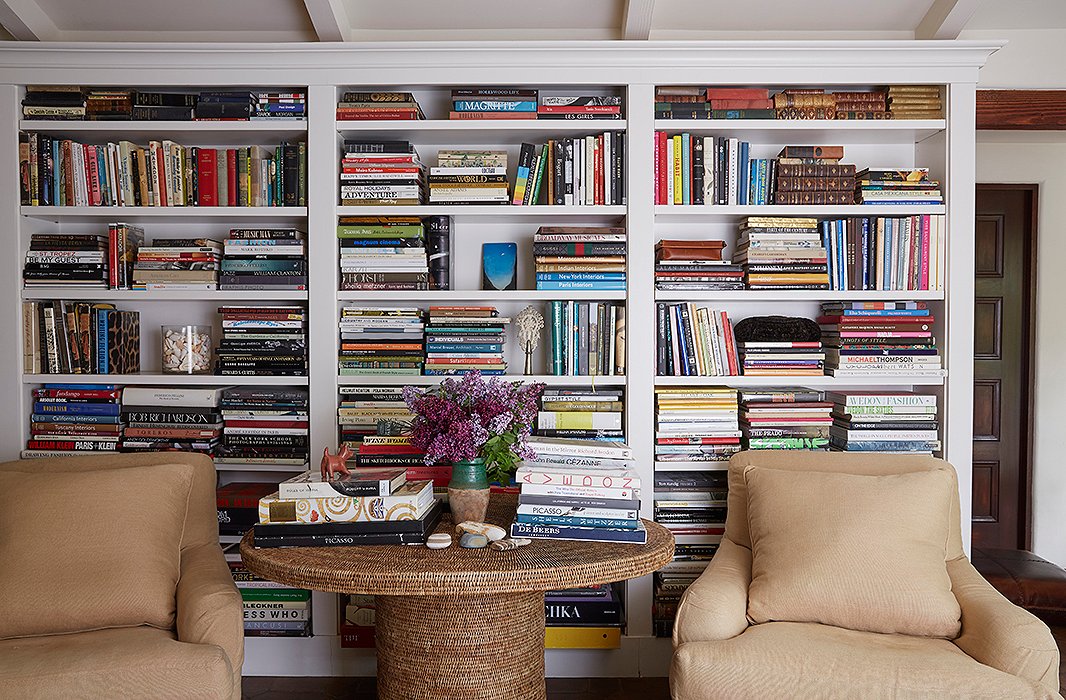
Step 4: Mix Book Layout
Books are styling tools, not just reading material. That said, keep your real-life favorites accessible. Use stacks strategically, not as an obstacle course.
A mix that looks natural
- A good starting point is 60 to 70% vertical books (spines out, easy to grab).
- Then 30 to 40% horizontal stacks (2 to 5 books per stack).
- Add one small “breather” gap per shelf or every other shelf.
How to use horizontal stacks
- Use them as pedestals for a small object, candle, or bowl.
- Keep stacks tight and intentional, not sprawled.
- Vary stack height across the bookcase so it doesn’t repeat like stripes.
Color note, since everyone asks: you don’t have to do a rainbow. A more lived-in approach is to loosely group by tone, like creams together, darker spines together, then sprinkle in a few colorful covers like punctuation.
Step 5: Add Negative Space
Negative space is the pause between sentences. It’s what keeps your shelves from feeling like they’re shouting.
A shelf with a little emptiness reads more expensive because it implies editing. You’re saying, “I chose this,” not “I own this.”
Where to leave space
- Leave a few inches open at one end of a shelf.
- Leave the area around one special object clear, like a sculptural vase.
- Let one shelf be lighter than the one below it, especially near eye level.
If you’re nervous, start small: remove one object per shelf and step back. Then remove one more. You’ll hit the sweet spot faster than you think.
What About Sentimental Items?
Ah yes. The “it’s not cute, but I love it” category. You don’t have to hide meaningful things. You just have to give them a role.
- Make it the hero: put it in its own little pocket of space so it looks intentional, not accidental.
- Give it a frame: set it on a small tray, place it on a book stack, or pair it with one calmer object so it feels composed.
- Repeat its color: echo one color from it somewhere else on the bookcase. That one tiny repeat makes it feel like it belongs.
- Edit the neighbors: sentimental pieces need less competition. Keep the rest of that shelf simpler.
Shelf-by-Shelf Blueprint
If you want a formula you can follow without overthinking, try this on each shelf:
- Choose a tall anchor (vase, frame, lamp, tall stack).
- Add books in vertical rows, then one horizontal stack.
- Layer art behind one grouping.
- Add one small object in front for texture or shine.
- Stop and leave space. Don’t fill the last gap just because it exists.
Repeat, but vary the anchor location so every shelf doesn’t start on the left. Think: left, then right, then near center.
Combos That Work
When you’re stuck, pick one of these little recipes and repeat it with different objects.
Combo 1: Calm classic
- Vertical books
- Horizontal stack of 3 books
- Small bowl on top
- Frame leaning behind the stack
Combo 2: Vintage storyteller
- Leather or linen-covered books mixed with modern paperbacks
- Brass candlestick or small lamp
- One quirky object that looks found, like a small carved figure
Combo 3: Modern minimal
- Fewer books, more space
- One sculptural ceramic piece
- One matte black or stone object for contrast
Mistakes and Fixes
Mistake: Everything is the same size
Fix: Create triangles. Add one taller piece or lean art behind a stack.
Mistake: Too many tiny trinkets
Fix: Corral small items on a tray or in a shallow bowl. Or edit down to one tiny object per shelf.
Mistake: No depth, everything is in a line
Fix: Add a back layer. Lean a frame. Put something in front of the books.
Mistake: It feels cluttered even though it’s pretty
Fix: Increase negative space. Pull out one item per shelf, especially at eye level.
Mistake: The shelves look random
Fix: Repeat two to three materials throughout, like brass + white ceramic + wood. Repetition is what makes eclectic look intentional.
Safety Note
Quick reminder: keep heavy objects low, especially if you’ve got kids, pets, or you live in an earthquake-prone area. If you’re styling a lamp on a shelf, make sure the cord is routed safely so it won’t snag or pull.
Styling, Not Construction
Just to be crystal clear, this guide is about styling your existing shelves. We’re not covering how to build a bookcase, add legs, modify a unit, mount shelves, or anchor furniture. If your shelf is wobbly or needs structural help, handle safety first, then come back for the pretty part.
Five-Minute Finish
When you think you’re done, do this:
- Turn on a lamp nearby or style a small lamp on a lower shelf for warmth.
- Add one living thing, like a trailing pothos or a small vase of clipped branches.
- Step back and take a photo. Your camera will spot what your eyes have gotten used to.
And if you start rearranging your living room for the third time this month, welcome. You’re in good company.