Deep-Clean Tufting and Welts on Fabric Sofas (Low-Moisture)
Clara Townsend
Clara Townsend is an interior stylist, vintage furniture enthusiast, and the creative voice behind Velvet Abode. With over a decade of experience transforming both cramped city apartments and sprawling fixer-uppers, she believes that a beautiful home is built on personal stories rather than massive budgets. When she isn't hunting for the perfect brass sconce at a local flea market, she can usually be found rearranging her living room for the third time this month.
Tufting is charming in the same way vintage jewelry is charming. It is full of tiny nooks where life collects. Crumbs. Body oils. Pet grit. The occasional mystery speck that appears the second company texts “on our way.” The problem is not that tufted sofas get dirty. It is that their geometry makes dirt wedge in, bridge across gaps, and cling to threads in ways a flat cushion never will.
This is my low-moisture method for cleaning button tufts, deep wells, and tight piping on fabric upholstery. It is designed for maximum soil removal with minimal wetting, because deep pockets plus slow drying is where mildew and odor sneak in.

Before you start
Check the fabric first
Look for your sofa’s care code tag, often under a seat cushion or along the deck. Then follow the most conservative option that still removes grime. Quick note: codes and wording can vary by brand (you might see variations like SW), so defer to the tag and the manufacturer’s manual if they disagree.
- W: Water-based cleaner is okay. Still use low moisture in tufting.
- S: Solvent-based upholstery cleaner only. Avoid water-heavy methods.
- WS: Either is okay. Start with the gentlest option.
- X: Vacuum only. If you have an X code sofa with visible staining in tufts, it is time for a pro consult.
Know the terms
Piping is the raised corded edge. Welt is the seam channel that holds it. In real life, they both act like tiny dirt rails.
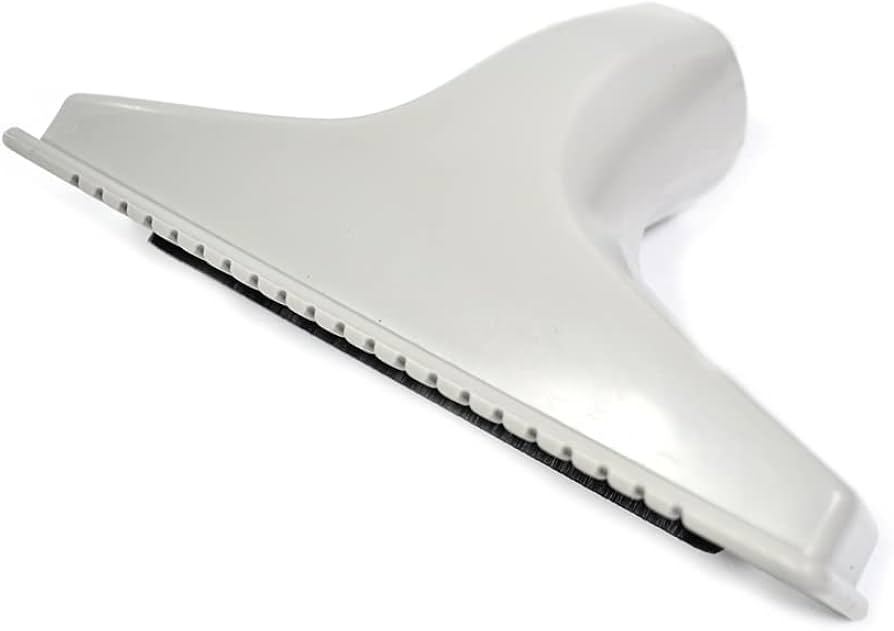
Tools that make tufting easier
- Vacuum with strong suction and a crevice tool
- A soft detailing brush or clean makeup brush for seams
- Microfiber towels, plus a few white cotton cloths
- A low-foam upholstery cleaner or a solvent gel designed for upholstery (for S and WS codes)
- Small bowl of distilled water (for W and WS codes)
- Optional but wonderful: a handheld upholstery extractor with a narrow nozzle, or a wet-dry vac that can do extraction
- A fan, and ideally a dehumidifier if your home runs humid
My non-negotiable: whatever product you use, you want controlled application. Tufts punish “spray and pray.”
Two quick safety notes
- Do not mix cleaners. Rinse your cloths between products if you switch.
- Ventilate if you use solvents. Open a window, keep products away from flames, and follow the label directions.
Spot test like you mean it: Test in a hidden area and blot with a white cloth. If you see dye transfer, stop. If the fabric gets shiny, rough, or blotchy, stop. Some “stains” in tufting are actually wear shading or nap change, not removable soil.
Extra caution fabrics: Velvet, chenille, linen blends, and some performance weaves can mark, shade, or water-spot easily. Use a lighter touch, lower moisture, and when in doubt, call a pro.
Step 1: Crevice vacuuming
Tufts act like little funnels. If you vacuum quickly across the surface, you can sometimes push debris deeper into the wells. Instead, treat each tuft like its own tiny room.
How to vacuum tuft wells
- Remove loose pillows and cushions so you can reach the tufted panel fully.
- Use the crevice tool and hold it slightly off the fabric at first to avoid chewing up threads.
- Work tuft-by-tuft: hover over the well, then gently set the tool down along the seam and lift.
- If you have pet hair, use a soft brush to lift hair from the seam while the vacuum runs.
Tip: If your crevice tool has a hard edge that feels sharp, wrap the tip with a single layer of microfiber and hold it on with a rubber band. You still get suction, but you are kinder to stitching and nap.
Step 2: Break dirt bridging
Here is the sneaky part. In deep tufting, soil can form a little bridge across the top of the well, especially if it is mixed with skin oils or product residue. You vacuum, it looks better, and then the shadowy ring is still there because the grime is lightly bonded to the fibers and stitched edges.
The low-moisture way to unhook it
- Use a dry soft brush to lightly agitate the seam and the area just around the button.
- Vacuum again immediately while the soil is loosened.
- Repeat once more before you reach for cleaner.
This two-pass approach often removes more than people expect, and it keeps you from over-wetting the exact place that dries slowest.
Step 3: Target the well
For tufting, I like targeted placement instead of full-panel spraying. Your goal is to dissolve soil in the well and along the seam channel, then remove it, without pushing moisture into the padding.
For W and WS fabrics: micro-dab method
- Lightly dampen a white cloth with distilled water and add a pea-sized amount of low-foam upholstery cleaner.
- Wrap the cloth around your fingertip so you have control.
- Dab into the well and along the seam, then do tiny circular motions right at the grimy ring.
- Blot with a dry microfiber immediately.
Guardrail: You should not see liquid pooling in the well. If it looks glossy-wet down there, you are using too much.
For S and WS fabrics: solvent gel method
Solvent gels are ideal for deep pockets because they cling. They sit where you place them, instead of flooding downward.
- Apply a small bead of solvent gel to a cloth or cotton swab, not directly onto the sofa.
- Press it into the well and let it dwell for the time on the label.
- Agitate lightly with a soft brush, then blot firmly.
Important: Always spot-test in a hidden area first and check your white cloth for dye bleed. Some fabrics can show shading, dye transfer, or texture change when scrubbed, even with “safe” cleaners.
Step 4: Protect seams and buttons
Tufting has two vulnerable elements: the stitching that creates the channels, and the button itself. Over-wetting can distort some natural fibers and may weaken the areas around seams and buttons over time. Over-scrubbing can fuzz threads, which then traps even more dirt.
Thread-friendly technique
- Brush parallel to seams, not across them.
- Use blotting pressure instead of scrubbing pressure.
- Keep your cloth only slightly damp. If it can drip, it is too wet for tuft wells.
- If the button is covered in fabric, avoid saturating its base. Clean around it, then blot the button face last.
If a button feels loose already, skip agitation and move straight to blotting and gentle detailing. A wobbly tuft is a job for an upholsterer, not your Saturday cleaning playlist.
Step 5: Piping and welts
Piping and welts are basically little dirt rails. Soil settles right where the cord lifts the fabric, and the crease holds onto it like it is paying rent.
How to clean a tight welt
- Vacuum along the welt channel with the crevice tool.
- Use a soft brush to lift lint from the crease, then vacuum again.
- Dab cleaner onto a cloth and pinch the welt gently through the cloth, moving along in short sections.
- Finish each section with a dry blot, then move on.
For stubborn grime, work in passes rather than escalating moisture. Two gentle rounds beat one soggy round every time.

Dry-time checks
Deep pockets dry slow. That is the whole reason this method exists. The final step is not optional: you need to confirm the wells are actually drying, not just feeling okay on the surface.
My simple dry checklist
- Blot test: Press a dry white cloth into several wells for 10 seconds. If the cloth picks up moisture, keep drying.
- Hand test: Press your fingertips into the well and hold. If it feels cool or clammy, it is still damp inside.
- Airflow: Aim a fan across the tufted panel to speed evaporation. Avoid concentrating airflow into a single well.
- Time: Give it a full drying window. In humid weather, plan on longer and use a dehumidifier.
If you smell a musty note the next day, do not re-wet to fix it. Dry aggressively with fans and dehumidification first, then reassess.
When low-moisture is not enough
Low-moisture cleaning is perfect for maintenance, localized spills, and the slow build-up in seams. But there are times tufting is telling you it needs a heavier reset.
Consider professional extraction if:
- The tufts feel sticky or dark even after two controlled passes.
- There is widespread odor from pets, smoke, or long-term spills.
- The sofa has been stored, bought secondhand, or lived through a renovation.
- You see browning or wick-back that keeps returning after it dries.
Hot-water extraction can reach deeper, but it also introduces more moisture. A reputable professional will pre-vacuum thoroughly, use proper chemistry for your fabric code, and control drying with airflow. If you are DIY-ing extraction, use the narrowest nozzle you have, do multiple dry passes, and never leave wells wet overnight.
Also, if the “rings” in the wells will not budge but the fabric passes every cleaning test, consider the unglamorous truth: it may be wear shading or fiber crush, not dirt. Cleaning can improve it, but it may not erase it.
Quick routine
If you want a 10-minute refresh between deeper cleans, this is the one I do when I am fluffing pillows before friends come over.
- Crevice vacuum each tuft well.
- Dry brush seams and vacuum again.
- Spot-dab the darkest rings with a barely damp cloth and a dot of cleaner, then blot dry.
- Run a fan for 20 to 30 minutes if you used any moisture at all.
Tufting stays lovely when it is maintained in small, tidy increments. Think of it like polishing brass. You are not trying to erase history, just lifting the haze so the details can glow again.