Cord and Cable Management for Renters
Clara Townsend
Clara Townsend is an interior stylist, vintage furniture enthusiast, and the creative voice behind Velvet Abode. With over a decade of experience transforming both cramped city apartments and sprawling fixer-uppers, she believes that a beautiful home is built on personal stories rather than massive budgets. When she isn't hunting for the perfect brass sconce at a local flea market, she can usually be found rearranging her living room for the third time this month.
There are few things that make a room feel “unfinished” faster than a tangle of cords doing the electrical limbo behind your TV stand. The good news is you can hide wires beautifully in a rental without patching holes, repainting, or praying your landlord doesn’t notice.
Below, I’m sharing my go-to renter-safe methods: removable raceways (think: a slim channel that hides cords), Command-style hooks and clips, furniture routing tricks, and floor cord covers that keep your space calm and your security deposit intact.
Renter rules of thumb
Before we get into products and layouts, here are the four guardrails I follow in every rental, whether it’s a studio with two outlets or a creaky old Victorian with surprise wiring.
- Choose removable first. Command-style adhesive products and peel-and-stick raceways are your best friends. If it’s designed to remove cleanly, it’s usually a good renter choice. That said, adhesives can still pull paint or drywall paper on older walls or not-fully-cured paint, so test first.
- Keep cords accessible. Hide them, yes. Bury them behind a bookcase forever, no. You should be able to unplug things easily and reset a router without moving furniture like you’re staging a heist.
- Respect heat and moving parts. Don’t pinch cords in window tracks, run them across baseboard heaters or radiators, or bundle power bricks so tightly they can’t breathe.
- Don’t overload one outlet. A tidy look isn’t worth an unsafe setup. Use a quality surge protector, and follow the manufacturer instructions for anything high-wattage. Space heaters, portable AC units, hair dryers, and many kitchen appliances should be plugged directly into a wall outlet unless the device and the power strip both explicitly say otherwise.
If your lease is strict, test any adhesive product in a hidden spot first. Paint type, wall texture, and humidity make a difference.
Also important: Don’t run cords inside walls, through vents, or through HVAC returns. If you’re mounting a TV, check your lease and local rules for what’s allowed and what’s considered “in-wall” routing.
Your renter toolkit
You don’t need a garage full of tools. This is my short, realistic list for clean lines and quick removal later.
Adhesive essentials
- Adhesive cable clips (for one to two cords, like lamp cords and phone chargers)
- Command-style cord bundlers (for thicker bundles, like TV and gaming cords)
- Peel-and-stick cable raceways (for hiding a bundle along baseboards or up to a mounted TV)
- Hook-and-loop straps (Velcro-style ties, gentle on cords and easy to adjust)
Concealers and organizers
- Cable sleeve (a flexible fabric or neoprene tube that makes many cords read as one)
- Cord box (to hide the power strip and the “plug brick situation”)
- Floor cord cover (a low-profile ramp for cords that must cross open floor)
- Under-desk tray (adhesive or clamp-on, the single fastest way to make a desk look expensive)
Little helpers that matter
- Rubbing alcohol and a lint-free cloth for prep
- Painter’s tape for mapping a straight line before you stick anything down
- A hair dryer for gentle heat when removing adhesive later
- Scissors and a measuring tape

Method 1: Raceways along baseboards
If you want the biggest visual payoff with the least effort, start with a raceway. It’s basically a slim plastic channel with a snap-on cover that you stick to the wall or baseboard, then tuck cords inside.
Where raceways work best
- From a TV to the nearest outlet
- From a desk setup to a wall outlet
- Along baseboards behind a sofa or bed
How to install without regrets
- Plan the path first. Keep it low and simple. Baseboards are your camouflage zone.
- Clean the surface. Wipe with rubbing alcohol and let it fully dry.
- Use short sections. Shorter lengths handle slight wall texture better than one long piece.
- Press and hold. Follow the package timing so the adhesive actually bonds.
- Let it set. Follow the manufacturer’s recommended set or cure time (often 1 to 24 hours) before loading it up.
Pro tip: If your walls are a warm white, buy a white raceway and leave it. If your walls are bright white and your trim is cream, run the raceway along the trim so the mismatch is less obvious.
Method 2: Command hooks and clips
For lamp cords, speaker wire, and phone chargers, clips are my favorite because they’re tiny, inexpensive, and easy to redo when you inevitably rearrange furniture. If you’ve ever lived in an apartment with “mysterious” outlet placement, you know the shuffle.
Best uses
- Guiding a lamp cord down the back leg of a side table
- Routing a charger along the back edge of a nightstand
- Keeping a router cable tucked behind a bookcase
- Preventing cords from drooping under floating shelves
Make it look intentional
- Route to a “spine.” First, hide each cord along furniture. Then, bundle them into one neat line to the outlet.
- Match the clip to the surface. Clear clips disappear on light walls. White clips blend with trim.
- Give cords a little slack. Tight cords pull adhesives loose over time.
Method 3: Furniture routing
This is the secret sauce when you don’t want to stick a single thing to the wall. Use the shapes you already own: the back panel of a media console, the legs of a desk, the side of a bookcase.
Media console routing
- Place the power strip inside a cord box on the lowest shelf or behind cabinet doors.
- Bundle cords in a cable sleeve right as they exit the TV and devices.
- Run the bundle down the back corner of the console, secured with hook-and-loop straps or small adhesive clips placed on the furniture itself.
Desk routing
- Mount an under-desk tray (adhesive or clamp-on) to hold the power strip and bricks.
- Use a cable spine (a vertical sleeve) down one desk leg so everything drops in one clean column.
- Keep the floor clear by plugging into a strip that lives up under the desk, not on the floor.
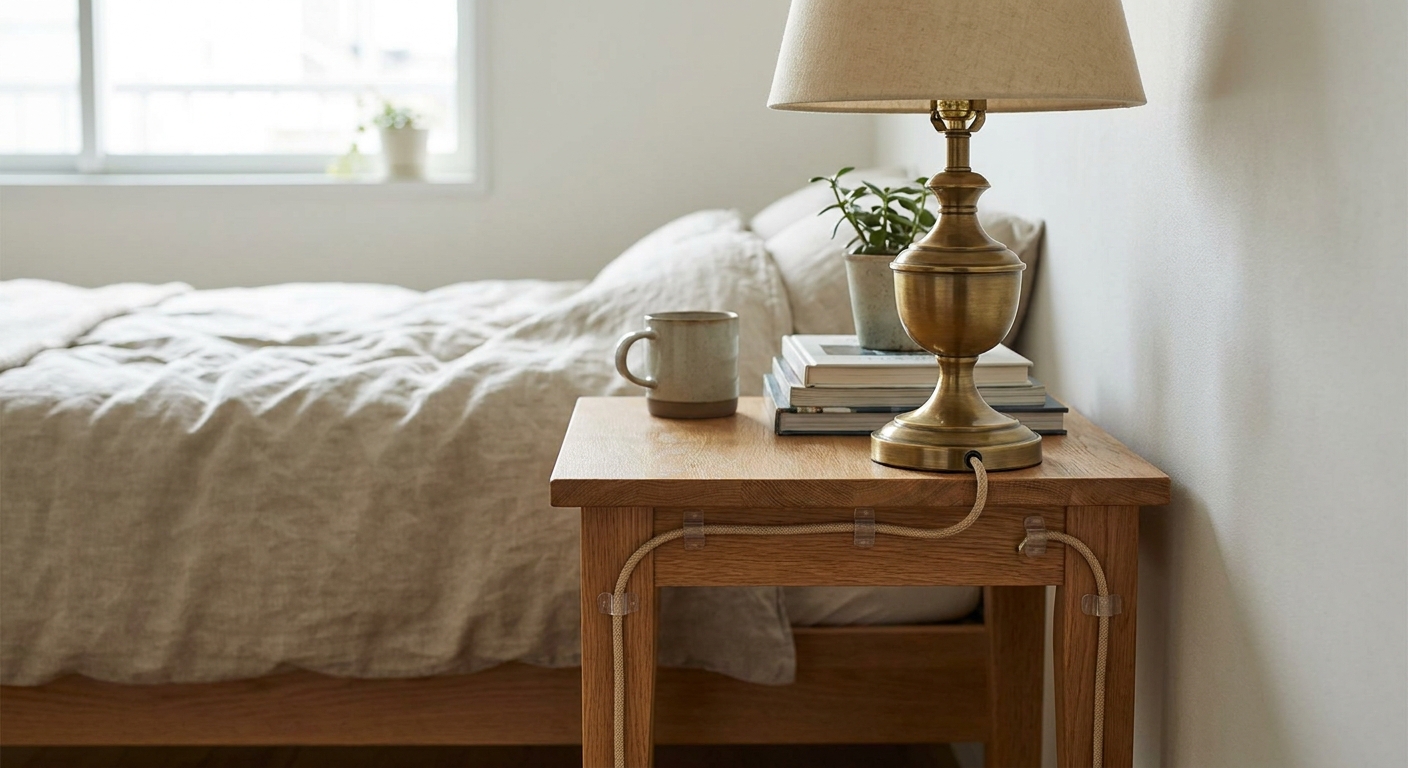
Bedside routing
- Choose a nightstand with a back panel or at least a lower shelf to hide a small power strip.
- Clip one charger along the back edge so it surfaces neatly on top, like it lives there on purpose.
Quick note on heat: Don’t stack power bricks in a tight pile. Give them a little air space inside the cord box or tray.
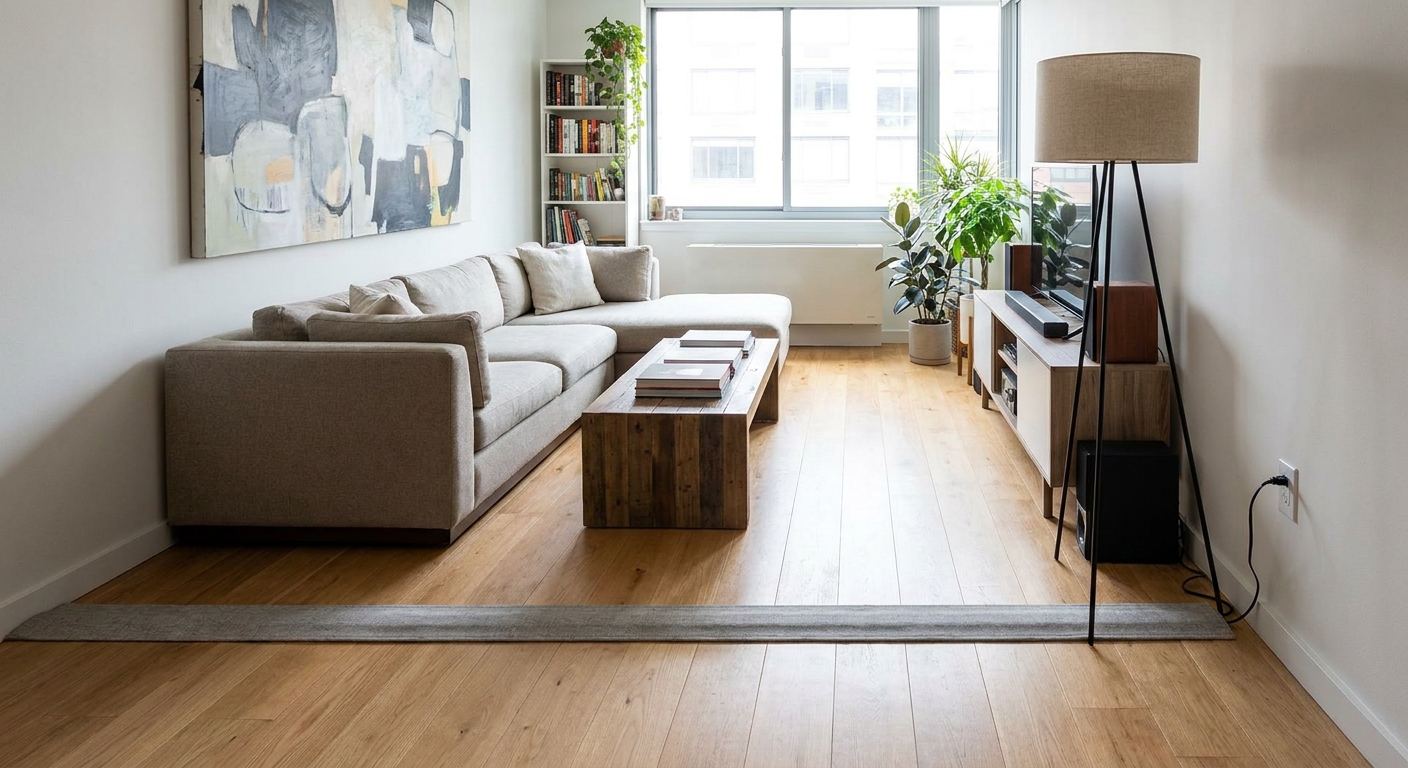
Method 4: Floor cord covers
Sometimes the outlet is on the wrong wall. Sometimes you’ve got a gorgeous reading chair that only works in one corner. If a cord must cross open floor, use a proper floor cord cover so it’s safer and less visually chaotic.
When to use floor cord covers
- A floor lamp that needs to sit away from the wall
- A standing desk placed mid-room
- A projector setup where the power source isn’t nearby
What to look for
- Low-profile edges that reduce tripping
- Non-slip backing if it’s on hard flooring
- Paintable surface if you want it to blend with the floor tone
- Wide enough channel for the actual cord, especially thicker computer power cables
- Secure placement in high-traffic paths, and if you need something more accessible, look for extra low-profile options designed for walkways
Important: Avoid running cords under area rugs if you can. It can create a tripping hazard and can damage cords over time. If you can’t avoid a rug crossing, use a cord protector that’s rated for the location and load, and never run high-wattage devices like space heaters under rugs.
Zone-by-zone layouts
If you feel overwhelmed, choose one zone and finish it fully. A single tidy zone can make the whole room feel calmer.
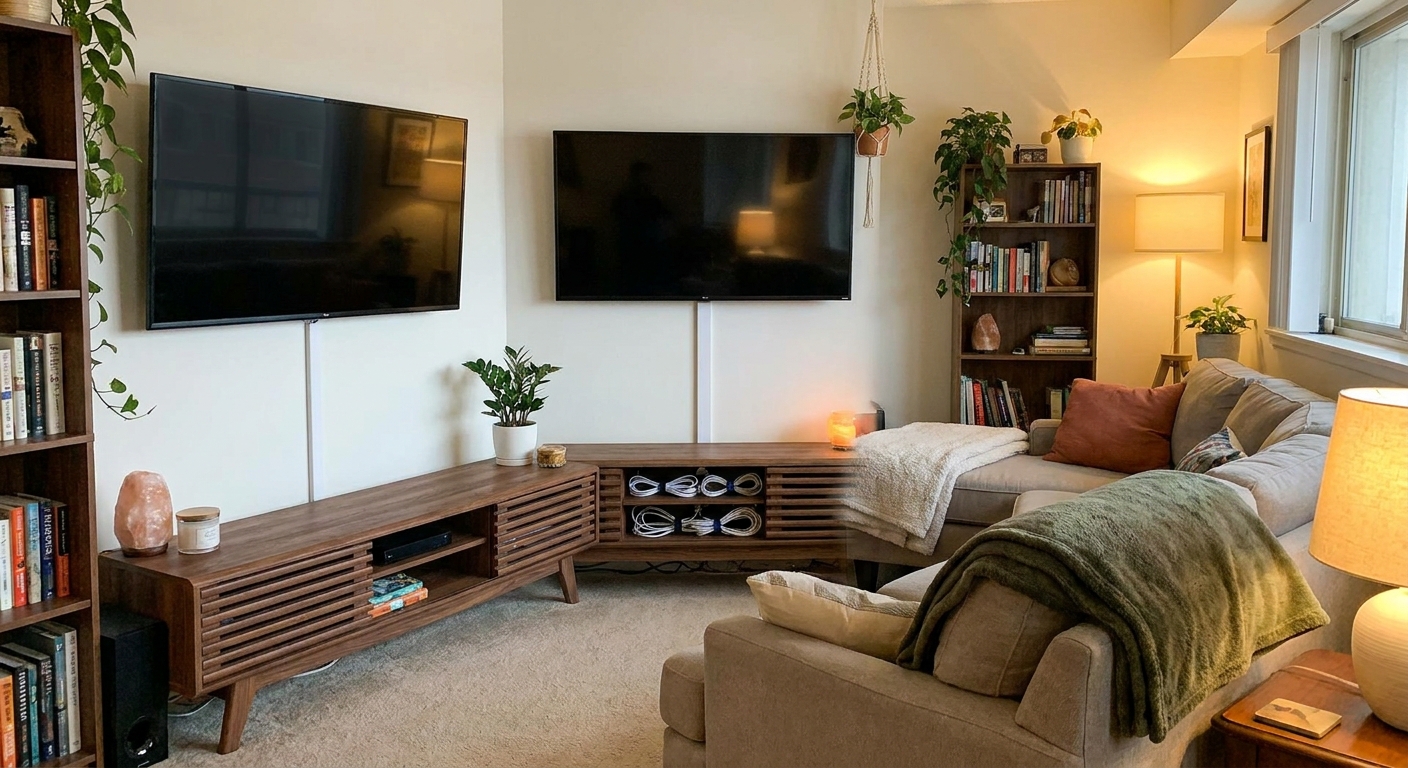
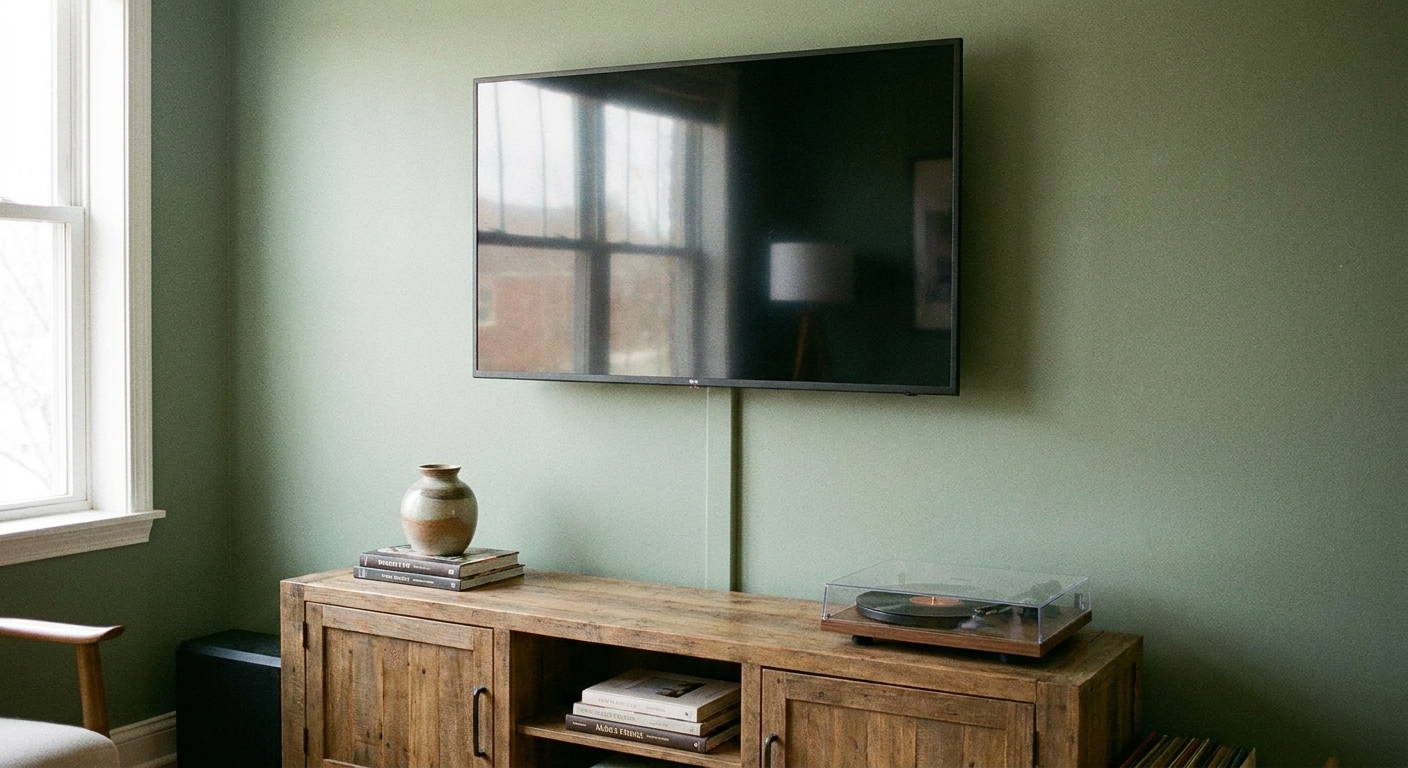
TV zone
Goal: No dangling wires, no visible power strip, and a single tidy route to the outlet.
- Place a cord box with the surge protector on the lowest shelf of the media console.
- Bundle all device cords with hook-and-loop straps.
- If the TV is mounted, use a raceway that runs straight down to the console, then disappear the rest behind doors.
- If the TV sits on the console, route everything down the back corner and secure to the furniture.
Little cable sanity check: Keep low-voltage cables (HDMI, Ethernet, speaker wire) tidy, but don’t aggressively cinch power cords and bricks into a tight bundle. Heat and strain are the enemies.
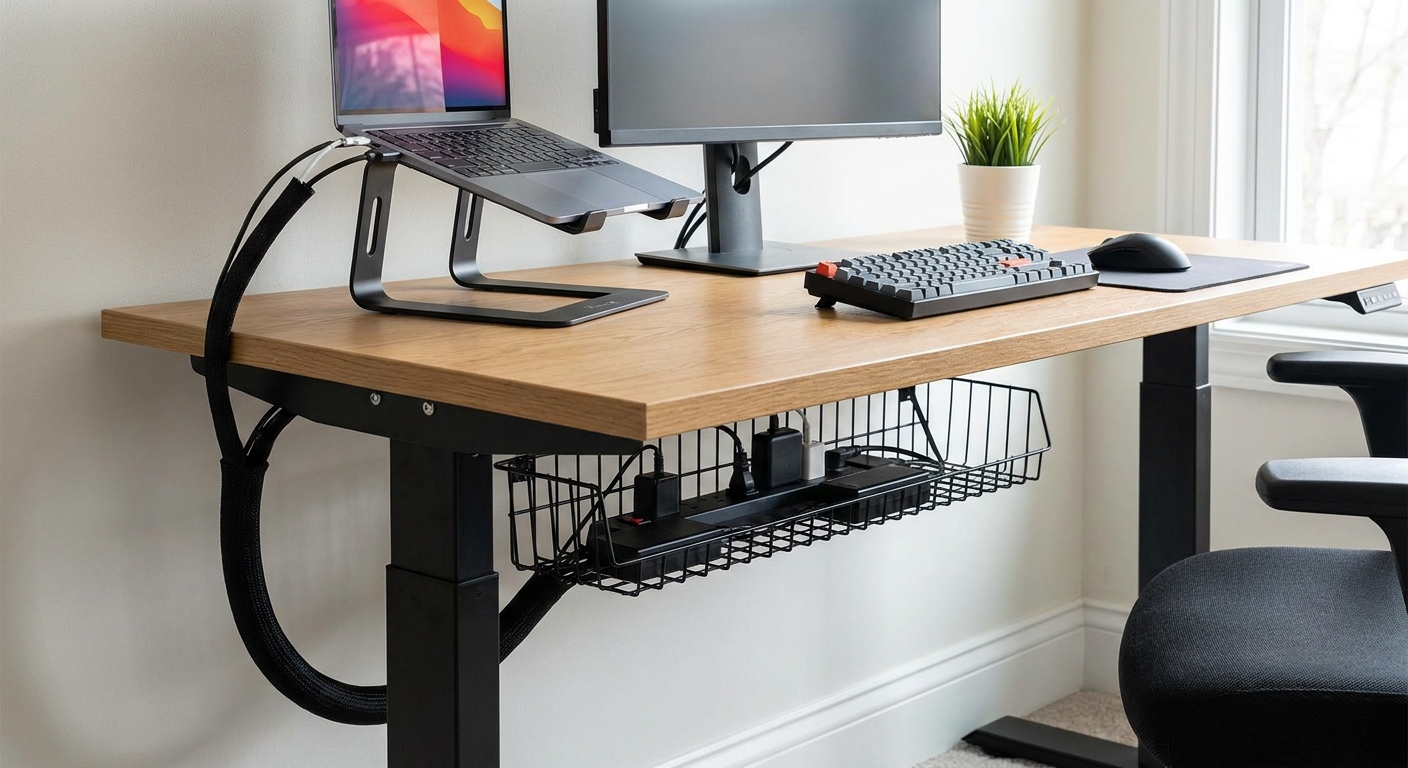
Desk zone
Goal: From eye level, the desk looks like it’s magically unbothered by electricity.
- Stick or clamp an under-desk tray to hold the power strip and bricks.
- Use one cable sleeve down a back leg for monitor, lamp, and charger cords.
- Leave a small service loop of slack so you can adjust your chair and monitor without tugging.
- Label chargers on the power strip using removable tags if you swap devices often, then remove the tags before move-out.
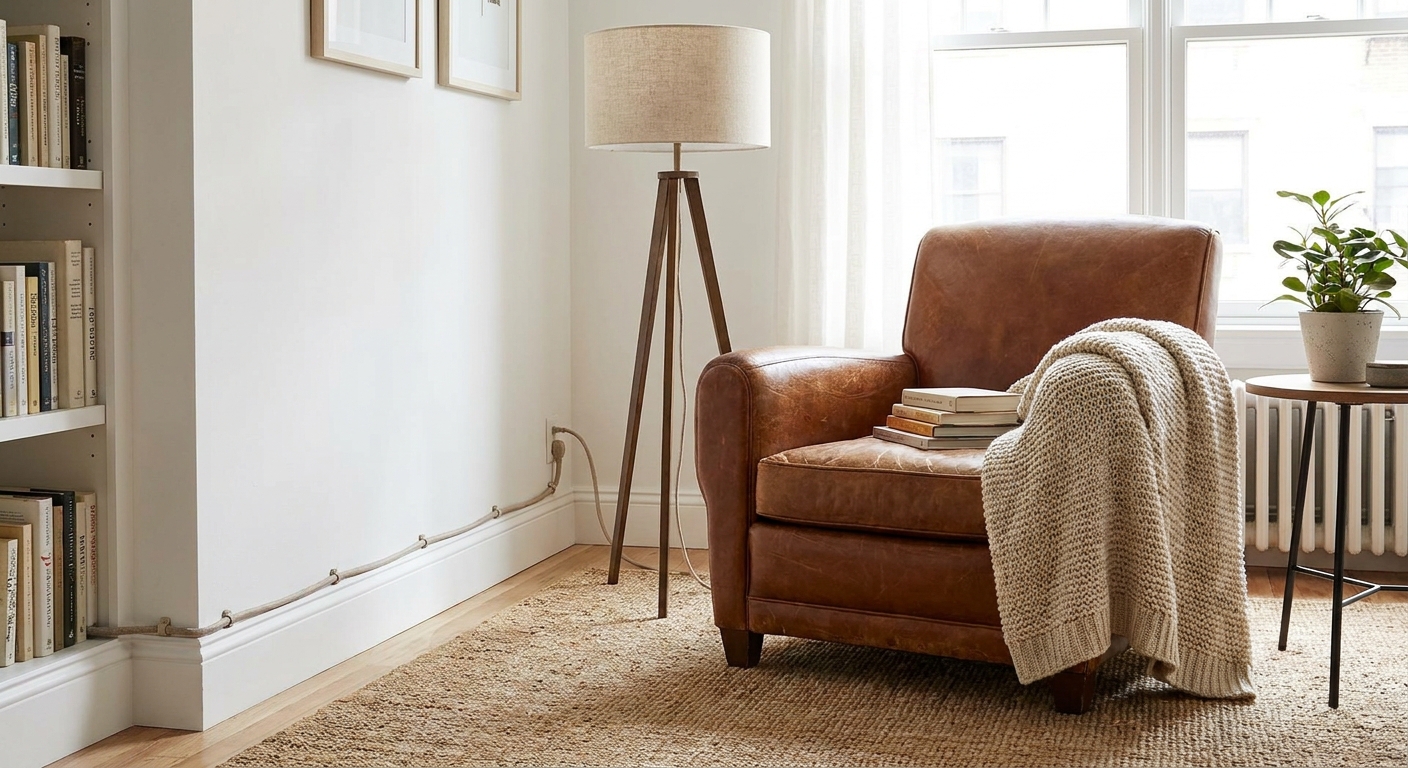
Lamp and reading corner
Goal: Keep the cord tight to the furniture line so your eye goes to the warm light, not the wire.
- Route the lamp cord down the back leg of the table using small adhesive clips on the furniture.
- Tuck excess cord length in a loose coil behind the table, secured with a hook-and-loop strap.
- If the lamp is on the far side of a sofa, run the cord behind the sofa along the baseboard inside a raceway.
What sticks to what
Not all walls behave the same. Here’s the quick cheat sheet I wish every renter got with their keys.
- Smooth painted drywall: Most adhesive clips and raceways work well with proper cleaning and set time.
- Textured walls: Choose wider adhesive strips or use more frequent clip placement. Expect to go slower.
- Brick or rough plaster: Adhesives can struggle. Prefer furniture routing and floor solutions, or use freestanding concealment like a bookcase placed to block the outlet area.
- Fresh paint: If you can, wait before applying adhesives. Fresh paint peels more easily, especially in humid rooms.
If you’re unsure, stick your first test clip behind a bookcase for a week. Removal should be clean and boring. That’s the dream.
Removing adhesives cleanly
This is where renters either win or learn a lesson the hard way. Removal should be slow, warm, and patient.
- Use gentle heat. A hair dryer on low can soften adhesive.
- Pull the tab correctly. Many Command-style products release by pulling the strip straight down, slowly, not outward.
- Go low and slow. If you feel paint lifting, stop and add a bit more heat.
- Clean residue carefully. Use a mild adhesive remover only if your wall finish can handle it, and always test in a hidden spot.
Quick troubleshooting
My raceway keeps popping open
- Reduce how many cords are in that section.
- Switch to two raceways side by side, rather than forcing one to do it all.
- Give it more time to set, and follow the manufacturer timing before loading cords.
Adhesive won’t stick to my wall
- Clean again with rubbing alcohol and let it fully dry.
- Move the adhesive to furniture instead of the wall.
- Use a floor cord cover for the last stretch to the outlet.
My power strip and bricks look messy even when hidden
- Use a larger cord box with room for bulky adapters.
- Swap to a flat-plug power strip if the outlet is behind furniture.
- Shorten the visible portion by coiling extra length with hook-and-loop straps.
- Consider shorter cables or right-angle plugs to cut down on bulk in tight spaces.
A simple plan for tonight
If you want the fastest upgrade with the least mental load, do this in order:
- Pick one zone. TV, desk, or bedside.
- Hide the power strip. Cord box or under-desk tray first.
- Bundle cords into one line. Sleeve or straps.
- Choose one route. Baseboard raceway or furniture leg spine.
- Leave slack and test. Plug and unplug once to make sure nothing pulls tight.
Your space should feel quieter after this, like the room can finally exhale. And once you do one zone, the rest of the apartment gets a lot easier.