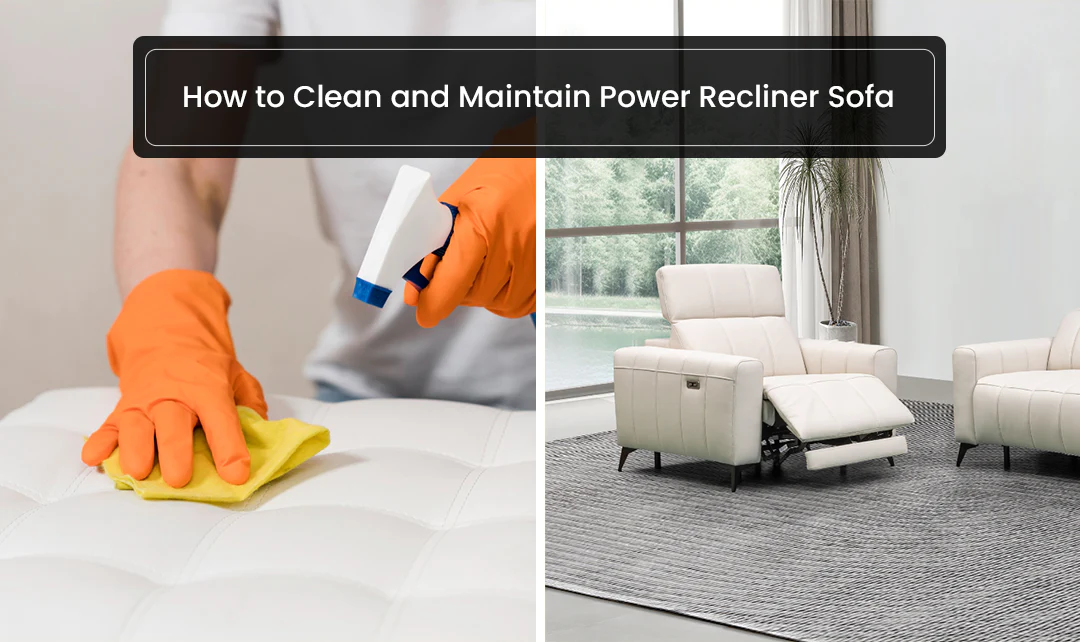
Clean Recliners Safely (Fabric, Faux Leather, and Leather)
Clara Townsend
Clara Townsend is an interior stylist, vintage furniture enthusiast, and the creative voice behind Velvet Abode. With over a decade of experience transforming both cramped city apartments and sprawling fixer-uppers, she believes that a beautiful home is built on personal stories rather than massive budgets. When she isn't hunting for the perfect brass sconce at a local flea market, she can usually be found rearranging her living room for the third time this month.
A recliner is not just a chair with good intentions. It is upholstery wrapped around a little machine: hinges, springs, linkages, sometimes a motor and wiring. Clean it like a normal sofa and you can end up with water in the wrong place, a sticky handle, or a seat that suddenly sounds like a haunted ship.
The good news: you can get a recliner genuinely fresh without forcing any moving parts or drenching the hardware. I will walk you through a mechanism-safe routine for fabric, faux leather, and real leather, plus the care labels most people squint at and then ignore.
Before you start: identify what you are cleaning
1) Find the care tag and actually read it
Look under the footrest, along the inside of the side panel, or tucked under the seat cushion. You are looking for a code like these:
- W: Water-based cleaners are generally safe.
- S: Solvent-based cleaner recommended. Avoid water-based cleaning because it can leave rings or marks.
- WS or SW: Either water-based or solvent-based is usually okay.
- X: Vacuum only. No liquids. (Usually means the fabric is sensitive or the manufacturer is being extra cautious.)
Important: These codes are common, but they are not universal across every brand or region. If your manufacturer gives specific instructions, those override the generic code. When in doubt, test in a hidden spot, like the back hem near the floor.
2) Decide: fabric vs faux leather vs real leather
Fabric tends to hold onto crumbs, dust, and skin oils. It also hides moisture until it starts to smell. Faux leather (PU or vinyl) wipes clean easily but can crack or get tacky if you use harsh cleaners or too much water around seams. Real leather needs leather-specific cleaner and conditioner, and it hates kitchen-style degreasers and frequent alcohol wipes.
3) If it reclines, treat it like a machine
Whether it is manual or power, assume there is hardware directly beneath the seat and behind the footrest.
- Manual recliners: avoid dripping cleaner into the handle, release cable, or hinge points.
- Power recliners: protect the motor, transformer, buttons, and any USB ports from moisture.
What you need (simple and mechanism-safe)
- Vacuum with upholstery brush and crevice tool (HEPA is a nice upgrade if allergies, pets, or lots of dust)
- Soft microfiber cloths (at least 3)
- Soft detailing brush or clean makeup brush (for seams and buttons)
- Small bowl of warm water
- Gentle dish soap (for fabric with W or WS codes, and for faux leather)
- Optional: enzyme cleaner for odors (fabric only, and only if tag allows)
- Optional: faux leather conditioner made for PU or vinyl (not real-leather oils)
- Optional: leather cleaner and leather conditioner (for genuine leather)
- Optional: 70% isopropyl alcohol (only for occasional disinfecting on faux leather, used sparingly)
Skip: soaking sprays, bleach, ammonia, and anything "degreasing" on faux leather. Those are the products that turn a nice matte finish into sticky sadness.
Also skip DIY steam cleaning on recliners, especially near seams and hardware. Some upholstery can be steam-cleaned safely by professionals using controlled heat and extraction, but a home steamer can push moisture where you cannot retrieve it.
Power recliner safety: 60 seconds that can save the motor
Unplug and position it thoughtfully
- Unplug the recliner from the wall.
- If it is reclined, bring it back to a comfortable halfway position before unplugging, so you can access seams without stressing the mechanism.
- Keep liquids in a bowl or on the cloth, not sprayed into the air.
If you cannot unplug (built-in or hard-to-reach outlets), be even more strict: no spraying, and keep cloths barely damp.
Step 1: Dry clean first
Vacuum like you mean it
Dry debris is what grinds into fibers and makes faux leather seams look dirty. Vacuuming first also prevents you from turning crumbs into paste. This is where a lot of the visible improvement comes from.
- Use the upholstery brush on arms, headrest, and seat.
- Switch to the crevice tool for the gap where the back meets the seat and along the footrest edges.
- For stubborn grit, run a soft brush along seams while you vacuum, like sweeping dust into a dustpan.
Step 2: Clean fabric recliners (W or WS codes)
Make a barely-there solution
In a small bowl: warm water plus a tiny amount of gentle dish soap. Think 1 to 2 drops per 2 cups of water. You want suds you can count, not a bubble bath. The goal is to lift oils without soaking the padding.
Blot and wipe, do not saturate
- Dampen a microfiber cloth and wring it out hard. It should feel cool, not wet.
- Work in small sections: arms, headrest, seat, then back.
- Blot areas that are grimy first, then gently wipe.
- Follow with a second cloth dampened with plain water to "rinse" lightly.
- Finish with a dry cloth to pull out remaining moisture.
Stains without hardware drama
- Body oil darkening (headrest, arms): repeat the mild soap method twice rather than reaching for stronger chemicals.
- Food spots: lift solids with a spoon edge first, then blot.
- Odors: if the tag allows, use an enzyme cleaner applied to the cloth, not sprayed into cushions.
Mechanism-safe rule: Do not push your cloth deep into the footrest joints or hinge cavities. Clean up to the edge, then use a dry brush plus vacuum for the tight spots.
If your recliner has removable cushion covers, check for a zipper and a wash label. If the label says machine washable, follow it exactly and air-dry. If not, treat the cover like the rest of the upholstery and keep moisture light so the foam does not get waterlogged.
Fabric recliners with S or X codes (dry-first approach)
If your tag says S, use a solvent-based upholstery cleaner and follow the label carefully. It is not that a single water molecule will ruin it, it is that water-based cleaning commonly leaves rings, texture changes, or tide marks. If it says X, stick to vacuuming and dry methods.
Safer dry refresh options
- Vacuum thoroughly, including under the footrest edge.
- Dry upholstery foam (spot test first): apply to cloth, gently agitate, then vacuum once fully dry.
- Baking soda deodorize (if the fabric tolerates it): sprinkle lightly, let sit 30 to 60 minutes, then vacuum. Keep it away from mechanism openings so you are not feeding powder into moving parts.
If the fabric looks water-marked easily or has a velvety nap, go slow and always brush in one direction after cleaning to reset the texture.
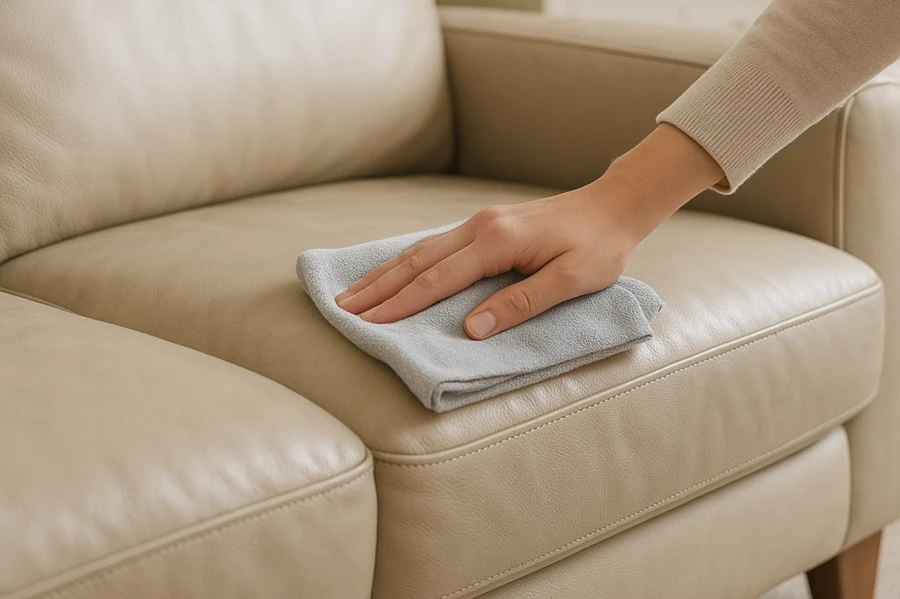
Step 3: Clean faux-leather recliners (PU or vinyl)
Gentle soap, minimal water
Mix warm water with a tiny amount of dish soap. Dip a cloth, wring until nearly dry, then wipe in smooth strokes. Faux leather does not want scrubbing, it wants patience.
Detail seams without flooding them
- Wrap a microfiber cloth around your finger to trace piping and seams.
- Use a soft brush for textured grain and stitching lines.
- Immediately dry with a clean cloth, especially around seams where liquid can sneak underneath.
Disinfecting (only if needed)
If someone has been sick, or it is a high-touch chair, you can do an occasional wipe with a cloth lightly dampened with 70% isopropyl alcohol. Test first in a hidden spot. Use the smallest amount that does the job, then let it air dry. Alcohol can dull, discolor, or dry PU and vinyl over time, especially on lower-quality finishes.
For routine cleaning, stick with mild soap and water. If your manufacturer provides a disinfecting recommendation for your specific faux leather, follow that instead.
Step 4: If it is real leather
Many recliners are genuine leather, at least on the seating surfaces. If yours is real leather, treat it like skin, not like a countertop.
- Clean: Use a leather cleaner (or a lightly damp cloth with plain water for light soil), then wipe dry. Avoid dish soap unless the manufacturer says it is safe.
- Condition: Use a leather conditioner made for your leather type, applied sparingly. Too much product can leave a slick finish and attract dust.
- Avoid: alcohol wipes as a habit, bleach, ammonia, vinegar mixes, and oils meant for boots or saddles unless the manufacturer recommends them.
As always, spot test. Leather finishes vary, and the chair usually wins that argument.
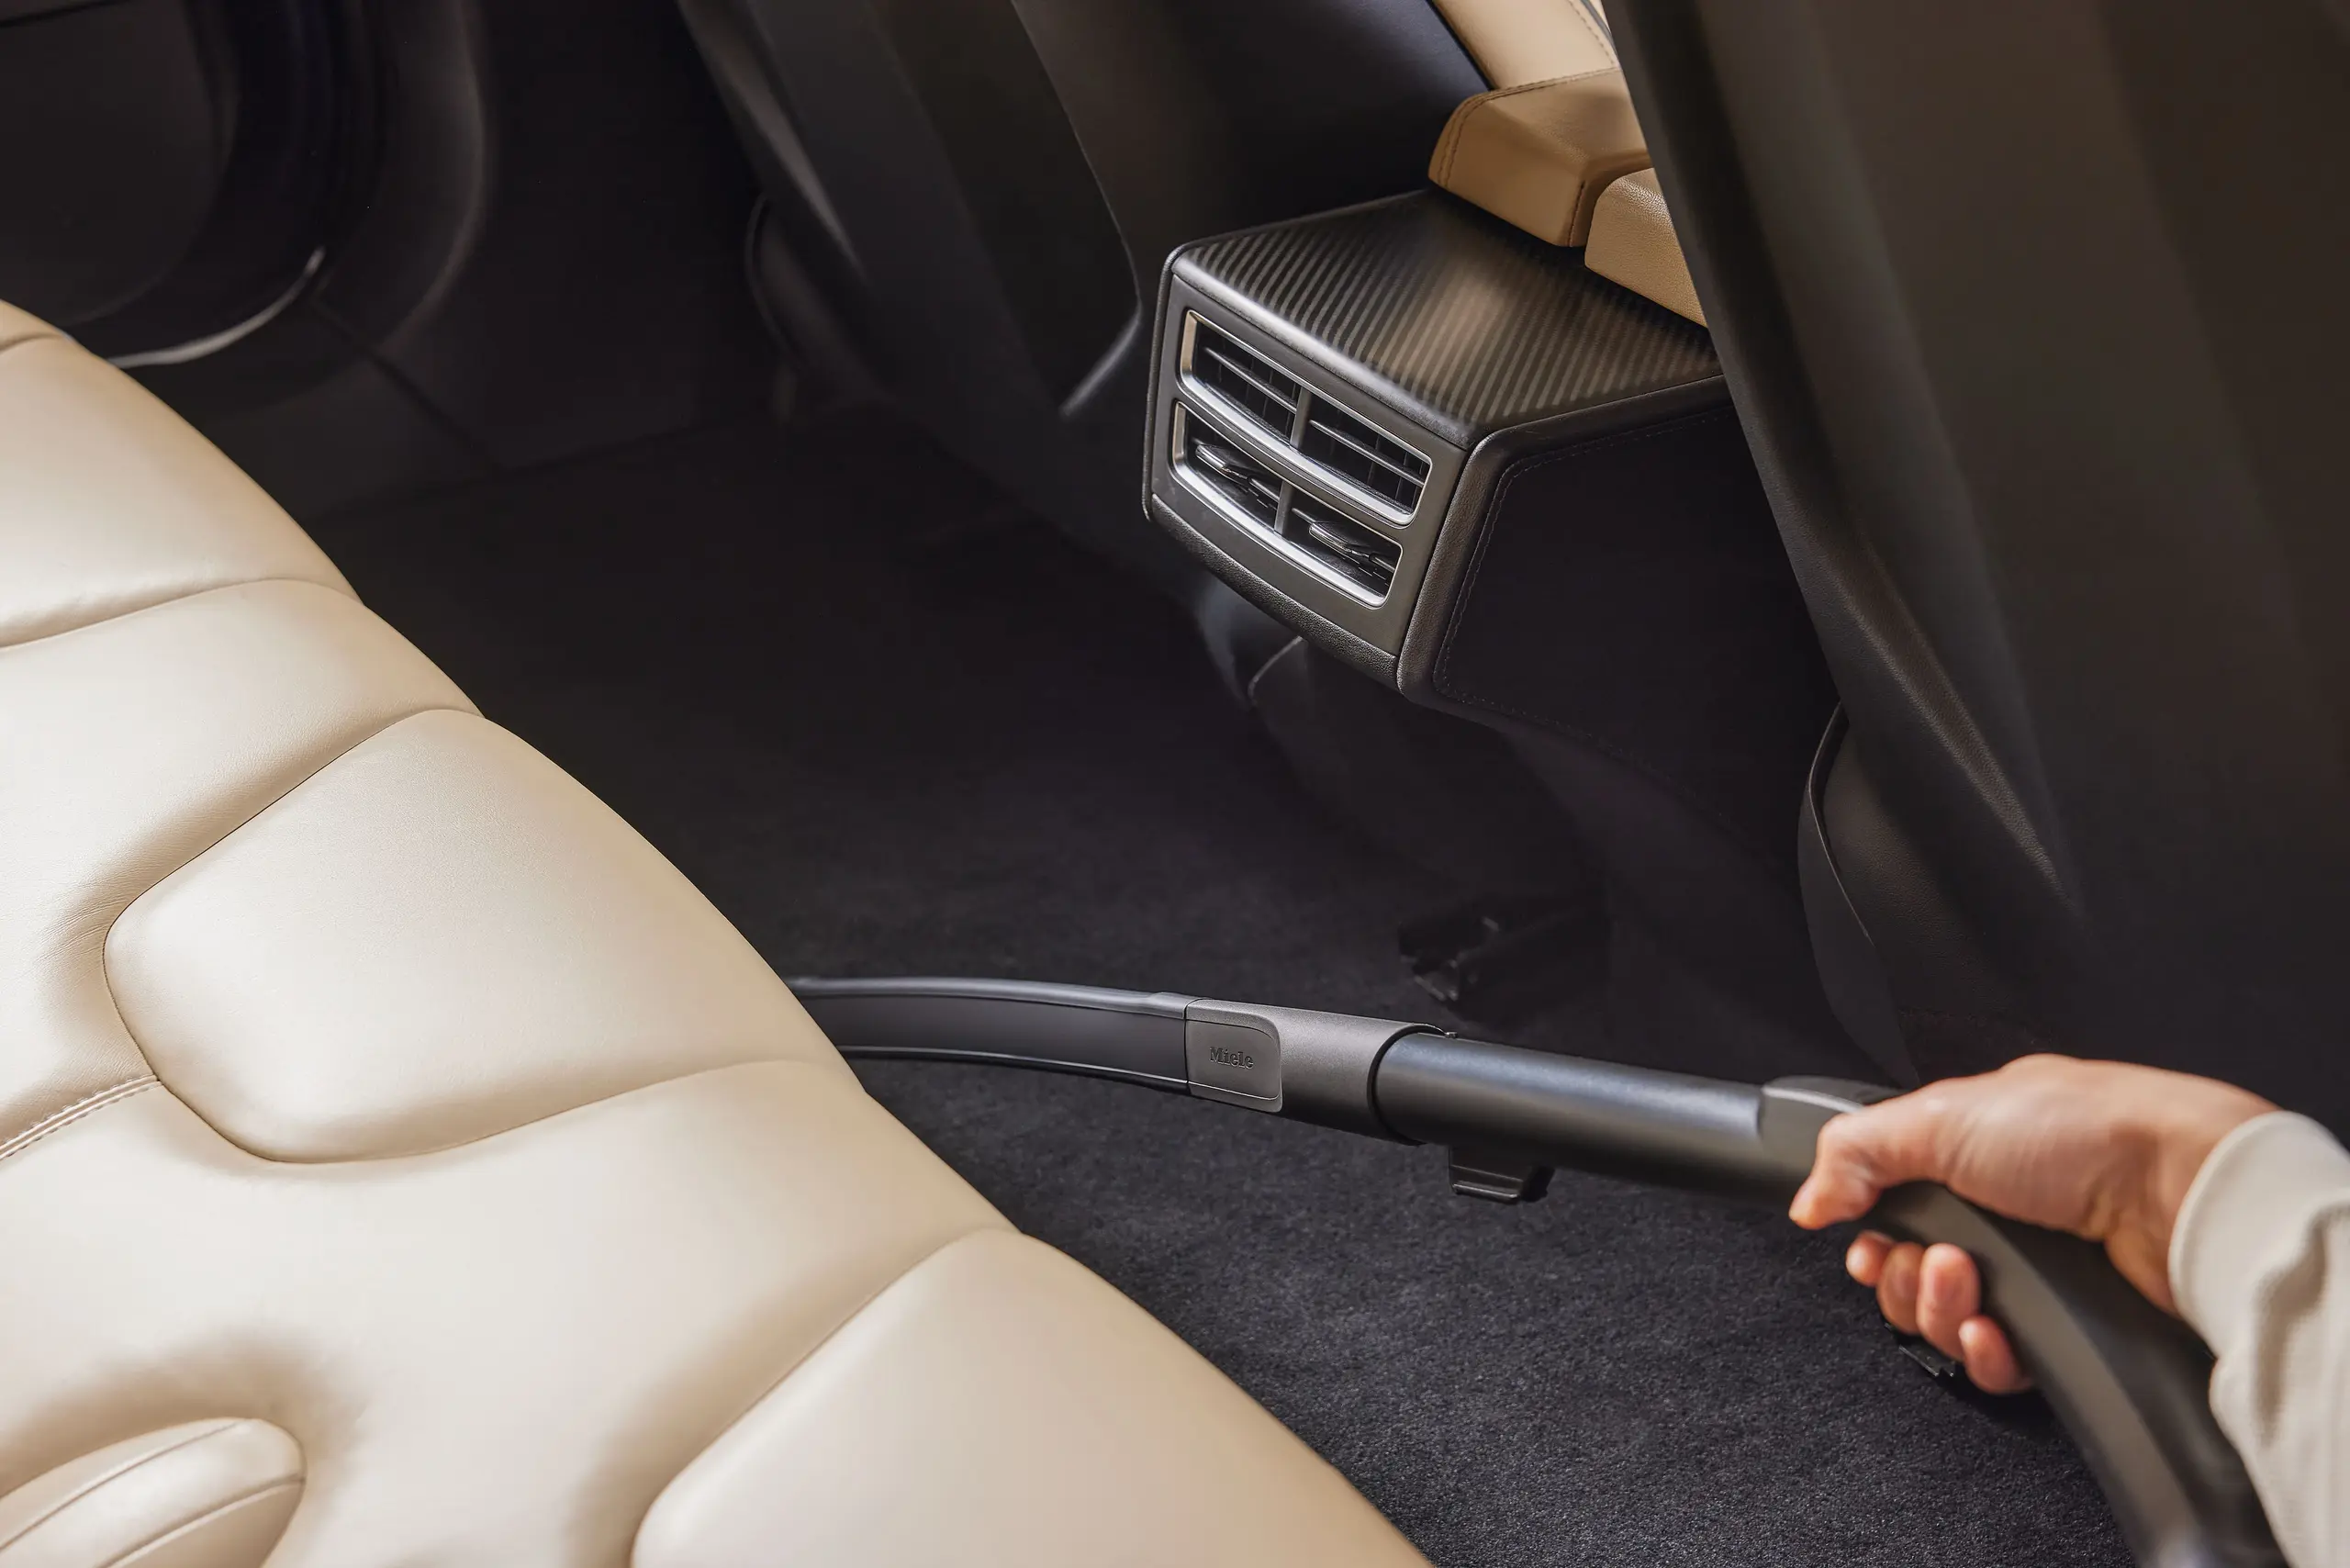
Crevices and crumbs: clean without forcing the recline
The messiest zones are exactly where the chair moves: the seat-back crack, the footrest edges, and the side panels near the mechanism.
The mechanism-safe crevice routine
- Recline slightly to open the seat-back gap, but do not wedge your hand into tight hardware spaces.
- Vacuum first using the crevice tool.
- Use a dry detailing brush to loosen debris while vacuuming.
- For sticky residue in a seam: touch it with a cloth that is only slightly damp, then dry immediately.
Do not: pull on fabric flaps, tug the skirt, or pry the footrest open beyond its normal range. If it does not open smoothly, the chair is telling you something.
Handles, buttons, and remotes
Manual handle
- Wipe with a barely damp cloth, then dry.
- Use a dry brush to clear dust around the handle base.
- If it feels sticky, use mild soapy water on the cloth, not directly on the handle.
Power buttons and USB ports
- Use a dry microfiber cloth first.
- If needed, use a cloth lightly dampened with water, then dry immediately.
- Keep moisture away from seams around the button panel.
If your recliner has a removable remote, wipe the remote separately. Do not let cleaning liquid run down the cord and into the housing.
Drying: the step that prevents mystery chair smell
- Leave the recliner unoccupied until fully dry.
- Turn on a fan aimed across the surface, not directly into the mechanism openings.
- If cushions are removable, stand them on edge to dry faster.
A recliner can feel dry on top while still damp inside the padding. Give it time. Your future self will thank you.
Quick routine vs deep clean
Weekly 5-minute reset
- Vacuum seat, arms, and crevices
- Dry microfiber wipe on faux leather or high-touch fabric areas
Monthly refresh
- Vacuum thoroughly
- Spot clean arms and headrest
- Wipe faux leather seams and piping
Seasonal deep clean
- Do the full fabric, faux leather, or real leather steps
- Clean underneath and behind the recliner (dust loves to hide there)
- Inspect cords and plug connections on power models
If you have pets or allergies, bump vacuuming up to 2 to 3 times per week and consider a HEPA vacuum. Recliners are basically dust-mite luxury condos if you let them be.
Common recliner mistakes (and what to do instead)
- Mistake: Spraying cleaner directly onto the chair.
Do instead: Apply to the cloth, then wipe. This keeps liquid out of seams and hardware. - Mistake: DIY steam cleaning near the mechanism.
Do instead: Use low-moisture spot cleaning and excellent airflow for drying. If you want steam, hire a pro who can extract moisture properly. - Mistake: Using real-leather conditioners on faux leather.
Do instead: Use a PU or vinyl-safe protectant, or simply keep it clean and dry. - Mistake: Shoving tools into tight joints to get every crumb.
Do instead: Use vacuum plus brush, and accept that "clean and functional" beats "perfect and broken."
About squeaks and haunted-ship noises
Cleaning does not usually fix squeaks, but it can reveal them. If your recliner starts talking back:
- Check for loose bolts or visible rubbing points, and follow your manual for adjustment guidance.
- If lubrication is recommended by the manufacturer, use only the approved lubricant and apply it sparingly, away from fabric and flooring.
- If it is a power recliner making new noises, stop and get it checked. Motors do not improve when ignored.
When to call a pro
If you have any of the following, it is worth contacting a professional upholstery cleaner who has experience with recliners and low-moisture methods:
- A large spill that soaked into the seat foam
- Mold or persistent musty odor
- Delicate fabric with an X code that still looks dirty
- Power recliner with moisture exposure or electrical issues
A clean recliner should feel like an invitation, not a project. Keep liquids light, respect the moving parts, and your chair will stay cozy and quiet for years.