Clean LVP and Laminate Floors Without Streaks or Warping
Clara Townsend
Clara Townsend is an interior stylist, vintage furniture enthusiast, and the creative voice behind Velvet Abode. With over a decade of experience transforming both cramped city apartments and sprawling fixer-uppers, she believes that a beautiful home is built on personal stories rather than massive budgets. When she isn't hunting for the perfect brass sconce at a local flea market, she can usually be found rearranging her living room for the third time this month.
If you have LVP (luxury vinyl plank) or laminate, you already know the emotional rollercoaster: they look gorgeous at 9 a.m., then somehow by 3 p.m. they are streaky, dull, and catching every footprint like it is their full-time job. The good news is that most streaks are not “dirty floor” problems. They are product residue and too much water problems.
I style homes for a living, and I love a floor that looks calm and intentional, like the room is exhaling. Here is the routine that keeps LVP and laminate clean without that cloudy film, and without the sneaky moisture damage that can lead to swelling, edge lift, or warping.
LVP vs. laminate
LVP and laminate can look like wood, but they behave very differently than hardwood.
- LVP (vinyl plank) has a wear layer and a waterproof or highly water-resistant core (varies by product). It tolerates damp cleaning, but it still hates puddles, heavy residue, and water that gets trapped at edges.
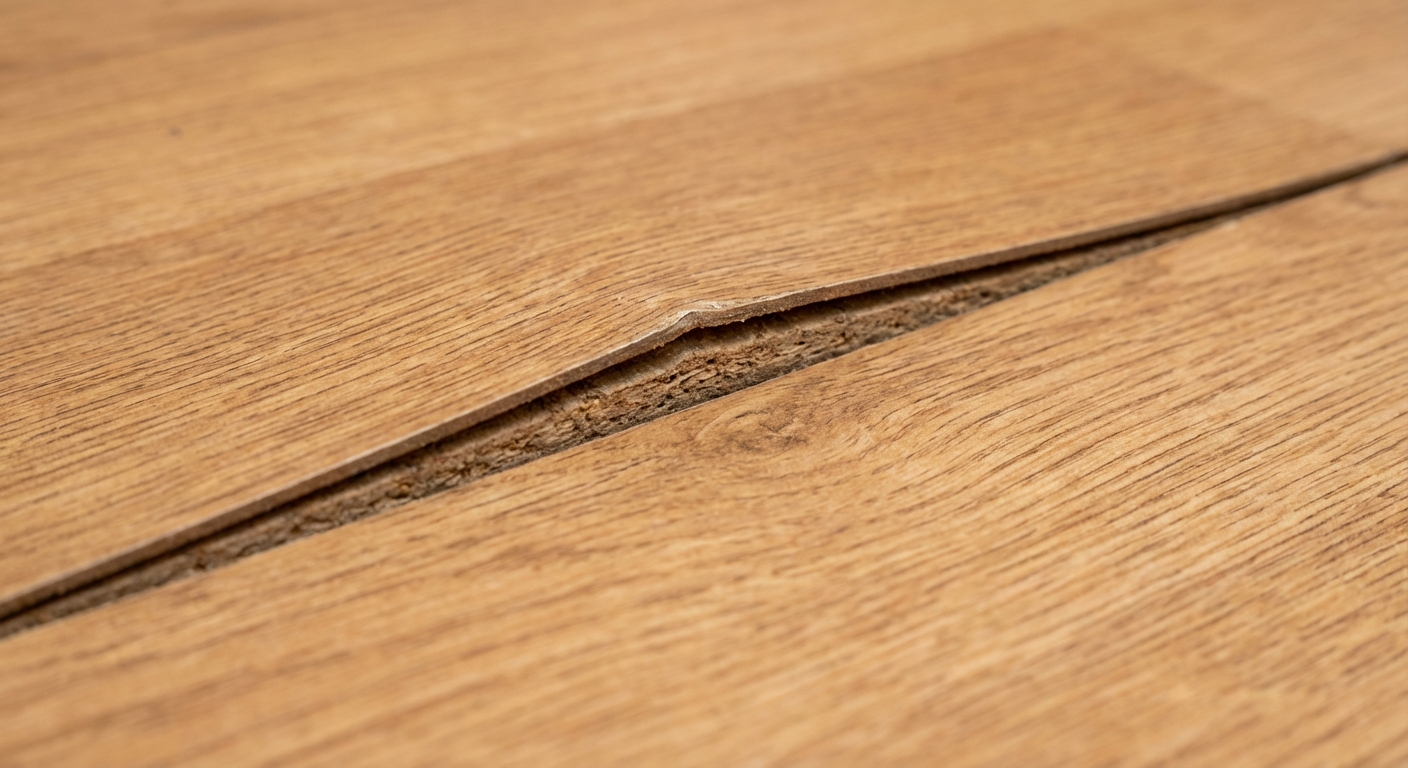
- Laminate has a dense fiberboard core that can swell when water sneaks into seams. It needs a “barely damp” approach, always.
Some hardwood routines include oil soaps, waxes, or rich conditioning products. On LVP and laminate, those products sit on top and create a slippery, cloudy film that can actually grab more dirt over time.
The biggest rule: water
If you take only one thing from this article, let it be this: your mop should be damp, not wet. No visible water trails, no puddles, no “it will air dry.” If you can wring a mop and water drips, it is too wet for laminate and usually too wet for LVP.
My quick water test
- Mop a 2×2-foot area.
- If you can see standing droplets or a glossy wet sheen for more than a minute in normal indoor conditions, wring out more.
- On laminate, the floor should look almost dry right away.
Moisture that gets pushed into seams is what leads to swelling and edge lift. It is not always dramatic at first, which is why it sneaks up on people.
Tools and streak culprits
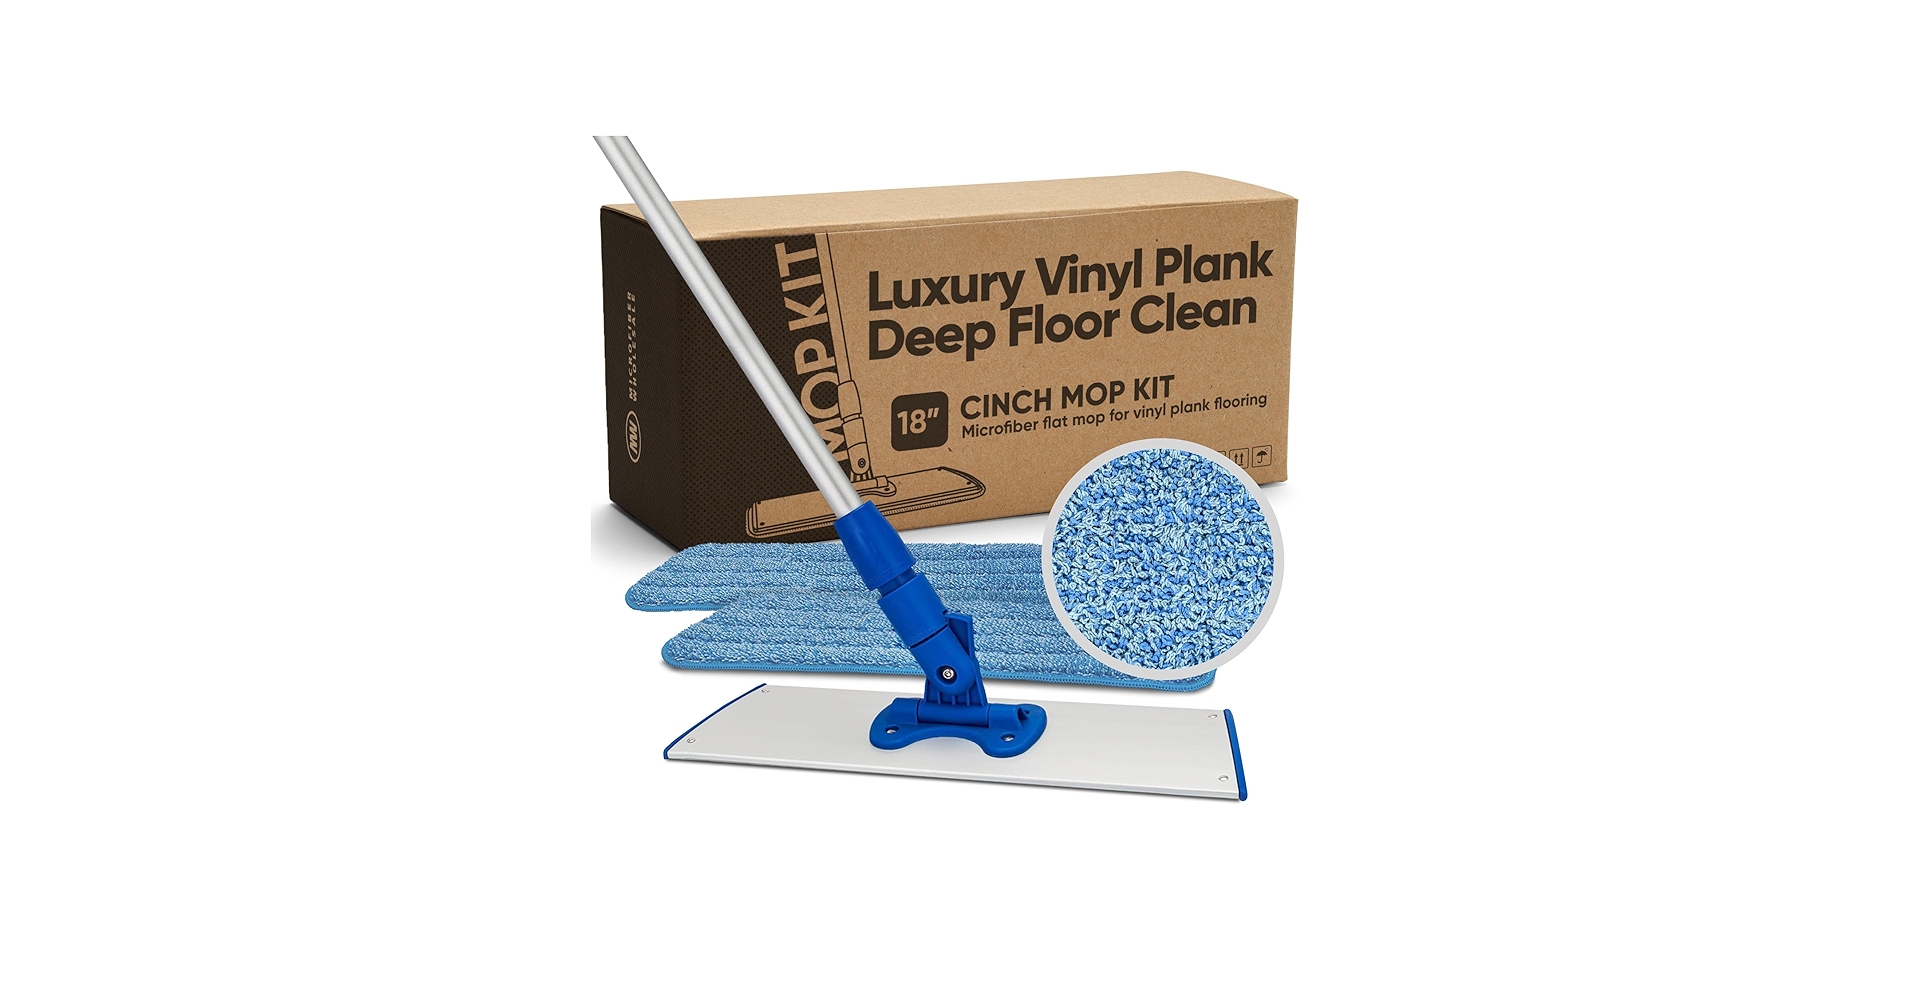
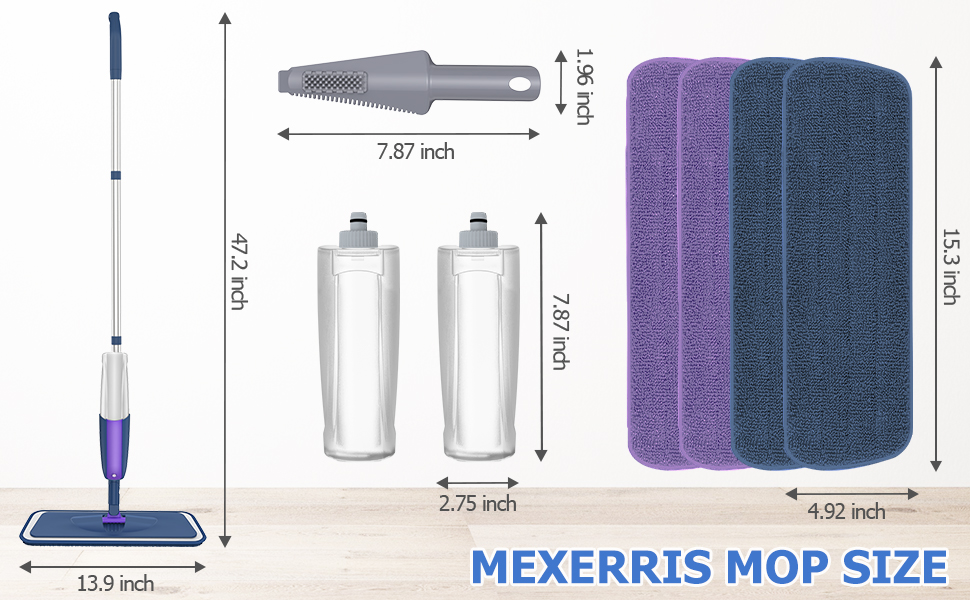
Best mop: microfiber flat mop
A microfiber flat mop is the streak-free hero for both LVP and laminate. It uses less water, distributes cleaner evenly, and does not leave lint. Bonus: you can swap pads as they get dirty instead of dragging grime around.
- Use: machine-washable microfiber pads (no fabric softener, which coats fibers and reduces absorbency).
- Avoid: string mops and sponge mops that hold too much water and push it into seams.
Vacuum or broom
Dry debris is what causes micro-scratches that make floors look dull even after cleaning. Sweep or vacuum first, always.
- Vacuum setting: hard-floor mode with the beater bar off.
- Best add-on: a soft brush attachment for baseboards and corners where grit hides.
Optional but wonderful: a spray bottle
Instead of soaking your mop bucket, lightly mist cleaner onto the floor or directly onto the microfiber pad. This keeps moisture controlled and helps prevent that “too much product in one spot” haze.
Finish and lighting
Your finish changes what you notice.
- Matte finishes tend to spotlight footprints and skin oils, especially on darker tones.
- Glossier finishes tend to spotlight streaks, haze, and any uneven cleaner film, especially in window light.
The routine stays the same. The goal is simply a thin, even, residue-free clean that looks intentional from every angle.
Approved cleaners
Always check your flooring warranty and manufacturer guidance first. That said, these are the cleaner categories that tend to perform well without leaving a sticky film.
1) pH-neutral floor cleaner
Look for a pH-neutral, no-rinse hard-surface floor cleaner that explicitly states it is safe for vinyl and laminate. These are designed to lift grime without leaving a dulling residue.
2) Diluted dish soap
In kitchens, a tiny amount of grease-cutting dish soap can help, but keep it minimal to avoid streaks.
- Mix: 1 to 2 drops of dish soap in a quart (about 1 liter) of warm water.
- Follow: a second pass with plain damp water if you used more than a couple drops.
3) Isopropyl alcohol for spots
For many LVPs and some laminates, a little isopropyl alcohol on a cloth can cut through stubborn residue fast. Test in an inconspicuous area first, use it only on the mark, and avoid saturating seams.
- Use: 70% isopropyl alcohol on a microfiber cloth for ink, heel marks, or sticky spots.
- Technique: rub gently, then wipe with a slightly damp cloth and dry.
4) White vinegar: proceed carefully
Vinegar is popular, but it is also acidic. Some manufacturers allow very diluted vinegar for vinyl, and some explicitly do not. If your warranty permits it, keep it weak, do not use it daily, and stop if you notice the finish looking flatter over time.
- Typical dilution: 1/2 cup vinegar in 1 gallon of warm water.
- Not for: routine use if your floors already look dull or if your manufacturer warns against it.
No-streak method
Step 1: Dry clean first
Vacuum or dust mop to remove grit. This is what prevents that “I mopped and now it looks worse” feeling.
Step 2: Mix cleaner lightly
More product does not equal more clean. On LVP and laminate, extra cleaner usually equals extra film.
Step 3: Work in small sections
Mop a 3×3-foot area, then move on. This keeps cleaner from drying mid-process, which is a common cause of haze.
Step 4: Keep your water clean
If you have pets, kids, or heavy outdoor traffic, use two buckets (one clean solution, one rinse) or swap microfiber pads halfway through. The goal is simple: do not re-paint the floor with gray water.
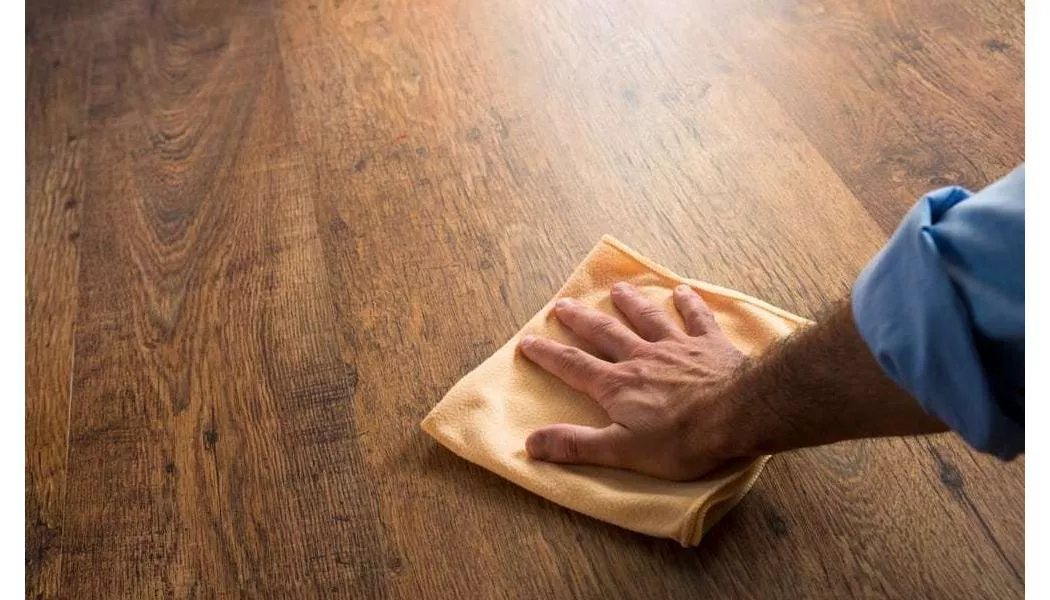
Step 5: Buff the finish
For an especially streak-prone floor, do a quick buff with a dry microfiber cloth after mopping. It takes two minutes and makes the sheen look even and calm, like your floor just got a soft-focus filter.
What to avoid
- Steam mops: often discouraged by manufacturers, and the heat and moisture can force water into seams. On laminate especially, they can be warranty trouble.
- Soaking wet mops: standing water is the fastest route to swelling in laminate and edge issues in click-lock floors.
- Oil soap, wax, and “polish” products: these can build up into a cloudy, slippery film on LVP and laminate.
- Abrasive powders and scrub pads: they scratch the wear layer, which makes floors look permanently dull.
- Ammonia or bleach-heavy cleaners: many manufacturers caution against them because they can dull, discolor, or damage the finish over time.
- Leaving spills to sit: even on LVP, liquids can work into edges and under transitions, and on laminate it is a real risk.
Streaks and haze fixes
If your floor looks hazy
That is usually residue. Try this reset:
- Dry vacuum.
- Mop with plain warm water using a well-wrung microfiber pad.
- Change the pad once it starts looking dirty.
- Buff dry.
If haze persists, your product may be the culprit. Switch to a pH-neutral cleaner labeled for vinyl and laminate and use less than you think you need.
If you see streaks in certain lighting
- Too much cleaner: reduce dilution strength.
- Dirty pad: swap it sooner.
- Hard water: use distilled water in your spray bottle for a week and see if it improves.
If footprints show immediately
Some matte finishes and darker colors highlight skin oils. A light, residue-free cleaner plus a dry microfiber buff helps. So does a good entry mat, which sounds boring until you realize it is basically a bouncer for grit.
Buildup reset
If you have years of “polish” or heavy cleaner buildup, resist the urge to go nuclear with a stripper unless your manufacturer explicitly approves it. Instead:
- Stop the product that caused the film.
- Do several plain-water passes over a week (light pressure, clean pads).
- Spot-treat stubborn patches with a tiny amount of pH-neutral cleaner on the pad, then follow with a plain-water wipe and dry buff.
It is a slow, gentle peel-back, but it is also the safest way to get your “real finish” back.
Scratch camouflage
Both LVP and laminate can scratch, especially if grit is getting tracked in. The goal is to reduce how noticeable it feels in the room.
- For tiny light scuffs on LVP: try a small amount of isopropyl alcohol on microfiber, then wipe dry.
- For laminate surface scratches: a color-matched laminate repair pencil or wax fill stick can visually soften the line. Test first and keep it neat.
- Furniture prevention: felt pads on chair legs and a soft chair mat under desk chairs. Replace felt pads when they get gritty.
- Pet nails: keep them trimmed. It helps more than any cleaner ever will.
Takeaway: grit prevention is about 80% of scratch prevention. A good doormat and a simple shoe-off habit do more than any miracle bottle.
Daily, weekly, monthly
Daily (or every other day)
- Quick vacuum or dust mop high-traffic lanes.
- Wipe spills immediately.
Weekly
- Vacuum thoroughly with beater bar off.
- Damp mop with a microfiber flat mop and a pH-neutral cleaner.
- Buff if you are prone to streaks.
Monthly (or seasonally)
- Check entry mats and rug pads, shake out grit.
- Replace worn felt pads under furniture.
- Do a plain-water reset if the floor starts looking cloudy.
FAQ
Can I use a Swiffer on LVP or laminate?
A dry pad is great for dust. For wet pads, check that your floor manufacturer allows it and watch for residue buildup. Many pre-moistened pads can leave a film over time. If your floors streak easily, you will usually get better results with a microfiber flat mop and a diluted, no-rinse cleaner.
Is LVP really waterproof?
Many LVP products are marketed as waterproof, but waterproof plank does not automatically mean waterproof installation. Water can still reach the subfloor through perimeter gaps, transitions, or prolonged exposure at seams. Wipe spills promptly and avoid flooding the floor during cleaning.
Why is my laminate lifting at the edges?
Common causes include moisture at seams, repeated wet mopping, or leaks near appliances. Switch to a barely damp microfiber routine and address any water source quickly.
Calm-floor checklist
- Vacuum first to remove grit.
- Use a microfiber flat mop, not a soaking wet mop.
- Choose a pH-neutral cleaner labeled for LVP and laminate.
- Use less product than you think you need.
- Keep water off seams and never leave puddles.
- Buff dry for that streak-free, soft sheen.
Your floors do not need to be scrubbed into submission. They just need a gentle routine, a little restraint with water, and a cleaner that does not leave a “sticky candle” coating behind. Once you nail that, LVP and laminate are wonderfully low drama, which is exactly what I want from anything under my feet.