Clean Fabric Ottomans and Bench Cushions Without Warping the Frame
Clara Townsend
Clara Townsend is an interior stylist, vintage furniture enthusiast, and the creative voice behind Velvet Abode. With over a decade of experience transforming both cramped city apartments and sprawling fixer-uppers, she believes that a beautiful home is built on personal stories rather than massive budgets. When she isn't hunting for the perfect brass sconce at a local flea market, she can usually be found rearranging her living room for the third time this month.
Ottomans and bench cushions are sneaky little mess magnets. They get the coffee mug rings, the sock lint, the dog paws, the last-minute “sit here” guests, and somehow all the crumbs you swear you never ate. The tricky part is that many of them are built like tidy little boxes, which means the wrong cleaning approach can wick moisture into the base and quietly warp the frame.
My goal is always the same: lift the stain and freshen the fabric while keeping water and cleaner out of the structure. Think of it like washing a silk blouse. You do not soak it in the bathtub. You treat it with intention.
Before You Start: What You Are Cleaning
Two ottomans can look identical and behave totally differently once cleaner hits them. Take five minutes to check these details first. It saves you from dye bleed, musty odors, and the dreaded wavy base.
1) Foam or loose fill?
- Slab foam is a single piece of foam, often wrapped in a thin layer of batting. It holds a clean, tailored shape and is common in bench cushions and structured ottomans.
- Loose fill (polyfill, feather blend, shredded foam) feels more squishy and shiftable. It can clump if it gets too wet, and it takes longer to dry fully.
Why it matters: slab foam tolerates careful surface cleaning well, but it hates being saturated. Loose fill hates uneven moisture and needs extra fluffing during drying.
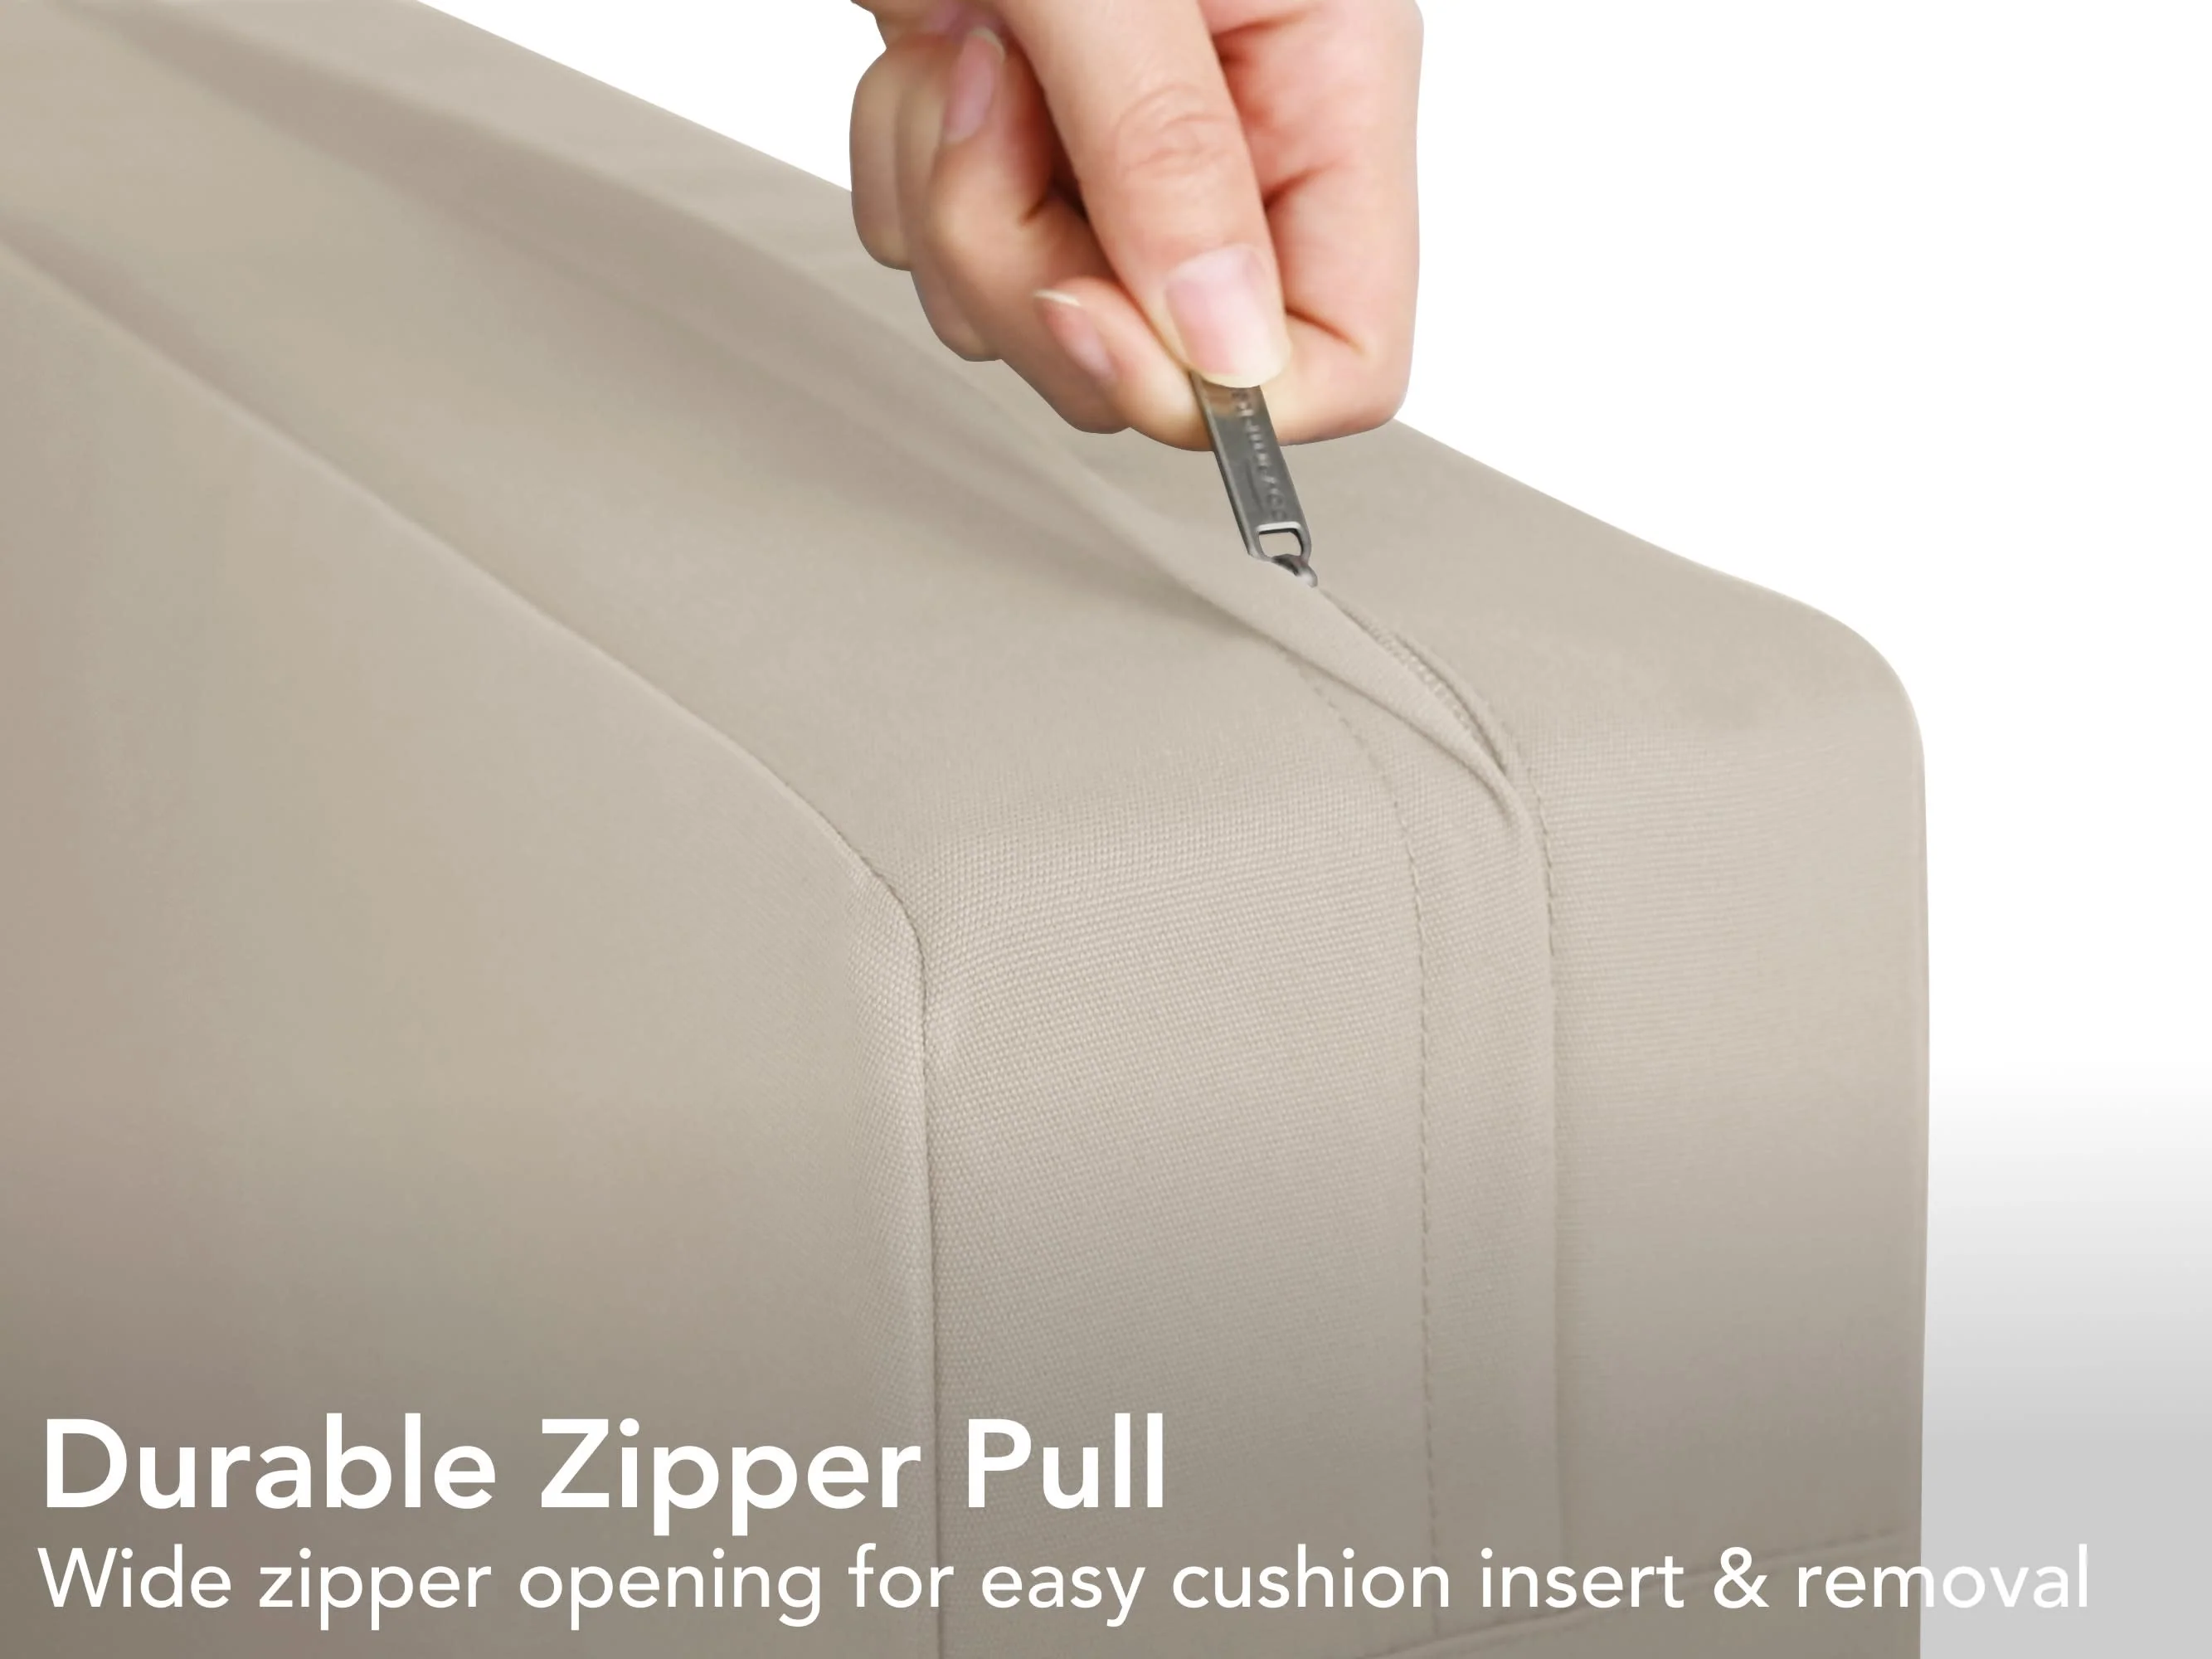
2) Zipper access?
Flip the cushion or check the underside of the ottoman top. A zipper changes your whole plan because you can separate fabric from insert and dry everything faster and flatter.
- With a zipper: you can remove the cover for controlled cleaning and faster drying.
- No zipper: you are doing careful, low-moisture spot and surface cleaning only.
3) Base materials?
Skirted bases and upholstered boxes often hide wood frames, cardboard tack strips, or MDF panels. These materials do not forgive water. If your ottoman has wood legs, those legs can spot, haze, or get sticky if cleaner drips down and sits at the joint.
Quick reupholstery note: if this piece was reupholstered or thrifted, the tag can be missing, wrong, or copied from a different fabric. When in doubt, treat it like a mystery fabric and go extra gentle.
Care Codes and Color Tests
If you still have the tag, look for common upholstery care codes. They are manufacturer guidance, not a universal guarantee.
- W: water-based cleaner is generally safe.
- S: solvent-based cleaner only.
- WS or W/S: either water-based or solvent-based is acceptable.
- X: vacuum only. No water, no solvent. Call a pro for stains.
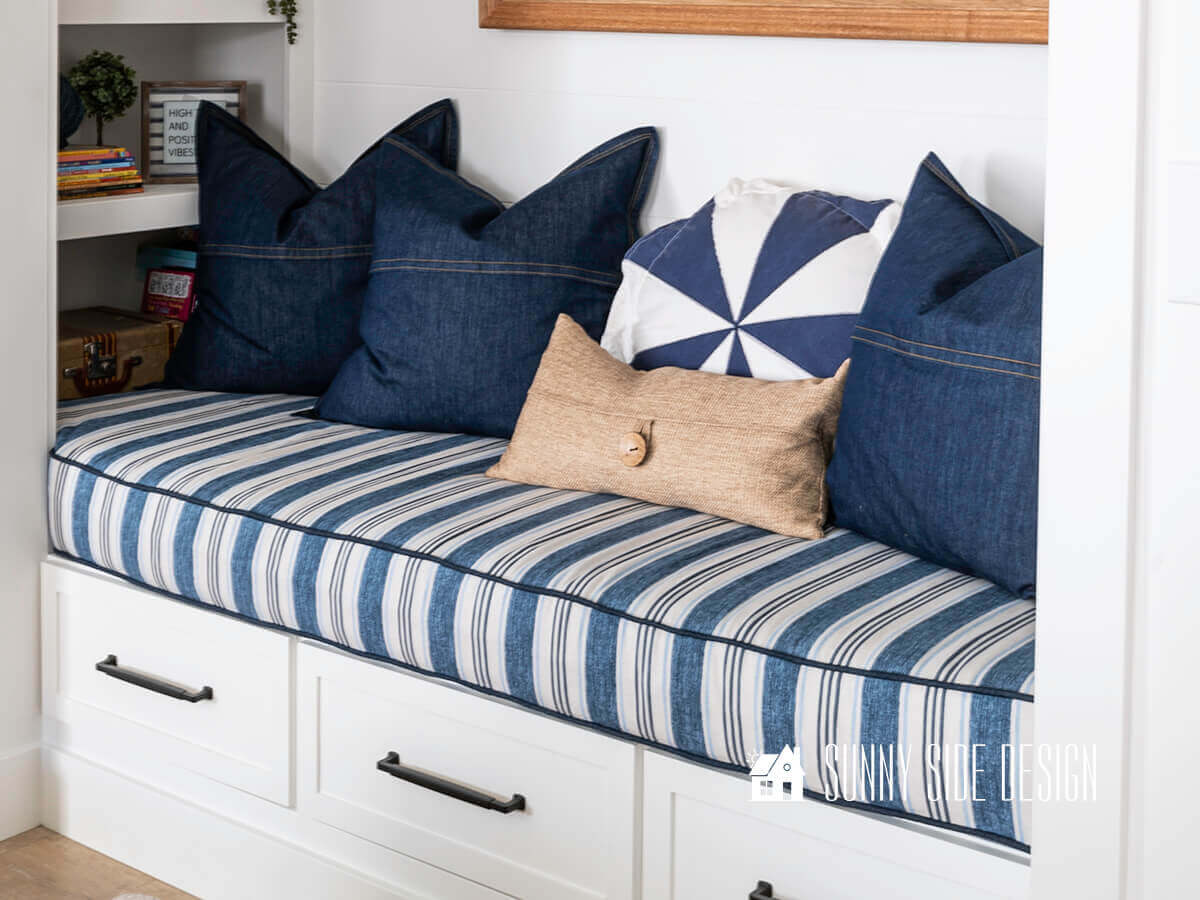
Even with a “W” tag, I always test for color bleed, especially on bold prints, saturated velvets, and deep dyes like indigo, rust, and black.
How to test for bleed
- Choose a hidden spot: under the cushion, inside the zipper hem, or behind a skirt.
- Dampen a white cloth with your intended cleaner (or just water if you are starting gentle).
- Press and hold for 10 to 15 seconds. Do not rub.
- Check the cloth for dye transfer and the fabric for a darkened ring.
If dye transfers, pivot to a drier method: vacuum thoroughly, use a barely damp cloth, and consider a professional upholstery cleaner for anything beyond a light refresh.
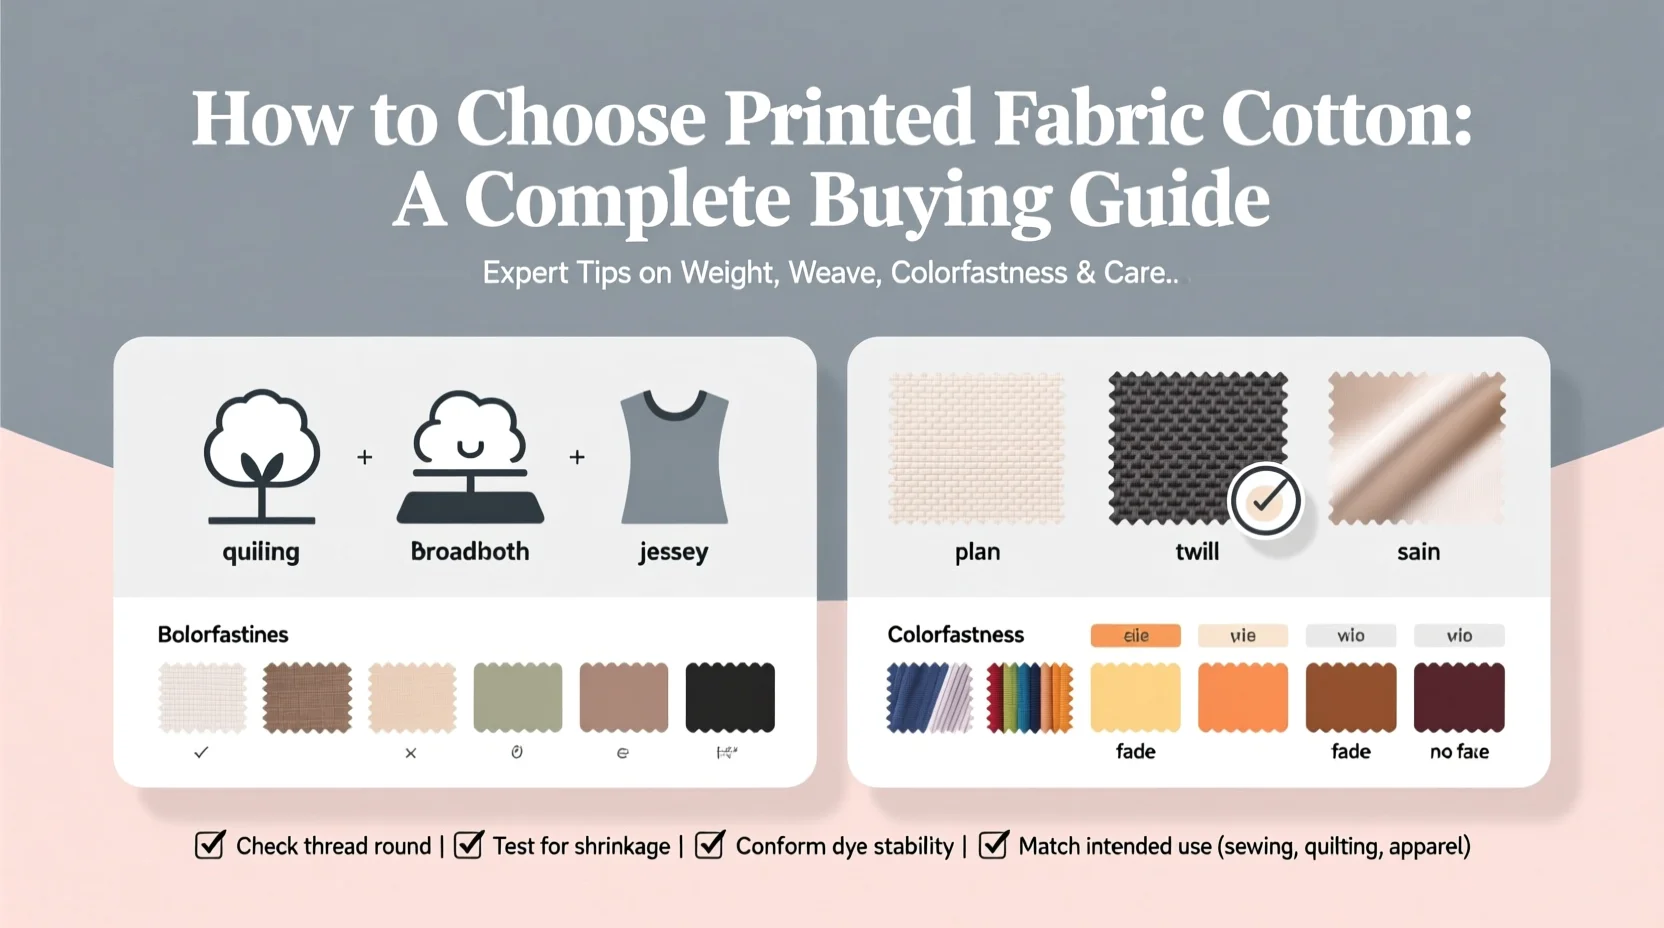
Know Your Fabric (Quick Warnings)
This is the part people skip, and it is also the part that prevents heartbreak.
- Polyester and many performance fabrics: usually forgiving and happy with low-moisture “W” cleaning if colorfast.
- Cotton and linen blends: can hold onto soil at the edges, so rinse and blot well to avoid new rings.
- Velvet and pile fabrics: can crush, shift sheen, or show tracks if you rub or blast heat. Gentle blotting and careful drying only.
- Rayon/viscose and some delicate weaves: famous for water marking. Even plain water can leave a permanent-looking tide line. If you suspect these fibers, keep moisture extremely minimal and strongly consider a pro for visible stains.
Protect the Frame First
Most frame warping happens because moisture sneaks down seams and collects where you cannot see it. Before you touch the stain, set up a little protection.
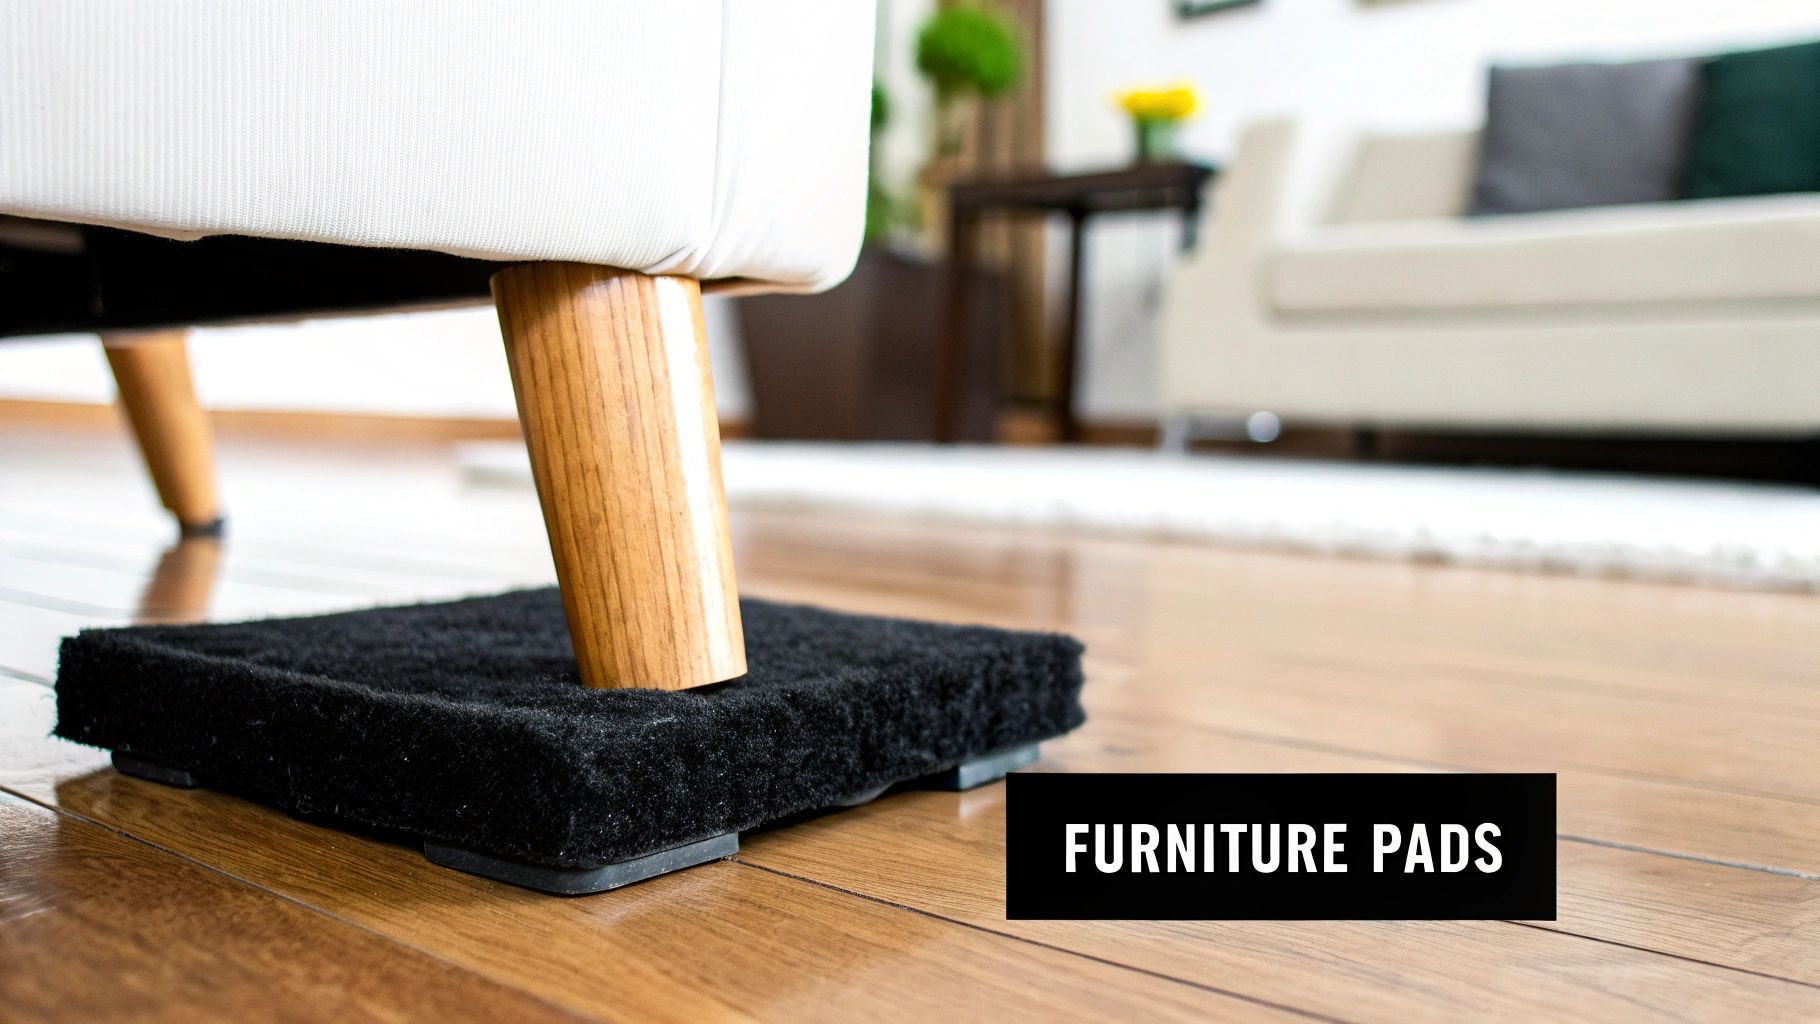
Wood legs and metal feet
- Slide a folded paper towel or cotton rag around the base of each leg where it meets the upholstery.
- If the legs are finished wood, add a strip of plastic wrap around the top inch of the leg as a temporary drip shield, then cover that with a towel to catch runoff.
Skirted bases
- Lift the skirt edge and tuck a dry towel under it, all the way around the ottoman if possible.
- If the skirt is long and puddles, clip it up gently with clothespins or binder clips so it does not wick cleaner like a candle wick.
Upholstered box bases
- Place the ottoman on a waterproof barrier before cleaning: a trash bag under an old sheet works beautifully.
- Avoid flooding the top panel seam where the lid meets the sides. That seam is a moisture highway.
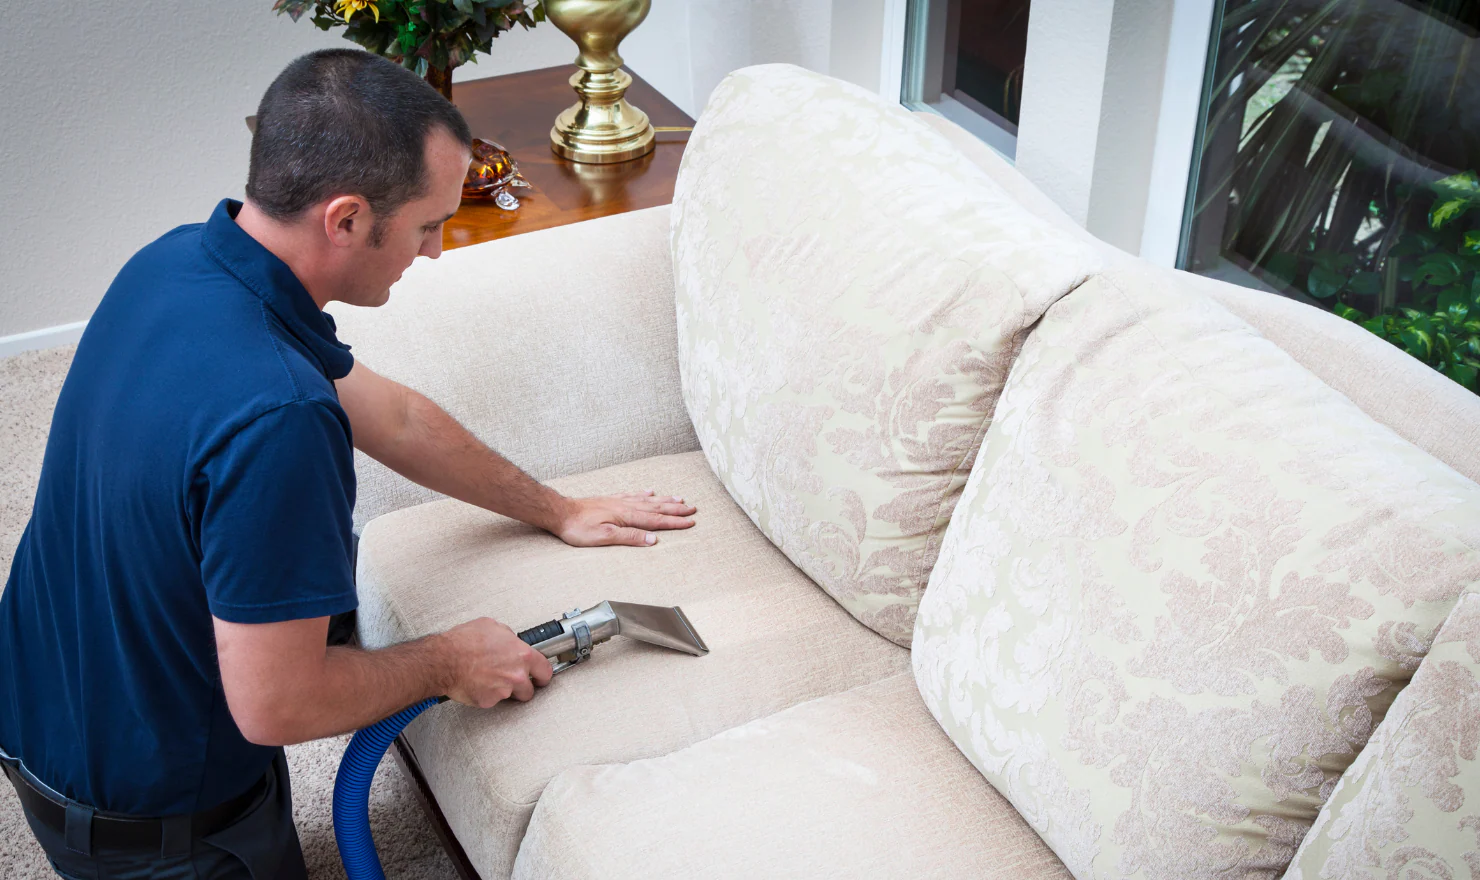
The Velvet Abode Method
This is my signature approach: low moisture, high airflow. If you take only one principle from this article, let it be this: clean the fabric, not the furniture’s skeleton. We are lifting soil and oils without pushing liquid down into the padding and frame.
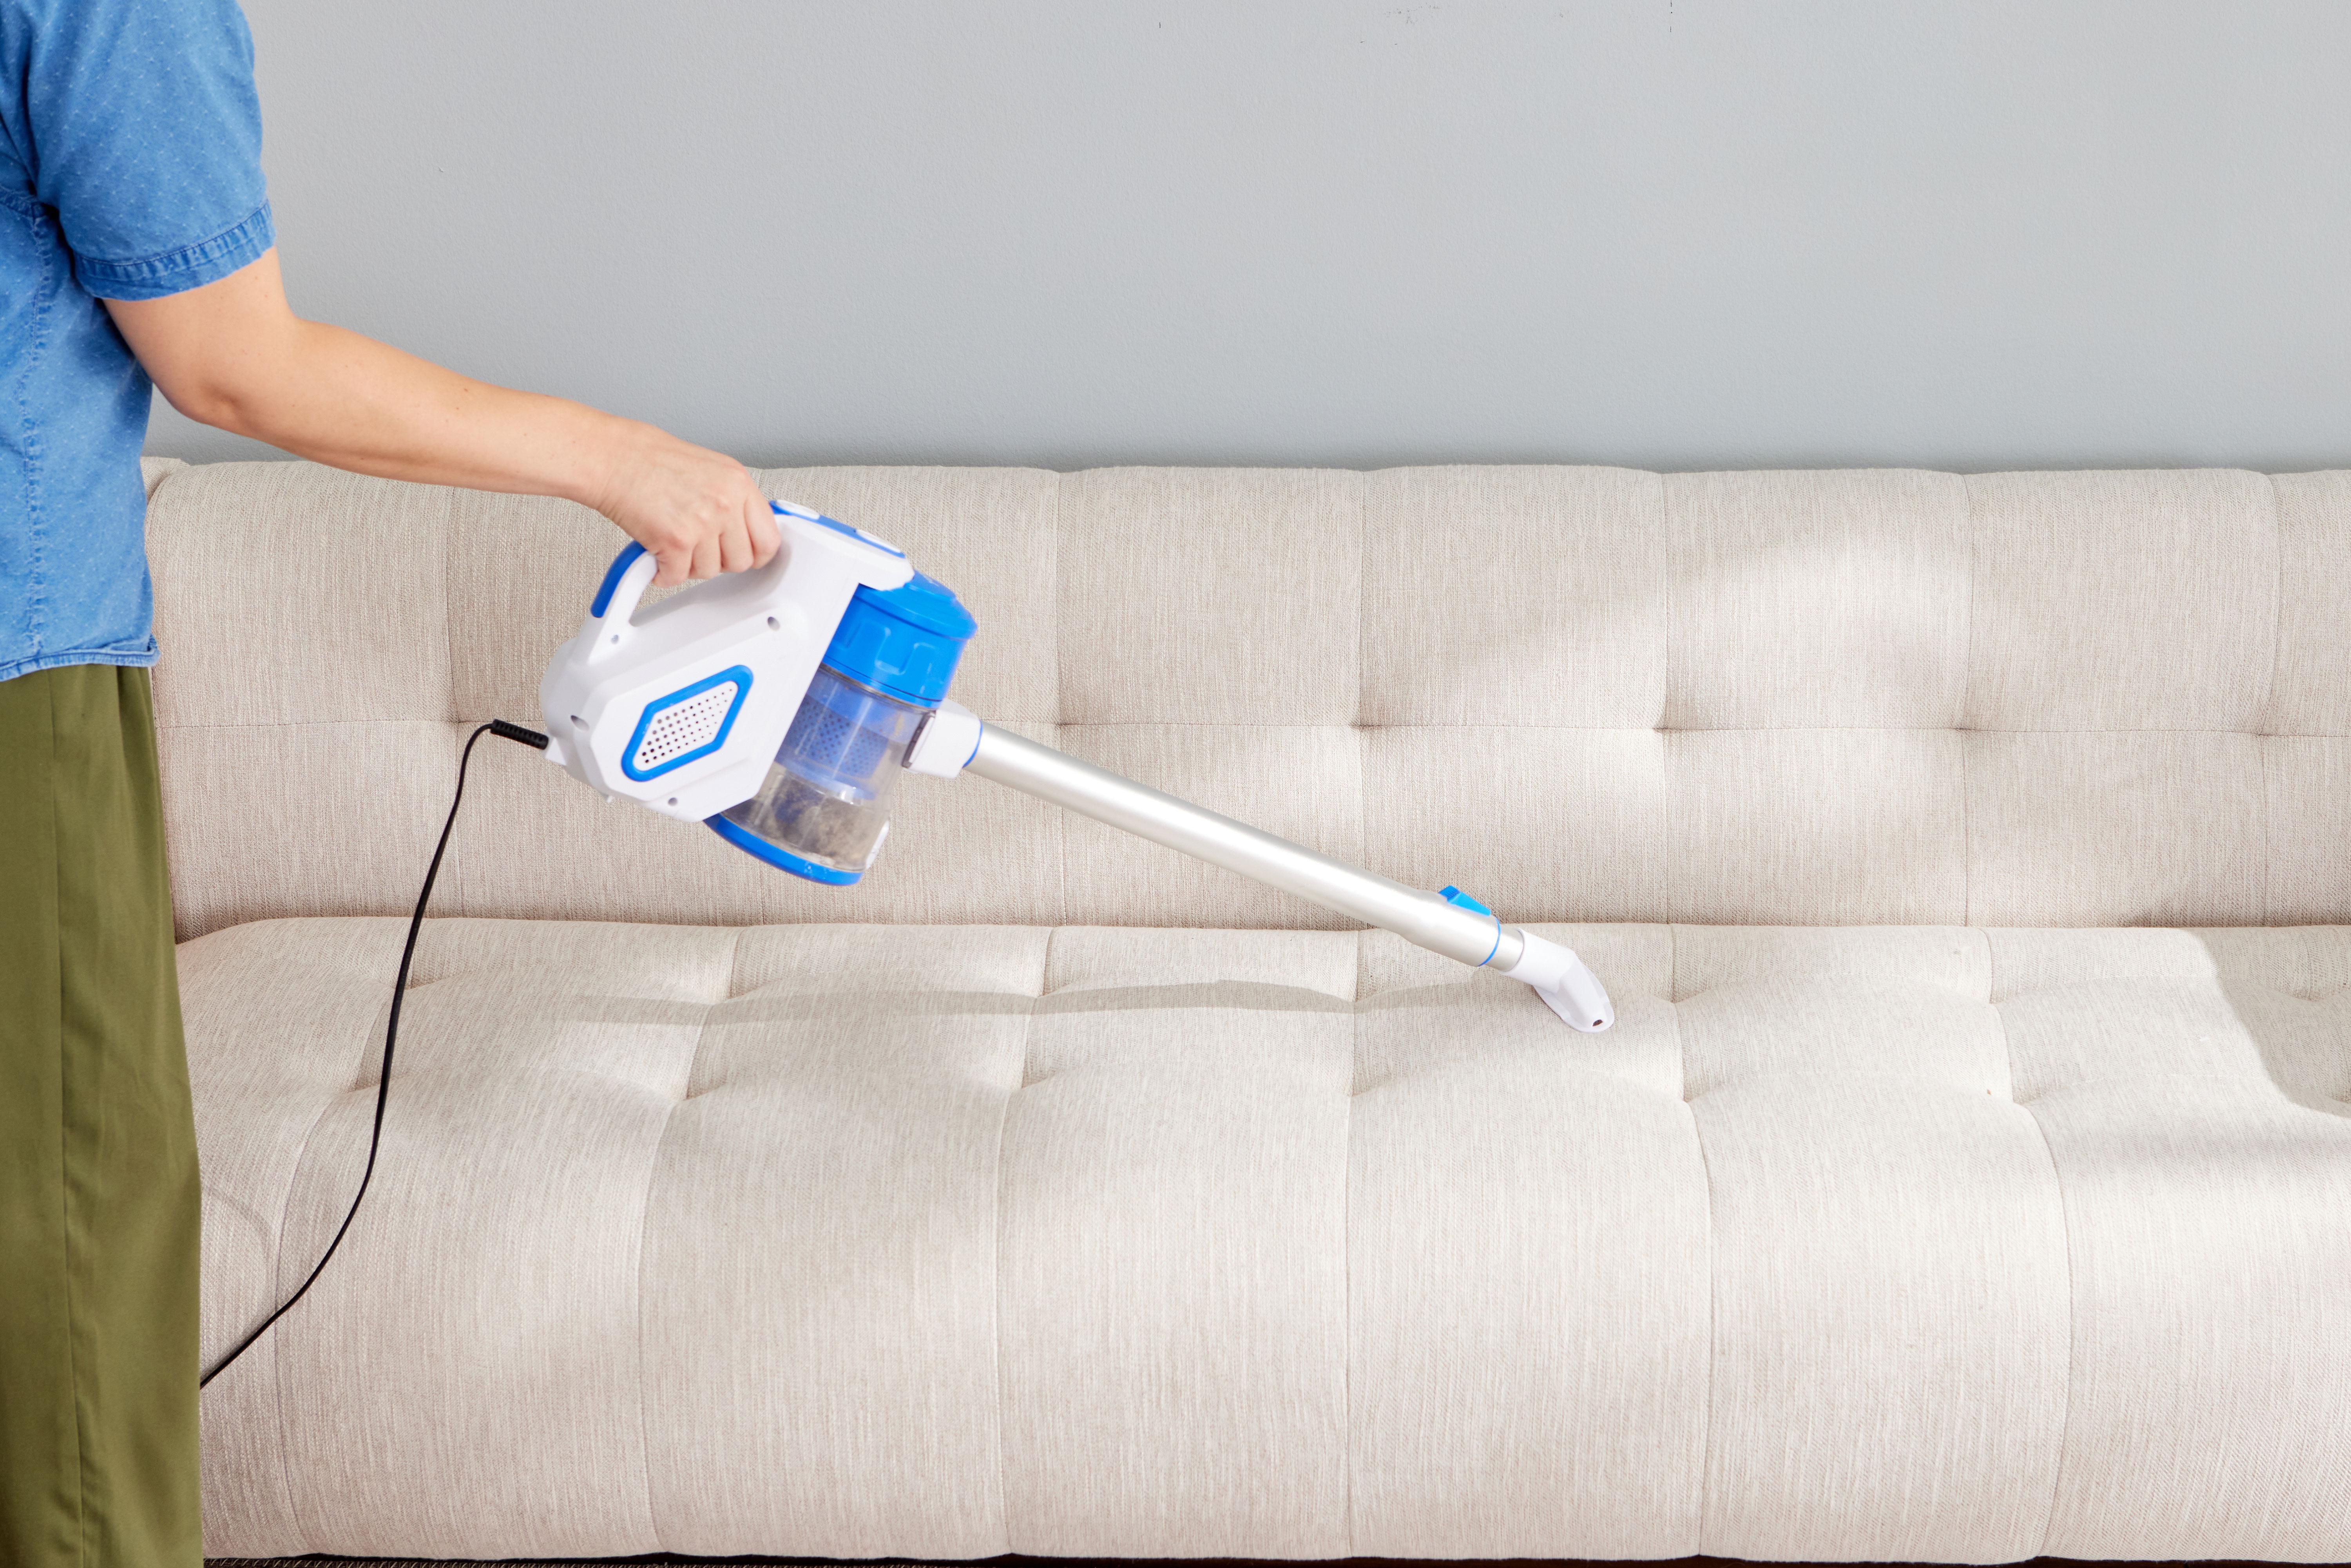
Step 1: Dry clean first
- Vacuum using an upholstery attachment, slow passes, light pressure.
- Use a soft brush attachment to lift pet hair and grit from the weave.
- For seams and tufting, use a dry toothbrush to coax debris out, then vacuum again.
Skipping this step turns dust into mud the second you add moisture.
Step 2: Mix a gentle cleaner
For most “W” fabrics, start mild:
- 2 cups lukewarm water
- 1 to 2 teaspoons clear, dye-free, gentle dish soap
Whisk lightly. You want suds, not a sink bath. Use the foam more than the water whenever you can.
Residue note: soap left behind can attract new dirt. The rinse and blot step below is not optional if you want the fabric to stay clean.
Step 3: Spot treat, then feather
- Dip a white microfiber cloth into the suds, then wring until it is barely damp.
- Blot the stain from the outside toward the center to avoid spreading.
- Follow with a second clean cloth dampened with plain water to rinse lightly. Keep it barely damp so you do not re-wet the padding.
- Immediately blot dry with a towel.
Important: rubbing can rough up textured weaves and leave a shiny patch on some synthetics and velvets. Blotting is slower, but it is kinder.
Step 4: Dry fast and evenly
- Aim a fan across the surface, not directly blasting one spot.
- Keep the room warm and ventilated.
- Do not close the cushion back into a tight corner until it is fully dry to the touch.
If You Have Zippers: Safer Deep Clean
Zipper access is a gift. It lets you separate the cover from the insert, which means less moisture near the frame and a much faster dry time.
Remove and clean a zippered cover
- Unzip and remove the insert.
- Take a photo of how the insert sits inside, especially if it is wrapped or layered. It helps you put it back neatly.
- Spot clean the cover flat on a towel. Work in small sections.
- Rinse lightly with a clean, barely damp cloth, then press dry with towels.
Avoid soaking the cover in a tub unless the manufacturer explicitly allows it. Many upholstery fabrics have backings or finishes that dislike a full dunk.
Can you machine wash the cover?
Only if the label explicitly says it is washable. If it does, use cold water, gentle cycle, minimal detergent, and air dry. Expect some shrink risk, and do not put it back on until it is completely dry.
Cleaning the insert
- Slab foam: deodorize with baking soda (sprinkle, let sit 30 minutes, vacuum). This helps with light odors, but it is not a magic eraser for deep smells. Also, fine powder can be stubborn to remove from open-cell foam, so use a light hand and vacuum thoroughly. If there is a stain on the foam itself, use minimal moisture, blot, then dry with a fan. Never wring or twist.
- Loose fill: avoid wet cleaning unless absolutely necessary. If it gets damp, spread it out, fluff repeatedly, and dry longer than you think you need to.
Reinstall the cover only when both cover and insert are fully dry. Slight dampness sealed inside becomes that sour “mystery smell” later.
Drying Positions That Protect the Base
Drying is where warping often happens, because gravity pulls moisture to the lowest point. You want moisture to evaporate out, not migrate down into the frame.
For removable cushions
- Stand the cushion on its long edge like a book, with a fan moving air across both sides.
- Rotate every 30 to 60 minutes for the first few hours.
- If one side is damp, do not leave it face-down on a floor or rug. It traps moisture.
For non-removable ottoman tops
- If the ottoman is light enough, tip it so the cleaned surface is angled, not horizontal. Angle encourages moisture to evaporate rather than sink.
- Support it securely with folded towels so it does not wobble and stress the joints.
- Keep air moving along the seam where the top meets the sides.
For skirted bases
- Clip the skirt up while drying so it does not stay damp and wick moisture into the base.
- If the skirt got wet, blot it thoroughly and fan it from below.
Patience here is structural care. Let it take the afternoon. Your frame will thank you.
Common Stains and Frame-Safe Fixes
Water rings
Water rings are often uneven drying, but they can also be mineral deposits or a “soil boundary” that was already in the fabric. A common fix is to lightly dampen a wider area around the ring with plain water (barely damp cloth), then blot evenly to soften the edge and reset the drying line.
Important: only try the re-wet method on W-coded, colorfast fabrics that do not watermark easily. Avoid it on rayon/viscose, many velvets, and any fabric that has a history of showing water marks. When in doubt, stop and go pro.
Grease or body oils
Sprinkle baking soda or cornstarch, let sit 20 to 60 minutes, vacuum thoroughly, then spot clean with a tiny amount of soapy foam if needed. Rinse and blot so you do not leave a soap halo that re-soils.
Pet accidents
Blot immediately. Use an enzyme cleaner that is upholstery-safe, applied sparingly. Protect the frame aggressively with towels because this is where over-wetting happens fastest. If the liquid soaked through into the base, consider a professional. Odor can live in the structure.
Ink
Do not chase ink with water. Ink type matters, and the wrong solvent can spread it. If the tag allows “S,” a solvent-based upholstery cleaner can help. Test carefully for dye bleed, use very small amounts, and blot from the outside in. For larger stains, or if you are tempted to keep going, call a pro before you make it permanent. (Some people use isopropyl alcohol for certain inks, but only if the fabric code and a patch test say it is safe.)
What Not to Do
- Do not steam base seams unless the manufacturer allows it. Steam can loosen adhesives and swell MDF. It can also distort pile fabrics and velvet.
- Do not saturate tufting. Buttons and tufts channel moisture into the core.
- Do not use bleach on upholstery unless specifically directed. It can weaken fibers and strip color.
- Do not use colored towels for testing or blotting. Dye transfer is real and deeply annoying.
- Do not put a damp cushion back on a closed base. Trapped moisture breeds odor and can warp hidden wood supports.
Solvent Safety (If You Use “S” Products)
- Ventilate the room well and take breaks if the odor is strong.
- Keep solvents away from flames, pilot lights, and heat sources.
- Use small amounts, blot (do not scrub), and patch test like your furniture budget depends on it.
When to Call a Pro
I love a good DIY refresh, but these scenarios are worth professional upholstery cleaning:
- Care code “X” or missing tag on a high-value vintage piece
- Velvet, rayon/viscose, or delicate woven blends that watermark easily
- Strong odors that suggest liquid reached the inner base
- Skirted ottomans with unknown frame materials (common in older pieces)
- Mold or mildew red flags: a persistent musty smell after thorough drying, visible spotting that returns, or anyone in the home reacting to the odor
A professional has extraction tools that pull moisture back out, which is exactly what prevents frame swelling.
Quick Checklist: No Warp Cleaning
- Vacuum first, then clean.
- Test for bleed, especially on bold prints.
- Use minimal moisture, mostly suds, and blot, do not rub.
- Rinse lightly and blot so soap does not re-soil the fabric.
- Shield wood legs and the underside from drips.
- Separate zippered covers and inserts whenever possible.
- Dry angled or on-edge with airflow, rotate often.
- Never close it up until everything is fully dry.
If your ottoman could talk, it would not beg for stronger cleaner. It would beg for less water and more airflow.