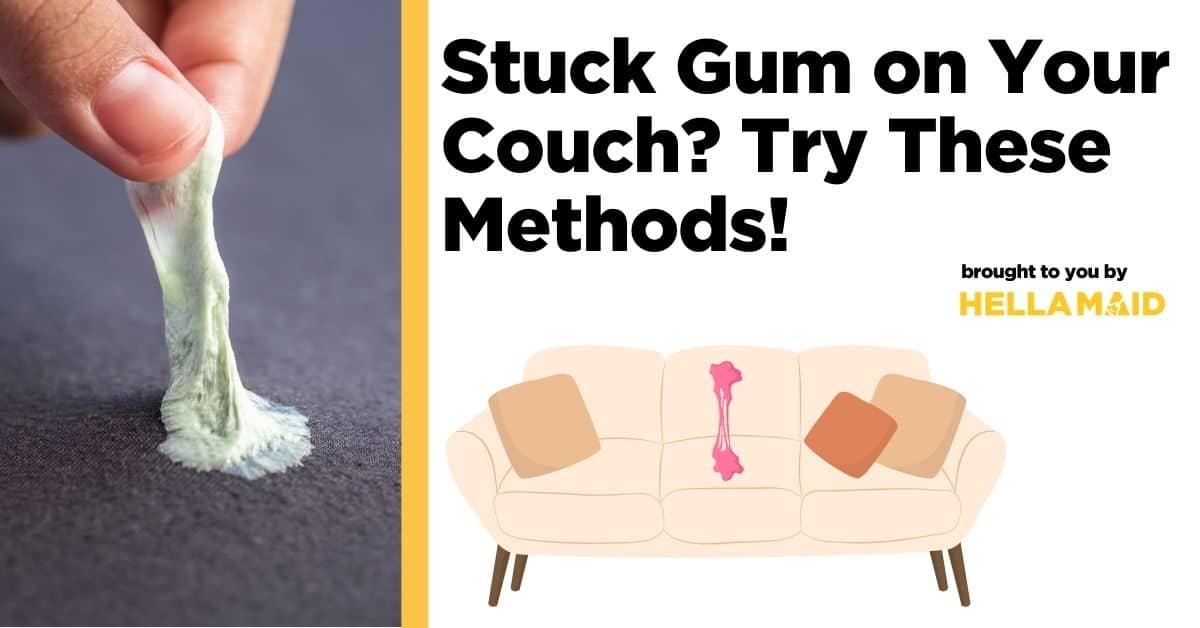
Chewing Gum Stuck in Couch Fabric
Clara Townsend
Clara Townsend is an interior stylist, vintage furniture enthusiast, and the creative voice behind Velvet Abode. With over a decade of experience transforming both cramped city apartments and sprawling fixer-uppers, she believes that a beautiful home is built on personal stories rather than massive budgets. When she isn't hunting for the perfect brass sconce at a local flea market, she can usually be found rearranging her living room for the third time this month.
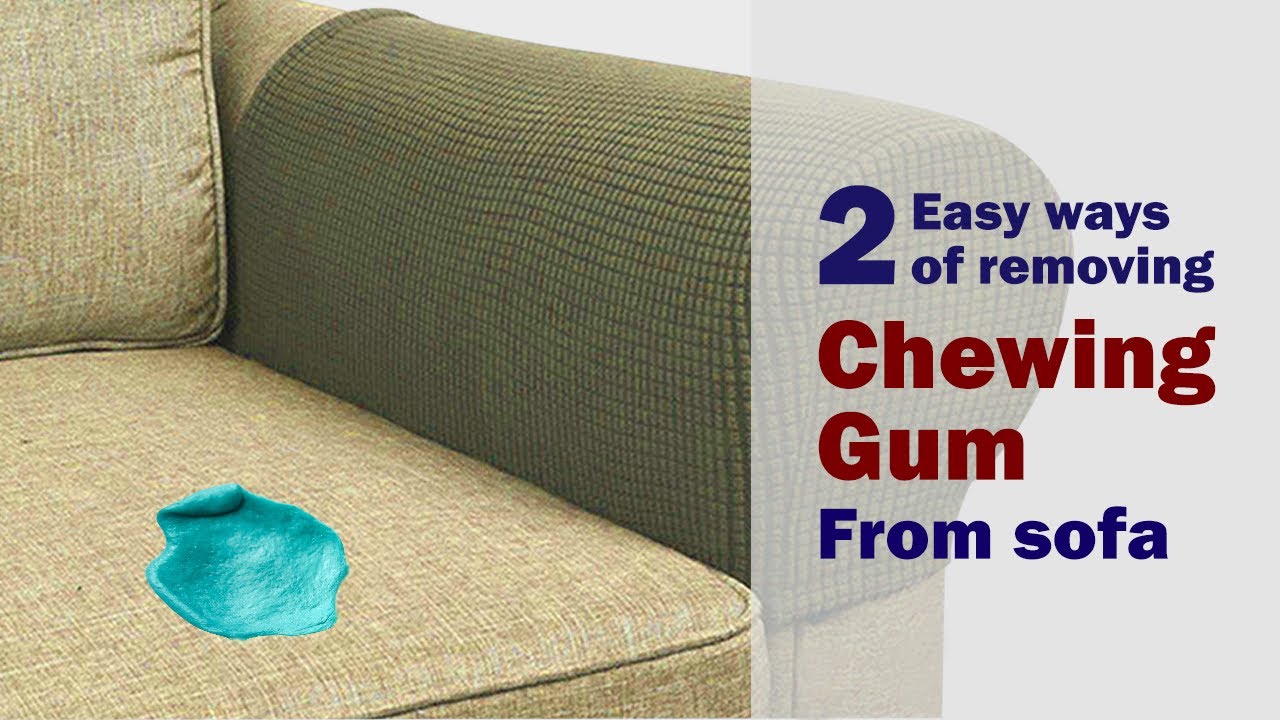
Chewing gum in fabric upholstery is one of those tiny household disasters that feels unfairly personal. The trick is to treat gum like what it is: a rubbery polymer that softens with heat, clings to fibers, and loves to smear if you rush. We are going to keep it cold, keep it controlled, and get it out of the weave without pushing it deeper.

Before you touch it: a quick fabric check
Different upholstery is built differently. The same product that is fine on a tightly woven cotton blend can permanently damage a couch with a laminated or glued backing.
Find your couch tag
Look for a care tag under a cushion or along the underside. Common codes include:
- W: water-based cleaners are generally safe.
- S: solvent-based cleaners only (no water).
- WS: water or solvent can be used with care.
- X: vacuum only, professional cleaning recommended.
Small but important caveat: these codes are common, but they are not perfectly standardized across every brand and region. If your manufacturer provides specific instructions, follow those first.
If there is no tag, do not guess and soak the spot with anything. Start with mechanical removal (freeze and scrape), then spot test the mildest option you are considering on a hidden area. Use as little liquid as possible and keep it on the surface.
Why backing matters
Many upholstery fabrics are bonded to a backing layer to add stability. Some solvents and over-wetting can loosen that glue, leading to bubbling, rippling, or a crunchy texture later. Our goal is to use the least aggressive method first, and keep liquids from soaking through the fabric.
The no-spread freeze method
Freezing makes gum brittle so it releases from fibers instead of smearing. Multiple freeze and scrape cycles are normal, especially if the gum is older or pressed in.
What you need
- Ice cubes in a zip-top bag or a reusable ice pack
- A dull scraper like a plastic putty knife, old gift card, or spoon edge
- White paper towels or a clean white cloth
- A vacuum with an upholstery attachment
Step-by-step
Lift, do not rub. If the gum is in a blob, gently pick off any loose top portion with your fingers. No twisting, and do not pull hard enough to lift fibers.
Bag the ice. Put ice in a zip-top bag so the fabric does not get drenched. Hold it directly on the gum for 10 to 15 minutes.
Condensation note: if the bag starts to sweat, wipe it and the surrounding fabric, then swap in a dry bag. This helps prevent water rings, especially on microfiber.
Check brittleness. Tap the gum with your scraper. It should feel hard and slightly crackly.
Scrape with the fabric direction. Use short, gentle strokes in the direction the fabric looks and feels smooth, not across the threads. Think of shaving the gum off the surface rather than prying up the fabric.
Re-freeze as needed. If it starts to smear or feel stretchy, stop and freeze again. If you notice fuzzing or pilling, pause and switch to gentler lifting with a spoon edge or tweezers.
Vacuum crumbs. Once the bulk is gone, vacuum up brittle bits so they do not re-melt into the fibers later.
Scraping without damage
If you remember one thing, let it be this: always work with the fabric direction, never against it. Upholstery is a field of tiny loops and threads. Scraping across the threads is how you snag, fuzz, or pull a line that you cannot unsee.
Best tools
- Plastic putty knife or old credit card for most fabrics
- Spoon edge for tight weaves
- Tweezers for picking out tiny frozen fragments
Avoid
- Metal razor blades (too easy to slice fibers)
- Hard bristle brushes while gum is present (they spread it)
- Heat on upholstery (hair dryer, iron, very hot water). Heat is sometimes used on hard surfaces or washable textiles, but on upholstery it tends to soften gum and drive it deeper into the weave.
When freezing is not enough
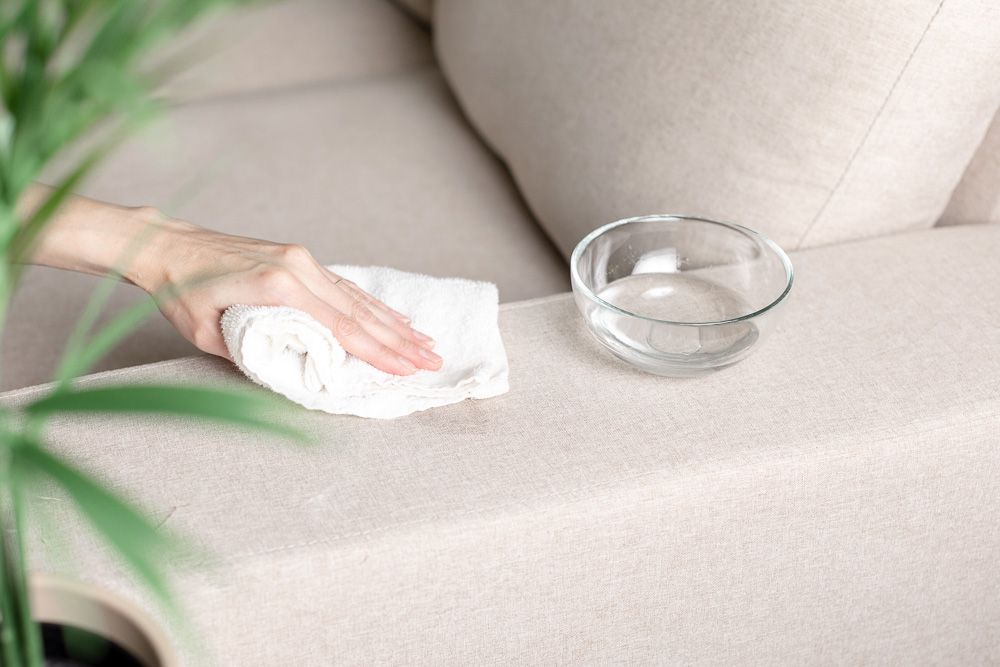
After the bulk is removed, you might be left with a thin film that feels tacky. This is where a carefully chosen cleaner can help, but we keep it controlled so it does not migrate into the cushion or attack backing adhesive.
Rules for liquids
- Spot test in a hidden area first (color transfer, texture change, stiffness).
- Apply to a cloth, not directly to the couch.
- Blot, do not rub. Rubbing adds heat and spreads residue.
- Use the smallest amount possible, and work from the outside toward the center.
Common next step: isopropyl alcohol (70% to 91%)
Isopropyl alcohol often works well on gum residue and evaporates quickly, which can reduce the risk of soaking the backing. It is a common next step after freezing, but it can still affect some dyes and finishes and can cause shading on some microfiber, so spot test first.
- Dampen a white cloth with a small amount of alcohol.
- Press and hold on the residue for 10 to 20 seconds.
- Blot and lift. Repeat with fresh cloth sections.
- If your code is W or WS, you can finish by blotting with a cloth lightly dampened with plain water, then blot dry.
Upholstery solvent (for S-code fabrics)
If your couch is marked S, a labeled upholstery dry-cleaning solvent is generally the right direction. Choose one intended for spot cleaning and follow the manufacturer instructions exactly. Keep it on the surface and avoid soaking.
X-code fabrics
If the tag says X, treat that as a bright red stop sign for liquids. Stick to freezing, careful scraping, and vacuuming. If residue remains, it is usually worth calling a professional rather than experimenting with solvents.
If you suspect a bonded backing
If your fabric feels slightly rubbery underneath, or you can see a thin backing layer at a seam, be extra cautious with solvents. Avoid aggressive options that can soften adhesives, including:
- Acetone or nail polish remover
- Lacquer thinner
- Strong citrus solvents used heavily
These can cause rippling, delamination, or a shiny patch that never quite blends back in.
Oil-based looseners
Sometimes you will see advice to use peanut butter, mayonnaise, or cooking oil. Oils can reduce gum tackiness, but they come with a big downside: oil stains are harder than gum on many couches.
When oil can be okay
- The fabric is durable, washable upholstery (W or WS) and you can fully degrease after
- The couch is a darker color or patterned weave that will hide minor variation
- You have already frozen and removed the bulk, and you are only dealing with a stubborn dot
If you choose oil
- Use a tiny amount of mineral oil or a clear household oil on a cotton swab.
- Touch only the residue, not the surrounding fabric.
- Blot immediately with a dry paper towel to lift softened gum.
- Follow up with a small amount of dish soap diluted in water (W/WS only), blotting to remove oil.
- Rinse by blotting with clean water, then dry thoroughly.
Skip oils if
- Your fabric is labeled S or X
- Your couch is velvet, chenille, or microfiber that shows shading
- You cannot commit to proper degreasing and drying
Microfiber, velvet, boucle
Microfiber (often S)
Microfiber can show water marks and shading. Freeze and scrape first. If a solvent is needed, use a microfiber-safe solvent and blot gently. After drying, restore the nap with a clean, soft brush, using light strokes in one direction.
Velvet
Velvet is all about its pile, and gum can mat it. Freeze thoroughly, then lift brittle pieces with tweezers and gentle scraping with the pile direction. Avoid heavy rubbing. After cleaning, use a soft velvet brush once fully dry to revive the pile.
Boucle
Boucle is looped and cozy, which unfortunately gives gum lots of hiding places. Freeze, then pick out pieces patiently with tweezers. Do not yank. If a loop is snagged, tuck it back in with a tapestry needle rather than cutting.
Aftercare
Once the gum is gone, the area can look slightly different because fibers have been compressed, chilled, or lightly cleaned.
Dry it
- Press with a dry towel to remove moisture.
- Let it air-dry fully. Use a fan if needed.
- Avoid heat tools. Heat can set residue and warp some synthetics.
Fluff and blend
- For woven fabrics: lightly brush with a clean, soft clothes brush to lift fibers.
- For microfiber: use a soft brush, then smooth with your hand to match surrounding nap direction.
- For velvet: brush gently with the pile direction once completely dry.
Optional: a tiny fabric reset
If the cleaned area feels a little stiff, a very light mist of distilled water (W/WS only) followed by gentle brushing can help it blend. Keep it minimal, like a morning dew, not a rainstorm.
When to call a professional
It is worth bringing in an upholstery cleaner if:
- The fabric is labeled X or is antique, fragile, or irreplaceable
- The gum is on a large, highly visible area like the seat front edge
- You suspect backing delamination already (bubbling, ripples, crunchy feel)
- The gum is mixed with dye, slime, or candy that leaves a colored stain
Tell the cleaner exactly what you used so they can choose compatible products.
Quick cheat sheet
- Best first move: freeze with bagged ice, then scrape with the fabric direction.
- Stop spreading: no rubbing, no heat, re-freeze if it turns stretchy.
- Tag codes: common but not universal. Manufacturer guidance wins.
- No tag: freeze and scrape first, then spot test the mildest cleaner you plan to use, and avoid saturation.
- X tag: avoid liquids. Consider a pro if residue remains.
- Aftercare: dry thoroughly, then fluff the fibers to blend.
If you want, tell me your fabric type (microfiber, velvet, linen blend, etc.) and any cleaning code on the tag, and I will tailor the safest exact steps.