Ceiling Water Stains After a Leak
Clara Townsend
Clara Townsend is an interior stylist, vintage furniture enthusiast, and the creative voice behind Velvet Abode. With over a decade of experience transforming both cramped city apartments and sprawling fixer-uppers, she believes that a beautiful home is built on personal stories rather than massive budgets. When she isn't hunting for the perfect brass sconce at a local flea market, she can usually be found rearranging her living room for the third time this month.
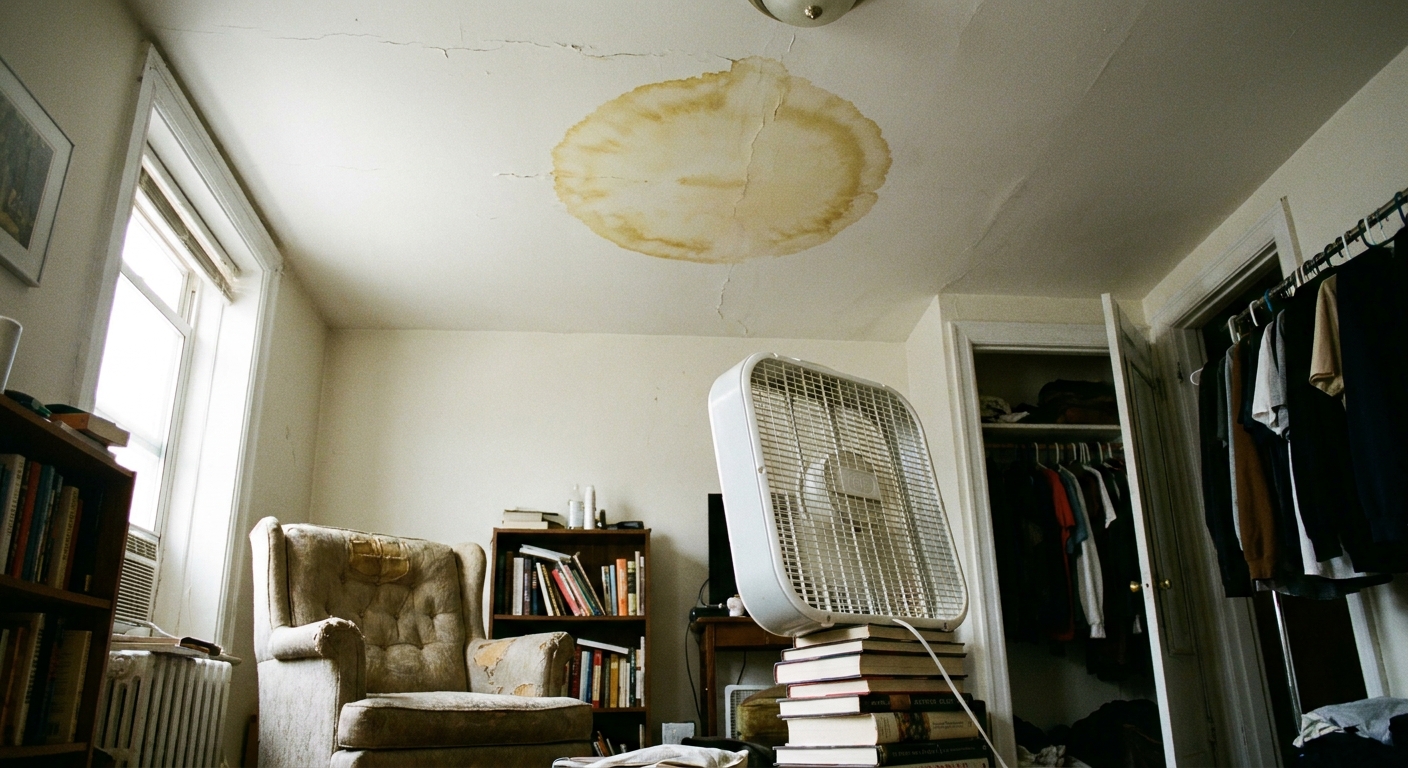
There are few things that ruin the cozy vibe faster than looking up and seeing a fresh coffee-colored halo spreading across your ceiling. The good news is that a ceiling water stain is often fixable. The not-so-fun truth is that you cannot paint your way out of moisture. If there is still water hiding above the drywall, that stain will come back, and sometimes the ceiling will start to bubble or sag.
This is my renter-grade, low-drama approach: stop the water, dry what you can, document everything for your landlord, then use a true stain-blocking primer before you paint. Your goal is a clean, flat finish that does not flash or telegraph the old ring every time the light hits.
First things first: make sure the leak is actually done
Before you touch a brush, confirm the source has been repaired. A “fixed” leak that drips only when the upstairs neighbor showers is still a leak.
- If water is actively dripping: place a bucket, protect flooring with a towel, and shut off power to that area at the breaker if there is any chance water is near a light fixture.
- If the stain is spreading: assume moisture is still present above the ceiling even if you do not see drips.
- If the ceiling is bulging: treat it like a water balloon. It is heavy, and it can fail suddenly.
If you are renting, this is also the moment to notify your landlord or property manager in writing. Water damage can turn into mold or a drywall failure, and you want a clear paper trail.
If the ceiling is bulging: drain safely or step back
A bulging “pillow” can hold a surprising amount of water. Leaving it alone can mean it eventually dumps all at once, which is bad for your floors and can rip the drywall.
- Best option: call emergency maintenance and keep the area clear underneath.
- If you cannot get help quickly and it is getting worse: you can relieve the weight by making a tiny weep hole so it drains in a controlled way into a bucket.
Renter safety rules for a weep hole: turn off power to that room at the breaker if the bulge is near a light, smoke detector, or any wiring. Wear eye protection. Put a bucket directly under the lowest point and lay down towels. Use a small tool like an awl, nail, or screwdriver and make one small hole. Let it drain, do not enlarge the hole while it is actively flowing. If the ceiling cracks, sags dramatically, or you see dirty water pouring fast, stop and get out from under it. That is professional territory.
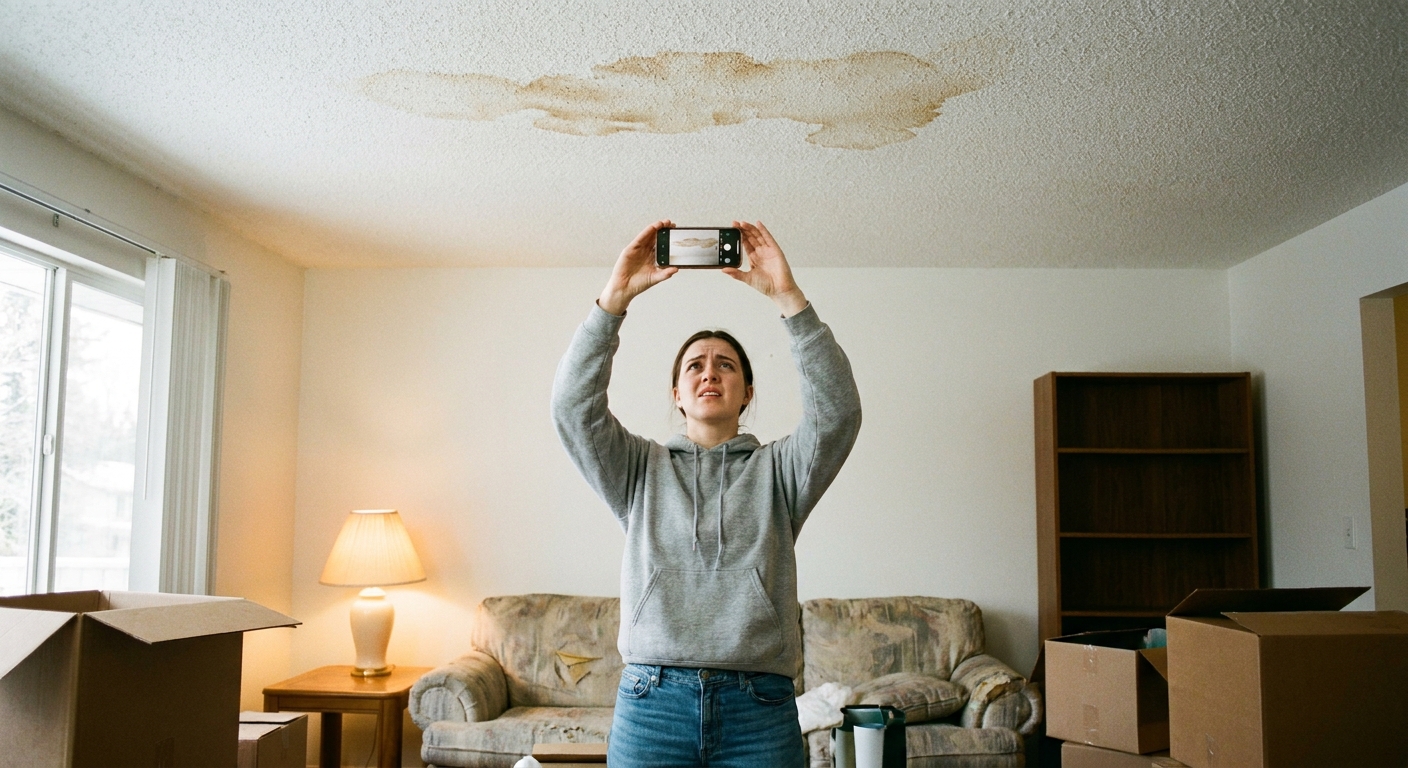
Document like you are building a tiny, boring case file
It feels extra, but documentation protects you and speeds up repairs.
- Take wide photos that show the stain in the room (so location is obvious).
- Take close-ups with something for scale (a coin or a tape measure).
- Note the date you first saw it and whether it changes after rain or water use.
- If you speak to maintenance, follow up with a short email summarizing what was said.
Drying the cavity: the part everyone wants to skip
A water ring is basically a “ghost print” of where moisture traveled. If the cavity above the drywall is still damp, paint will fail. Drying time depends on how much water got in, airflow, and humidity, but think in days, not hours.
What you can do without opening the ceiling
- Run a fan aimed up toward the stain. If you have two fans, set one to move air across the ceiling and another to circulate the room.
- Use a dehumidifier if the room feels muggy. Empty it often. This is the fastest “renter-friendly” upgrade.
- Warm, not hot: normal heat helps. Avoid blasting high heat directly at the ceiling, which can stress drywall seams.
If you can access the space above
Sometimes you can dry from above, like through an attic hatch or an upstairs closet. If you have safe access, airflow up there helps more than you would think. You are trying to dry both the drywall paper and anything that got wet on top of it, like insulation.
How to tell it is dry enough to seal
- The stain has stopped expanding for at least 48 hours.
- The ceiling feels room-temperature, not cool or clammy.
- There is no musty odor.
- If you have a moisture meter, drywall should read in a normal range for your climate (landlords and restoration pros often use these).
When bubbling means it is more than surface damage
A flat brown ring is often cosmetic. Texture changes are where you pause and escalate.
- Bubbling or blistering paint: water got behind the paint film. It may need scraping and patching, not just primer.
- Soft drywall: if you gently press and it feels spongy, the gypsum core may be compromised.
- Sagging or a “pillow” shape: water may be pooling. This can become a safety issue.
- Cracking along seams: moisture can weaken taped joints and cause visible lines.
- Musty smell or speckling: could indicate microbial growth, especially if the area stayed wet for more than 24 to 48 hours.
If any of the above is happening, it is landlord and professional territory. You can still do cosmetic touch-ups later, but the structure needs attention first.
Renter-grade sealing: how to stop the water ring from bleeding through
This is the step that makes the difference between “looks great for a week” and “still looks great next season.” Water stains contain tannins and minerals that love to migrate right through regular paint.
Choose the right primer
- Stain-blocking primer is non-negotiable. Look for products specifically labeled to block water stains.
- Shellac-based primers block aggressively and dry fast, but they have strong odor and require ventilation.
- Oil-based stain blockers work well and are common for ceilings, but take longer to dry and require mineral spirits for cleanup.
- Water-based “stain blocking” primers can work for very light staining, but stubborn rings often win unless the label clearly states water-stain sealing.
If you are sensitive to fumes, open windows, run a fan, and consider a respirator rated for the primer type. Comfort matters, and so does your brain not feeling foggy for two days.
Prep the ceiling so it looks seamless
Quick safety note for older buildings: if your home was built before the 1980s, some ceiling textures and older paint layers can contain asbestos and or lead. Scraping or sanding can send dust into the air. If you are not sure what you are dealing with, ask your landlord before disturbing the surface, and consider testing or professional help.
- Lay down a drop cloth and tape off any fixtures.
- If paint is peeling or bubbled, gently scrape loose material until edges feel solid.
- Lightly sand the perimeter of the damaged spot to soften the transition.
- Remove dust with a dry microfiber cloth or tack cloth, then let the surface settle before priming.
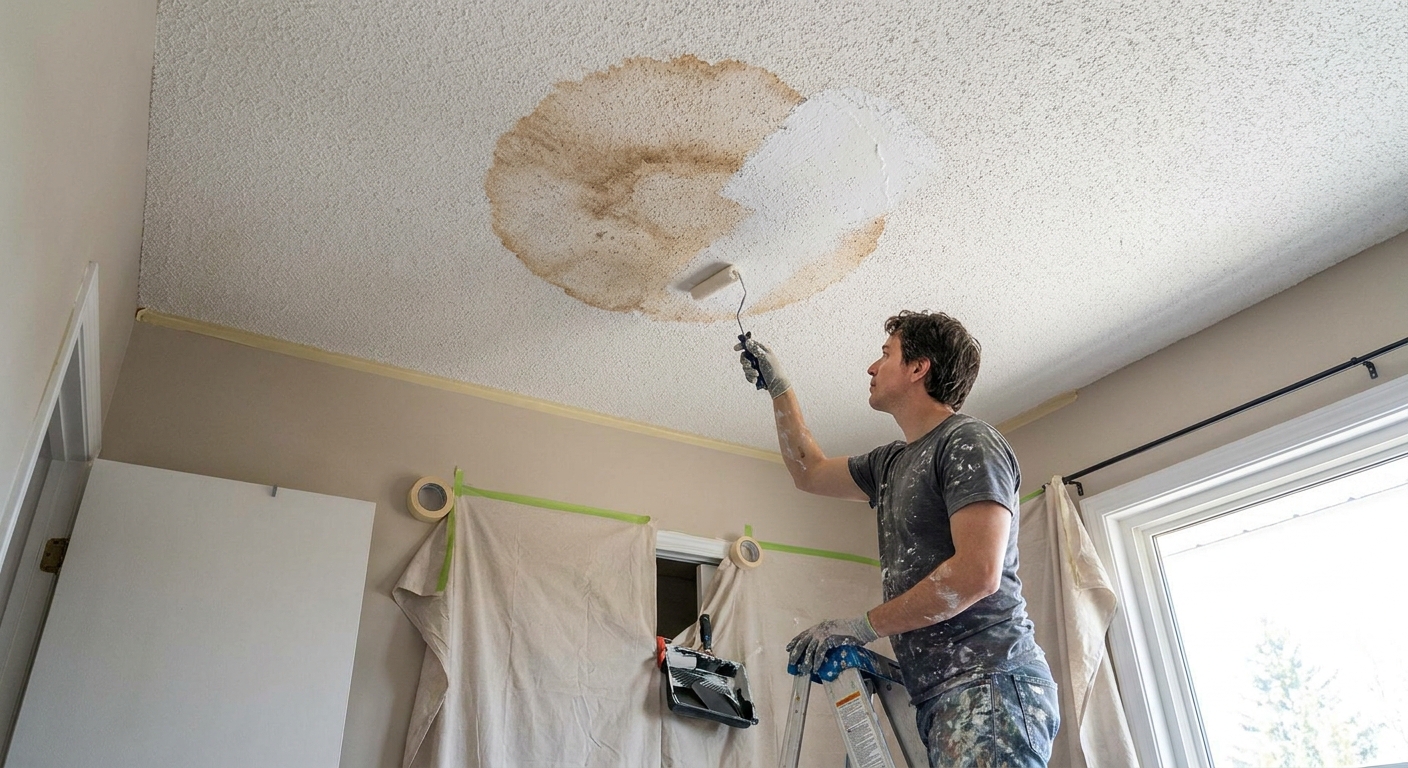
Prime like you mean it
Prime a little beyond the visible stain. Think of it like blending concealer. You want coverage that extends past the ring so it cannot “read” through your top coat.
- Use a small roller for the field and a brush to cut in.
- Apply one full coat, let it dry, then reassess. If the ring shadows through, do a second coat.
- Do not rush dry time. Primer that feels dry to the touch may not be cured enough to paint over.
Matching flat ceiling paint without creating a shiny patch
Ceilings are picky. Even slight sheen differences show up as a “repair spotlight,” especially at night when lamps hit at an angle.
- Use flat or ceiling-specific paint, not leftover eggshell wall paint.
- Color match matters: ceilings are rarely true white. If possible, bring a paint chip from a hidden area (like above a closet shelf) to match.
- Feather the edges: roll outward past the primed area with lighter pressure at the edges to soften the transition.
- When in doubt, paint corner to corner on the whole ceiling plane. It is more work, but it eliminates patchiness.
My styling note, because I cannot help myself: once the ceiling is back to calm, warm lighting hides tiny texture differences better than cool, bright bulbs. An amber-toned bulb can be surprisingly forgiving.
Quick checklist: your post-leak plan
- Confirm the leak source is repaired.
- Notify landlord in writing and document with photos.
- If the ceiling is bulging, call emergency maintenance. If needed, drain safely with a small weep hole into a bucket after shutting off power to the area.
- Dry the room with fans and a dehumidifier. Wait until the stain is stable and the ceiling feels dry.
- Watch for bubbling, sagging, softness, or odor. Escalate if present.
- Scrape and sand any loose paint edges (with extra caution in older buildings that may have lead and or asbestos).
- Apply stain-blocking primer, one to two coats.
- Topcoat with flat ceiling paint and blend carefully, or repaint the full ceiling plane.
When to stop DIY and call it in
Even if you love a good weekend project, there are moments to hand the baton to maintenance or a pro.
- The stain keeps growing after the repair.
- The ceiling is sagging, cracked significantly, or feels soft.
- There is a persistent musty smell.
- The stain is near a ceiling light, smoke detector, or vent and you suspect water contacted wiring.
- You live in a building with repeated leaks. This can point to a bigger plumbing or roof issue.
Your home should feel like a comforting hug, not a guessing game. Dry first, seal second, paint last. That order saves you time, money, and the heartbreak of a stain that reappears right when you thought you were done.