Ceiling Fan Wobble or Noise Fix
Clara Townsend
Clara Townsend is an interior stylist, vintage furniture enthusiast, and the creative voice behind Velvet Abode. With over a decade of experience transforming both cramped city apartments and sprawling fixer-uppers, she believes that a beautiful home is built on personal stories rather than massive budgets. When she isn't hunting for the perfect brass sconce at a local flea market, she can usually be found rearranging her living room for the third time this month.
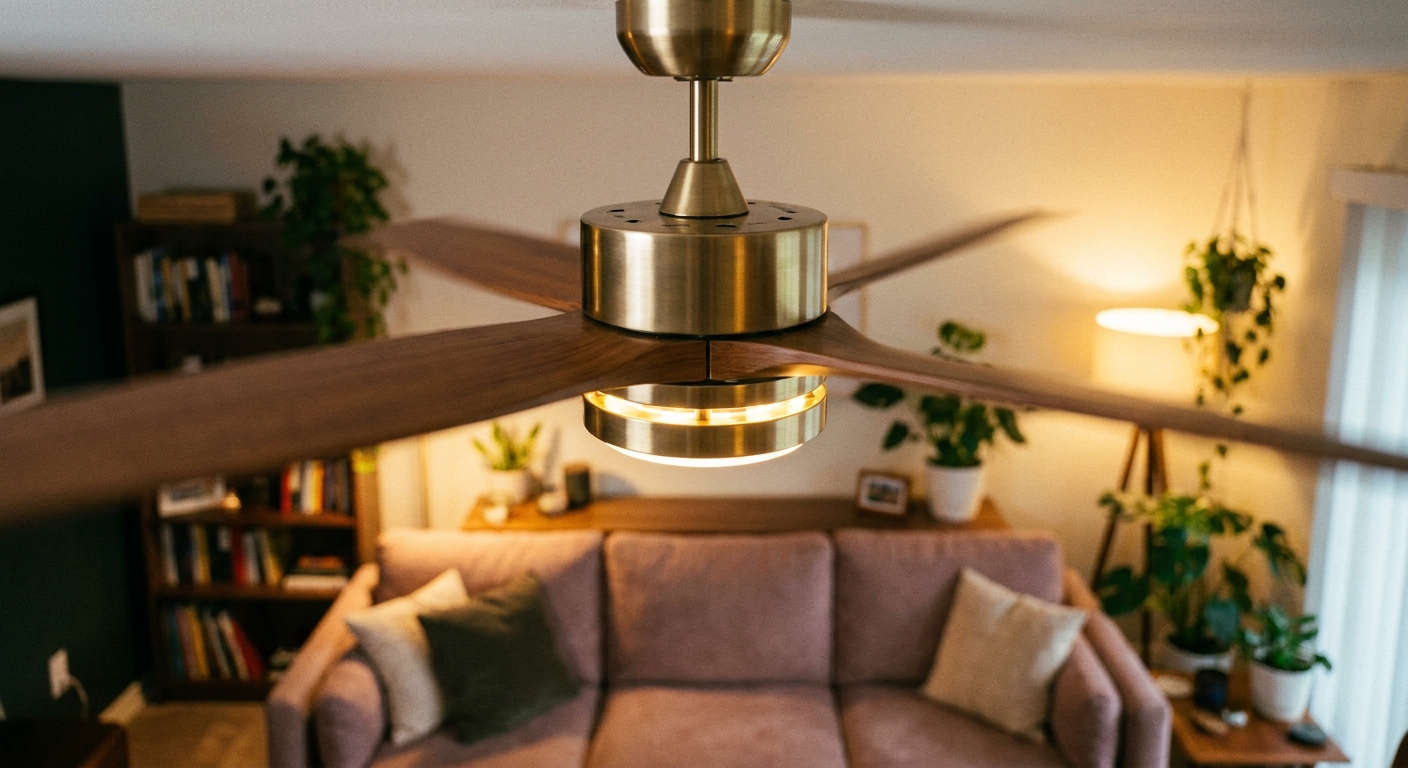
There are few home sounds that feel as personally insulting as a ceiling fan that wobbles like it is trying to take off. The good news is that most wobble and clicking, humming, or rattling comes from a handful of fixable culprits, and you do not need to be an electrician to solve them. You just need a sensible order of operations and a little patience.
Also, a quick reality check: a small amount of wobble can be normal, especially on higher speeds or with certain mounting styles. What we are fixing here is wobble that is obvious, noisy, or getting worse over time.
We are going to start with the safest, simplest checks first (tighten and clean), then move into balancing, and only then talk about parts that may be worn or installed incorrectly.
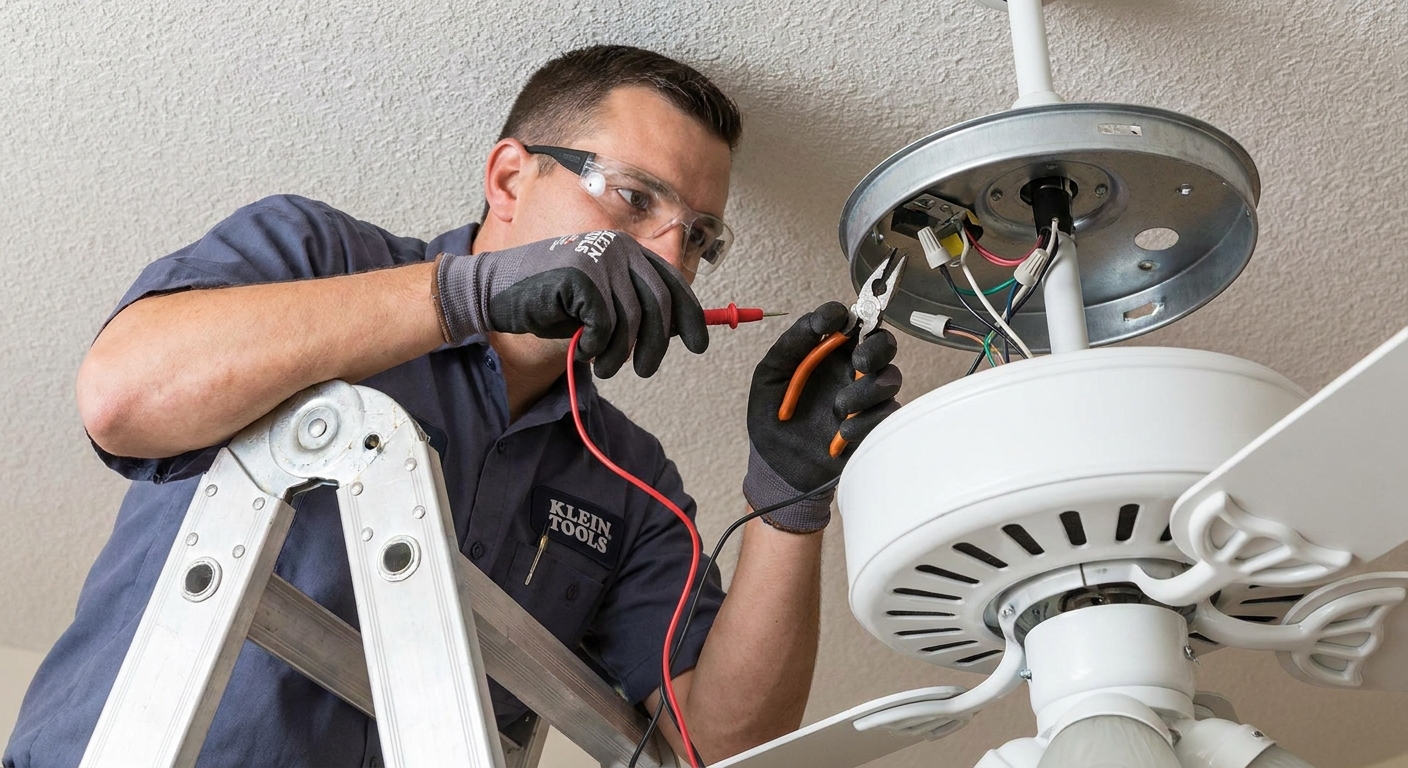
Safety first (please do not skip this)
I know, I know. But ceiling fans combine height, spinning blades, and electricity, which is a trio that deserves respect.
Do this before you touch anything
- Turn the fan off and let it come to a complete stop.
- Cut power at the breaker for the fan circuit, not just the wall switch. The ceiling box can still contain energized wiring even if the wall switch is off.
- Confirm power is actually off with a non-contact voltage tester before you touch any wiring in the canopy.
- Use a sturdy step stool or ladder on a flat surface. No chairs, no stacks of books, no improvising.
- Keep hands, hair, and sleeves clear when you test the fan later. Start on the lowest speed.
If you see a cracked blade, a bent blade arm, burning smell, sparking, or the fan feels loose against the ceiling, stop and call a licensed electrician or fan installer.
Quick diagnosis: wobble, noise, or both?
These symptoms often overlap, but identifying the main one helps you fix it faster.
- Wobble (side-to-side motion): usually blade imbalance, a slightly bent blade arm, mismatched blades, or loose mounting hardware.
- Clicking or ticking: often loose blade screws, a blade hitting the light kit, or a pull chain tapping a globe.
- Rattle in the canopy: loose canopy screws, wire nuts vibrating, a remote receiver/control module bouncing, or the mounting bracket not snug.
- Hum: can be normal motor sound, a dimmer incompatibility, or a loose component vibrating.

Step 1: Tighten what is meant to be tight
Most “my fan is haunted” wobble is just hardware that has loosened over time. Fans vibrate, homes settle, seasons change, screws relax. Start here before you buy anything.
Know the parts (30-second glossary)
- Blade arm: the metal bracket that connects each blade to the motor housing.
- Canopy: the decorative cover that sits against the ceiling and hides the mounting bracket and wiring.
- Downrod: the metal pipe that drops the fan down from the ceiling (not all fans have one).
Tighten in this order
- Blade screws: With power off at the breaker, tighten the screws that attach each blade to its blade arm. Then tighten the screws that attach the blade arm to the motor housing. Do not overtighten to the point of stripping.
- Light kit and globes: If your fan has a light, make sure the screws holding the light kit are snug, and that shades or globes are seated properly.
- Canopy screws: Tighten the screws holding the canopy to the mounting bracket. A slightly loose canopy can create a surprisingly loud rattle.
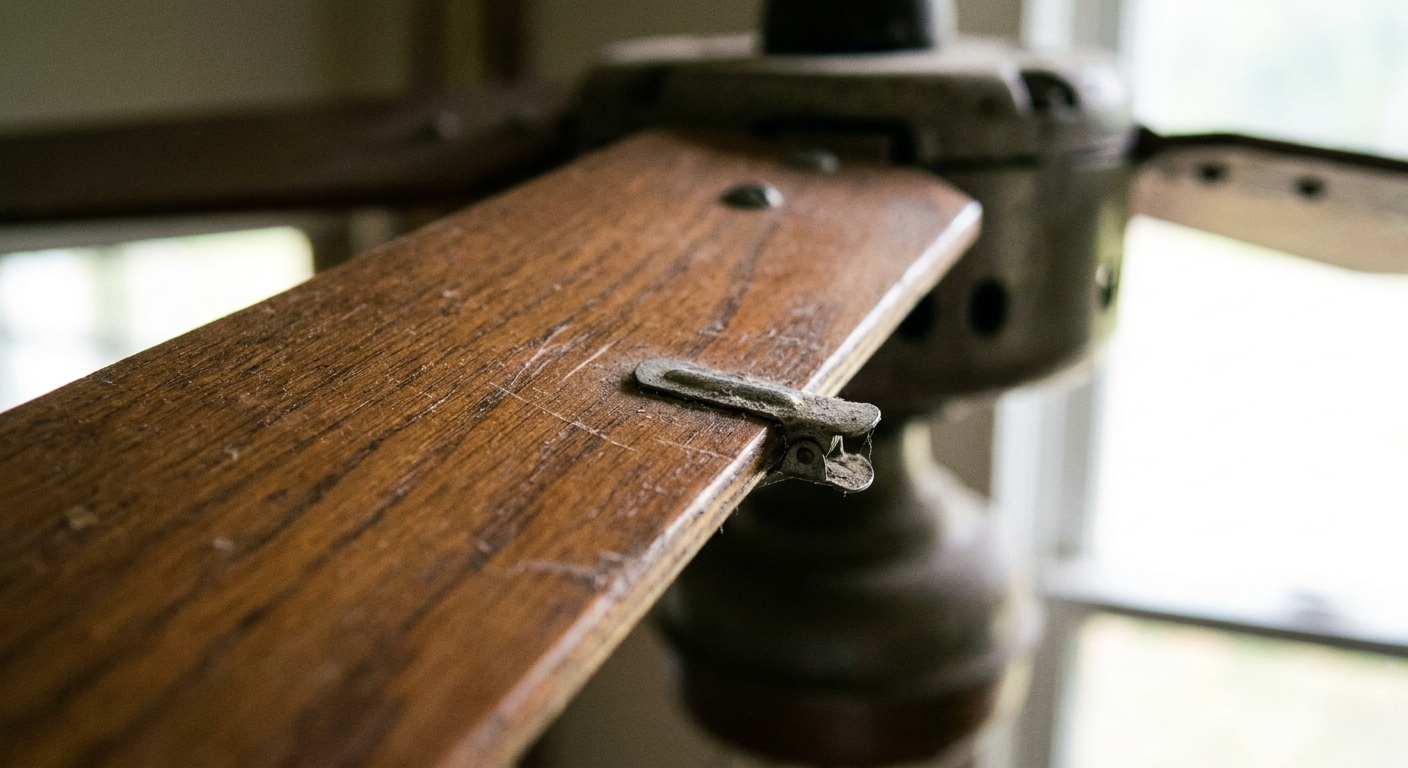
- Downrod set screw (if applicable): For downrod fans, check the set screw and the pin/clip assembly. These are common sources of wobble and clunking when loose.
- Remote receiver/control module (if applicable): If there is a receiver tucked in the canopy, make sure it is seated and not free to tap the bracket or canopy.
Also check for “noise imposters”
- Pull chains hitting the light shades or globes. Shorten the chain or add a soft pull.
- Blade tips too close to the ceiling or light kit due to incorrect blade arms or parts. If anything is rubbing, stop and reassess.
- Loose decorative trim rings. If it can wiggle, it can rattle.
- Mismatched or incorrect blades: Confirm all blades are the same size and model, installed in the same orientation, and not a mix of old and replacement blades. One odd blade can throw the whole thing off.
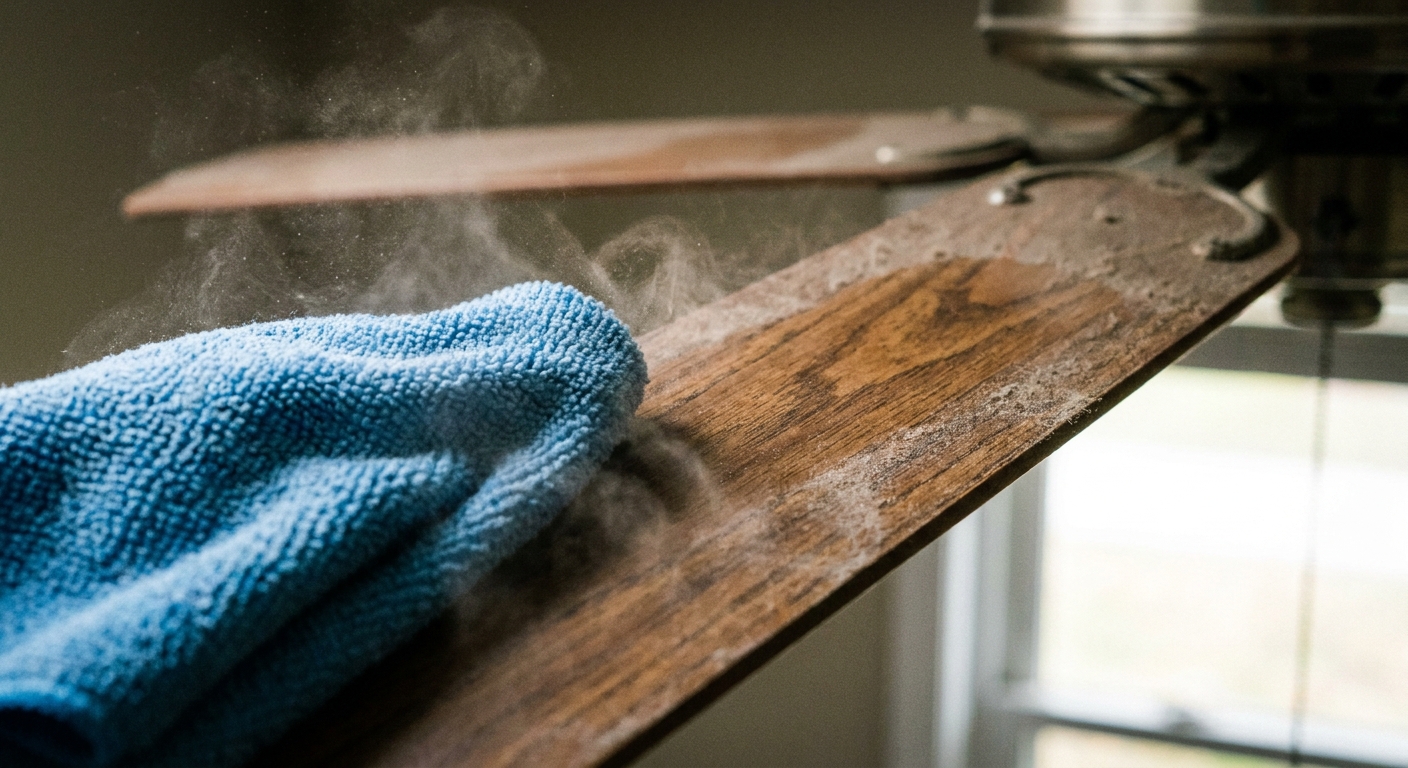
Step 2: Clean the blades (yes, it matters)
Dust is not just a mood killer. A thick layer of dust on one blade or uneven buildup across blades can create imbalance, especially on higher speeds. Cleaning is the cheapest balancing method available.
How to clean without flinging dust everywhere
- Support each blade with one hand as you wipe with the other, so you are not stressing the blade arms.
- Use a slightly damp microfiber cloth, then dry. Avoid soaking wood blades.
- Clean the top of the blades. That is where the worst dust lives.
Step 3: Check blade alignment
If one blade sits lower than the others, your fan may wobble even if it is perfectly balanced by weight. You are looking for consistency.
Easy blade height test
- Stick a small piece of painter’s tape on the ceiling near where a blade tip passes. This is your reference point.
- Rotate the fan by hand so blade 1 tip is under the tape and measure from the ceiling to the blade tip. Repeat for each blade, measuring from the same tape spot.
- If one blade differs by about 1/8 inch or more, it is worth investigating. Manufacturer tolerances vary, but noticeable differences often point to a bent blade arm or a warped blade.
Fix: If the difference is minor, some people gently tweak a blade arm back into alignment. If you try this, go very slowly and only for small corrections. Metal fatigue is real, and a stressed blade arm can crack later. If it is significantly bent, creased, or you are not 100 percent confident, replace the blade arm (or the fan). Mixing “almost straight” with spinning motors is not a cute experiment.
Step 4: Balance the fan
Balancing is where most people jump first, but it works best after tightening and cleaning. Otherwise you are balancing a moving target.
Safety rhythm for this step: Power off to place or move any clip or weight. Power on only to test.
Option A: Use a ceiling fan balancing kit (best)
Most kits include a plastic clip and small adhesive weights. The clip helps you find which blade needs weight, and the adhesive weights make the fix permanent and tidy.
- Run the fan on medium and note the wobble.
- Power off. Place the clip halfway along one blade.
- Power on and test. If wobble improves, you are close. If it gets worse, move to the next blade.
- Once you find the blade that improves wobble, move the clip along that blade (closer to the motor, then closer to the tip) to find the best spot.
- Power off, remove the clip, and place an adhesive weight on the top of the blade at the best spot.
Option B: The coin method (in a pinch)
If you cannot get a kit today, a coin and painter’s tape can help you troubleshoot. It is not as precise, but it can calm a wobble enough to make the room feel peaceful again.
- Power off. Tape a coin to the top of a blade near the middle.
- Power on and test the fan on low, then medium.
- Power off, then move the coin to a different blade until you find where wobble improves.
- Once you find the best blade and position, replace the coin with a proper balancing weight as soon as you can. Tape adhesive can dry out and let go over time.
Step 5: Reduce vibration
If your fan is mostly balanced but still sends a faint shiver through the ceiling, a little vibration control can help, especially in older homes with more flexible framing. Consider this a finishing move, not a substitute for correct mounting.
Try vibration-dampening pads
These are small pads or gaskets designed to sit between the mounting bracket and the ceiling junction box area, depending on the fan and bracket style. They can reduce the transmission of vibration into the ceiling and down the walls, but results vary by house and fan.
- Only use pads designed for ceiling fans and follow the manufacturer instructions.
- Do not compress or “shim” the fan into a crooked position.
- If the junction box is not fan-rated, pads will not make it safe. You need a fan-rated box.
Lubrication myths (and what actually helps)
Let’s lovingly retire the idea that every noisy fan needs oil. Many modern fans have sealed bearings and are not meant to be oiled. Adding oil where it does not belong can attract dust and make things worse.
When lubrication is appropriate
- Older fans with an oil port: Some older models have a small hole labeled for oiling. If yours does, use the manufacturer-recommended oil and the recommended amount.
- Squealing that persists after tightening and balancing: This can indicate worn bearings. Lubrication might help temporarily on certain models, but often the real fix is replacing the motor or the fan.
Better quieting moves than oil
- Confirm the fan is mounted to a fan-rated electrical box. A standard box can flex and amplify wobble.
- Check that wire nuts in the canopy are snug and tucked, not bouncing against the metal canopy.
- If your fan hums on a wall control, confirm you are using a fan-rated speed control, not a light dimmer. Dimmers can cause motor hum and overheating.
Common sounds and the fastest fix
- Clicking once per rotation: Tighten blade screws. Check for a slightly warped blade. Make sure the blade is not grazing the light kit.
- Rattle near the ceiling: Tighten canopy screws. Check the mounting bracket. Tuck wires so they cannot tap metal. Secure any remote receiver/control module.
- Buzzing or hum: Swap any dimmer for a fan control. Check that all connections are secure. Some hum on high can be normal, but it should not be loud.
- Thumping: Blade arms may be misaligned. Check blade height consistency and replace a questionable blade arm.
When to stop DIY and call a pro
I am all for confident, capable home care. I am also very pro not risking a fan falling or a wiring issue.
- The fan wobbles so much that the downrod looks like it is “orbiting.”
- You find a cracked blade, cracked blade arm, or wobble that worsens quickly.
- The ceiling box is loose, not fan-rated, or the ceiling around it feels soft or damaged.
- You smell burning, see discoloration, or the fan trips the breaker.
- You have tried tightening, cleaning, and balancing and the noise is still sharp, grinding, or metallic.
Simple maintenance routine
Ceiling fans are like vintage dressers. Beautiful, hardworking, and happier with a quick check-in now and then.
- Monthly: Dust the blades, especially the tops.
- Every 6 months: Check blade screws and light kit screws for snugness.
- Seasonally: Reverse direction if your fan has that feature. Counterclockwise typically for summer cooling, clockwise typically for winter circulation. Many remotes and switches label this, so follow your model’s guidance.
If you want the fan to disappear into the background the way good home elements do, this tiny routine is your best friend.