Blackout Solutions for Renters
Clara Townsend
Clara Townsend is an interior stylist, vintage furniture enthusiast, and the creative voice behind Velvet Abode. With over a decade of experience transforming both cramped city apartments and sprawling fixer-uppers, she believes that a beautiful home is built on personal stories rather than massive budgets. When she isn't hunting for the perfect brass sconce at a local flea market, she can usually be found rearranging her living room for the third time this month.
If you live in a city rental, you already know the kind of light I mean. The streetlamp that hits your pillow like a spotlight. The neon sign that turns your bedroom into a moody nightclub at 2 a.m. The “cheerful” sunrise that arrives five minutes after you finally fell asleep.
The good news: you can get real, hotel-level darkness without drilling into plaster, angering your landlord, or settling for a sad, crinkly blackout panel that screams temporary. Below are my favorite renter-friendly blackout options, how they compare, and the small styling tweaks that make the whole setup read intentional.
One quick shopping note: “Blackout” usually means it blocks 90 to 100% of light. “Room-darkening” is more like “cozy cave,” not “pitch black.” If you are light-sensitive or work nights, shop for true blackout.

Liners vs layered drapes
Let’s start with the decision that changes everything: do you want blackout power hidden behind pretty curtains, or do you want one curtain to do it all?
Option 1: Blackout liners (my favorite for a polished look)
A blackout liner is a separate layer that hangs behind your decorative curtain panels. It is the easiest way to get that tailored, “this came with the apartment” look. Your face fabric can be linen-look, velvet, cotton, or a vintage textile, while the liner quietly handles the hard job.
- Best for: renters who care about texture and color, vintage lovers, anyone who wants the front curtains to look high-end.
- Pros: better drape, more design options, easy to swap seasonal curtain colors, liner takes the sun damage instead of your pretty panels.
- Cons: slightly more cost and bulk, you need enough rod space for two layers.
Stylist tip: Choose a liner with a soft hand, not a stiff plastic feel. A softer liner folds into calmer pleats and looks less “hardware store.”
Option 2: Blackout curtain panels (simple, fast, effective)
These are the all-in-one solution. Many are surprisingly nice now, especially matte fabrics that mimic cotton or velvet. If you want to be done in one shopping trip, this is your route.
- Best for: quick upgrades, kids’ rooms, short-term rentals, or anyone who does not want to fuss with layering.
- Pros: fewer pieces, faster install, usually blocks light well.
- Cons: some look shiny or stiff, and the “blackout backing” can show at the edges if the panels are narrow.
Option 3: Layered drapes without a liner (pretty, but not always true blackout)
If you already own two sets of curtains, layering can help, but it rarely equals a true blackout liner unless one layer is specifically blackout-rated.
- Best for: “dim the room” goals and adding softness, not for shift workers or light-sensitive sleepers.
- Pros: cozy, high-texture, very styled.
- Cons: light will still sneak through the weave and seams.
Renter-friendly hanging
Your goal is to keep everything stable, wide enough, and close to the wall, because light leaks happen most around the edges and the top.
Tension rods
Tension rods are the least invasive option, but they are only as good as the pressure and the surface they press against.
- Best for: inside-mount windows, shallow recesses, lightweight curtains, small bedroom windows.
- Make it look intentional: pick a rod in a finish that matches your room story, like matte black for modern, warm brass for vintage. Avoid the ultra-thin white rod if you can.
- Light control upgrade: add a second tension rod closer to the glass for a liner layer, then hang your decorative drape on the front rod.
Twist-and-fit rods
If you have a window nook with two solid side walls, a twist-and-fit rod can feel much sturdier than a basic tension rod.
- Best for: recessed windows, older apartments with thick trim, heavier panels (within the rod’s weight rating).
- Polished look: place it as high as you can within the window recess, where the rod still has solid vertical surfaces to brace against. This gives you more coverage without pretending your tension rod can float near the ceiling.
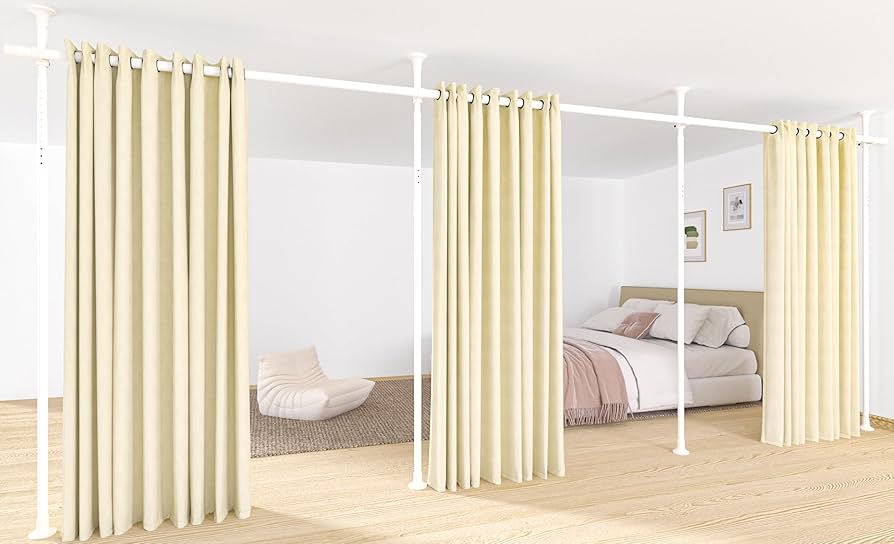
Temporary tracks
If you want blackout that looks built-in, a temporary ceiling track is the secret weapon. Some systems use adhesive mounting or removable clips, so you can create a smooth, hotel-style glide with minimal commitment.
- Best for: large windows, sliding doors, bedrooms that need serious darkness, anyone who wants a clean modern line.
- Why they look expensive: tracks create consistent pleats and keep fabric close to the wall or ceiling, reducing top light leaks.
- Reality check: adhesive tracks are best for lightweight curtains and liners. For heavy blackout drapes, look for tracks that can also be secured with small screws into ceiling or trim, then patched later. Always follow weight limits and surface recommendations, and patch test if your paint flakes easily.
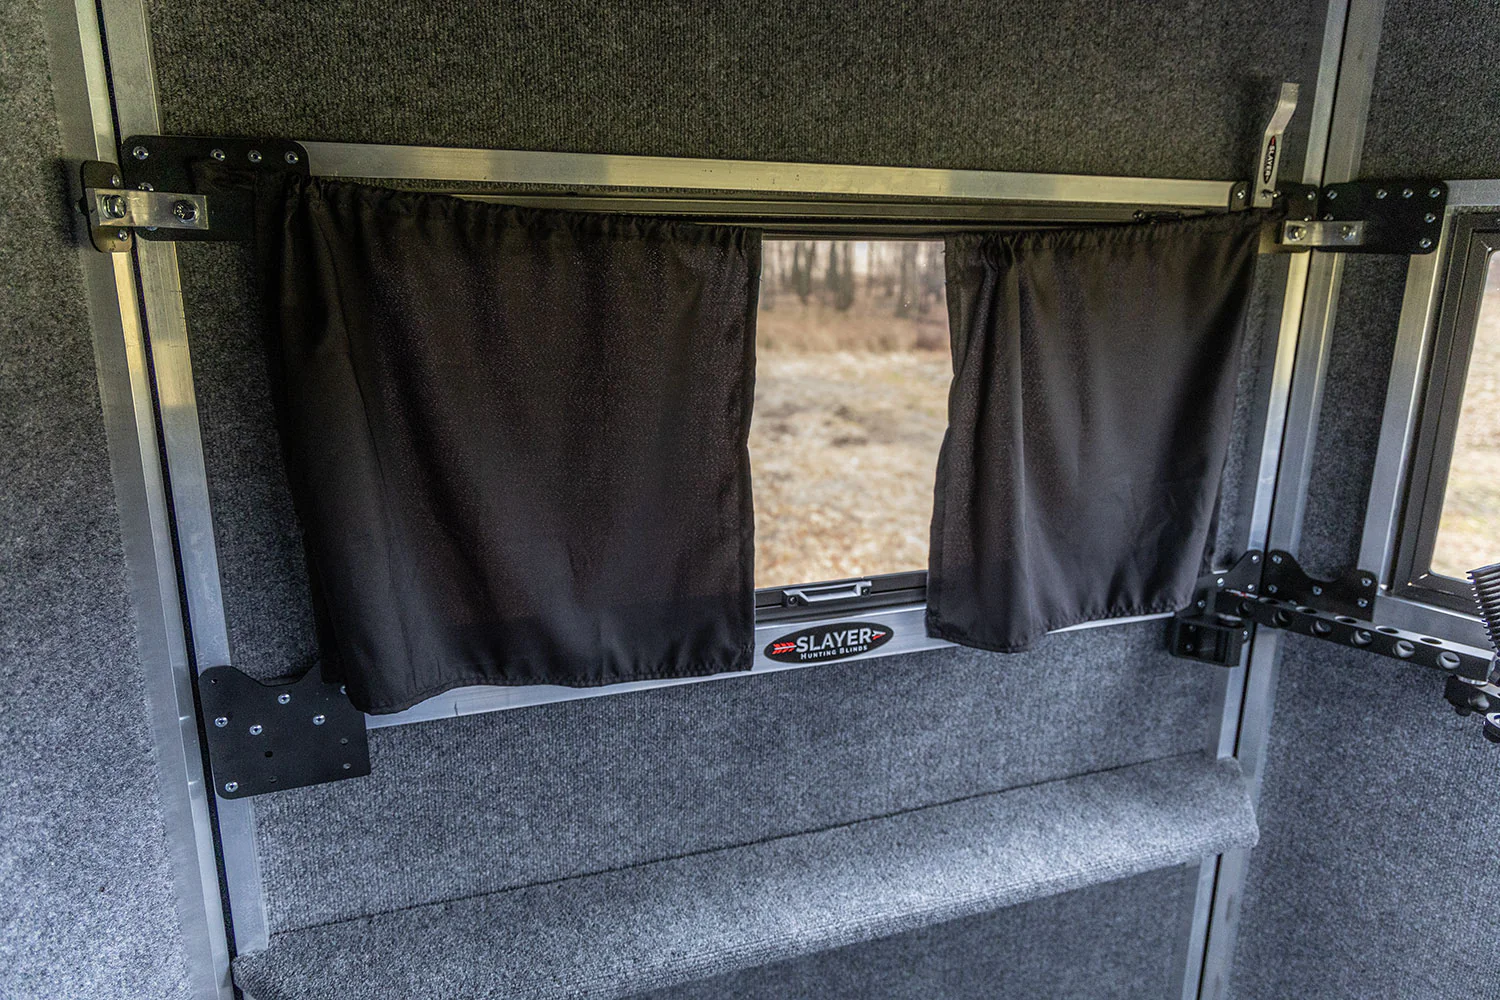
Magnetic window tricks
If you are blessed with gorgeous metal-framed windows, you are also cursed with light gaps and hardware that hates traditional rods. Also, not all “metal” frames are magnetic. Many modern ones are aluminum.
Magnetic blackout solutions
For truly magnetic frames (often steel), magnets can help you create a tighter seal than fabric alone. The concept is simple: a blackout panel or liner attaches to the frame with magnets, reducing edge glow.
- Best for: steel frames, tricky shapes, renters who cannot mount anything above the window.
- Test first: try a fridge magnet. If it does not stick, skip this and use removable hook-and-loop strips instead.
- Look upgrade: hide the magnetic layer behind a normal curtain panel on a tension rod, so the visible part of your window treatment stays soft and styled.
- Tip: choose a fabric blackout panel with a clean hem, not a crinkly sheet. The hemline is what keeps this from feeling like a college hack.
If your frame is not magnetic
You can get a similar edge-seal effect using removable adhesive hook-and-loop strips along the edges of a liner. Be cautious with paint and always test a small area first.
Measuring that works
Most “blackout didn’t work” complaints are really “my curtains were too small” problems. Here is the measuring approach I use when I want darkness and that tailored, intentional look.
1) Decide where the rod or track will sit
- Outside mount: hang above and wider than the window. Best blackout and best style.
- Inside mount: tension rod inside the frame. Looks neat, but more edge light will sneak in.
2) Add width to prevent side glow
Aim for the curtain coverage to extend 6 to 10 inches beyond the window on each side if you can. In tight rentals, even 3 to 4 inches helps.
Fabric fullness matters too: For a rich look, total curtain panel width is often about 2x the rod width. For a flatter, modern look, 1.5x can work, but blackout usually improves with more fullness.
3) Go taller for a custom feel
Hang the rod or track close to the ceiling whenever possible (outside-mount setups). It makes the window feel grander and reduces top light leakage when paired with a liner or track.
4) Choose the right length
- Kiss the floor: hem just skimming the floor for clean and tailored.
- Slight break: a tiny bend at the hem for a relaxed look.
- Puddle: romantic, but not my first choice for blackout because it can shift and let light in at the edges.
Quick renter hack: If your panels are slightly short, add clip rings. They give you a little extra drop and make even affordable curtains look more elevated.
Stopping light leaks
Even great blackout fabric can fail if light is pouring in around it. These are the upgrades that make the biggest difference with the least drama.
Wraparound coverage
Wraparound rods curve toward the wall, which helps the curtain return to the wall and block side light. Many wraparound rods do require drilled brackets, so if drilling is a no, try these no-drill ways to get a similar effect:
- Go wider: choose a rod longer than the window so the panels can stack on the wall, not the glass.
- Return the edges: use magnetic tabs (for steel frames) or removable hook-and-loop dots to gently pull the curtain edges back to the wall or trim at night.
- Use stronger no-drill supports: heavy-duty adhesive hooks can work in some rentals if the surface is smooth and the curtains are not too heavy. Check weight ratings, clean the surface well, and patch test first.
Close the top gap
Top light leaks are common with rods. A ceiling track helps most. Header choice can help too. pinch pleats, back tabs, and more structured headers tend to sit closer to the wall, but they will not fully eliminate top glow on their own.
Renter-friendly top fix: add a simple valance on a small tension rod inside the top of the frame, or make a lightweight fabric-covered foam board “cornice” and attach it with removable strips. It looks custom and covers that annoying strip of light.
Add a soft edge seal
For bedrooms that need real darkness, consider discreet adhesive-backed felt or foam strips along the window trim where the curtain meets the wall. The goal is gentle contact, not a visible DIY border.
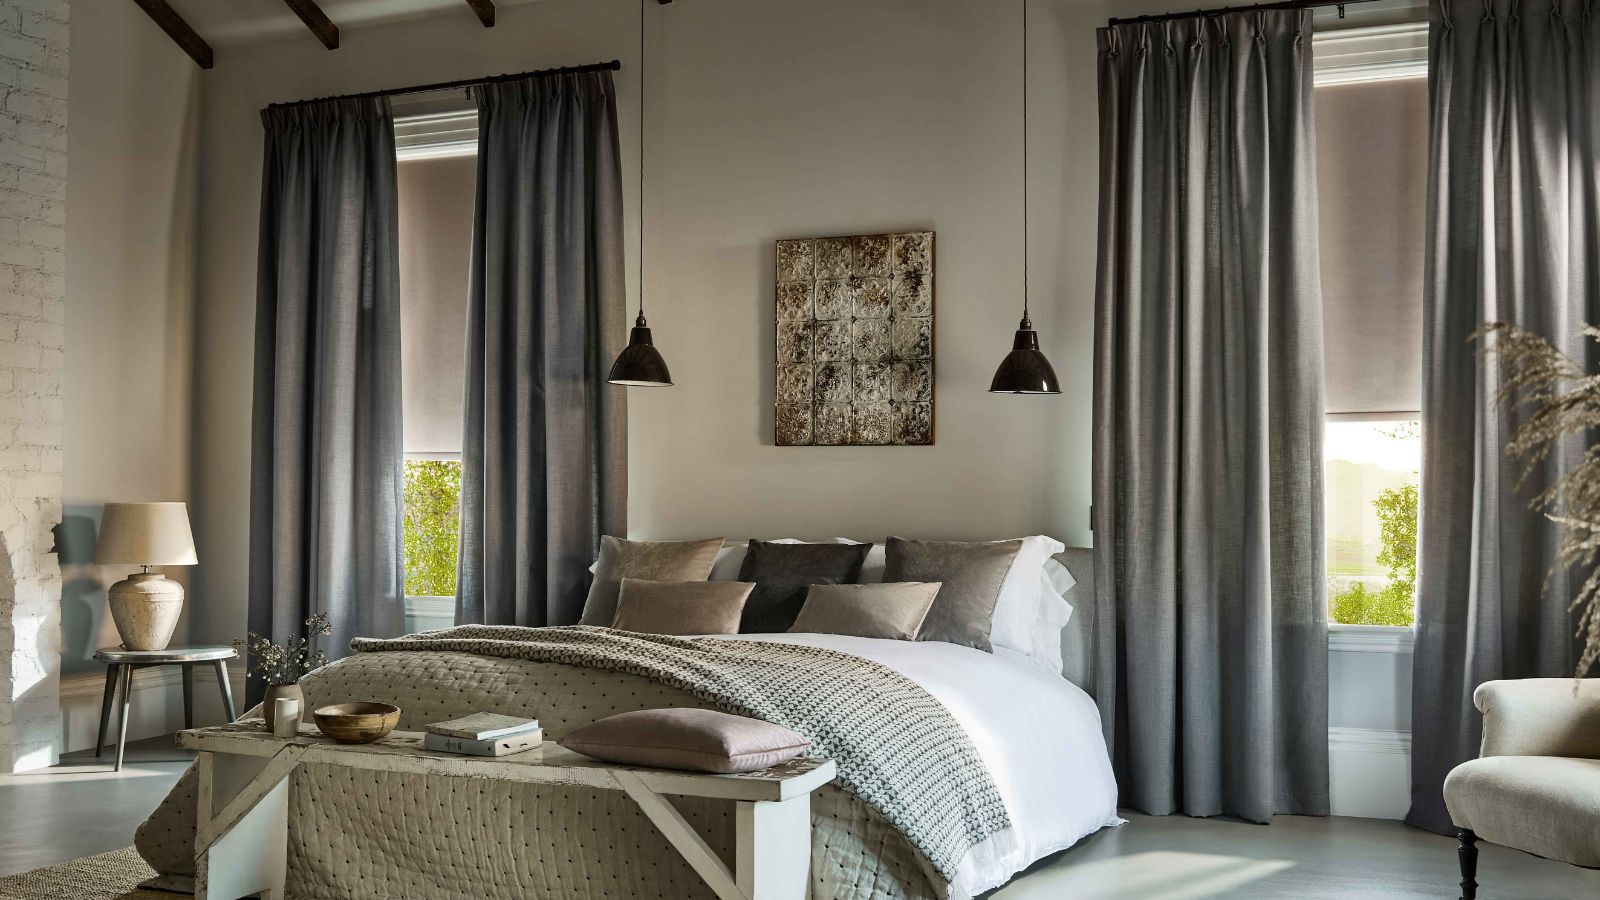
Make it look intentional
This is the part I care about most, because you can absolutely have a dark room that still feels like you. These styling choices are the difference between “temporary fix” and “beautiful home.”
- Pick a face fabric with texture: linen-look weaves, matte cotton, brushed twill, or velvet. Texture reads expensive even in simple colors.
- Choose a calm, confident color: warm white, oatmeal, tobacco, olive, ink, charcoal. Bright pure black can look harsh unless the whole room is designed around it.
- Upgrade the hardware finish: a simple brass rod instantly warms up a room. Matte black feels crisp and architectural. Try to match it to one other finish in the space, like a lamp or mirror frame.
- Use rings or pleated headers: clip rings or pinch pleats create even folds, which makes the curtain look “designer” no matter the price.
- Go wider than you think: abundant fabric looks deliberate. Skinny panels look like you ran out of curtain.
Maintenance and comfort notes
- Heat: blackout backings can trap heat. If the window gets blazing afternoon sun, a liner plus a breathable face fabric can help, and leaving a small gap at the bottom during the day can improve airflow.
- Cleaning: follow the care label. Some blackout backings do not love high heat in the dryer. When in doubt, low heat or line dry.
Safety (kids and pets)
- Skip anything with dangling cords, and keep tiebacks out of reach.
- If you are using adhesive hooks, magnets, or hook-and-loop, place them where little hands cannot pick at them.
- Choose a mounting method that can handle tugging, or keep crib and bed placement away from the panels.
Three rental setups
1) Streetlight outside the bedroom
- Outside-mount rod placed high and wide
- Decorative drape plus blackout liner
- Use wider coverage and a gentle edge return (magnets or removable hook-and-loop) to reduce side glow
2) Metal casement windows with weird gaps
- Test with a fridge magnet first
- Magnetic blackout layer tight to the frame (if the frame is steel)
- A soft decorative panel in front on a tension rod for the “real room” look
3) Large window or sliding door
- Temporary ceiling track for smooth coverage
- Blackout-rated curtains with generous width for full closure
- If you go adhesive, keep fabrics lighter. If you go heavy, choose a track that can be lightly screwed in and patched later.
Shopping checklist
- Blackout liner or blackout-rated panels (matte, soft drape if possible)
- Rod, wraparound-style coverage plan, or temporary track that fits your surface and weight needs
- Clip rings if you want a quick custom look
- Measuring tape and a notepad for rod width, window width, and desired height
- Optional: magnets for steel frames, removable hook-and-loop or gentle edge sealing for maximum darkness
Bottom line: you do not need to drill holes or live with dorm vibes to get a truly dark, good-looking bedroom. Prioritize coverage (wide and tall), pick the right blackout layer, and treat edge and top gaps like the real problem they are.