Bay Window Curtain Rod Gaps at the Corners

Clara Townsend
The first time I tried to hang curtains in a bay window, I did what every flat wall rule book tells you to do: go higher, go wider, make it feel grand. It looked lovely from across the room. Then the late afternoon sun hit and I realized I had accidentally created two little glowing triangles of light at the bay corners. Like the window was winking at me.
If your bay window curtain rod is leaving gaps where the angles meet, you are not doing anything “wrong.” A bay window has multiple planes (often three, sometimes more), which means your curtain needs a way to travel around corners, or at least wrap into them. Below are the fixes I use most often, plus a few sneaky, low-effort tweaks for when you want results without redoing all the hardware.
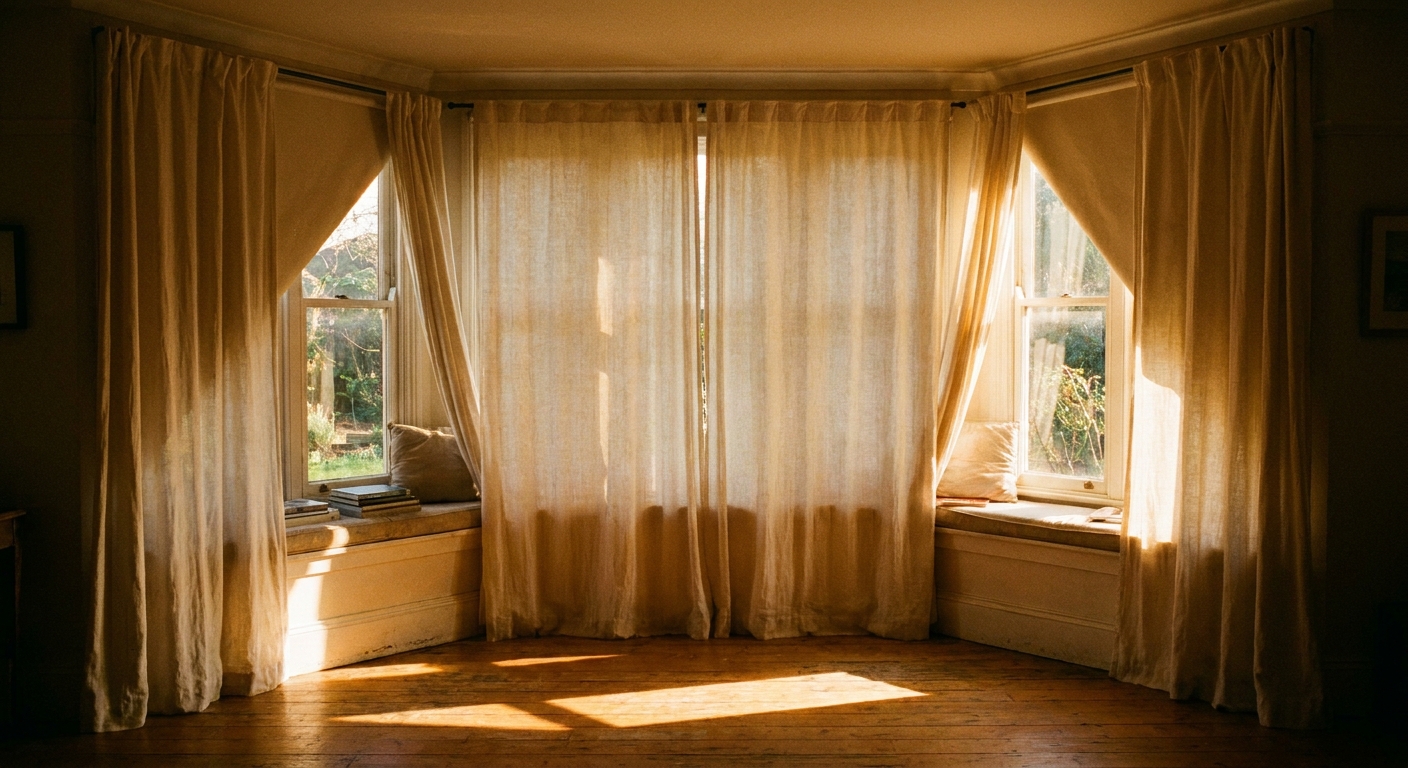
Why corners gap
Those corner gaps almost always come down to one (or a combination) of these issues:
- A straight rod cannot follow the bay’s angles. The curtain stops on the flat section and cannot keep going into the corner.
- No returns back to the wall. If the rod ends without turning back toward the wall, the fabric naturally falls forward, leaving a bright sliver behind it.
- Brackets are mounted too far out from the wall. The farther the rod sits from the wall, the more likely light sneaks behind the curtain at the corners.
- Curtain headers do not slide well. Some grommets, thick back tabs, or tight rod pockets catch at corner joints, so panels cannot close fully.
- Not enough fabric at the leading edges. When the inner edges of the panels meet near a bay corner, you need overlap so you do not get a peekaboo seam of light.
Now let’s talk solutions, starting with the ones that actually address the geometry instead of fighting it.
Measure first
This is the unglamorous step that saves the day. Before you buy new hardware (or blame your curtains), grab a tape measure and check:
- Each bay section width. Do not assume the left and right are identical.
- Your projection from the wall. Measure how far the rod sits out on the brackets, especially at the corners.
- Where you actually want the curtain to land. In bays, a “good enough” end point on paper can still leave a real-life light wedge.
- Your header style. Make sure what you have can move around your corners (or accept that it will not, and plan for overlap instead).
Fix 1: Bent bay rod
If you want your curtains to glide across the whole bay, the simplest “behaves like one window” approach is a bent rod formed to match your bay’s angles. It gives the panels a continuous path, which is what a bay needs.
One important caveat: not every bent rod is a true pass-through system. Some use corner joints that act more like a stop, so the curtains behave like three sections even though the rod looks continuous.
What to look for
- Corner pieces made for smooth travel. Skip chunky L-joints that create a hard bump. You want connectors that let rings or gliders pass, or at least slide close enough that you can overlap fabric at the corner.
- Compatibility with your header. Smoothness at the connector matters more than whether you use grommets or rings. Clip rings can glide nicely on many setups, but the corner joint is the real make-or-break point.
- Return capability if possible (a short turn-back to the wall). Returns reduce edge gaps dramatically.
How it closes gaps
A bent rod lets the curtain travel into those angled areas instead of stopping short. When the fabric can actually sit in the corner, the “glowing triangle” problem mostly disappears.
My styling note: If your bay is a focal point and you keep the curtains closed often (bedrooms, street-facing living rooms), this is usually worth it.
Fix 2: Curtain track
If you want the smoothest glide in a bay, a curtain track system is often the cleanest answer. Ceiling-mounted or wall-mounted tracks can use corner gliders that are designed for travel around angles, which is exactly where many rods get fussy.
Tracks also make it easier to control where the curtains stack when open, which keeps bays from looking busy.
Fix 3: Three rods
For many homes, especially rentals or older plaster walls where you want fewer surprises, I love the three-rod approach: one rod for each plane of the bay.
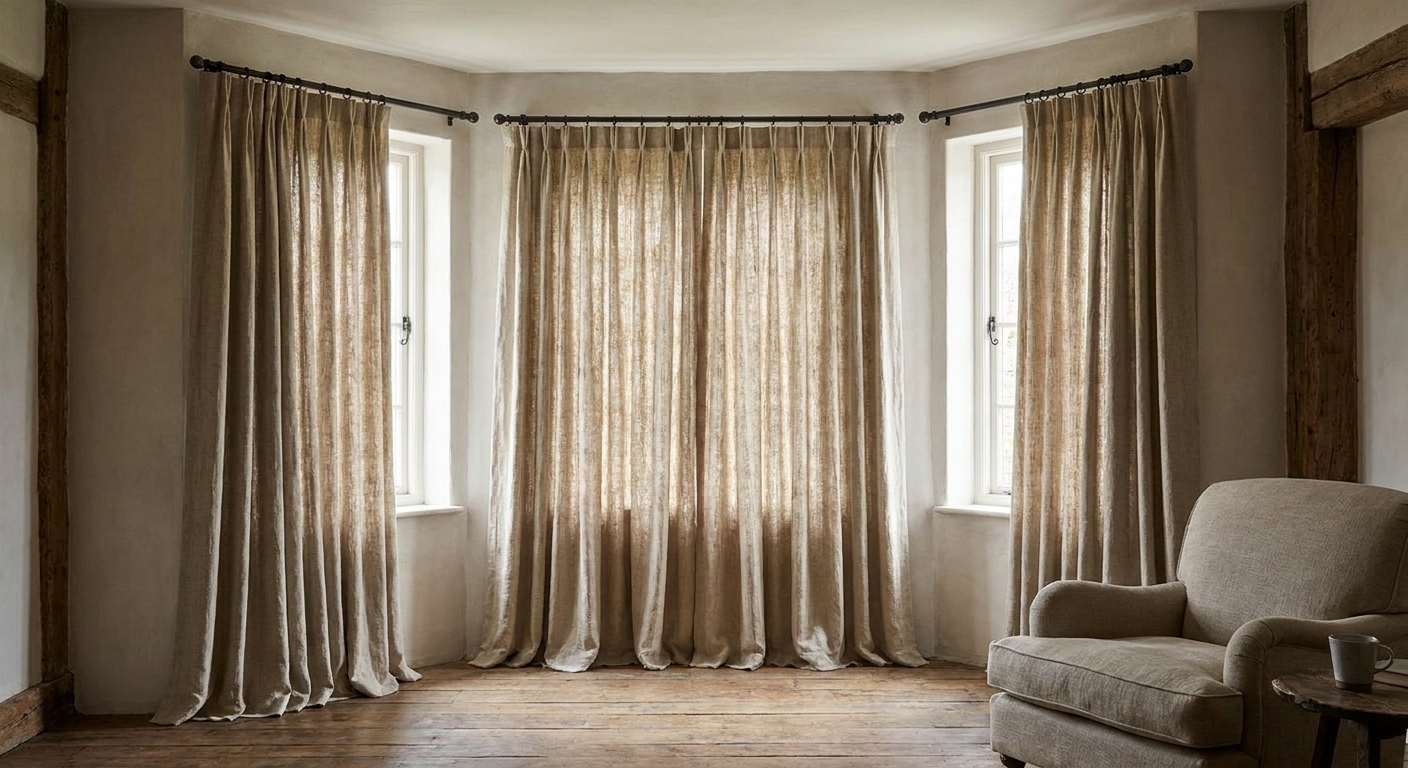
Make it work at corners
- Mount rods as close to the corners as hardware allows. The goal is to reduce the distance between where one panel ends and the next begins.
- Build in overlap at the seams. Treat each corner like a mini “center close.” Aim for a couple of inches of overlap so light cannot thread through.
- Keep the height consistent. If one rod is even slightly lower, the fabric line breaks and you get corner pooling that opens gaps.
- Use holdbacks or magnets. When open, bays can look fussy if fabric drifts into the angles. A simple holdback keeps everything tidy.
When this is the best choice: when you want to open only the center, keep side panels fixed, or avoid specialty corner connectors.
Rental note: Even “simple” rods usually mean holes. If you rent, check what is allowed first. Adhesive solutions vary wildly by wall type and curtain weight, so I treat them as “proceed carefully,” not a guaranteed fix.
Fix 4: Add returns
If I could pick one detail that solves the most corner light leaks, it’s returns.
A return is when the rod does not just stop at the end bracket. Instead, it turns back toward the wall, bringing the curtain’s leading edge back to the wall too. That last little turn blocks the light that loves to sneak behind panels.
Return options
- Wraparound rods. These curve toward the wall at the ends, designed to reduce light gaps and can help cut down on drafts at the edges.
- Return corners for tracks. If you use a ceiling or wall-mounted track system, look for return corners or end caps that bring the stack back.
- Drapery hooks plus a return button. In a pinch, you can train the leading edge to sit flatter to the wall using a discreet tie point.
Where returns matter most: at the outer ends of the bay, and anywhere your fabric stops near an angle instead of wrapping into it.
Why straight rods fail
On a flat wall, hanging the rod wider than the window works because the curtain can still cover the glass, and the extra width simply gives you a luxe stack-back on either side.
In a bay, that logic changes. When you place a single straight rod across the front of the bay, the rod is no longer following the bay’s walls. The corners sit behind the curtain line, and light has a clear path around the angled sides. In other words, you have created a beautiful stage curtain across the front, but the “stage wings” are still lit.
If you love the higher-and-wider look, keep it. Just pair it with bay-friendly geometry (bent sections, multiple rods, tracks, or returns) so your corners do not glow.
Fabric and fullness
Corners are where skimpy fabric shows up first. As a general rule, I like about 2x fullness (twice the rod width) for drapery that looks rich when closed. Bays often benefit from even a touch more because you are not just covering glass, you are covering angles.
Also plan for the corners to overlap. If your panels “meet” at a bay seam, they will usually gap. If they cross, they behave.
Small fixes for today
If replacing hardware is not in the cards this weekend, these tweaks can reduce gaps fast. They are not as perfect as a true bay solution, but they help.
Bring fabric closer
- Swap to tighter-clearance brackets if your rod sits far off the wall.
- Add a second bracket near each corner to control the rod position and stop it from bowing forward.
- Try a different header setup if yours is catching. Clip rings can slide easily on many rods, but what matters most is a smooth rod and smooth corner connectors.
Close the seam
- Add overlap with a third panel on a side section if the corner is especially bright.
- Sew or clip a discreet overlap at the inner leading edges so the panels naturally cross instead of kissing edge-to-edge.
- Try drapery magnets along the leading edges to keep corners closed, especially for sheers under heavier panels.
Layer for control
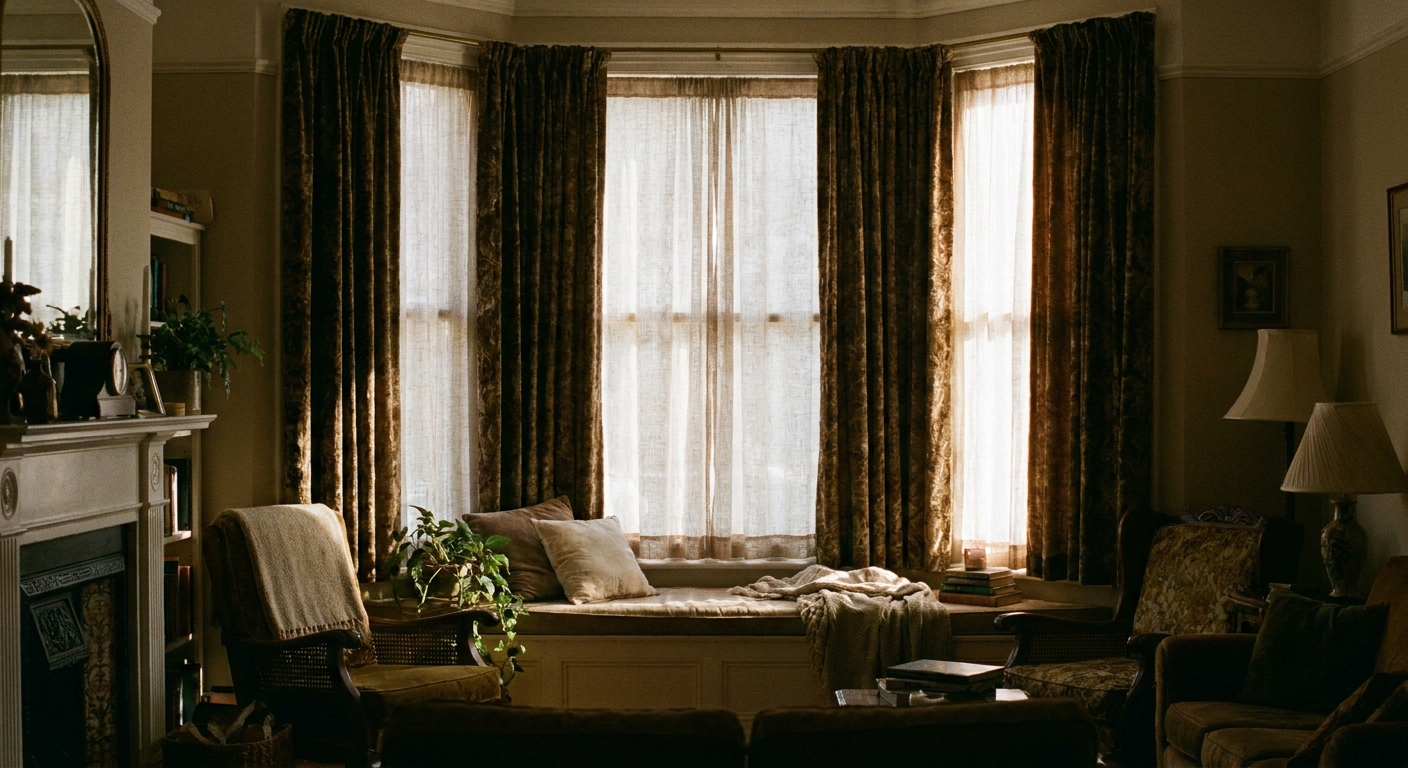
- Sheer plus drape hides minor geometry issues and softens the corner line.
- Add inside-mount shades (roller, Roman, or cellular) so the curtains are decorative, not your only light blocker.
Pick your approach
- You want one smooth sweep of fabric: choose a track system with corner gliders or a bent bay rod designed for pass-through.
- You want simpler installation and flexible control: choose three separate rods, one per plane.
- You mainly want to stop light leaks: prioritize returns, even if you keep your existing style.
- You rent or want fewer holes: three shorter rods can mean fewer brackets, but still check permissions and weight limits for your walls.
Troubleshooting
My curtains will not slide at corners
That usually means the connector is too bulky, your rings or grommets are catching, or the header style is fighting the hardware. A smoother corner joint matters more than the exact header type. If you are on a track, make sure the carriers are designed to pass through corner pieces.
The fabric closes, but light still leaks
This is classic “no return” behavior, or a rod that sits too far from the wall. A wraparound rod, return bracket, or tighter-clearance bracket is your best fix.
My bay angles are uneven
Many bays are not perfectly matched. Measure each section separately and do not assume the left and right angles are identical. If you are doing separate rods, treat each plane as its own little project and focus on overlap at the seams.
My bay sill is deep and curtains flare out
Try mounting slightly higher and using more brackets so the rod stays stable, then train the curtains with gentle steaming and tiebacks for a few days. A soft, settled drape is much less likely to pop open at the corners.
The takeaway
Bay windows are dramatic by nature, but their angles are not automatically curtain-friendly. If you are seeing gaps at the corners, it is usually because the hardware is asking fabric to behave like the wall is flat, when it simply is not.
Give your curtains a way to travel or wrap into the angles, add returns wherever you can, and let overlap be your best friend. Your bay will still feel open and elegant, just without the little corner spotlights.