Baseboard Cleaning for Pet Households
Clara Townsend
Clara Townsend is an interior stylist, vintage furniture enthusiast, and the creative voice behind Velvet Abode. With over a decade of experience transforming both cramped city apartments and sprawling fixer-uppers, she believes that a beautiful home is built on personal stories rather than massive budgets. When she isn't hunting for the perfect brass sconce at a local flea market, she can usually be found rearranging her living room for the third time this month.
Baseboards are the unsung mood-setters of a room. When they are clean, everything looks crisper, even if your sofa has a few years on it and your dog thinks every nap should be a full-body shed. When they are dirty, the whole space feels a little… tired. That wall-floor line collects pet hair tumbleweeds, dusty fuzz, and those mysterious black shoe scuffs that show up overnight.
The good news: baseboards are one of the fastest “whole room refresh” jobs you can do, and you do not need fancy products. You just need the right order, a couple of simple tools, and a touch-up approach that will not leave shiny paint patches that catch the light.
Why pet homes get baseboards grimy
Even in a spotless home, baseboards sit in the splash zone of daily life. Add pets and the traffic pattern changes completely.
- Static and airflow: HVAC returns and drafts pull lightweight pet hair toward the perimeter of rooms, where it sticks to trim like it has a tiny agenda.
- Oils and dander: Dust on baseboards is not just “dust.” In pet households it often includes dander and skin oils that make grime cling harder, especially on semi-gloss trim.
- Collars, leashes, and toys: Clips, tags, and toys can bump baseboards at just the right height to leave scuffs.
- Shoes and vacuum bumps: That dark mark near the entry is often rubber or dye transfer, not “dirt” in the usual sense.
Once you understand what is actually on the baseboard, cleaning becomes less random scrubbing and more quick, satisfying problem-solving.
Your baseboard toolkit
If I could only keep a few items for baseboards, it would be these. They are gentle, inexpensive, and effective.
Dry tools (hair and dust)
- Vacuum with brush attachment (or a handheld): best first step, especially for fluffy hair.
- Microfiber cloths: the workhorse. Microfiber grabs hair instead of just moving it around.
- Soft detailing brush (an old makeup brush works): perfect for the little ridge at the top of the baseboard and any grooves.
- Dryer sheet (optional): can help reduce static so hair is less likely to reattach right away. Test first, and skip it if you notice any film or sheen change.
Wet tools (stuck-on grime)
- Warm water + a tiny drop of dish soap: safe for most painted trim. Use very little soap, and do a quick wipe with clean water after to avoid leaving residue.
- Non-abrasive sponge or a microfiber wrapped around a flat tool (like a plastic putty knife): gives you control without scraping.
- Magic eraser style melamine sponge (use carefully): great for scuffs, but it is mildly abrasive and can dull sheen if you overdo it.
Touch-up supplies (chips and worn corners)
- Light spackle (for dents) and a small putty knife
- Fine sandpaper (220 grit)
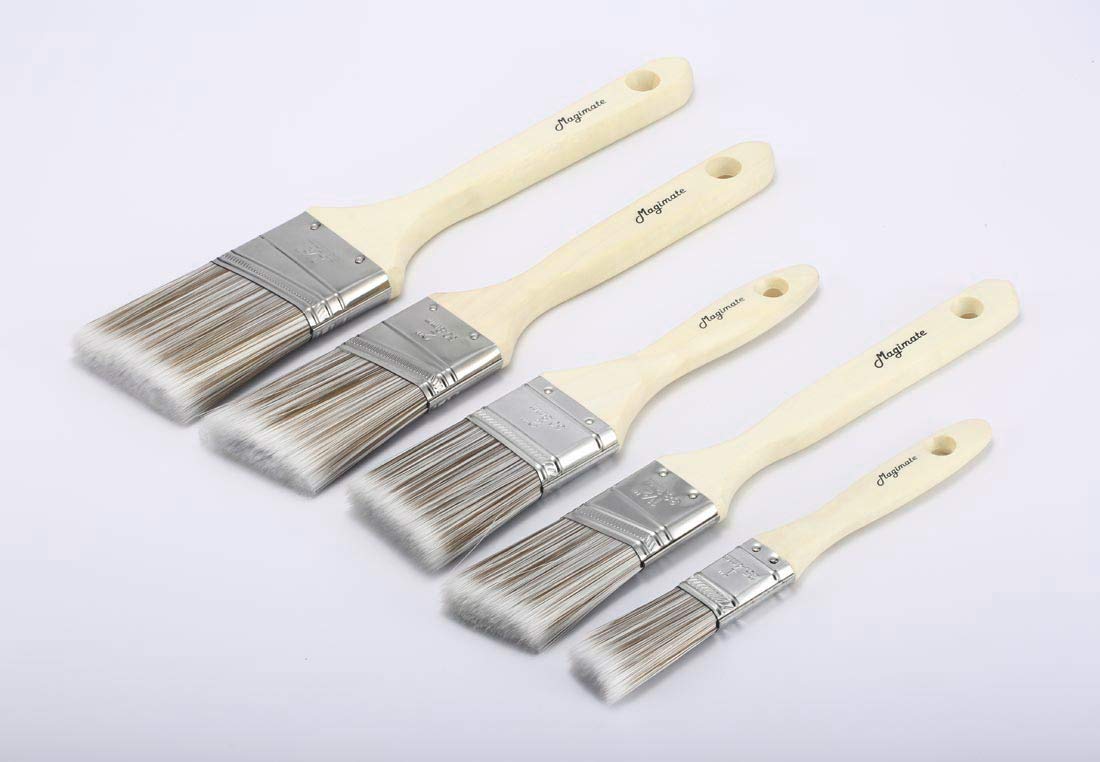
- Small angled sash brush (1 inch) or artist brush for tiny nicks
- Primer (only where needed)
- Matching paint in the correct sheen
Quick heads-up: Always test any cleaner in an inconspicuous area first, especially if your baseboards are older, already peeling, or you are renting.
Finish note: If your trim is stained wood or varnished (not painted), skip abrasives and be cautious with soap and water. Use a wood-safe cleaner and test first.
The fastest order
This is the sequence I use when I want that “freshly reset room” feeling without turning it into an all-day project.
Step 1: Dry first
Vacuum or wipe with a dry microfiber cloth before introducing water. If you start with wet cleaning, you will make a dusty paste that smears and settles into corners.
- Run the vacuum brush along the top edge and face of the baseboard.
- Use the soft brush for crevices, especially decorative trim profiles.
- Finish with a dry microfiber pass to pick up anything the vacuum missed.
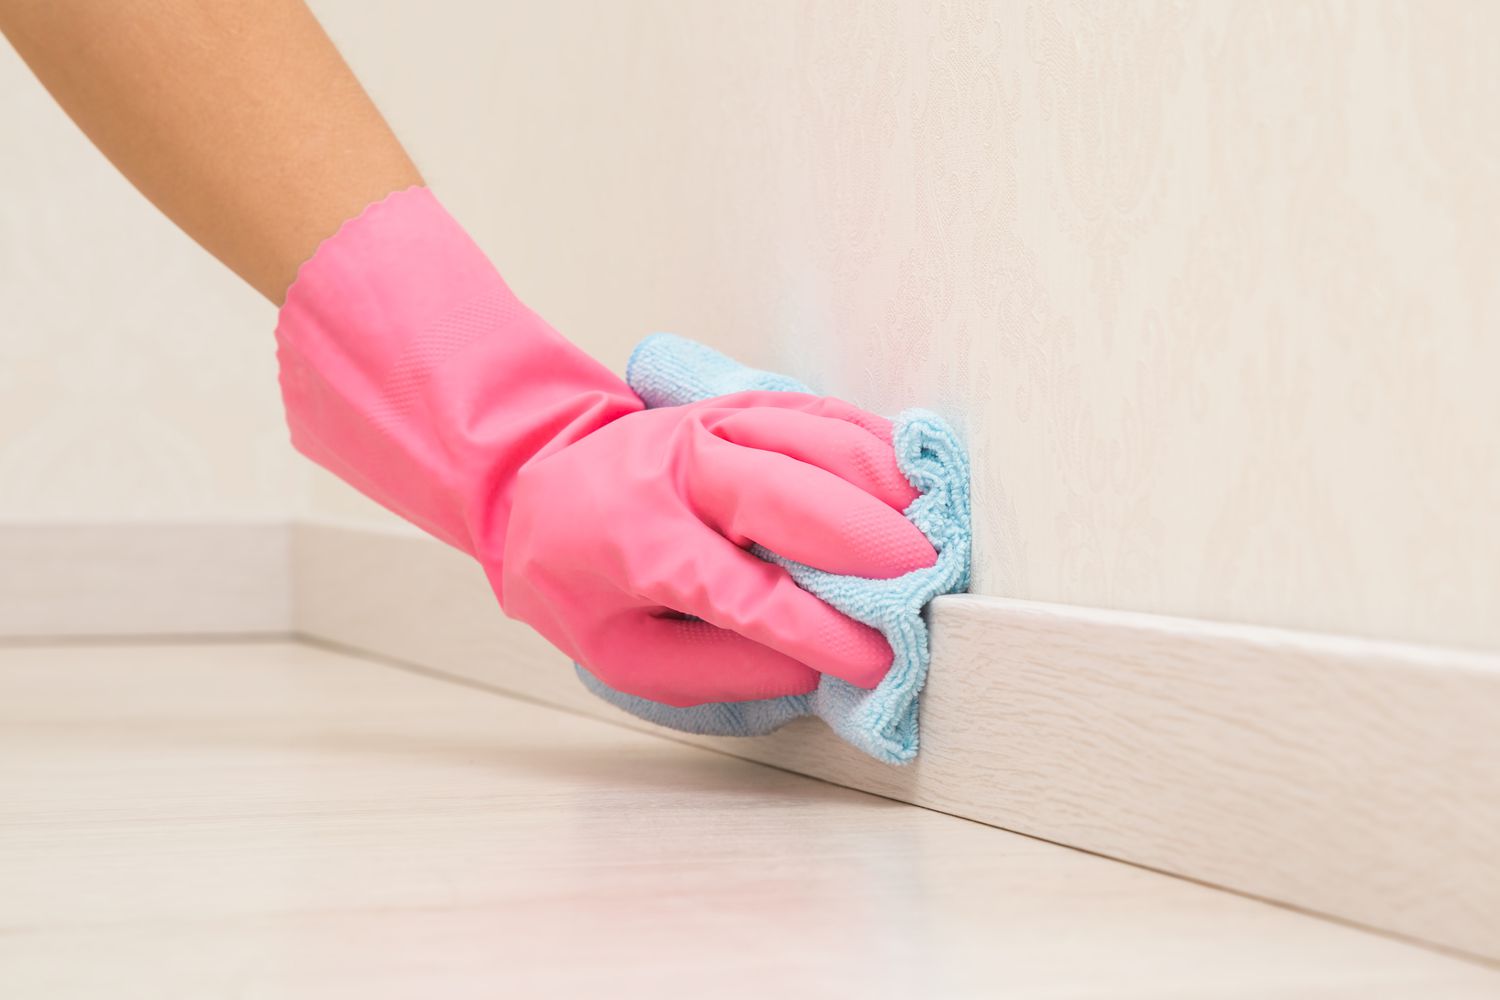
Step 2: Gentle wash
Mix warm water with a tiny drop of dish soap. Dip your microfiber cloth, wring it very well, then wipe in long strokes. Follow with a quick wipe using a second cloth dampened with plain water, then dry so you do not leave soap behind.
Go easy on water: Keep the cloth damp, not drippy, especially along caulk lines and at the bottom edge where MDF can swell and paint seams can lift if they stay wet.
Tip for hardwood floors: Place a towel under your knees and keep water minimal.
Step 3: Spot-treat scuffs
Once the baseboard is clean, scuffs are easier to see clearly. Many marks that looked “permanent” were actually grime outlines around rubber transfer.
- Start with a damp microfiber and a little soapy water.
- If needed, step up to a melamine sponge, but use a light touch and small motions.
- Wipe the spot with plain water on a cloth, then dry.

Remove scuffs safely
Baseboards are usually painted in a higher sheen than walls, so aggressive scrubbing can leave a dull patch that looks like a cloudy thumbprint when the light hits it. The goal is to lift the mark while keeping the finish consistent.
Escalation ladder
- 1) Microfiber + warm water: for fresh scuffs and dusty marks.
- 2) Dish soap solution: for oily grime and dander build-up. Follow with a plain-water wipe.
- 3) Baking soda paste (careful): a tiny bit of baking soda with water can help, but it is mildly abrasive. Test first.
- 4) Melamine sponge: use minimal pressure. Stop as soon as the mark lifts.
What to avoid
- Harsh degreasers that can soften paint or leave sticky residue.
- Bleach on painted trim. It can discolor some paints or clear coats and can damage surrounding materials.
- Steel wool or rough scrub pads that scratch and flatten sheen.
If a scuff is actually a chip or gouge exposing darker material underneath, cleaning will not fix it. That is when touch-up becomes your best friend.
Touch-ups that blend
“Flashing” is that moment when your touch-up paint looks perfect head-on, then you walk past and it catches the light like a little glossy sticker. This usually happens because the sheen does not match, or because the touch-up area has a different texture than the surrounding paint.
1) Match sheen first
Most trim is satin or semi-gloss. Walls are usually eggshell or matte. If you put wall paint on baseboards, it can look chalky. If you use a glossier paint than the surrounding trim, it will flash.
- If you have leftover trim paint, use it.
- If you do not, take a small chip of loose paint (if one already exists) to the paint counter for color matching, and tell them it is trim so they help you choose an appropriate sheen.
2) Prep the spot
- Clean: wipe with a damp cloth and let dry fully.
- Knock down rough edges: lightly sand peeling borders so you do not create a ridge.
- Fill dents: use lightweight spackle, let it dry, then sand flush.
- Prime bare areas: especially if wood or MDF is exposed. Primer prevents the patch from looking “thirsty” and darker.
Older homes note: If your home was built before 1978 and you are sanding painted trim, consider lead paint risk. Use appropriate precautions and follow local guidance, or skip sanding and contact a pro if you are unsure.
3) Use a small brush
A tiny angled sash brush gives you control and keeps the patch tight. The larger the blob, the more likely it will catch the light differently than the surrounding surface.
4) Feather the edges
Load a small amount of paint, then spread it thinly and “fade” the outer edge. Hard outlines are what read as a patch.
5) Two thin coats
Thick paint levels differently and can create a raised glossy spot. Thin coats dry more evenly and blend better.
Pet hot spots
Entryway streaks
Those are often rubber transfer from shoes or the vacuum head. Start with dish soap and a microfiber cloth. If that fails, try a melamine sponge with a feather-light hand, then wipe with plain water and dry.
Behind food and water bowls
Splashes dry into a sticky film that traps hair. Clean more frequently here and consider a wipeable mat that extends a few inches beyond the bowls. If paint is bubbling or peeling, dry the area thoroughly and prime before repainting.
Hallway corners at tail height
Dog tails can repeatedly polish and scuff corners. A quick paint touch-up helps, but if it is constant, a clear corner guard (renter-friendly, removable options exist) can save your sanity.
Litter box zones
Fine dust can settle along baseboards. Vacuum first, then wipe with a barely damp microfiber. Avoid strong fragrances or harsh disinfectants that can bother sensitive pets. If you need disinfecting, use a pet-safe product and follow label instructions.
10-minute upkeep
If your schedule is already full, this is the rhythm that keeps baseboards from getting to “project” status.
- Weekly (2 minutes): vacuum baseboards in the rooms where your pet spends the most time.
- Every 2 to 4 weeks (8 minutes): quick wipe with a barely damp microfiber in high-traffic areas, especially entryway and hallway.
- Seasonally: full clean plus scuff check, then touch-up chips before they grow.
I like pairing baseboards with something you already do, like vacuuming rugs or changing sheets. Habit stacking is the least glamorous design trick, but it works.
When cleaning is not enough
Sometimes baseboards look dirty when the real issue is aging paint or uneven sheen from years of spot cleaning.
- If the paint is yellowing: this is often older oil-based trim paint, but smoke, cooking oils, UV, and even some water-based paints can yellow over time.
- If there are repeated chips on the same edge: it might be swelling MDF or frequent impact. Prime well and consider a slightly more durable trim enamel.
- If the caulk line is cracked: a fresh, paintable caulk line (then paint) makes the whole baseboard look cleaner even before you touch a cloth.
If you are renting, focus on gentle cleaning and minimal, reversible touch-ups. If you are unsure, ask your property manager about approved paint and sheen. Getting permission first is often easier than explaining later.
My favorite finishing touch
After everything is clean and dry, you can run a dryer sheet lightly along the baseboards in the hair-magnet rooms. It can reduce static and buy you a little extra time before the next fuzz parade arrives. If you notice any film, skip it and stick with regular dry microfiber passes instead.
Clean baseboards are not “fancy.” They are quietly powerful. They make thrifted furniture look intentional, make paint colors feel truer, and make your home feel cared for, even when there is a tennis ball under the sofa and a dog snoring in the sun.