Add Tapered Legs to Any Bookshelf
Clara Townsend
Clara Townsend is an interior stylist, vintage furniture enthusiast, and the creative voice behind Velvet Abode. With over a decade of experience transforming both cramped city apartments and sprawling fixer-uppers, she believes that a beautiful home is built on personal stories rather than massive budgets. When she isn't hunting for the perfect brass sconce at a local flea market, she can usually be found rearranging her living room for the third time this month.
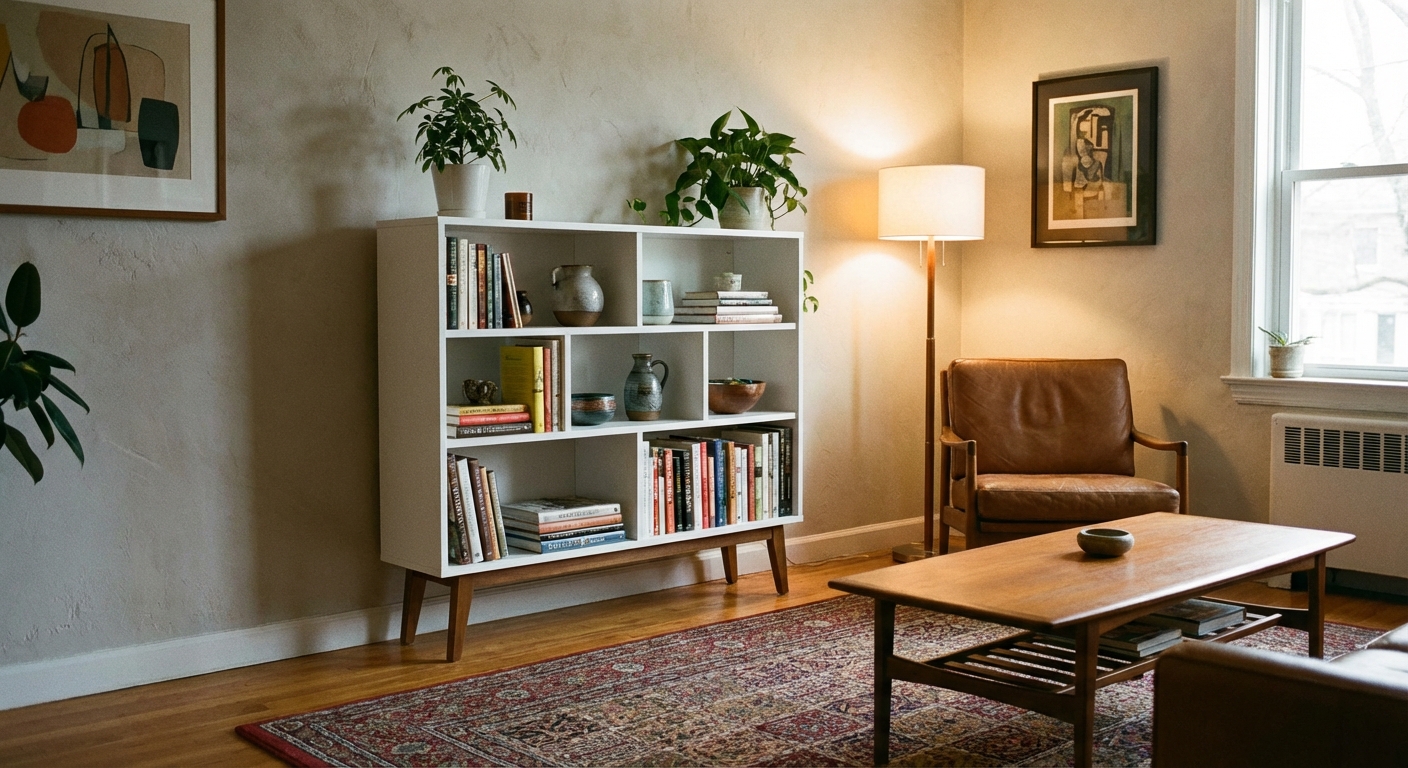
There’s a special kind of design magic in taking a perfectly fine, very basic bookshelf and making it look like you found it at a vintage shop tucked down a side street. Adding tapered legs is one of those upgrades that feels almost too easy for how much it changes the whole vibe. Suddenly your shelf has air under it, a lighter silhouette, and that unmistakable mid-century “I know what I’m doing” energy.
Let’s turn your standard big-box unit into something that looks intentional, elevated, and still totally you.
Before you start
Will your bookshelf tolerate legs?
Most will, but not all in the same way. The big factor is the base.
- Best candidates: Bookcases with a solid bottom panel (even if it’s particleboard) and enough depth to place hardware away from the edge.
- Trickier candidates: Units with a thin plinth, hollow base, or a recessed toe-kick that leaves very little material to screw into.
- Heavy load warning: If this shelf will hold textbooks, vinyl, or a plant jungle, choose beefier legs and plan on extra reinforcement inside the base.
If you can press on the bottom panel and it flexes dramatically, plan on reinforcing. We can still do this. We just need to be smart about it.
Quick safety check
- Skip legs if the bottom is damaged, swollen, or crumbling particleboard. No hardware can “fix” mushy material.
- Tall or narrow bookcases should be anchored after you add legs. Always. Legs can reduce the effective footprint (especially when inset), and that smaller footprint plus a higher lever arm makes tipping easier.
What to buy
You can absolutely do this with a quick online order and a simple toolkit. Here’s what I reach for again and again.
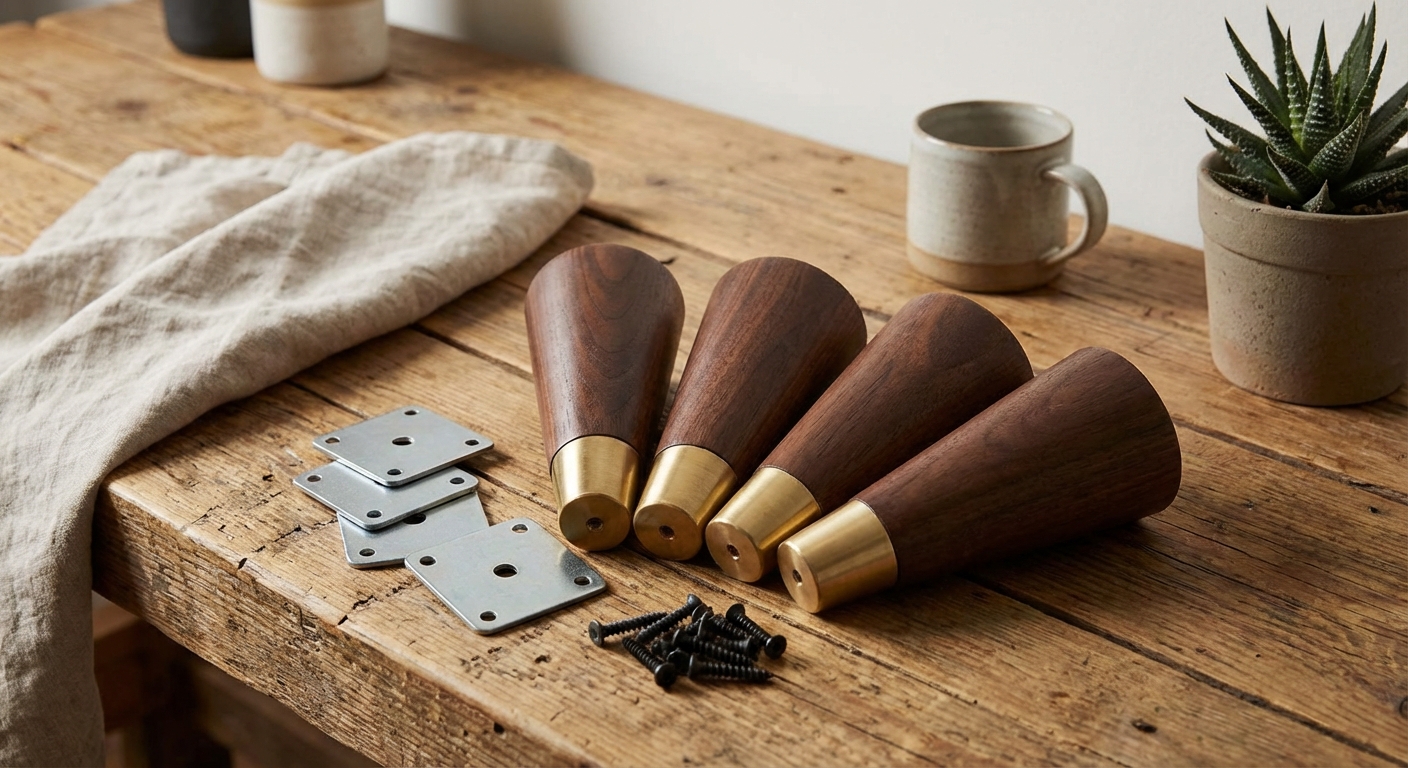
Materials
- 4 wooden tapered legs (typically 6 to 8 inches tall for bookcases, taller if you want a more dramatic lift)
- 4 mounting plates that match your legs’ bolt type
- Leg bolt note: Many U.S. legs use 5/16-18 hanger bolts, but it’s not universal. You’ll also see M8 and 1/4-20. Check your listing or measure your bolt before you order plates.
- Screws for mounting plates (usually included)
- Optional: Angled mounting plates if you want a more authentic splay
- Optional: Furniture levelers or felt pads for the bottoms of the legs
- Optional reinforcement: 1/2 inch plywood cut to fit inside the bottom, solid wood cleats, or a simple internal frame
- Optional for wide units: A fifth leg (center front, center back, or both, depending on weight) or an apron/frame to prevent sag
Tools
- Measuring tape
- Pencil
- Drill and drill bits
- Screwdriver
- Level
- Stud finder (for anchoring to the wall, strongly recommended)
Leg height and placement
This is the part that makes your shelf look custom instead of like it’s on stilts.
Pick a height
- 6 inches: Subtle, classic, and practical. Great for smaller bookcases.
- 8 inches: My favorite sweet spot for that floaty mid-century lift.
- 10 to 12 inches: Bolder and airier, but can look top-heavy on tall shelves unless the piece is wide.
Place the legs
Most bookcases look best when the legs sit slightly inset from the edges rather than flush at the corners.
- Rule of thumb: Inset the mounting plate about 1 to 2 inches from the front edge and 1 to 2 inches from the side edge.
- Why: It reads more furniture-like, and it protects the legs from being kicked or bumped.
One more thing: inset legs can also shrink the effective footprint, which can increase tipping risk on tall pieces. That’s why anchoring is not optional for anything tall.
If your shelf has a back panel, try not to place hardware so close to the back edge that screws punch through or split the material.
Step-by-step
1) Empty the shelf and flip it
Remove everything, including shelves if they’re loose. Lay down a blanket or rug so you don’t scuff the finish, then carefully turn the unit on its back.
2) Measure panel thickness first
Before you pick screw length, measure the thickness of the bottom panel you’ll be fastening into.
- Screw length rule: Aim for screws that penetrate about 2/3 of the panel thickness without breaking through.
- Particleboard tip: Shorter, slightly wider-gauge screws often hold better than long skinny ones. Long screws don’t help if the material is weak.
3) Mark your mounting plate positions
Measure your inset from the front and side edges and mark each corner. Use the mounting plate as a template and mark the screw holes.
4) Pre-drill the holes
Pre-drilling is the difference between “solid and crisp” and “why is this splitting.” Use a drill bit slightly smaller than your screw’s core (the solid center, not the threads). As a general guide, that’s often 1/16 inch smaller than the screw’s outer diameter, but match it to what you’re using.
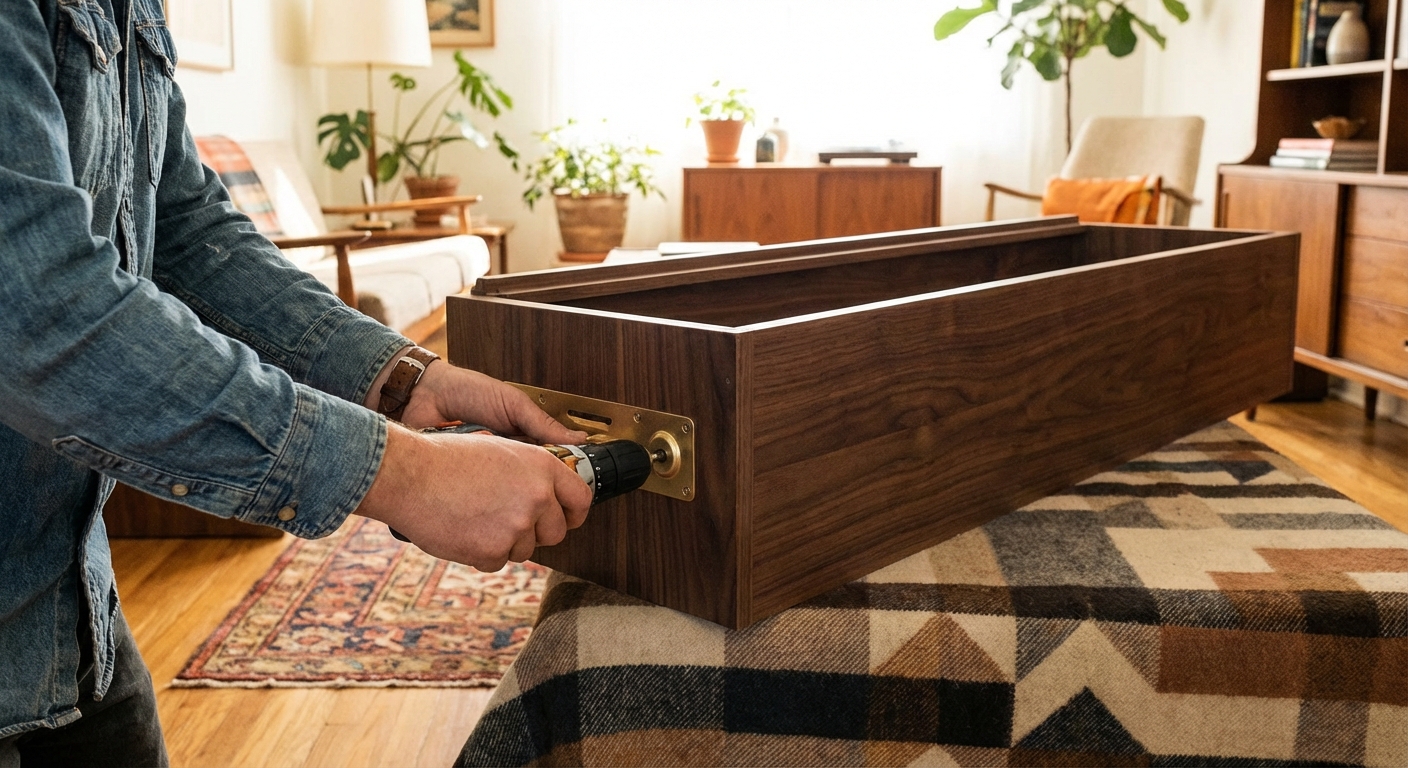
5) Attach the mounting plates
Screw each plate down snugly. Don’t overtighten, especially with particleboard. If a screw spins and won’t bite, stop and reinforce or switch to a different fastening method (like through-bolts with washers and nuts, if the construction allows).
6) Screw in the legs
Twist each leg into its plate until tight. Align the taper direction if your legs have a defined “front.”
7) Stand it up and level it
Flip the bookshelf upright. Check for wobble. If your floor is uneven, add felt pads or adjustable levelers to the bottoms of the legs.
Keep it sturdy
Mid-century style is light and leggy. The structure underneath still needs to be serious.
Reinforcement options
- Add a plywood base inside: Cut plywood to fit the interior bottom of the shelf. For it to actually help, secure the plywood to the case so it can carry load. That can mean screwing it down from inside (where you can), gluing it (construction adhesive works well), and or trapping it with cleats along the sides. Then attach your mounting plates through the underside into the plywood (or into the cleats). If the plywood is just floating, your screws are still relying on the original panel.
- Use wood cleats: Attach solid wood strips along the inside edges of the base, then position plates so their screws land in the strengthened areas.
- Upgrade hardware: If your shelf is heavy, consider bolts with washers and nuts instead of short screws, if the construction allows and you can access the inside.
- Add center support: For wider pieces or serious loads, four legs might not be enough. A discreet fifth leg (center) or an apron/frame can reduce sag and bounce.
If you have a recessed toe-kick
Toe-kicks are cute until you try to add legs. If the base is recessed and there’s nothing solid at the outer corners, build a simple subframe.
- Cut two sturdy rails (1x3 or similar) for the front and back, plus two for the sides.
- Attach the frame to the underside where the structure is strongest (often the side panels), then mount your plates to that frame.
- Paint the frame to match the bookshelf so it disappears.
Anchor it to the wall
Please do this, especially with tall bookcases, kids, pets, or earthquake zones. After legs are added, a piece can become easier to tip because the effective footprint can shrink and the leverage increases.
Use an anti-tip kit or L-brackets. Anchor into wall studs whenever possible. For masonry, use the correct masonry anchors. For drywall with no stud, follow the anti-tip kit manufacturer instructions and use appropriate rated anchors (and remember that studs are still best).
Finishing touches
This is where you can have fun and make it feel like your home, not a catalog.
- Stain the legs: A warm walnut or teak tone instantly nods mid-century. Even on a white shelf, that contrast is chef’s kiss.
- Try a soft satin finish: Mid-century wood tends to glow, not glare. A satin polyurethane keeps it durable without looking plasticky.
- Add a shadow line: If your shelf has a chunky base, consider adding a thin wood apron or trim painted to match. It visually thins the bottom and makes the legs feel integrated.
- Style with texture: Linen-wrapped boxes, a ceramic lamp with an amber bulb, and a stack of art books makes the whole thing feel lived-in and collected.
Troubleshooting
The screws aren’t gripping
- Move the plate slightly inward to hit thicker material.
- Reinforce with plywood or cleats (and secure them to the case so they can do their job).
- Use longer screws only if you’re sure they won’t poke through, and only if you have solid material to bite into.
- If the panel is compromised (swollen or crumbly), don’t force it. Switch to a subframe or retire the project for this piece.
The shelf wobbles
- Check that all legs are fully tightened.
- Make sure the mounting plates are snug and sitting flat.
- Add felt pads or levelers.
- Anchor the top to the wall for extra stability.
The legs look too spindly
- Choose a wider-top tapered leg (often listed as “heavy duty”).
- Go slightly shorter in height to reduce visual and physical leverage.
- Add an apron or trim at the base to balance proportions.
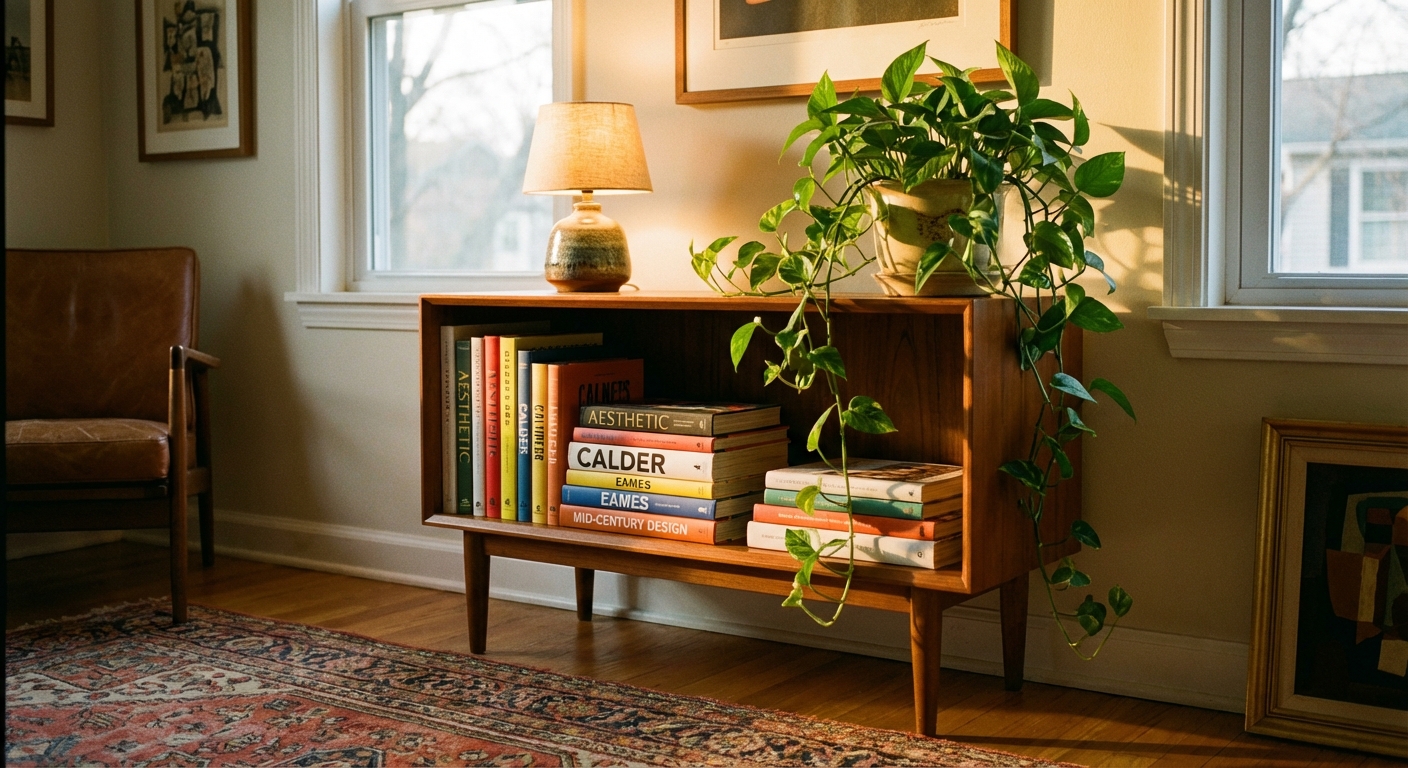
My favorite part
Once those legs are on, your shelf stops reading like “storage” and starts reading like “furniture.” It’s the kind of small change that makes you want to light a lamp, put on a record, and reorganize your books by color purely for the joy of it.
If you try this, take a before photo. Not for the internet, for you. There’s something deeply satisfying about seeing how a few pieces of wood and an afternoon can shift the whole mood of a room.