Accent Wall Ideas That Don’t Require Paint
Clara Townsend
Clara Townsend is an interior stylist, vintage furniture enthusiast, and the creative voice behind Velvet Abode. With over a decade of experience transforming both cramped city apartments and sprawling fixer-uppers, she believes that a beautiful home is built on personal stories rather than massive budgets. When she isn't hunting for the perfect brass sconce at a local flea market, she can usually be found rearranging her living room for the third time this month.
If the words “accent wall” make you picture painter’s tape, fumes, and that one corner you can never cut in cleanly, I have good news. You can get the same “wow, this room has a point of view” feeling without opening a single paint can. These ideas are renter-friendly, low-commitment, and meant to be removable, but results depend on your wall paint, wall texture, and how well everything was prepped in the first place.
Before you start: Pick one wall that naturally wants attention. Usually it’s the wall behind the bed, the wall your sofa faces, or the wall your entry console lives on. Then decide what kind of accent you want: Texture (cozy), Pattern (playful), or Structure (architectural).
Renter safety rules (read this once, thank yourself later)
- Check your lease (and your landlord’s vibe): If your lease is strict, stick to low-contact options like oversized art, textiles on rods, or leaning shelves.
- Test patch everything: Adhesives, starch, mounting tape, cord covers, all of it. Try a small spot in a hidden area for a full week, then remove it slowly.
- Know your wall finish: Flat and matte paint are more likely to lift. Satin and eggshell are usually more forgiving.
- Fresh paint needs time: If your walls were recently painted, wait until the paint is fully cured (often a few weeks) before sticking anything to it.
- Humidity changes the game: Bathrooms and kitchens can cause adhesives to fail or slide. Choose lighter materials or non-adhesive methods there.
- Follow weight ratings: Strips and hooks have limits, and leverage matters. When in doubt, use proper anchors or choose a lighter piece.
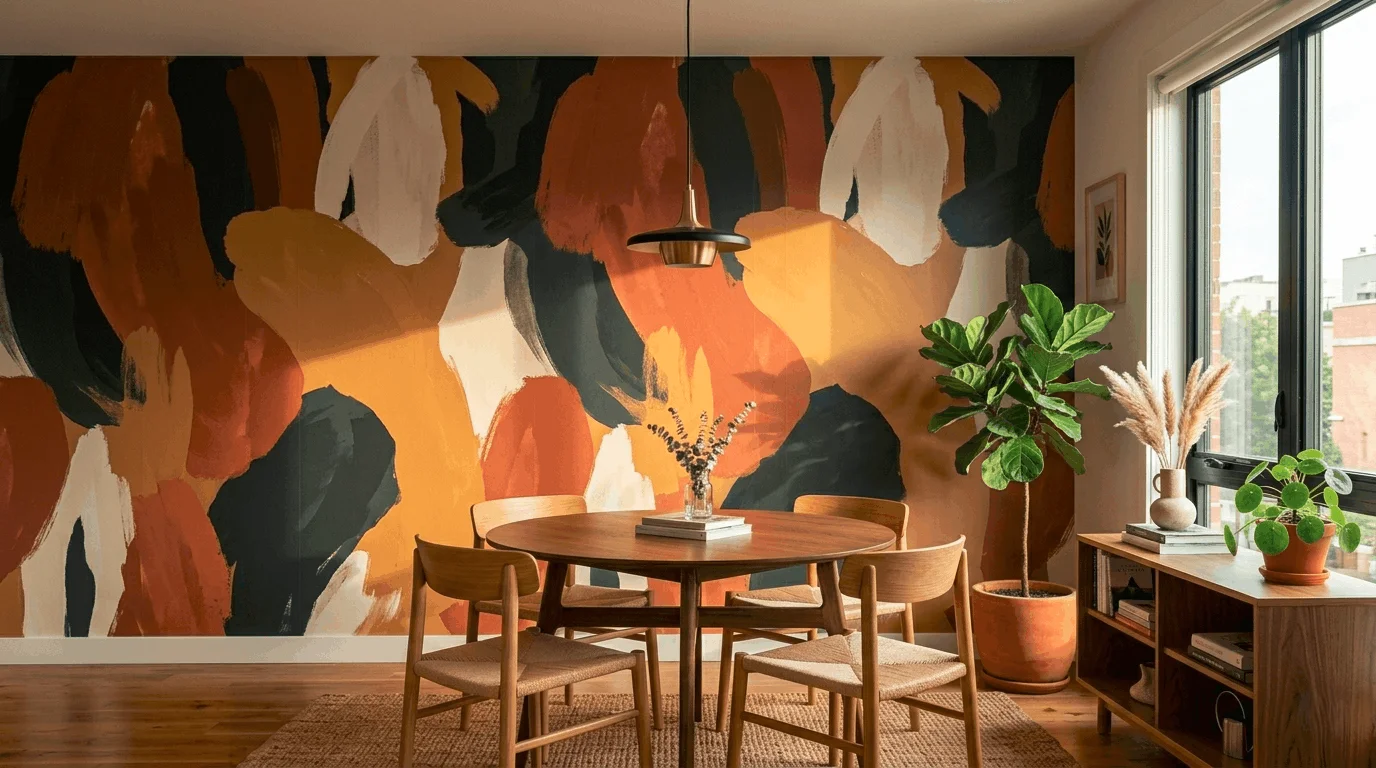
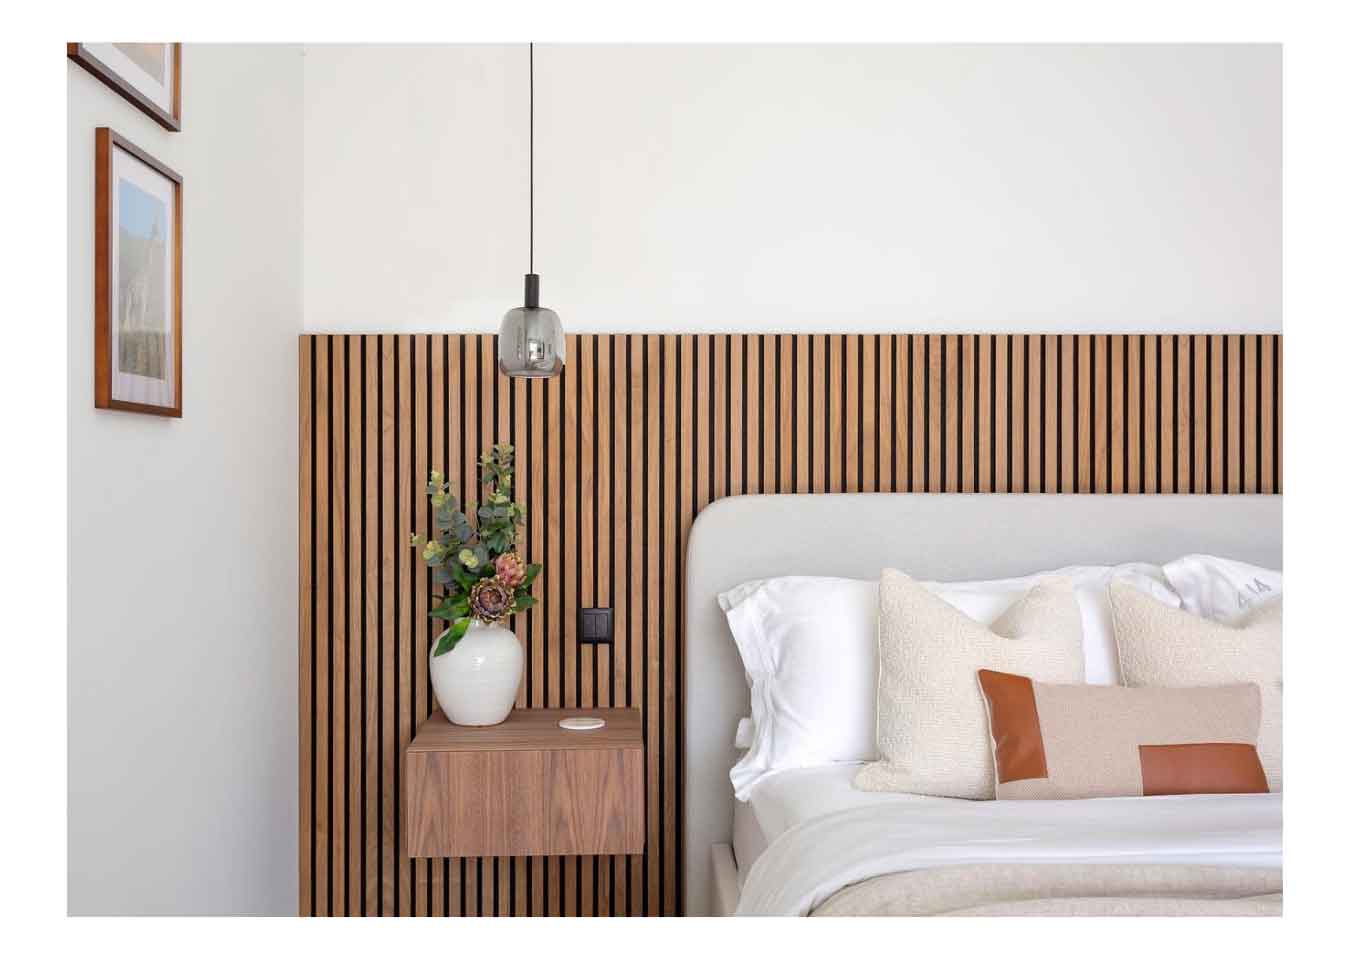
1) Peel-and-stick wall panels
Peel-and-stick panels are the shortcut to dimension. Think faux slat walls, fluted textures, or subtle geometric tiles. They can photograph like millwork, but the thicker and heavier the panel, the more the adhesive behaves like a serious commitment. Choose wisely and test first.
Install basics
- Start with a clean wall: Wipe down with a damp cloth, then let it fully dry. Grease and dust are the enemy of adhesion.
- Plan your layout: Dry-fit a row on the floor first so you don’t end up with a tiny sliver at the end. Centering the pattern usually looks most intentional.
- Use a level: Your first panel is everything. If it’s crooked, the whole wall will slowly lean.
- Press and smooth: Use a clean microfiber cloth or a soft squeegee to avoid bubbles.
- Keep weight realistic: If the panels feel heavy or rigid, they may need stronger adhesive and can be tougher on paint at removal time. Lighter, thinner options are usually safer for rentals.
Lease-friendly removal
- Warm it up: Use a hair dryer on low heat to soften adhesive, then peel slowly at a shallow angle.
- Go panel by panel: Don’t yank. If you feel resistance, add more heat.
- Handle leftover residue gently: Try warm soapy water first. If needed, use a small amount of adhesive remover on a cloth, spot-tested in a hidden area.
Styling tips
- Keep the rest quiet: Let the texture be the star. Pair with simple bedding or a solid sofa.
- Repeat the finish: If your panels mimic wood, echo it with one wood-toned frame or a warm leather piece so it feels integrated.
- Light it on purpose: A plug-in sconce or a floor lamp grazing the surface makes the dimension read from across the room.
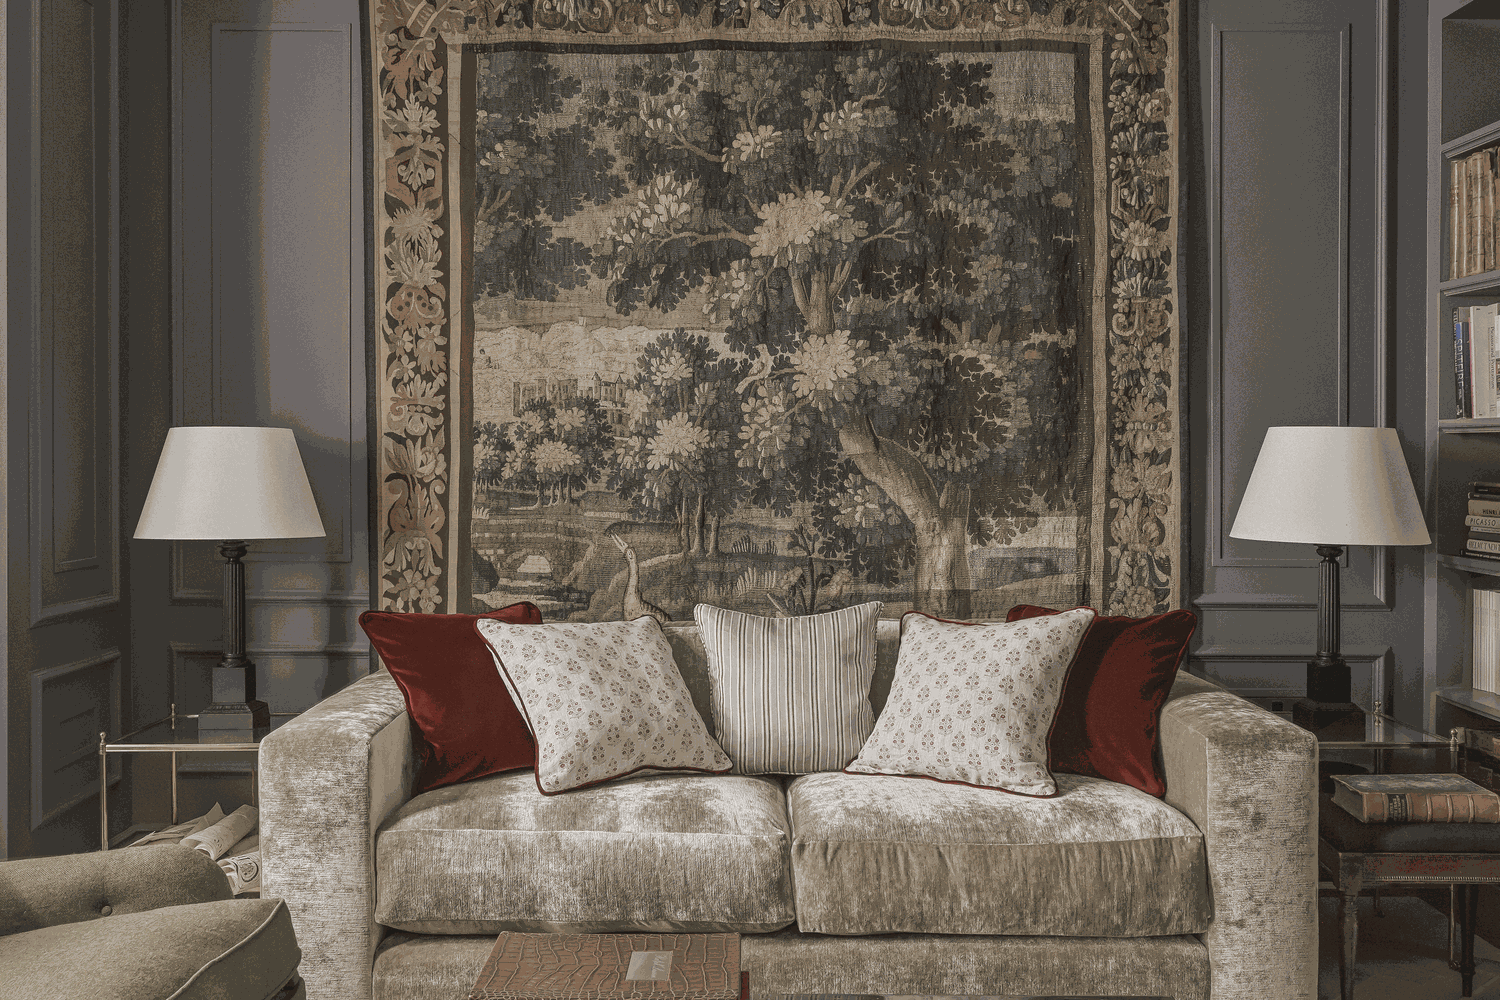
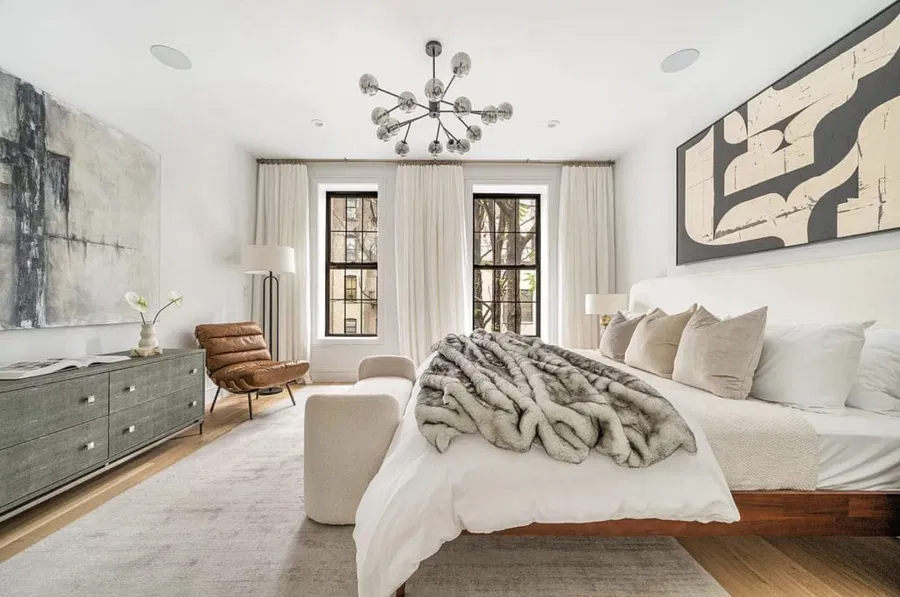
2) Oversized art or a tapestry
If you want a dramatic focal point without committing to a whole wall treatment, go big. Oversized art, a vintage textile, or a tapestry can act like wallpaper you can take with you.
Install basics
- Choose scale first: Aim for art or fabric that fills about two-thirds of the wall width behind a sofa or bed.
- Use renter-friendly hardware: Removable picture-hanging strips work well for framed pieces. For textiles, try removable hooks plus a lightweight dowel, clip rings, or a curtain rod on removable brackets (weight-rated).
- Be careful with tile and grout: If you’re thinking about pin nails in grout, know that grout can crack or crumble. Only consider tiny pins in grout lines with landlord approval and a test in an inconspicuous area. For most renters, hooks plus a dowel are the safer move.
- Steam it: Textiles look instantly more “collected” when wrinkles are gone.
Lease-friendly removal
- Follow strip instructions: Pull tabs straight down slowly to avoid paint lift.
- Patch tiny holes easily: If you used a couple of small nails where allowed, a dab of spackle and a finger-smooth finish is usually enough.
Styling tips
- Pull one color into the room: Echo a tapestry’s rust, sage, or indigo in a pillow or throw to make it feel intentional.
- Mix eras with confidence: A vintage textile looks gorgeous above a modern sofa. The contrast is the charm.
- Add a picture light: Battery picture lights are renter gold. They make the wall feel like a mini gallery.
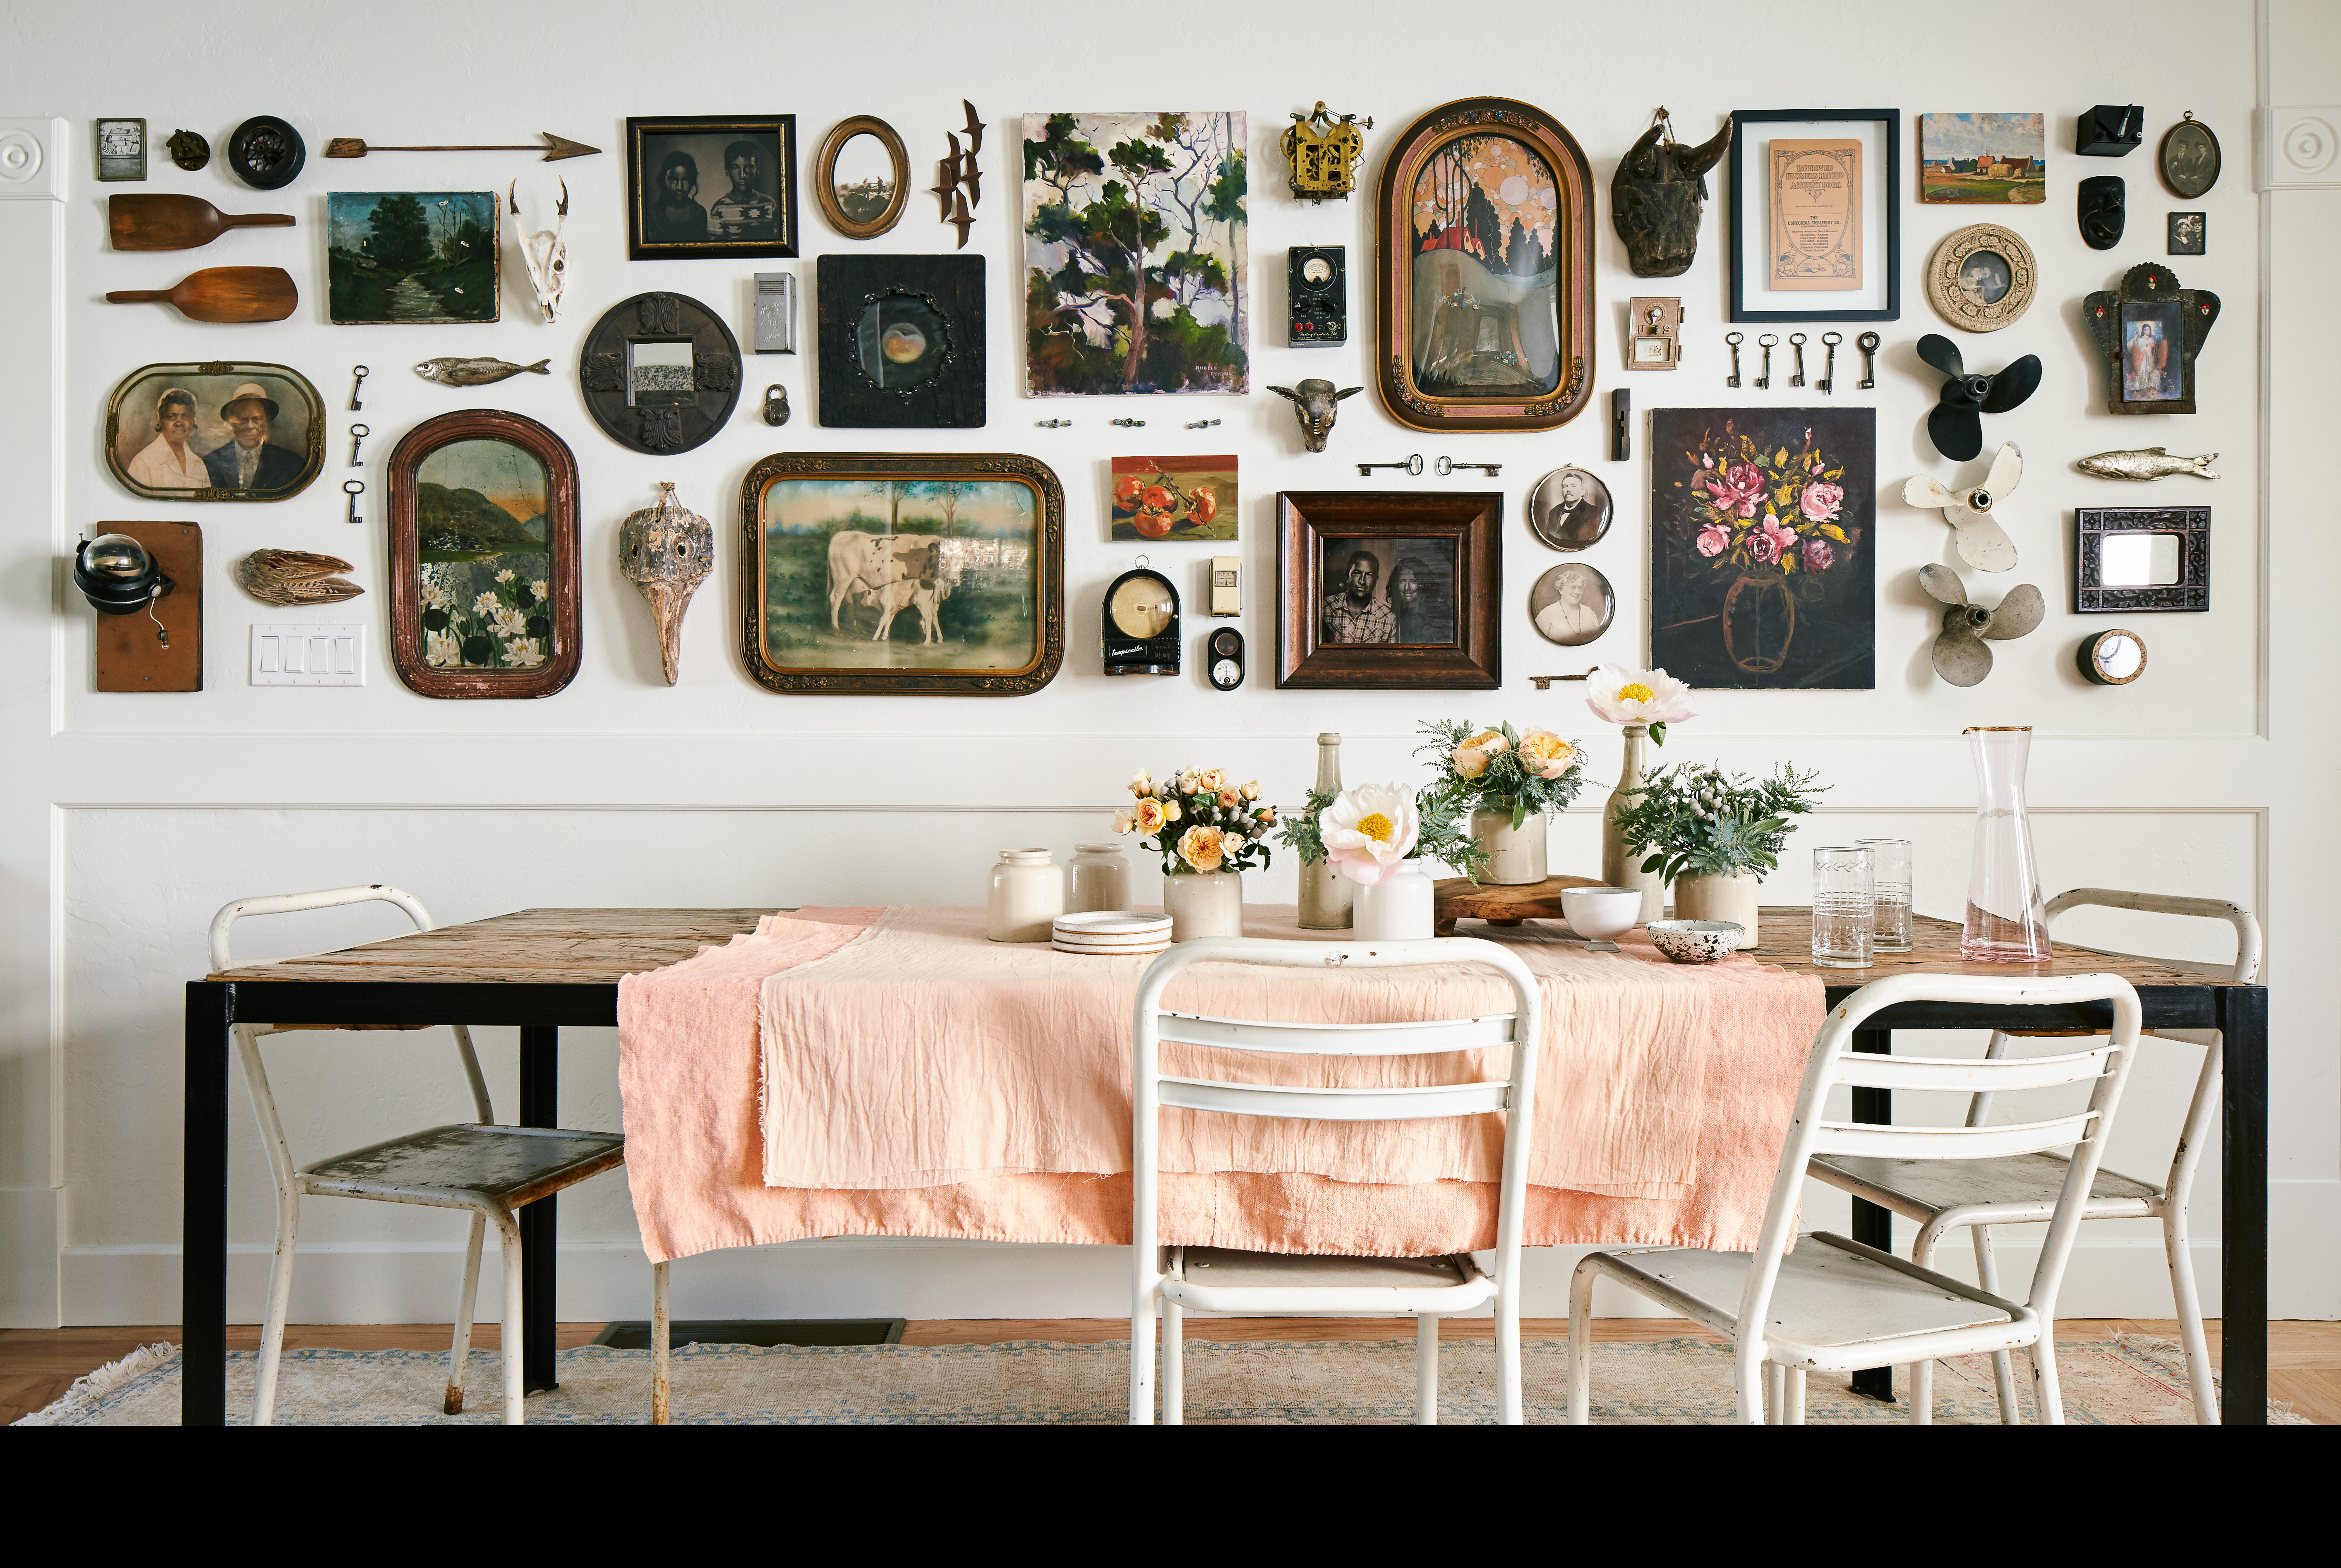
3) A gallery wall
A gallery wall is an accent wall in disguise. The trick is treating it like one big composition rather than a collection of random frames drifting upward over time.
Install basics
- Pick a boundary: Decide your gallery’s outer shape first (a rectangle is easiest). Tape the outline on the wall with painter’s tape.
- Lay it out on the floor: Take a photo once you like the arrangement, then replicate it on the wall.
- Use paper templates: Trace each frame on kraft paper, tape them up, then hang into the paper. This saves so many holes.
- Choose your hanging method: Removable hooks and strips work best for lighter frames. Traditional nails are fine if your lease allows standard picture holes.
Lease-friendly removal
- Remove one piece at a time: Don’t rush. Save the layout photo for re-hanging later.
- Patch and touch up: Small holes disappear quickly with spackle. If you don’t have matching paint, ask your landlord if there’s a labeled leftover can, or use a paint chip match in the smallest sample size.
Styling tips
- Unify with frame color: All black, all white oak, or a mix of brass and walnut. One consistent thread keeps it calm.
- Add one “soft” piece: A small textile, a vintage plate, or a tiny sconce breaks up the rectangle of frames and adds personality.
- Mind the height: Center of the composition around eye level, roughly 57 to 60 inches from the floor.
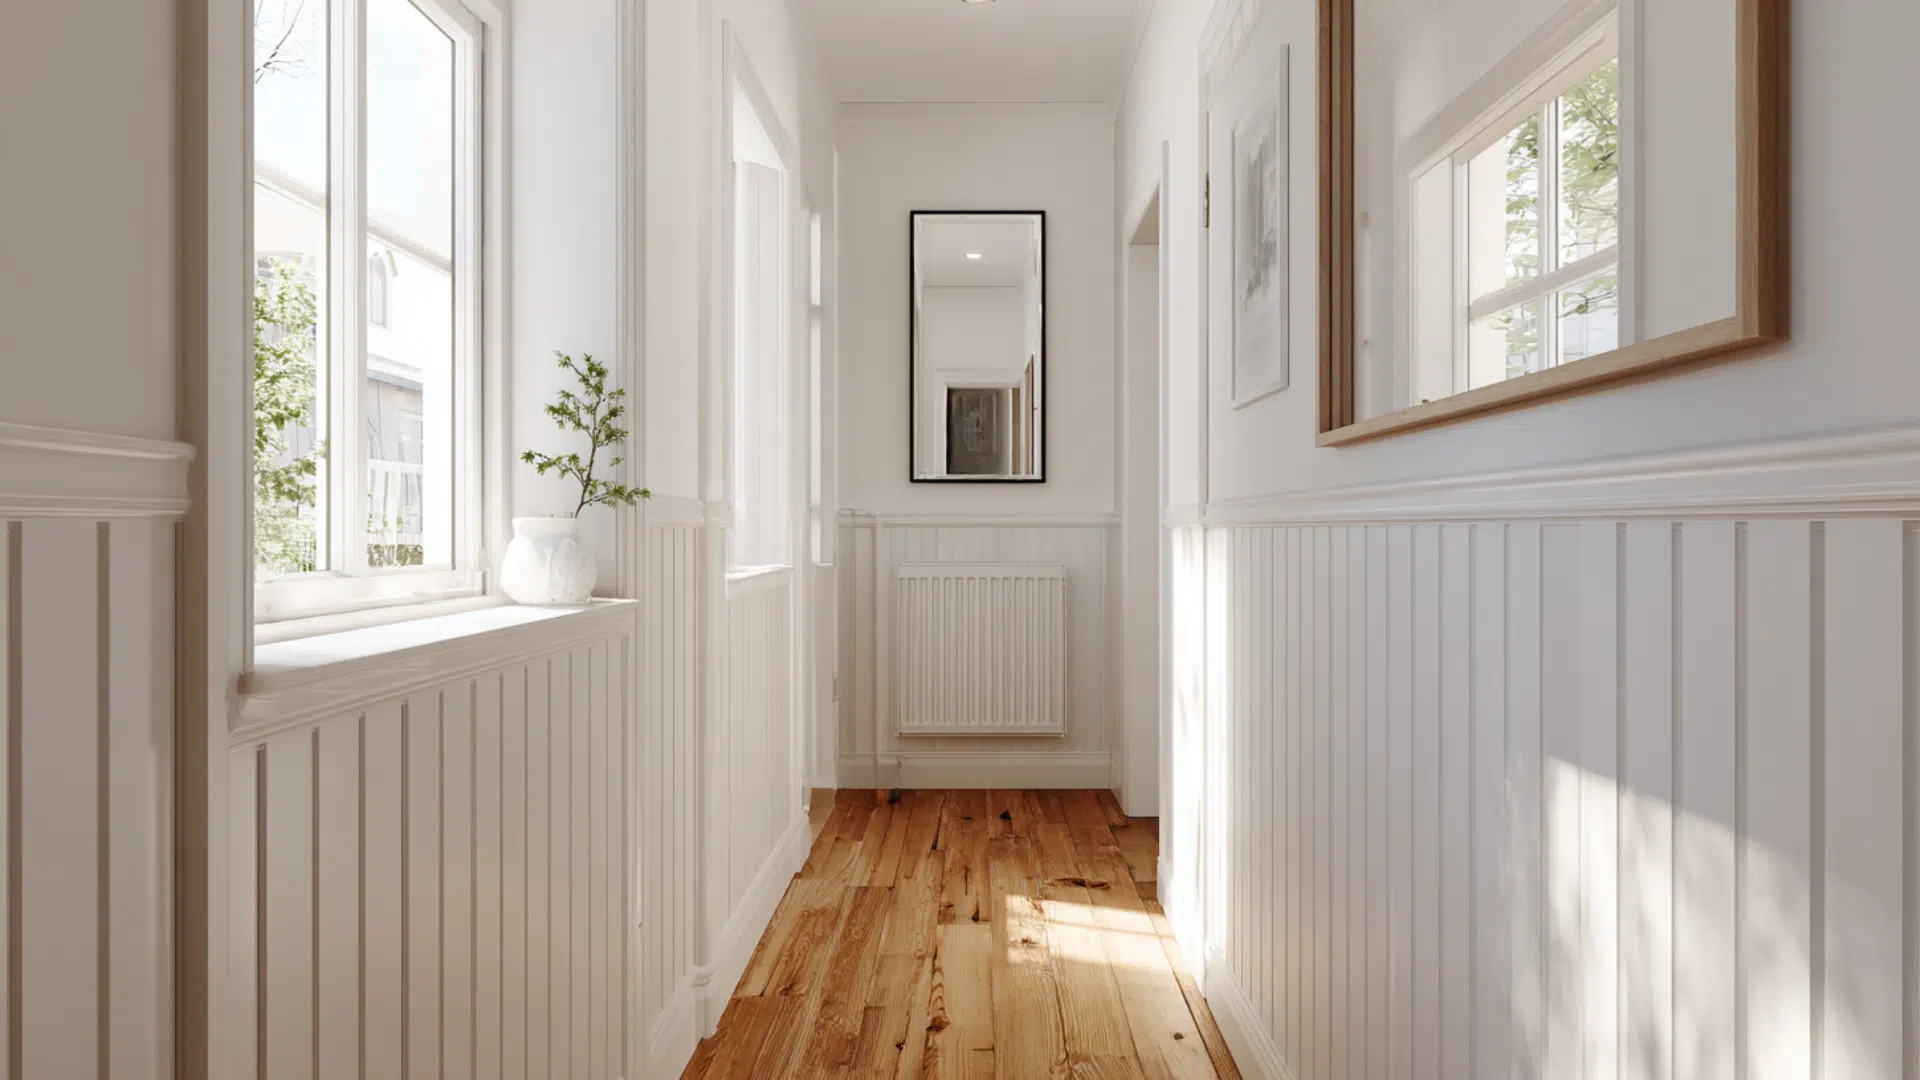
4) Picture molding without paint
Picture molding and trim details usually scream “paint me,” but you can still get that tailored, architectural look without painting the wall. The idea is to add subtle relief and shadow lines that elevate a flat surface.
Install basics
- Use lightweight molding: Foam or thin wood strips are easiest for rentals.
- Plan simple boxes: Symmetrical rectangles look clean and classic. Measure twice, cut once, then dry-fit on the floor.
- Choose a truly removable attachment: Heavy-duty removable mounting tape can work for very lightweight trim, but it can still pull paint on removal, so test first. For a more secure approach that’s still reasonable to patch later, use tiny brad nails or pin nails where your lease allows it.
- Skip caulk: If you’re not painting, caulk can look messy fast. Clean cuts and careful measuring matter more than perfection.
Lease-friendly removal
- Score edges first: Run a utility knife lightly along the trim edges to prevent tearing the drywall paper.
- Pry gently: Use a thin putty knife and patience.
- Patch and sand: Fill nail holes or tape spots with spackle, sand smooth, and touch up as needed.
Styling tips
- Let lighting do the work: Side lighting from a lamp or window creates the shadow lines that make this feel expensive.
- Keep decor airy: A couple of framed pieces inside the boxes looks chic. Too many small objects can feel busy.
- Pair with tailored textiles: Crisp linen curtains and a structured rug weave complement the architectural vibe.
5) Fabric walls
Fabric adds warmth in a way paint never can. It also helps soften echoey rooms, which is a quiet little luxury if you’ve got hard floors and tall ceilings.
Install basics
- Pick the right fabric: Medium-weight linen blends, cotton canvas, or upholstery remnants hang well and look elevated.
- Decide your method: You can hang panels like curtains across the wall using removable hooks and a tension rod system, stretch fabric over a lightweight frame and hang it like art, or try the liquid starch method if your walls are compatible.
- If you use starch, test first: Liquid starch can leave a film, grab onto flat paint, or discolor some finishes. Test a small area for a full week and avoid it on fragile paint, freshly painted walls, or any surface that already looks temperamental.
- Work in sections: Smooth as you go to avoid ripples.
Lease-friendly removal
- Starch method: Mist with warm water to loosen, then peel gently. Wipe the wall clean afterward and plan to do a little extra cleanup if there’s residue.
- Rod and hooks: Remove hardware and patch only if you used small nails. Removable hooks can come off cleanly if pulled correctly.
Styling tips
- Match undertones: Warm oatmeal fabric pairs best with creamy whites and brass. Cool flax tones love crisp whites and black accents.
- Layer textures, not patterns: If the wall is fabric, keep bedding and rugs more subtle and tactile.
- Add one reflective piece: A vintage mirror or a glossy lamp base keeps the wall from feeling too matte.
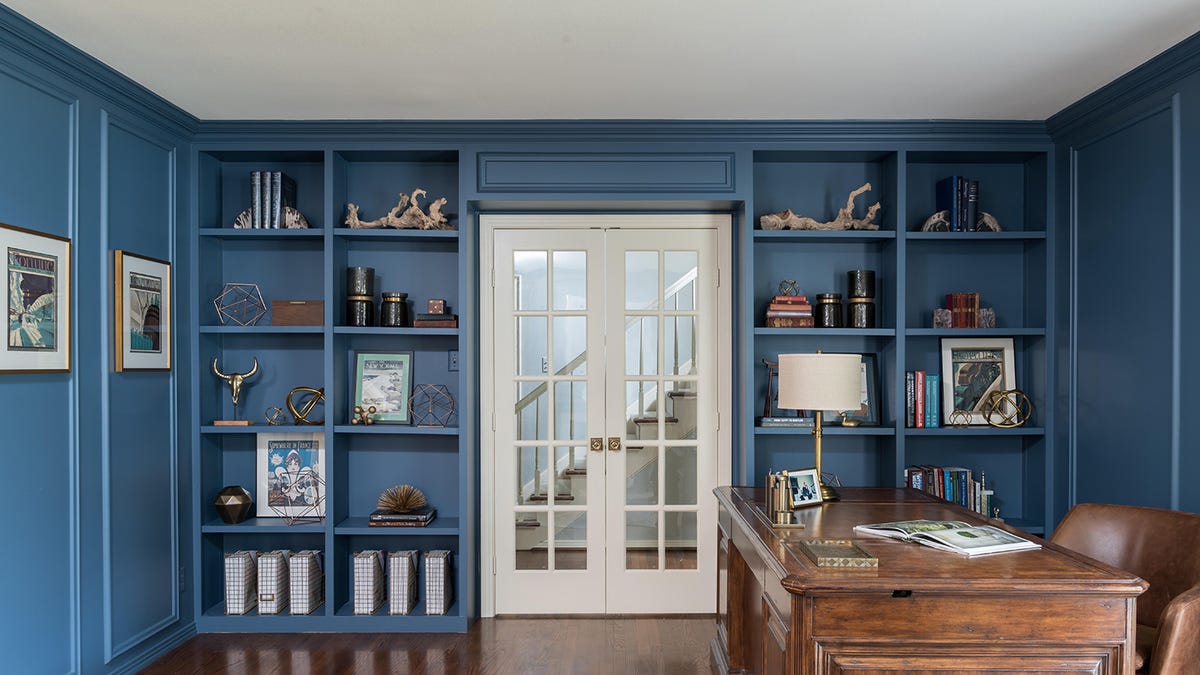
6) Shelving-led feature walls
If you crave an accent wall that actually does something, build it out with shelves. The wall becomes a display, a mini library, or a rotating collection of ceramics and framed prints.
Install basics
- Choose your shelves: Floating shelves are sleek, but leaning shelves or étagères are even more renter-friendly because they rely less on wall anchors.
- Anchor safely: If you’re installing wall-mounted shelves, hit studs where possible. If not, use appropriate drywall anchors, respect weight ratings, and keep loads realistic.
- Keep spacing consistent: Equal gaps read calm and designed.
Lease-friendly removal
- Unscrew and patch: Shelf holes are usually straightforward to fill and sand.
- Leaning shelves: Remove with almost no wall impact, especially if secured with minimal hardware (and still anchored for safety when needed).
Styling tips
- Use the rule of threes: Group objects in threes with varied heights. It looks styled but not fussy.
- Leave breathing room: Empty space is part of the design. Overstuffed shelves read like storage.
- Repeat one material: Maybe it’s brass, dark wood, or clear glass. That repetition is what makes a collection feel curated.
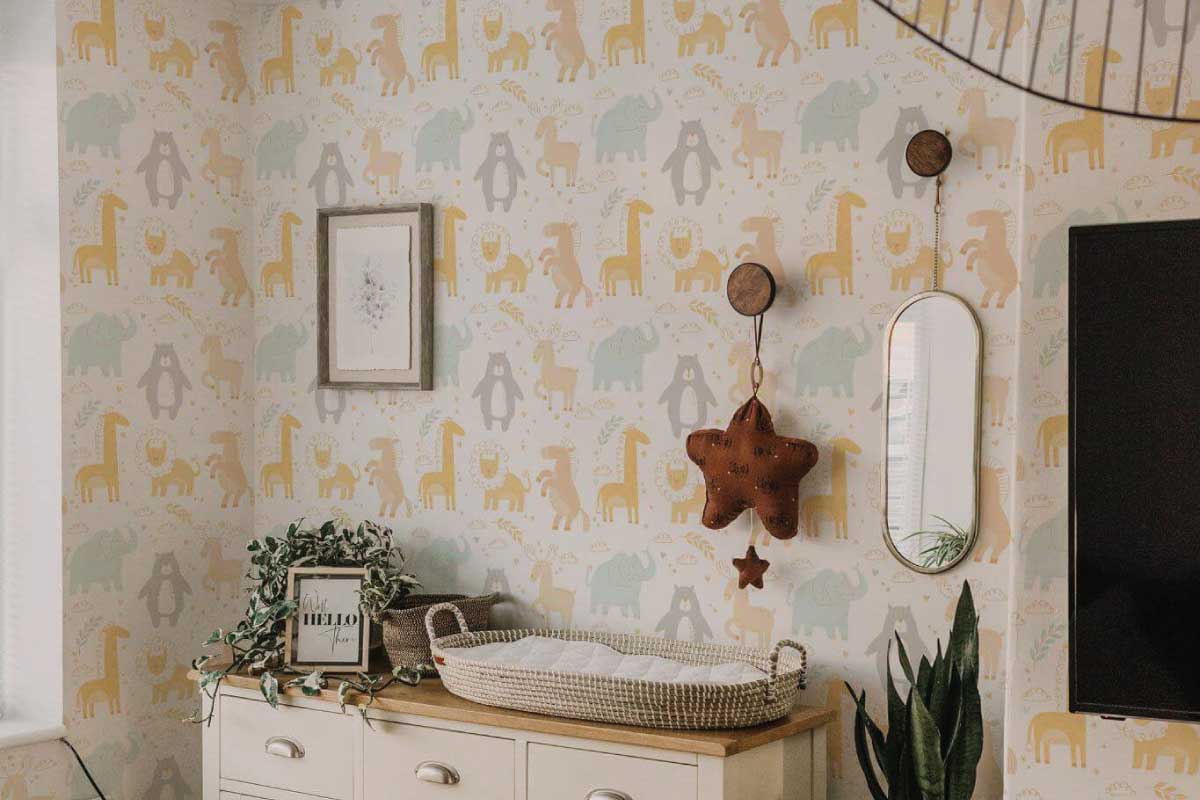
7) Removable wallpaper
Peel-and-stick wallpaper can be magical or maddening. The difference is mostly prep and patience. If you love pattern but fear damage, use these guardrails.
Install basics
- Test first: Stick a sample in an inconspicuous spot for a week. If it peels cleanly and your paint stays put, proceed.
- Mind your wall finish: Wallpaper behaves best on smooth, clean walls. Heavy texture can cause lifting.
- Use a plumb line: Walls are rarely perfectly square, so start with a vertical guide line and align every strip to it.
- Match seams carefully: Follow the brand’s method. Seam alignment is what separates “temporary” from “tailored.”
Lease-friendly removal
- Peel slowly downward: Keep it close to the wall, not out toward you.
- Use gentle heat: A hair dryer helps release stubborn areas.
- Know when to stop: If paint starts lifting, pause, add heat, and go even slower. Sometimes it’s safer to remove in smaller sections.
Styling tips
- Match the pattern to the room’s vibe: Small, busy patterns can feel jittery in a tiny space. Large-scale botanicals often feel calmer than you’d expect.
- Choose a bridge color: Pull one wallpaper color into a rug or curtains so the wall feels like part of the palette.
- Balance with solids: If your wall is patterned, keep the biggest furniture pieces more solid and grounded.
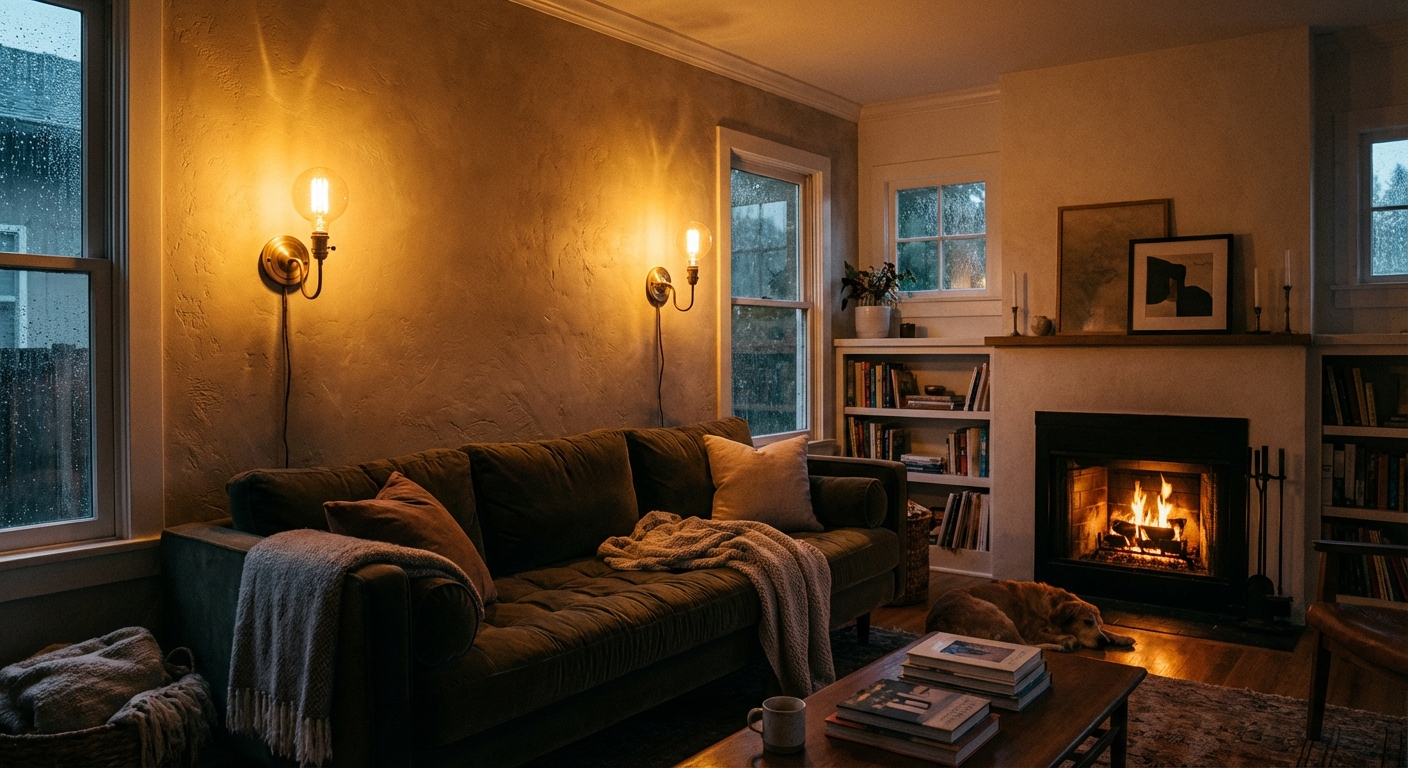
8) Bonus: Accent with lighting
This one is quietly powerful: Swap in a plug-in sconce pair, add a dramatic floor lamp, or hang a pendant using a ceiling hook if your lease allows it. A well-lit wall feels special even when it’s plain.
Install basics
- Plug-in sconces: If the fixture is very lightweight and the manufacturer allows it, removable strips may work, but most sconces are safer with screws into studs or proper anchors. Don’t guess here.
- Conceal cords neatly: Cord covers can help, but some adhesives can lift paint. Test patch first and choose removable options.
- Picture lights: Battery options are renter gold. Install with small screws or strips depending on weight and wall finish.
- One hero lamp: Place it so it washes light across the wall, not straight down. That grazing angle adds depth.
Lease-friendly removal
- Strips and hooks: Remove slowly per instructions.
- Screw holes: Patch with spackle and sand smooth.
Styling tips
- Choose warm bulbs: 2700K to 3000K usually looks cozy and flattering.
- Echo metals: If your sconce is brass, repeat brass in a frame or a tray so it feels deliberate.
- Keep the wall edited: Lighting already creates a focal point, so you can go simpler with decor.
Quick checklist: Keep it cohesive
No matter which no-paint accent wall you choose, cohesion comes from repetition and restraint. If you ever feel like the wall is shouting, this checklist brings it back down to a warm, confident hum.
- Repeat one color from the accent wall in at least two other places (pillow, book spine, vase, throw).
- Repeat one material (brass, black metal, light wood, marble) across the room.
- Limit competing patterns: One statement pattern plus one subtle pattern is usually plenty.
- Anchor with texture: A rug, curtains, or bedding that feels tactile makes the wall feel at home.
- Take a photo: Your camera catches visual clutter faster than your eyes do.
If you’re torn between two ideas, choose the one you can remove in under an hour. The best renter-friendly design is the kind that lets you play.
Common renter questions
Will peel-and-stick products damage my walls?
Sometimes, yes, especially on matte paint, older paint, or walls that weren’t properly primed. Always do a week-long test patch and remove it slowly with gentle heat. If your walls have a fragile finish, consider a large tapestry, oversized art, or a leaning shelving wall instead.
What’s the most low-commitment accent wall?
Oversized art or a textile wall hanging. It gives you color and presence with the least surface contact and the easiest move-out day.
How do I choose the right accent wall?
Pick the wall your eye lands on first when you enter the room. Then match the accent to the room’s job: cozy texture for bedrooms, structure for entryways, and bold pattern for spaces where you entertain.