10 Renter-Friendly Bathroom Makeover Ideas Under $200
Clara Townsend
Clara Townsend is an interior stylist, vintage furniture enthusiast, and the creative voice behind Velvet Abode. With over a decade of experience transforming both cramped city apartments and sprawling fixer-uppers, she believes that a beautiful home is built on personal stories rather than massive budgets. When she isn't hunting for the perfect brass sconce at a local flea market, she can usually be found rearranging her living room for the third time this month.
If your rental bathroom has "builder beige," a tired vanity light, and that one drawer that never quite closes, I see you. Bathrooms are small, which means a few smart swaps can make the whole space feel cleaner, calmer, and honestly a little more expensive. The goal here is simple: spa vibes, minimal landlord drama, and a total under $200.
Before you start: renter-friendly checklist
- Check your lease first. Some landlords prohibit adhesive flooring, fixture swaps, or anything considered a “modification.” If in doubt, ask in writing, especially for floors and plumbing items.
- Confirm what is removable. Peel-and-stick and suction are your best friends. If you use adhesive, choose removable strips and test a hidden spot.
- Clean like you mean it. Most temporary upgrades fail because of soap scum, humidity, or dusty grout. Degrease, dry fully, then apply.
- Save every original piece. Put old hardware in a labeled zip bag and stash it in a shoebox.
- Think in zones. In a tiny bathroom, updating one visual hot spot can change everything: mirror wall, sink area, or floor.
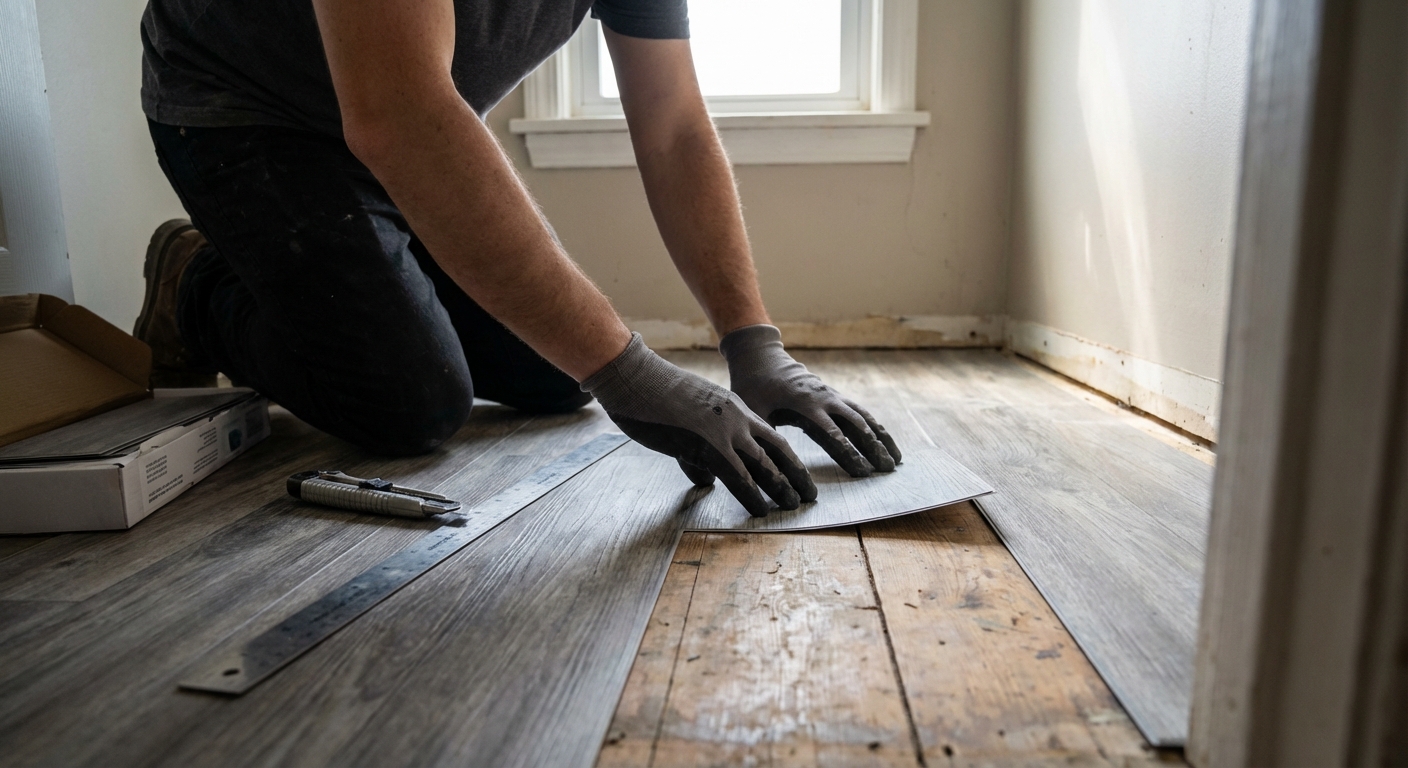
1) Peel-and-stick floor tiles
If your vinyl floor is giving “college rental,” this is the fastest mood shift. Peel-and-stick tiles have come a long way, and in a bathroom they read as intentional, not temporary, if you keep the pattern simple.
What to buy (budget range)
- Peel-and-stick vinyl tiles: $35 to $120 depending on coverage and brand
- Utility knife + metal ruler (if you do not have them): $10 to $20
Make it last
They stick best to smooth, sealed, very clean surfaces. If your floor has deep texture or crumbling edges, skip this and put the money into textiles and lighting instead. In humid bathrooms, edges can lift, so take your time pressing seams and avoid soaking the floor during cleaning.
Styling tip
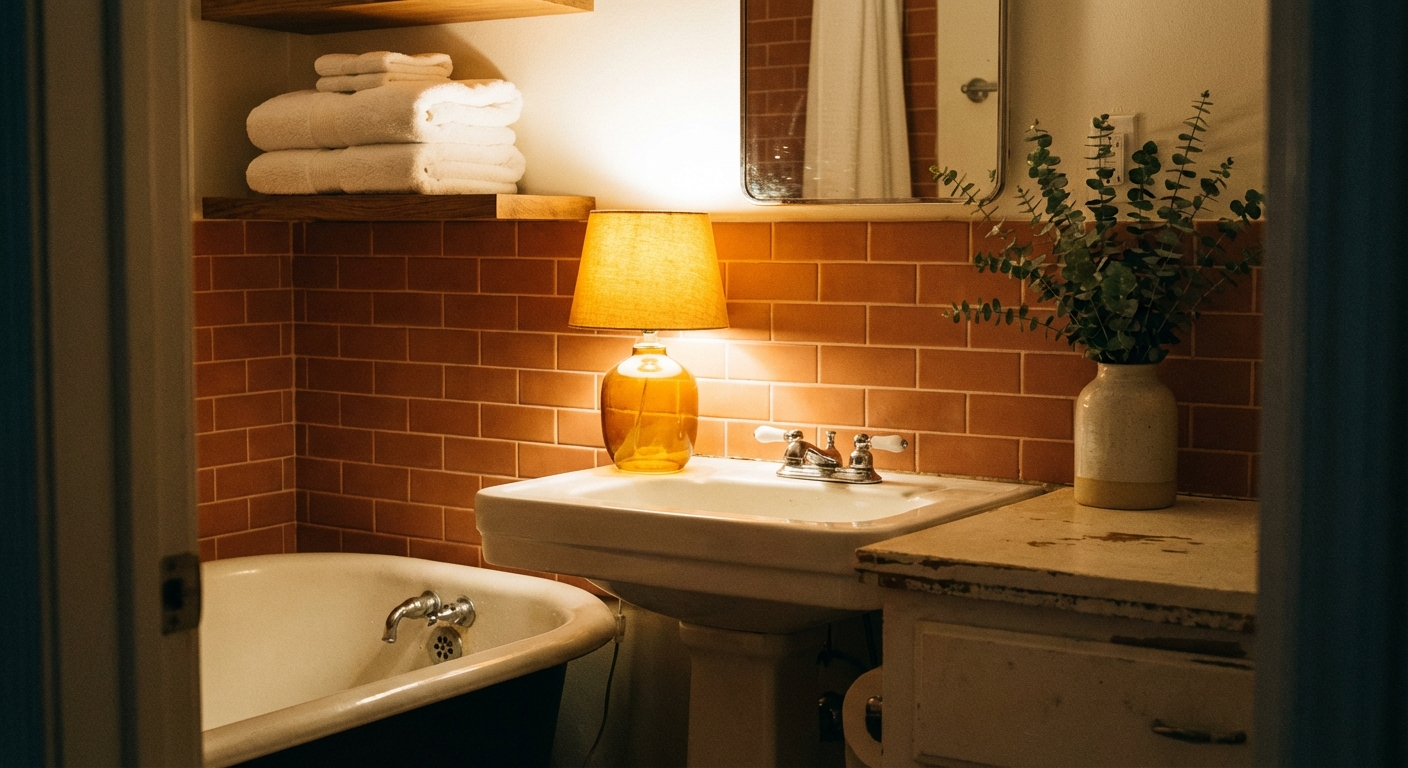
My favorite look is a soft stone or classic black-and-cream check. It pairs beautifully with vintage brass, creamy towels, and warm light.
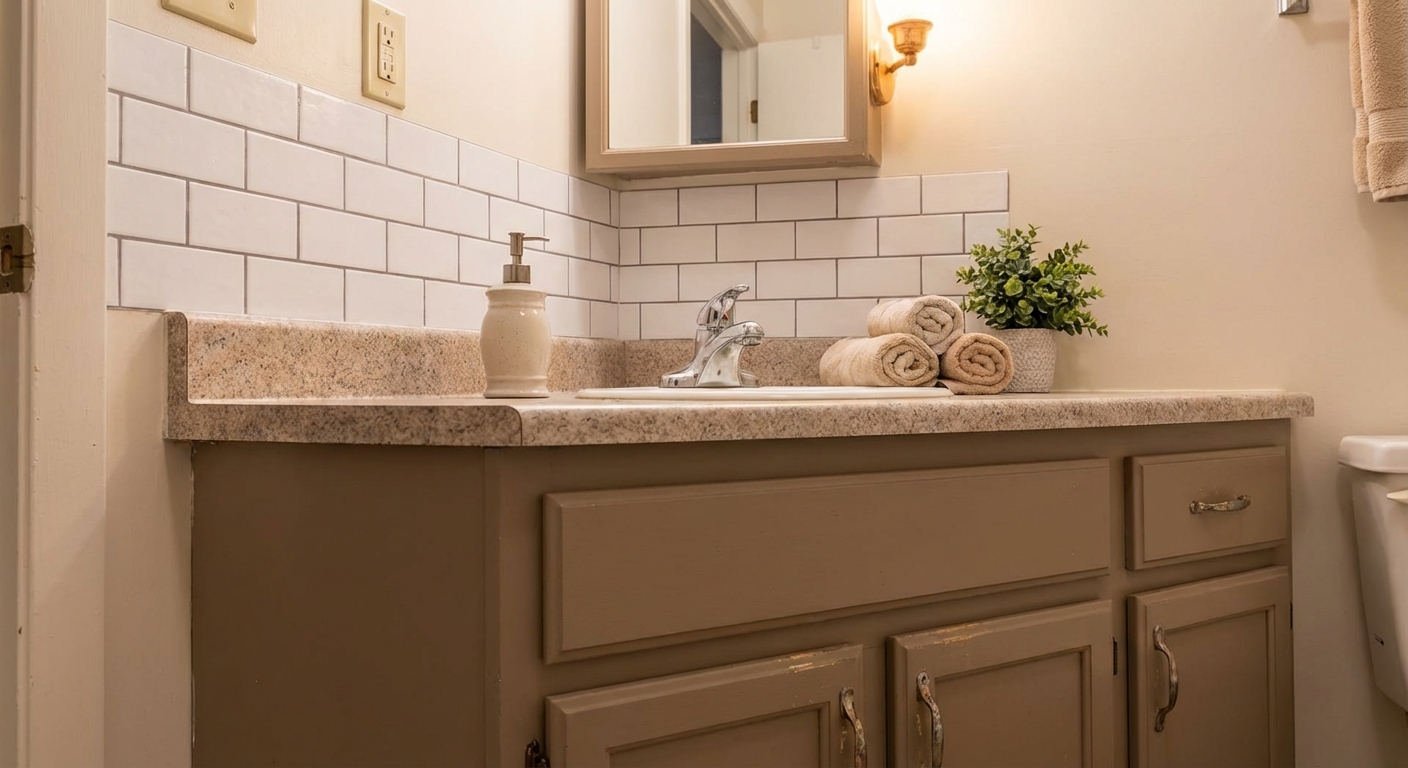
2) Peel-and-stick backsplash
You do not need to tile the whole bathroom. Just give the sink wall a little jewelry. A peel-and-stick backsplash adds texture and makes even a basic vanity feel more finished.
What to buy (budget range)
- Peel-and-stick tile sheets: $25 to $90
- Removable caulk strip for the bottom edge (optional): $8 to $15
Renter-friendly note
Skip permanent silicone unless your landlord approves it. Silicone can be tough to remove cleanly. If you want a cleaner bottom edge, a removable caulk strip is typically the safer choice.
Make it look custom
Stop the tile at a clean line, like the edge of the mirror or the center of the light fixture. Clean edges read “built-in.”
Peel-and-stick performs best on smooth, glossy paint or tile. Textured walls are where bubbles and lifting like to happen.
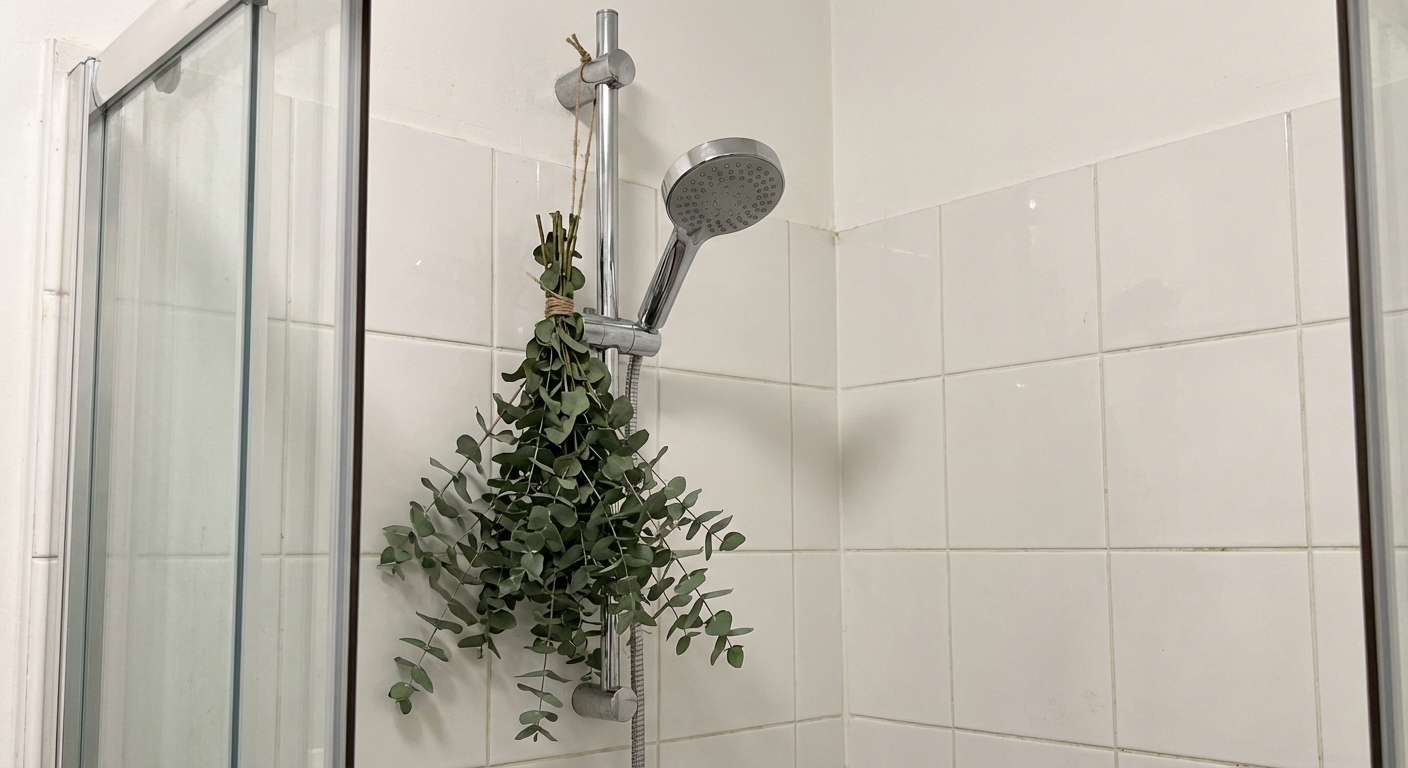
3) Upgrade your showerhead
If you do one functional upgrade, make it the showerhead. It is often a quick twist-off, and you can store the original for move-out day. Look for a high-pressure model with a simple shape and a finish that matches your other metals.
What to buy (budget range)
- High-pressure showerhead: $25 to $70
- Plumber’s tape (often optional but helpful): $2 to $5
Quick install note
If it is stuck, wrap the fitting with a cloth and use an adjustable wrench gently. Do not over-tighten when you install the new one. And keep any flow restrictor compliant with your local rules.
Little luxury move
Add a eucalyptus bundle to the shower if you love the scent. Keep it out of direct spray, swap it before it sheds, and skip it if anyone in your home is sensitive to strong fragrance (including pets).
4) Swap vanity hardware
Cheap knobs can make a vanity feel flimsy, even if it is perfectly fine. Hardware is like earrings for your cabinets: small, but it changes the whole impression.
What to buy (budget range)
- Knobs or pulls (set): $15 to $60
Renter-friendly note
Match the existing hole spacing if you are using pulls. If you want a different style, knobs are often easier since they usually use one hole.
Pro tip: measure center-to-center on pulls before you order. It saves you from the “why does nothing line up” spiral.

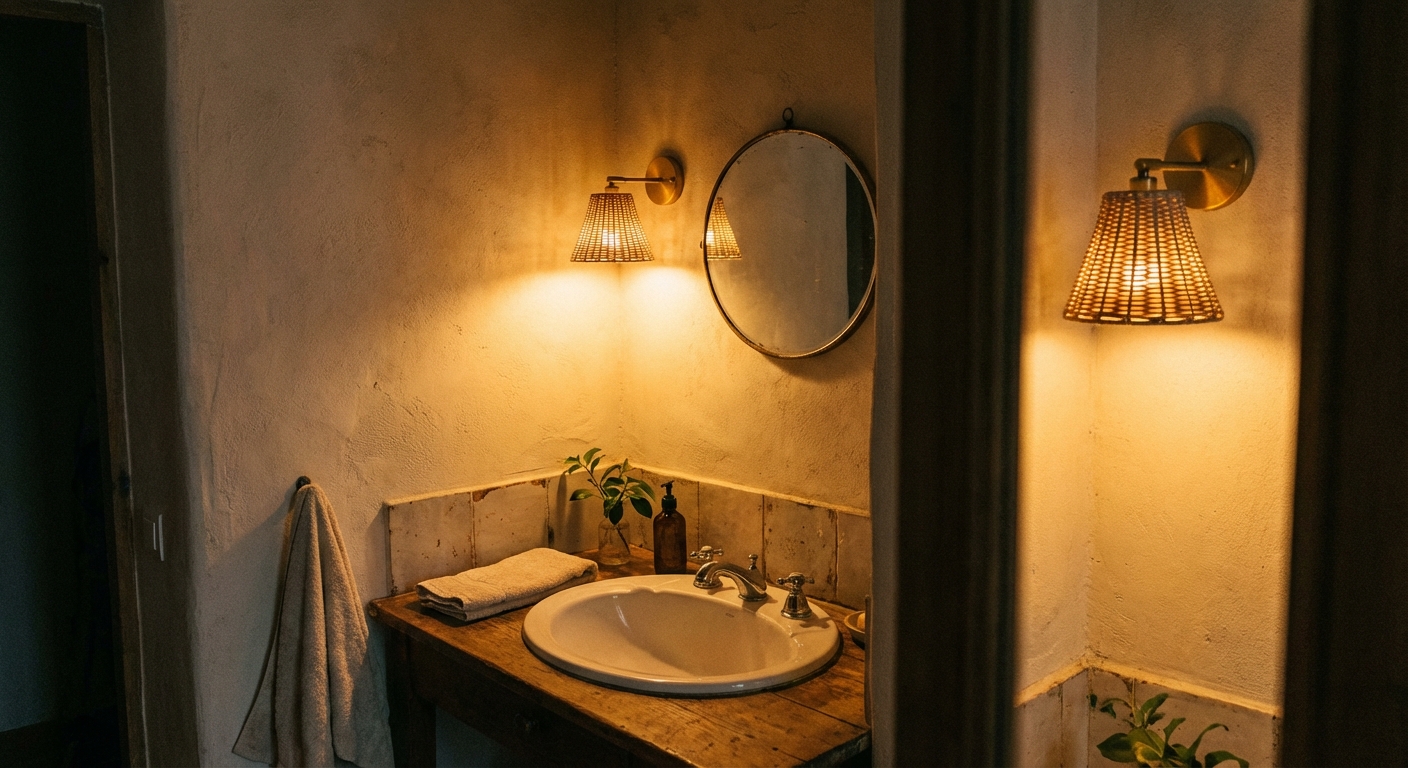
5) Add a stick-on sconce
Lighting is everything in a bathroom. If your overhead fixture feels harsh, add a softer layer. A rechargeable, stick-on wall light can give that warm glow you usually only see in boutique hotels.
What to buy (budget range)
- Rechargeable wall sconce or stick-on puck lights: $25 to $80
- Removable mounting strips: $6 to $12
My trick
Choose a warm bulb temperature, around 2700K, so your skin looks like skin, not office lighting.
Safety note
Look for lights labeled damp-rated (bathroom-friendly) and place them away from direct shower spray. These are great for ambiance, but they do not always replace bright task lighting for shaving or makeup.
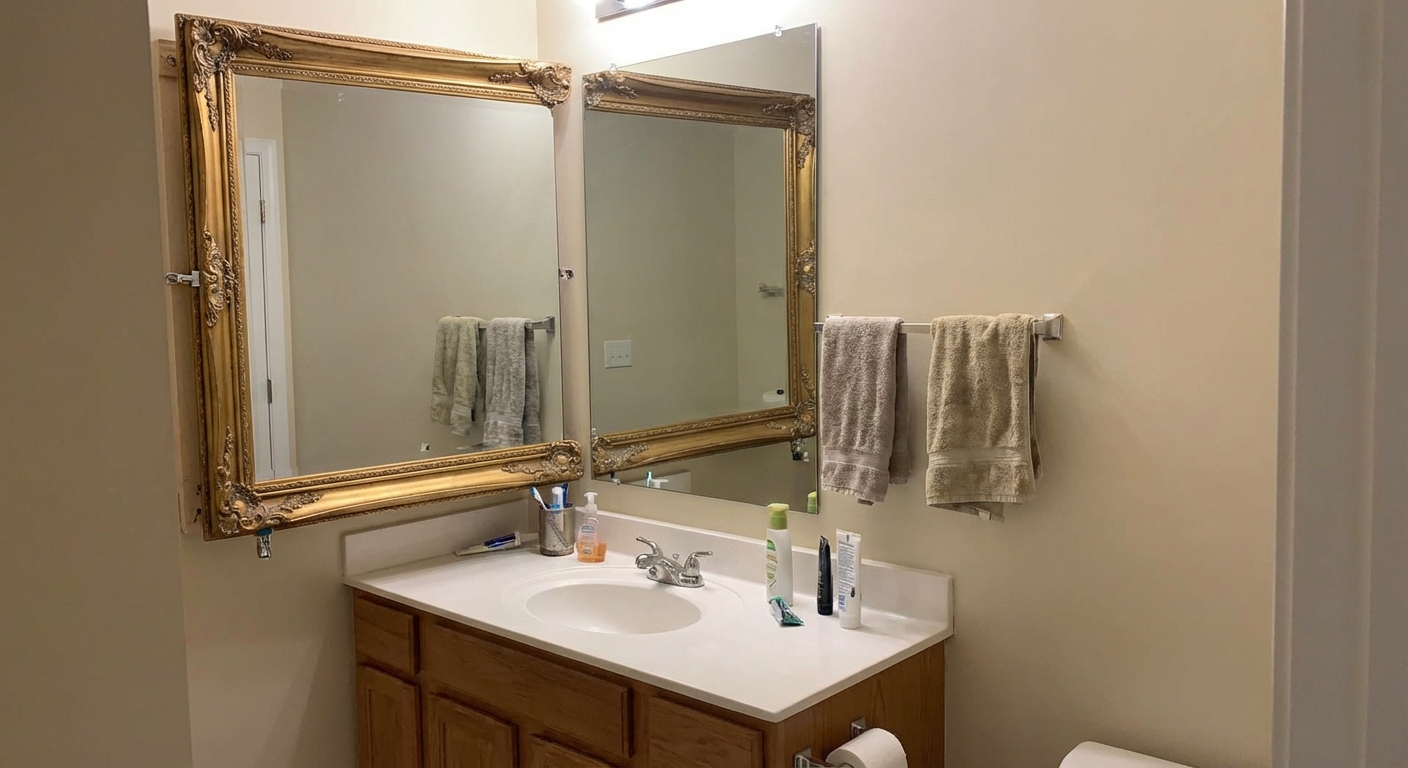
6) Frame your mirror
That plain builder mirror can be charming with the right styling. You can add a removable frame kit or use lightweight trim with removable adhesive to create a “found it at a flea market” look.
What to buy (budget range)
- Mirror frame kit or lightweight trim: $30 to $120
- Removable adhesive strips: $6 to $12
Quick measure note
Measure your mirror first and buy a kit sized to fit. If you are DIY-ing with trim, keep it lightweight so removable strips can actually do their job.
Finish choice
Antique gold warms up cold bathrooms instantly. Matte black is crisp and modern, especially with white tile.
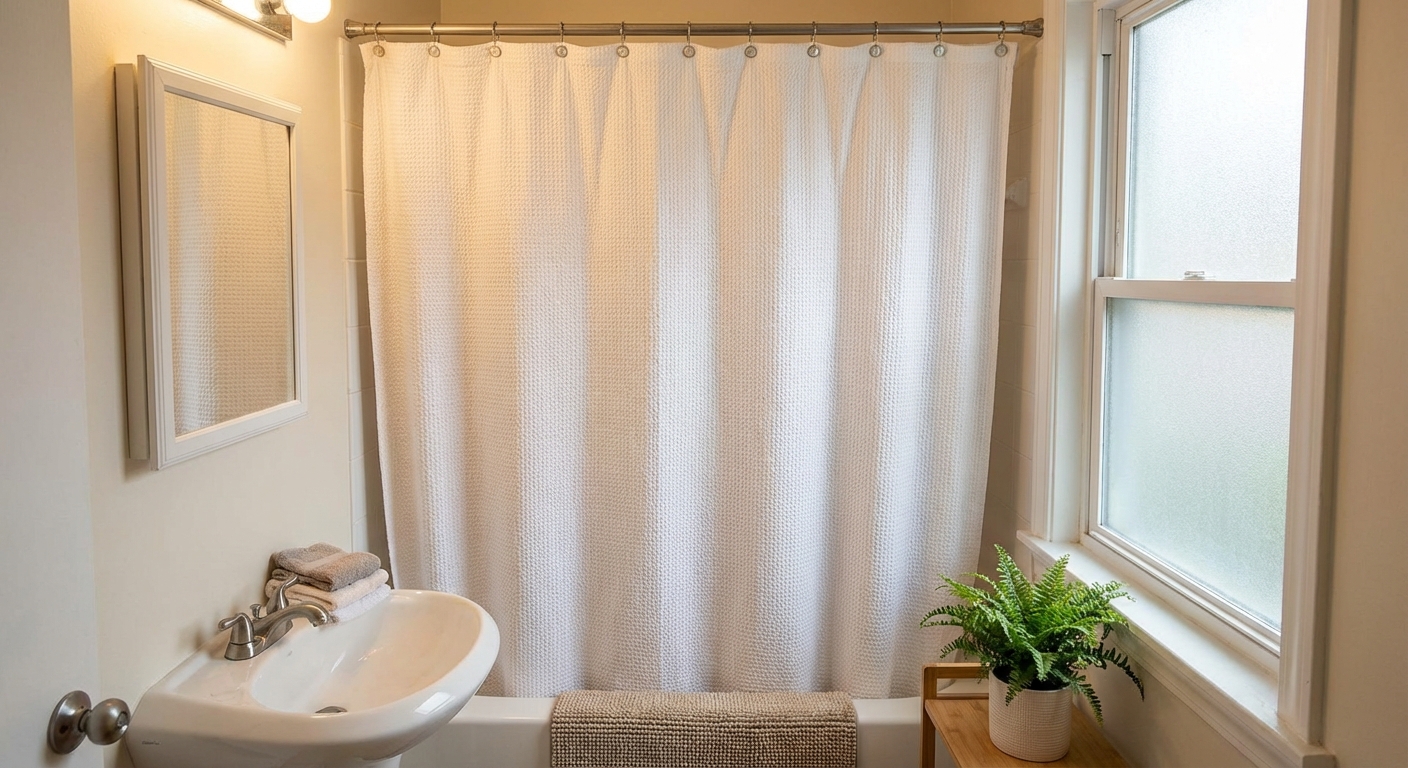
7) Replace the shower curtain
A shower curtain is a giant vertical surface. When it looks cheap, the whole bathroom looks cheap. When it looks intentional, everything else relaxes.
What to buy (budget range)
- Fabric shower curtain (linen-look or waffle): $20 to $50
- Weighted hem or magnetic weights (optional): $8 to $12
- New rings (optional): $10 to $20
Styling tip
Hang it high and wide if you can. Even a tiny bathroom feels taller when the curtain starts closer to the ceiling.
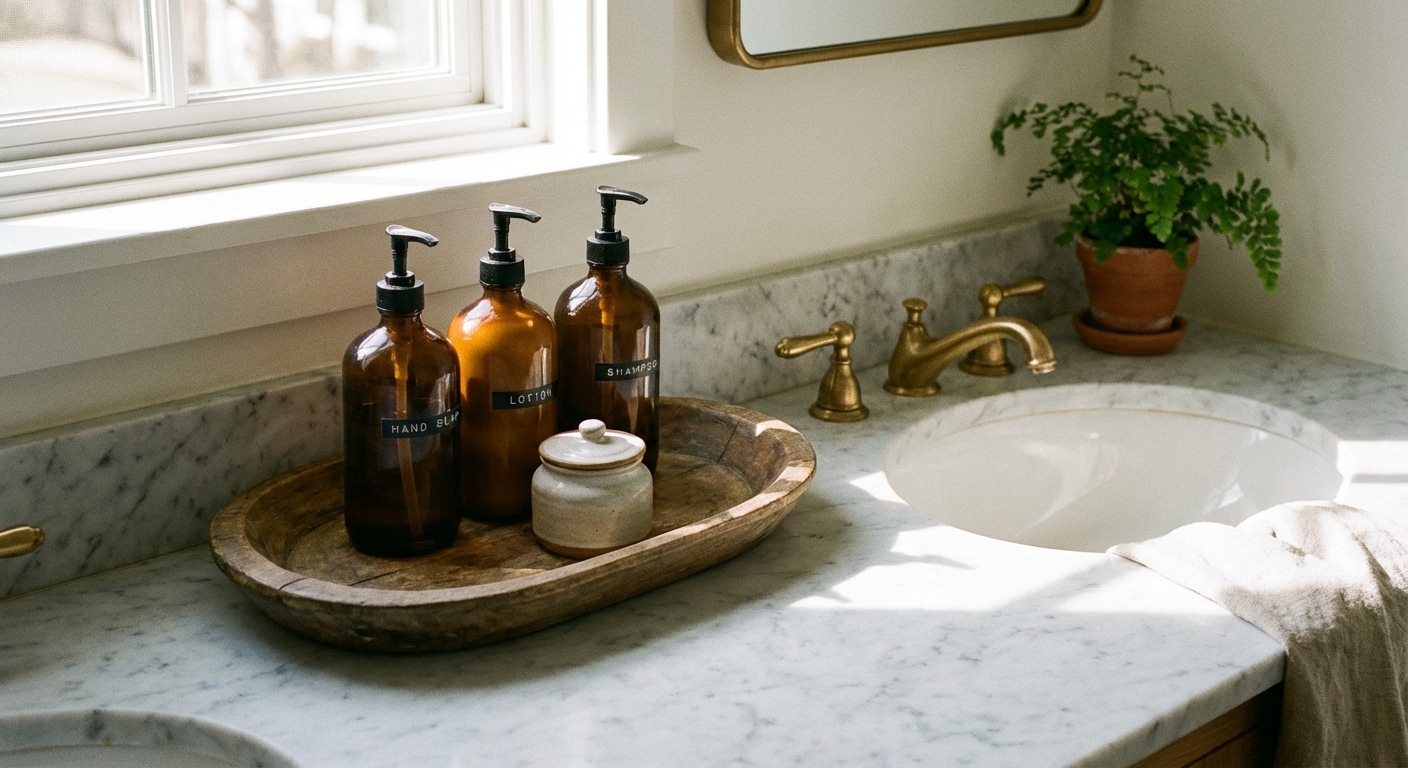
8) Corral clutter with a tray
Most bathrooms do not need more storage. They need better-looking storage. Decant the visual chaos into a few calm containers and suddenly the whole countertop feels like a hotel.
What to buy (budget range)
- Small tray (stone, wood, or acrylic): $10 to $25
- Matching pump bottles or amber bottles: $12 to $30
- Canisters for cotton pads, floss, or hair ties: $10 to $25
What to display
Keep it to three things: hand soap, lotion, and one pretty canister. Everything else goes under the sink.
9) Warm it up with textiles
Bathrooms can feel hard and echo-y. Soft textiles fix that. Think plush bath mat, fluffy towels, and one little hook or ladder to keep them looking tidy.
What to buy (budget range)
- Bath mat (cotton, tufted, or memory foam): $15 to $40
- Two matching towels: $20 to $60
- Over-the-door hooks (optional): $10 to $20
Color suggestion
Try creamy white with one accent: muted sage, dusty rose, or a deep tobacco towel that looks beautifully vintage.

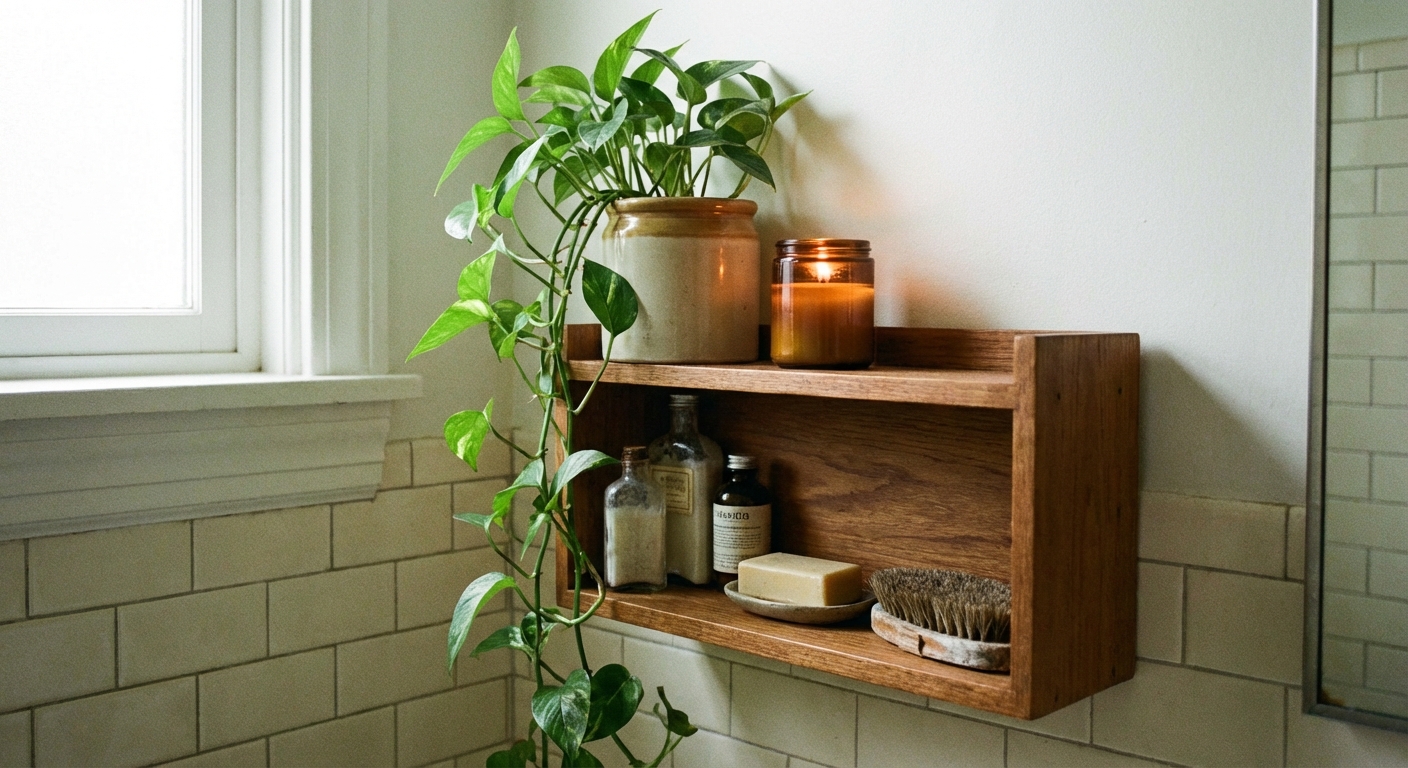
10) Add a plant and scent
Bathrooms feel instantly more cared for when there is something alive and something that smells good. It does not have to be complicated. A pothos on a shelf, a little vase of stems, or eucalyptus in the shower is enough.
What to buy (budget range)
- Low-light plant or stems: $10 to $25
- Candle or essential-oil diffuser: $12 to $40
- Small vase or vessel (thrifted is best): $5 to $15
My favorite combo
An amber glass candle plus a simple green stem. Warm glow, soft scent, and that subtle “someone with taste lives here” feeling.
Safety note
If you use a candle, never leave it unattended, and keep it away from towels and toilet paper. A diffuser can be a lower-risk option in a small space.
Under-$200 shopping plans
If you want a clear path without overthinking, here are three mixes that land under $200 in most bathrooms. Pick a lane, not all ten ideas, and you will stay on budget.
Option A: Biggest visual change
- Peel-and-stick floor tile ($80)
- New shower curtain + rings ($45)
- Tray + matching bottles ($35)
Option B: Shower refresh
- High-pressure showerhead ($50)
- Waffle shower curtain ($35)
- Plush mat + candle ($55)
- Eucalyptus stems ($10)
Option C: Vanity glow-up
- Mirror frame ($90)
- Hardware swap ($35)
- Rechargeable sconce ($60)
Two final reminders
- Ventilation matters. Peel-and-stick products last longer when the room is dry. Run the fan, crack the door, or use a small dehumidifier if your bathroom stays damp.
- Keep a move-out kit. Store extra adhesive strips, a plastic scraper, and gentle cleaner so removal is calm and damage-free later. If you do need to remove adhesive, gentle heat from a hair dryer can help soften it before you peel.
If you tell me what you are working with, like tile color, vanity tone, and whether your metals are chrome or nickel, I can help you pick the quickest under-$200 combo that will make it feel like your bathroom finally exhaled.