10 Genius Hacks for Storing Bulky Holiday Decorations in Small Spaces
Clara Townsend
Clara Townsend is an interior stylist, vintage furniture enthusiast, and the creative voice behind Velvet Abode. With over a decade of experience transforming both cramped city apartments and sprawling fixer-uppers, she believes that a beautiful home is built on personal stories rather than massive budgets. When she isn't hunting for the perfect brass sconce at a local flea market, she can usually be found rearranging her living room for the third time this month.
If you live in a small space, holiday decor has a funny way of multiplying. One minute it is a single box of ornaments, and the next you are playing Tetris with an artificial tree, three wreaths, and a spaghetti bowl of lights.
The good news: you do not need a bigger house. You need a smarter system. Below are my favorite truly doable storage hacks that protect fragile pieces, make setup faster next year, and reclaim your closet and garage space without turning your home into a plastic-bin showroom.
Quick note: I use “Clara tip” as my little shorthand for the things that save Future You time, money, and mild holiday chaos.
Before you store: 10-minute reset
These quick steps make every hack work better, especially in tight quarters.
- Sort by zone, not by holiday. Group items by where they go: mantel, tree, outdoor, dining table. Next year you will decorate in calm, efficient waves.
- Do a ruthless toss. If you did not use it this year and it does not make your heart do a tiny happy flip, donate it.
- Save a little padding. Tissue paper, bubble wrap, and even clean cardboard inserts become your best ornament insurance.
- Label like Future You is tired. Big, simple labels: “Tree Lights,” “Mantel,” “Outdoor.” For extra sanity, label two sides plus the top so you can read it from any angle.
- Keep moisture in mind. Only pack items once they are fully dry, and toss a few silica gel packs (or another desiccant) into bins that live in basements, garages, or humid climates.
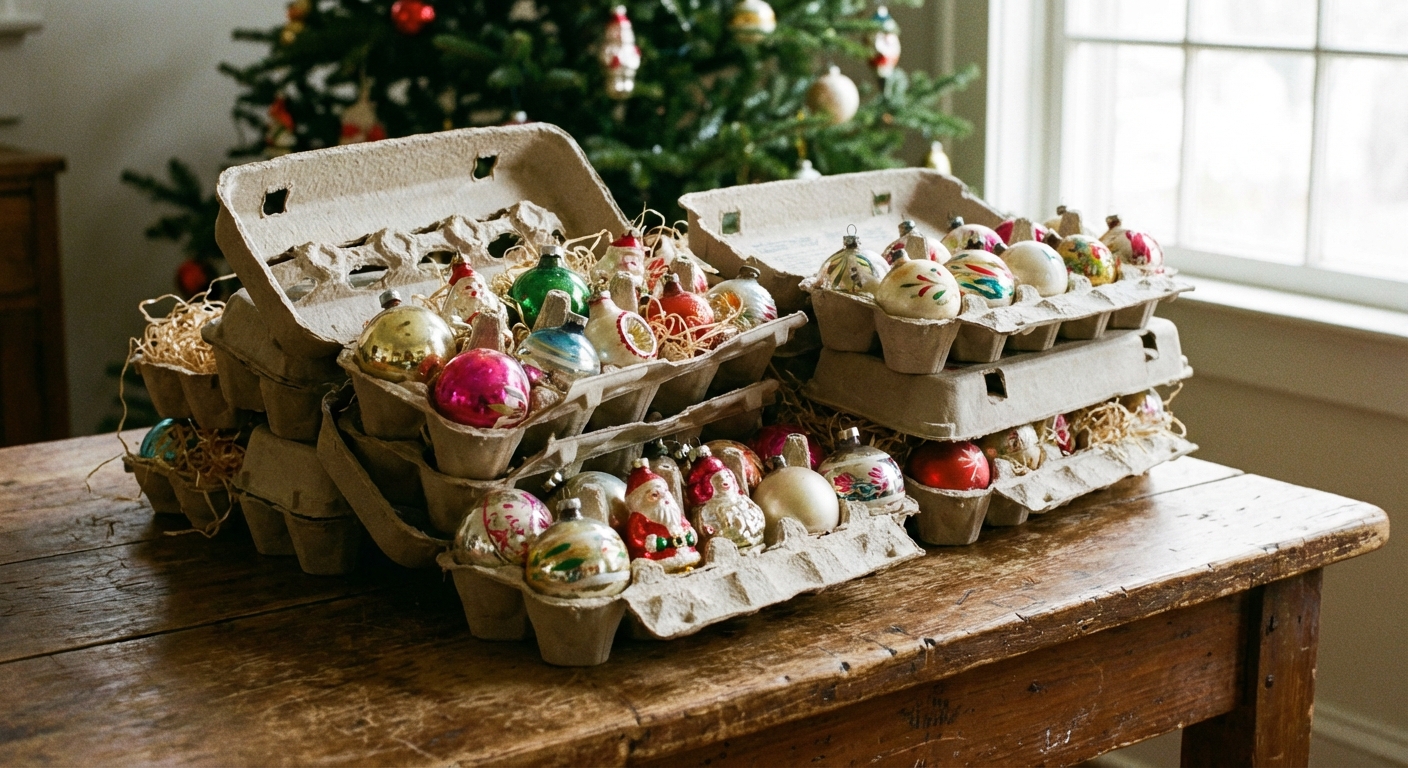
1) Egg cartons for ornaments
This is my favorite low-budget trick for fragile ornaments that are small, round, or oddly precious. Cardboard egg cartons cradle small, lightweight glass ornaments like they were designed for it.
How to do it
- Choose clean cardboard egg cartons, not foam.
- Make sure cartons are fully clean and dry (no lingering food smells). If you are worried about pests, skip this hack and use a compartment organizer instead.
- Place one small ornament per cup. Add a pinch of tissue for extra-wobbly pieces.
- Stack cartons inside a lidded bin or lidded file box so they stay dust-free.
- Label the outside with the room or vibe: “Tree, Vintage Glass.”
Why it works: you get built-in compartments without buying a special ornament organizer.
Best for: mini ornaments, small glass balls, and lightweight keepsakes. For larger or heavier pieces, use a sturdier divided tray or wrap individually.
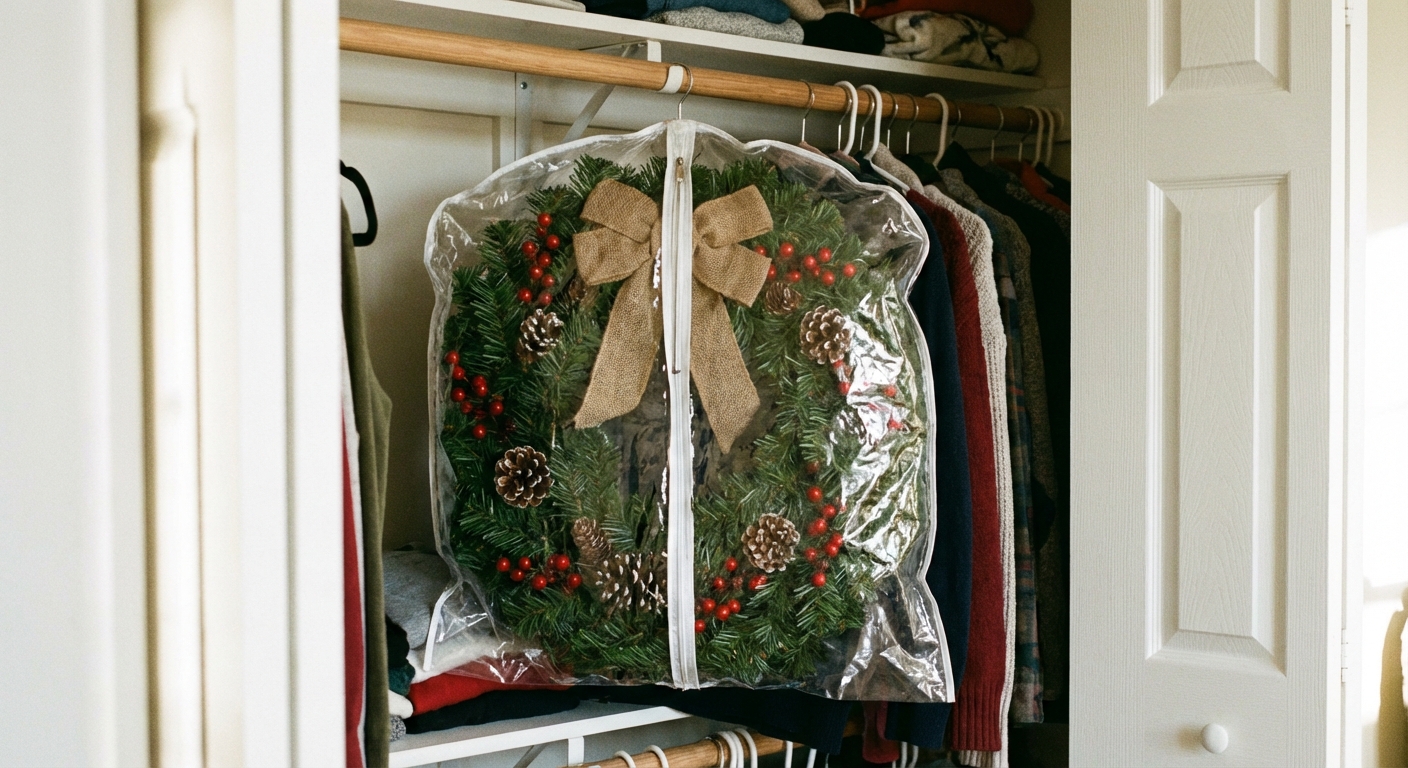
2) Garment bags for wreaths
Wreaths are bulky, delicate, and always seem to get crushed at the worst possible moment. A zippered garment bag keeps them clean and protects the shape, and it hangs vertically so it uses minimal floor space (and makes the back of your closet feel less like a haunted hedge maze).
How to do it
- Make sure the wreath is fully dry before it goes into any bag.
- Slide one wreath into a garment bag. Two if they are slim and you separate them with a piece of cardboard.
- Hang it on a sturdy hanger in the back of your closet, or on a wall hook in a utility area.
- For garlands, coil them gently and tuck them in the bottom of the bag.
Clara tip: If you store wreaths near winter coats, add a sachet for freshness, but keep it sealed and positioned so it does not touch delicate fabrics (some cedar sachets can leave oil marks, and the scent can be strong). In humid areas, a small desiccant pack in the bottom of the bag can help prevent mustiness.
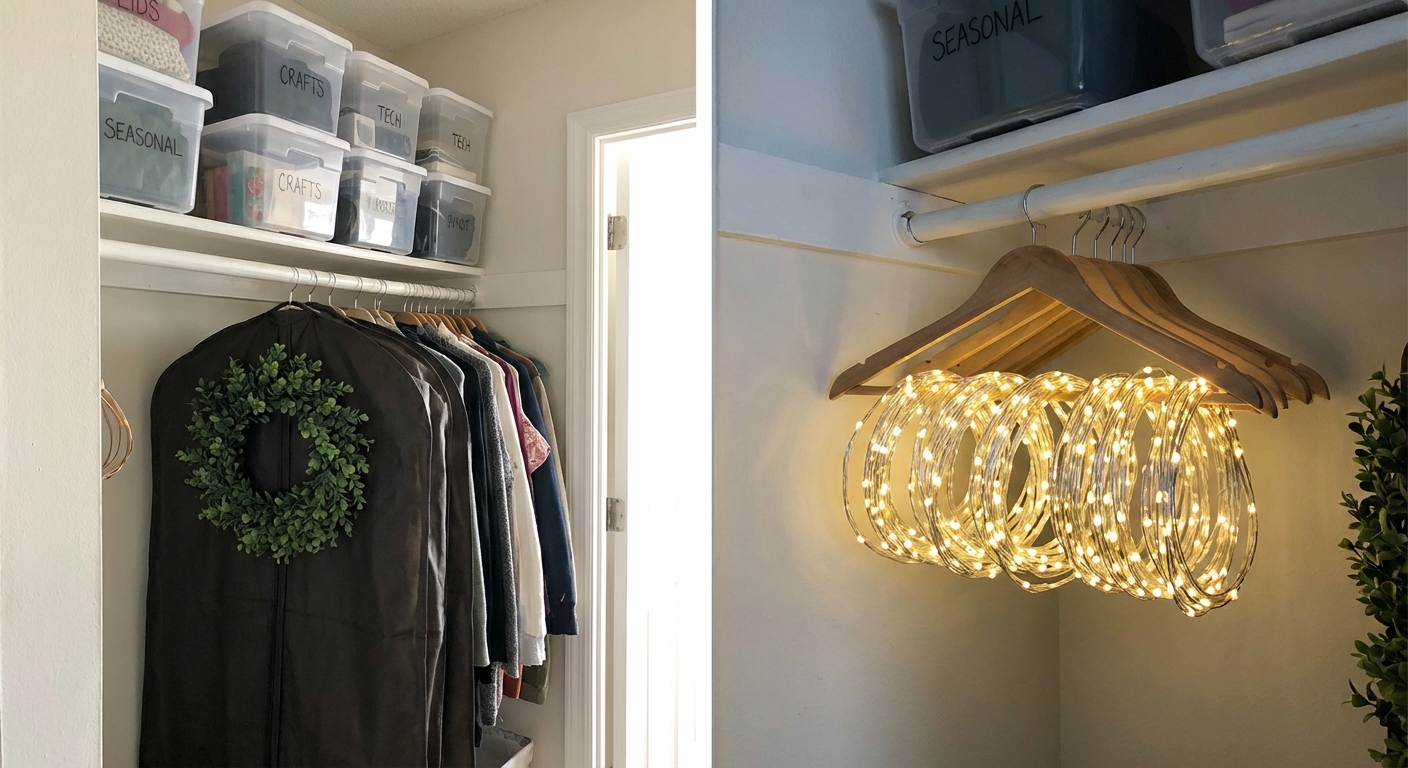
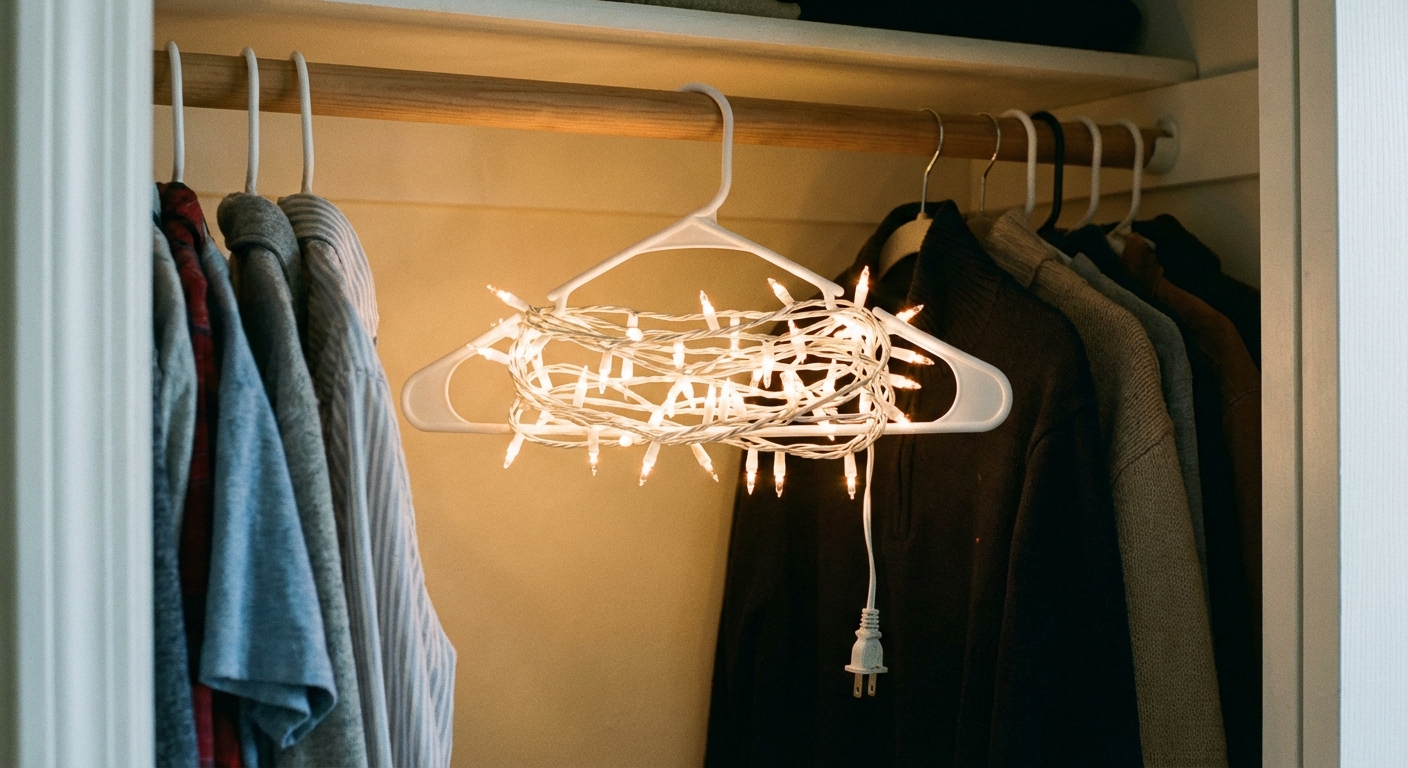
3) Lights on a hanger
If untangling lights is your annual rite of passage, I have a kinder option. A simple plastic hanger turns light storage into a quick, low-drama task.
How to do it
- Use a sturdy plastic hanger or a hanger with clips.
- Wrap the light strand in even loops around the hanger body.
- Secure the plug end with a twist tie or a small piece of painter’s tape.
- Hang multiple hangers together using a shower curtain ring.
Bonus: this works beautifully for ribbon spools and beaded garlands too.
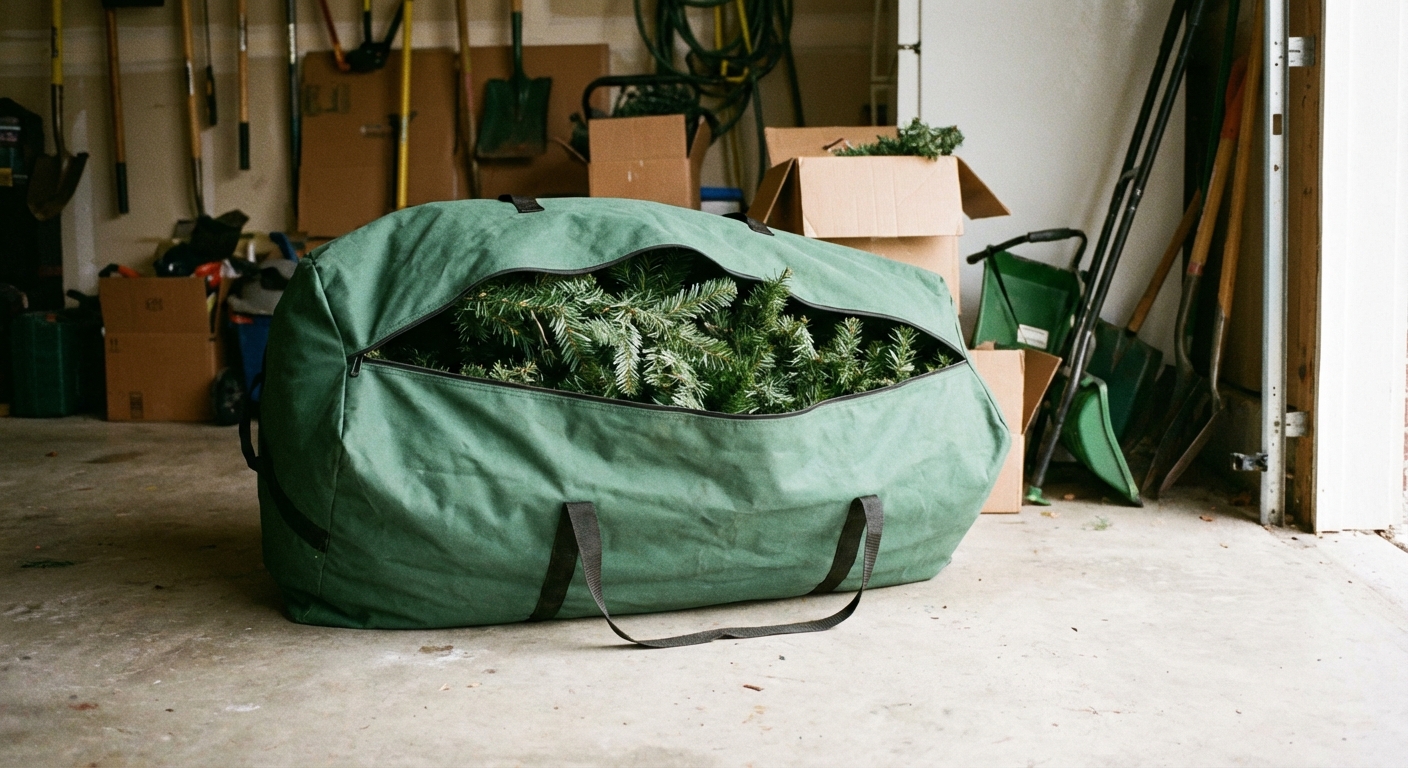
4) Tree bag + DIY sled
Artificial trees are the boss-level bulky item. If your tree box is ripped and shedding cardboard like confetti, upgrade to a tree storage bag, then add a slick little trick so it slides into storage without the annual wrestling match.
How to do it
- Place the tree in a zippered tree bag.
- For a durable “sled,” use a thin plastic sheet (like a cheap plastic furniture mover sheet) slightly larger than the bag base.
- Attach it with straps or a snug wrap of stretch film. If you use tape, choose a removable option and avoid leaving adhesive on the bag (heat and cold can make residue messy).
- Slide it under a bed, onto a high shelf in a closet, or along the garage wall.
Why it works: the sled reduces friction so you can move the tree without hauling it like a sofa.
Note: If you store in a damp area, skip cardboard for the sled since it can soften over time.
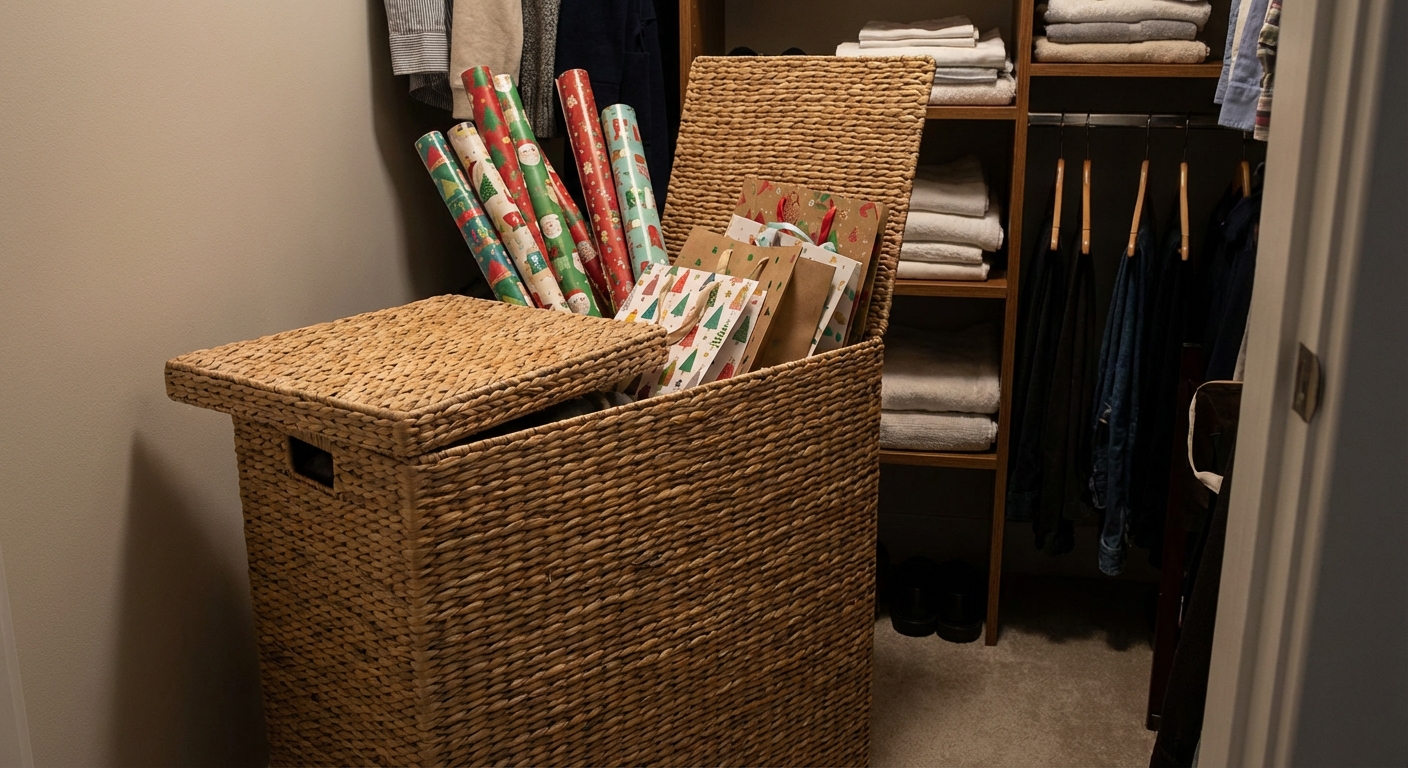
5) Wrapping paper in a tall hamper
Those long wrapping paper rolls never fit anywhere gracefully. A tall, slim hamper with a lid is one of the simplest “containers” that actually makes sense in a small home.
How to do it
- Choose a tall hamper that can tuck into a closet corner.
- Stand rolls upright. Add gift bags and tissue paper on top.
- Slip ribbon spools onto a dowel or a shoelace tied to the handle.
Look upgrade: pick a woven hamper and suddenly storage feels like decor.
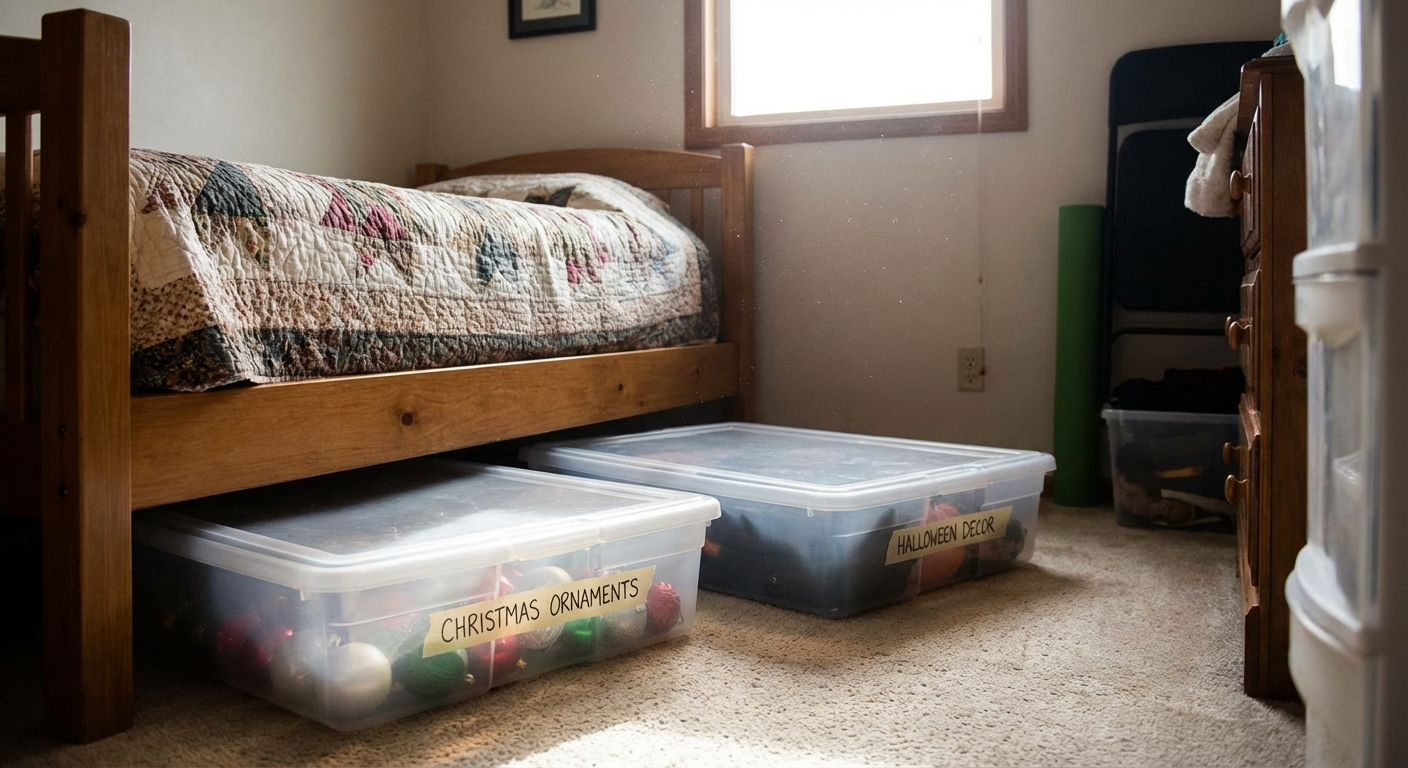
6) Under-bed “holiday drawer”
Under the bed is prime real estate, especially if you are short on closets. The key is using low-profile bins that slide easily and do not require you to crawl around searching.
How to do it
- Use two to four shallow lidded bins, ideally with tight-fitting lids to keep dust out.
- Assign each bin a category: “Tree Decor,” “Mantel,” “Outdoor,” “Table.”
- Add a simple contents list taped under the lid.
Clara tip: if you have a vintage bed frame with low clearance, use soft zip bags instead of bins. Just make sure they fully zip closed so dust stays where it belongs.
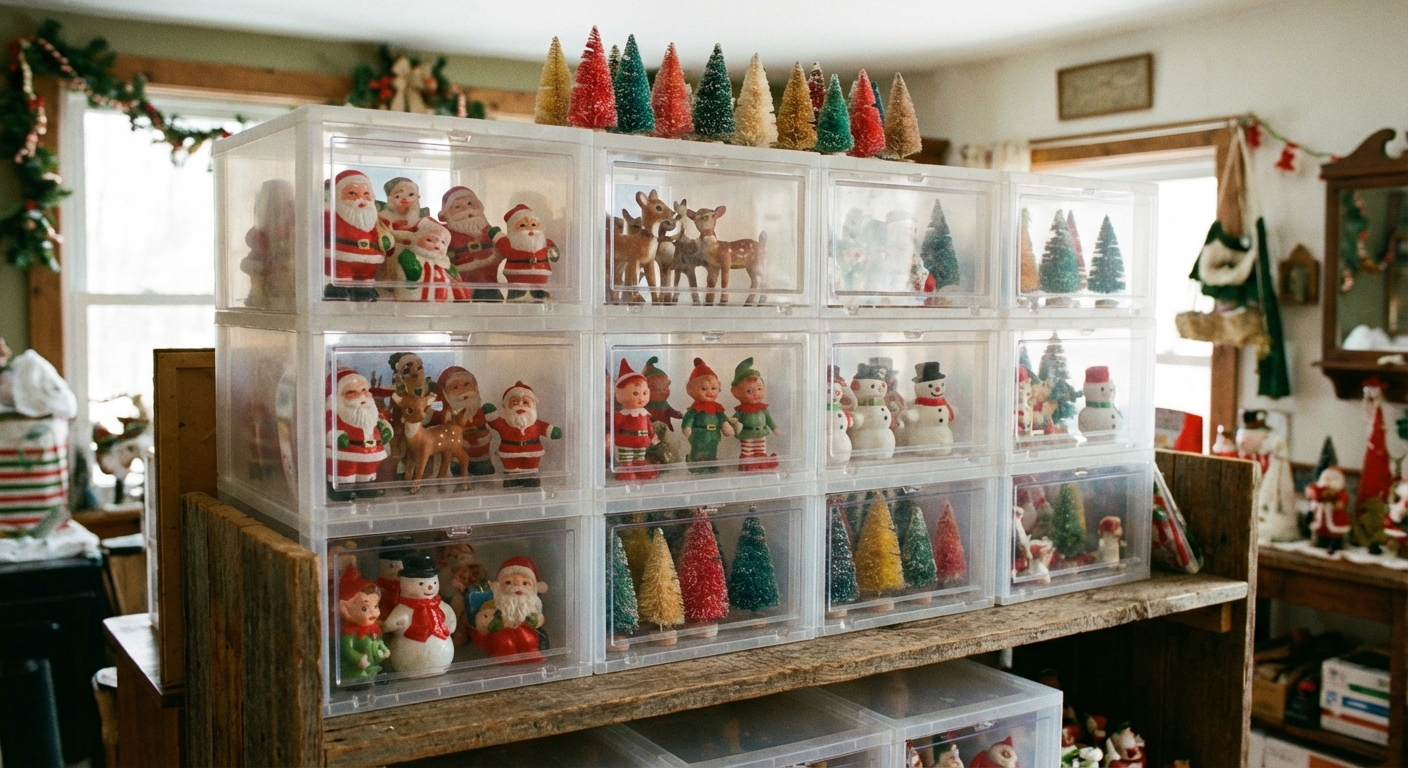
7) Clear shoe boxes for small pieces
Little villages, bottle-brush trees, candleholders, and delicate figurines are the pieces that get chipped when they are tossed into a “misc” bin. Clear shoe boxes keep them visible and safely separated.
How to do it
- Line each box with a tea towel or a layer of tissue.
- Store one “scene” per box: “Village,” “Mini Trees,” “Stocking Holders.”
- Stack boxes inside a larger bin if you need to consolidate.
Why it works: you can see what you have without opening everything.
8) Make a light kit pouch
This one saves money every year. If you have ever bought new command hooks, extension cords, or light clips because you could not find the old ones, you need a dedicated light kit.
What goes in the kit
- Outdoor-rated extension cord
- Timer
- Light clips and spare hooks
- Extra fuses and a tiny screwdriver
- A Sharpie and a roll of painter’s tape for labeling
Store it in a zip pouch or a small toolbox inside your main light bin. Next year, you set up in one smooth, satisfying sweep.
Safety note: Only store fuses that match your exact light set, and toss any cords with cracks, fraying, or heat damage. Also let lights cool completely, then pack them unplugged.
9) Store flat decor vertically
When space is tight, stacking is not always the answer. Stacking creates an avalanche situation where you have to lift five bins to reach one. Vertical storage is calmer.
How to do it
- Use sturdy shelf dividers, or DIY “bookends” from two heavy bins on either side.
- Slide flat items upright: tree skirts, table linens, felt stockings, and fabric runners.
- Store them in a closet like you would store sweaters, not like you would store bricks.
Clara tip: add one linen sachet so your textiles smell clean when you pull them out next year. Keep scent items tucked to the side, not pressed against delicate fabric.
10) One-tote rule
This is the hack that keeps your storage system from slowly exploding. Pick one main holiday tote size and commit to it.
How it works
- Choose 2 to 6 matching totes, depending on your space.
- If you buy or make something new, it must fit in the existing totes.
- If it does not fit, something else has to be donated.
Why it works: your storage footprint stays the same even as your style evolves. And it will, because you are allowed to change your mind, rearrange the living room, and still be organized.
Packing order for next year
If you only steal one idea from this article, let it be this: pack in the order you will decorate.
- Bin 1: lights + light kit
- Bin 2: tree ornaments
- Bin 3: mantel and shelf decor
- Bin 4: table linens and dining pieces
- Separate: wreaths in garment bags, tree in a tree bag
Clara tip: Snap a quick phone photo of the open bin before you close it. Tape a printed thumbnail to the lid, or add a QR code label that links to a notes app list. Future You will feel wildly understood.
When December rolls around, you can decorate without dumping every box onto the floor like a holiday yard sale.
Quick safety notes
- Avoid extreme heat and damp: garages and attics can warp plastics and dry out faux greenery. Basements can add moisture and musty smells. If possible, keep the most delicate items inside a closet.
- Skip newspaper for delicate finishes: ink can transfer to porous ornaments and fabric.
- Label fragile boxes clearly: especially if you live with roommates or family members who love an enthusiastic stack.
- Fire safety basics: store lights unplugged, fully cooled, and away from heat sources. Discard anything that looks scorched, brittle, or cracked.
A small home can still hold big traditions. The trick is giving every sentimental sparkle a specific, protected place to rest.